


Carriage Doors

About a year ago I finished up the restoration of an antique entry door and posted it on HomeTalk (link provided as a comment, below). The client was so pleased she asked me if I would be willing to make some carriage doors for the same property.
The project was not the furniture repurposing that I typically do, but by this stage we had become friends and it was almost impossible to decline.
Well because of Michigan’s weather, the COVID virus, and some significant life style changes, they are finally done —- about a year later.
The client and I used the Internet to identify some carriage door features to replicate. Because of so many uncertainties, we proceeded on a time and material basis. Only the material costs are identified with this posting.
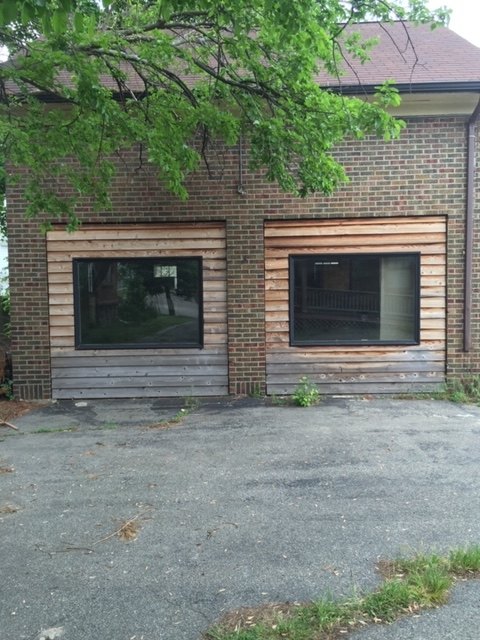
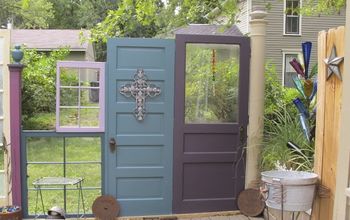
The client and her husband are in the process of refurbishing a stately 1920 property in a historical district. There is a main brick building which they are converting to her real estate office and some apartments. There is also an unattached brick building that was probably a garage and will ultimately be rehabbed. Sometime in the past, the garage openings had been framed in and filled in with wavy butt horizontal siding and windows. The Historic Commission wanted a look more appropriate to what was probably there originally; i.e. some carriage doors
A “real contractor” would probably have torn out the framing, re-framed, and hung some pre-constructed doors. The client and I opted to fill the openings with two sets of carriage doors that would open and allow access to the space.
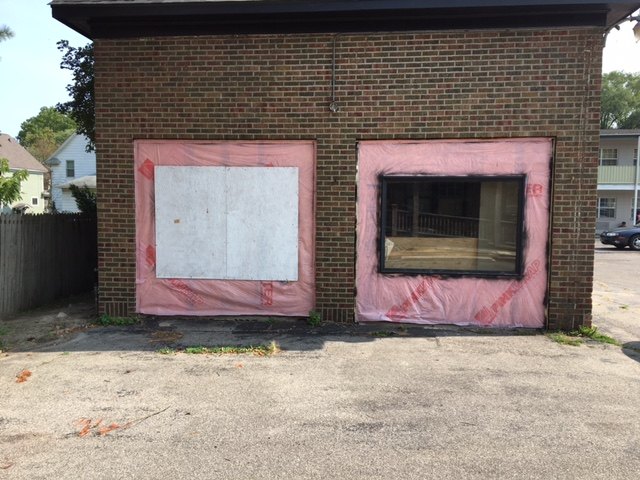
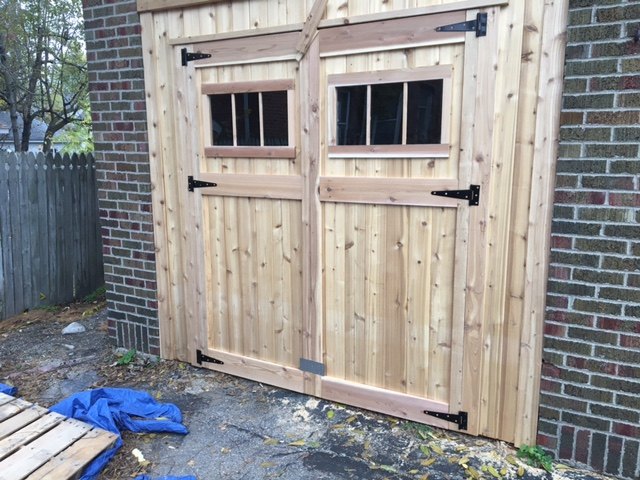
We removed the windows and framing beneath the windows.
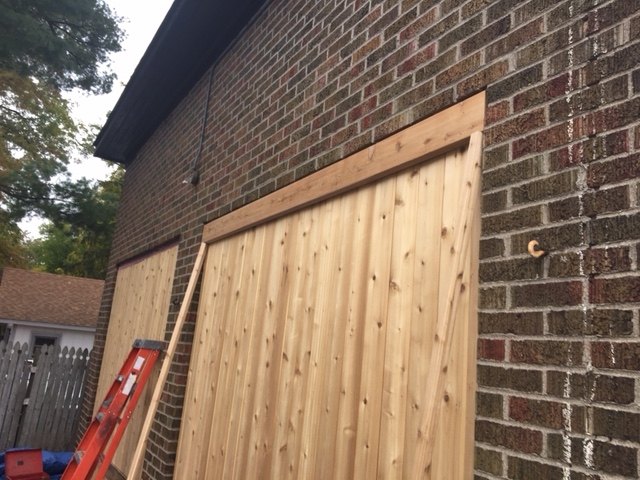
Then I proceeded (rather unconventionally) by:
- closing in the entire openings with vertical tongue and groove cedar siding, a cedar header, and side trim;
- marking, then cutting out the doors with a circular saw;
- nailing the door trim and casings;
- adding hinges; and
- cutting openings for the windows.
To discuss the individual processes might be tedious and best left to questions and comments if anyone is interested.
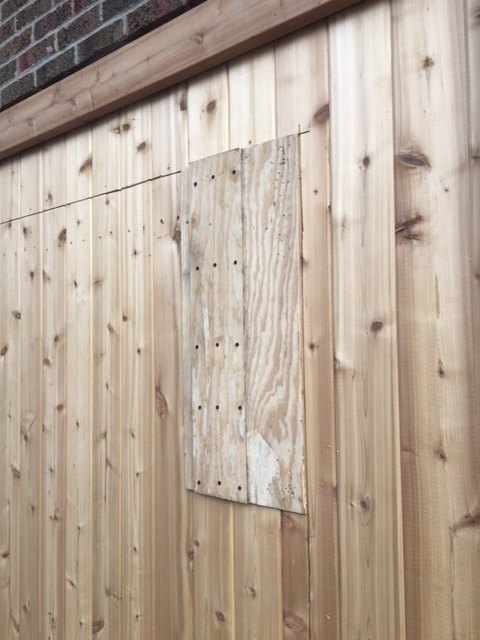
The windows were fabricated and are actually a single pane of glass. Cedar strips were glued to the glass to give the appearance of divided glass.
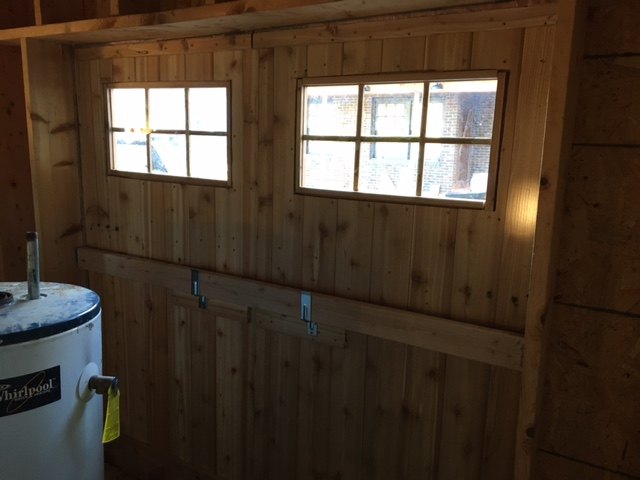
The doors are secured with a 2 by 4 and barricade brackets from the inside.
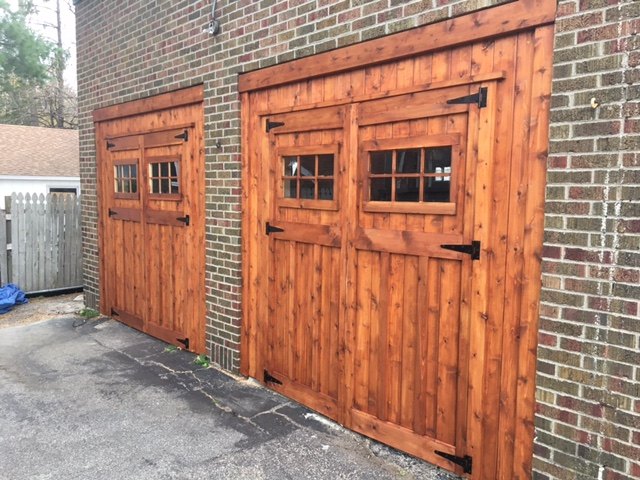
Blessed with some unseasonably good weather, the client stained/sealed the doors with Cabot’s Australian Timber Oil and will ultimately add some additional handles.
Thanks for reading.
Resources for this project:
See all materials


Comments
Join the conversation
-
I would love to have some like those. What a change for updating. Great job.
-
You are one of the more talented and clever DIYers on here...I am totally inspired. Wish I had someone like you in my neighborhood.


Frequently asked questions
Have a question about this project?