


DIY Mandala Art
*This post was sponsored by Worx Tools. All opinions are my own.
I am very excited to be sharing this project with you today. 2020 has been a big year for DIY art in my home and I am thrilled that I was able to create the project I am sharing with you today. I have been a fan of DIY Mandala art for some time now and wanted to create something beautiful that would match with my apartment decor.
Worx Tools sent me so many fun goodies and I ended up using the Markerx Rotary tool + their wireless heat gun for this project. I was surprised at how easy it was to use these tools. All it required was a charged battery and off I went to DIY wood carving fun!
Supplies needed for this project:
- Square piece of plywood (any thickness works)
- Black acrylic paint
- Spray adhesive
- Mandala Stencil
- Markerx rotary tool
- Makerx heat gun
- Sander
- Wood stain (your choice)
- Cloth rag
- Metallic luster wax - rose gold
Check out the full video tutorial and a breakdown of all the steps BELOW.
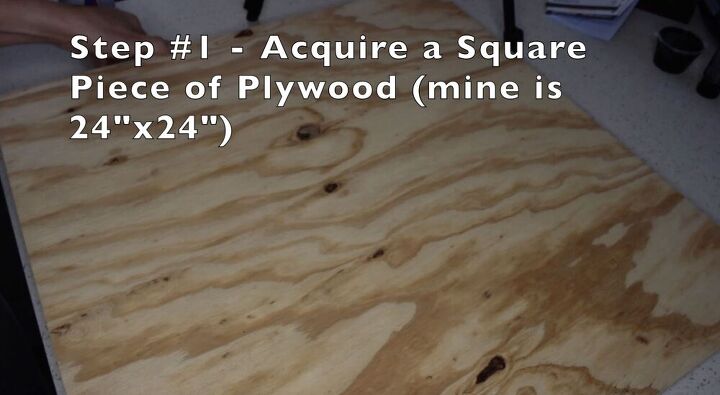
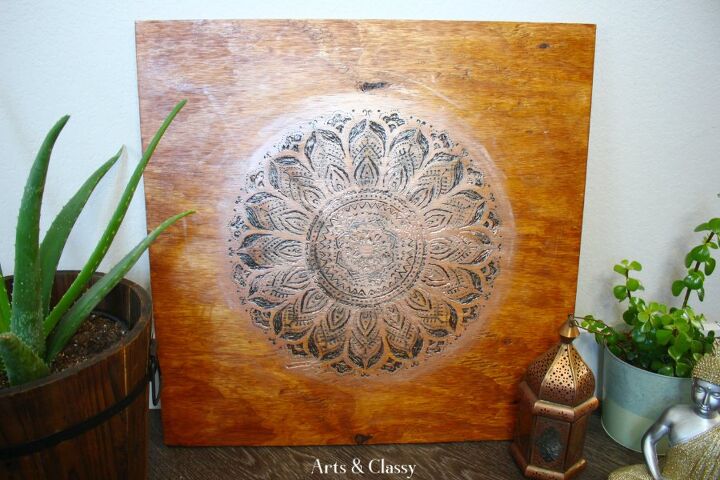
Depending on the size of the stencil chosen that will help determine the plywood size. I debated on doing 16”x16” but went bigger to 24”x24” as more of a statement piece.
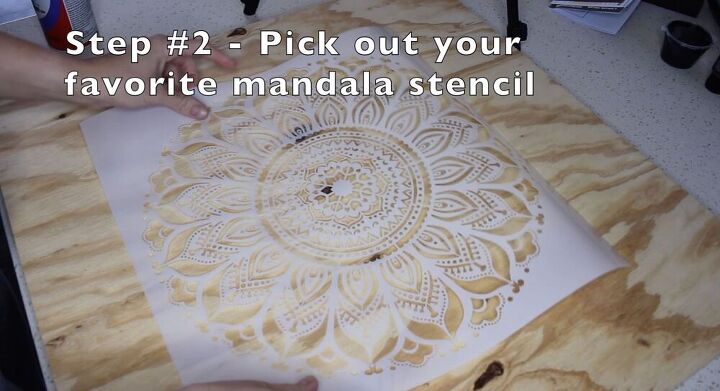
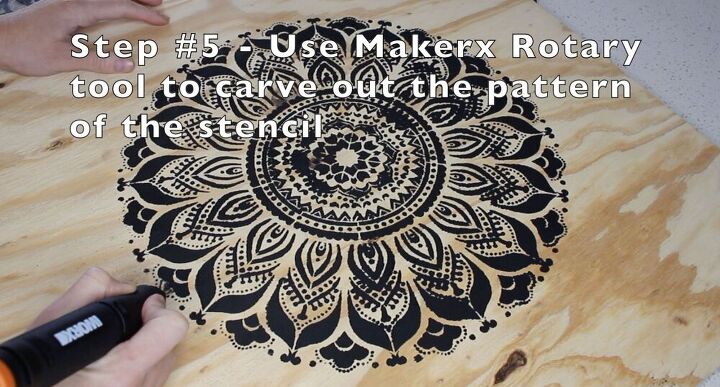
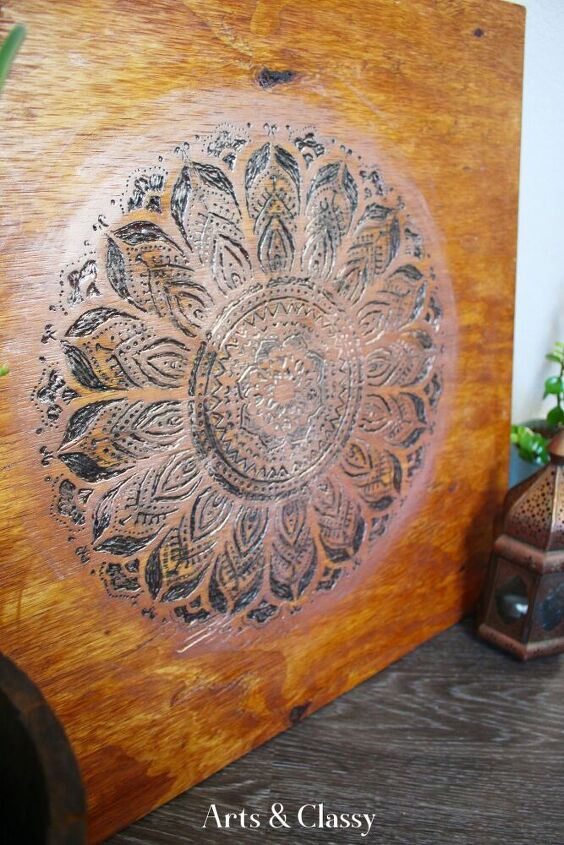
The mandala I chose was a 16” x 16” stencil and it had a lot of detail to it. I wanted it to look very ornate when I was finished. I knew this would require a bit more time.
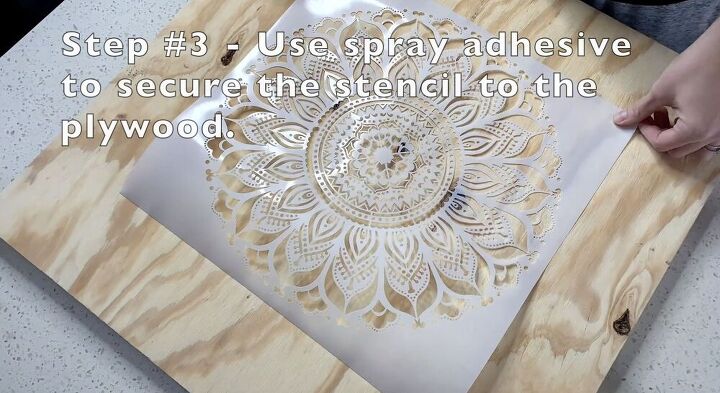
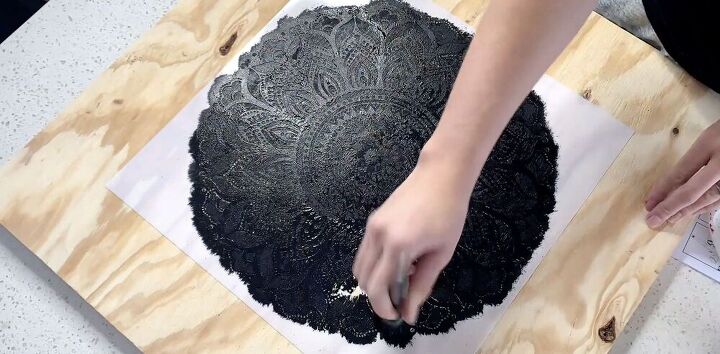
Spray adhesive is a must when working with stencils. It helps the stencil stick in one place when applying paint. It helps prevent paint bleed underneath the stencl.
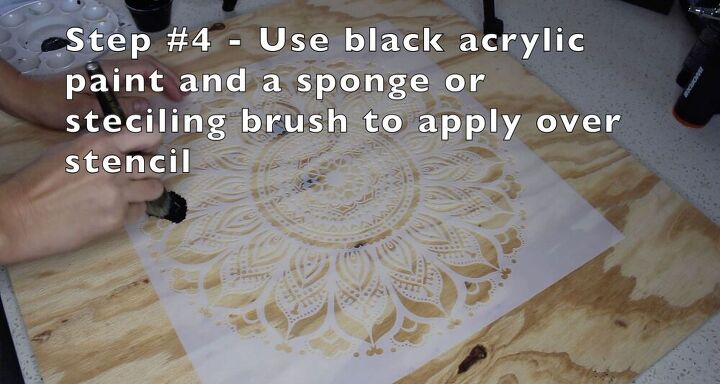
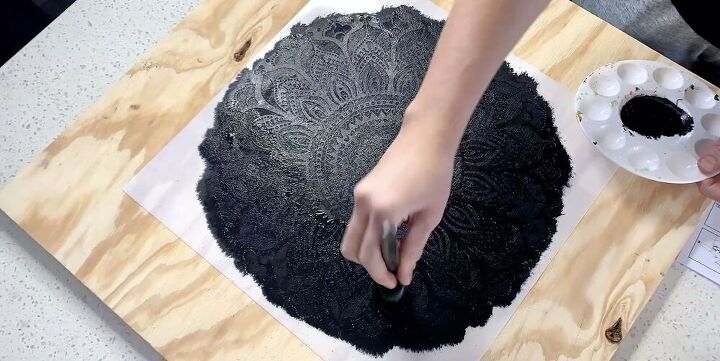
Black acrylic paint allows a guide to be created when you get to the carving step. Apply the paint evening (dabbing motion) with a sponge or brush all over the stencil.
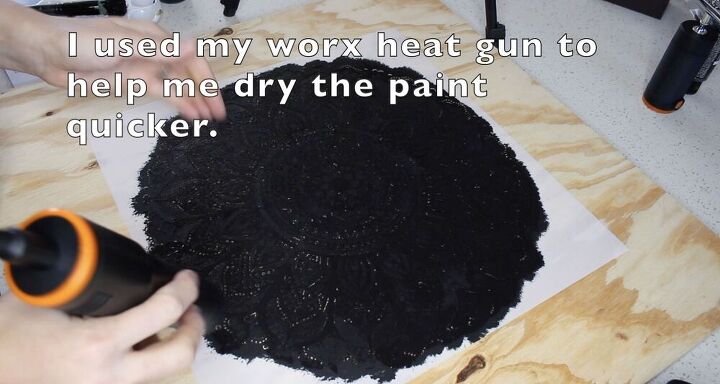
I am not the most patient person and waiting for paint to dry is my least favorite thing to do. I was grateful to have my Makerx heat gun to help dry the paint so much faster.
This tool was really fun to use for this step. I love finding new tools to make my life easier. Because my stencil was pretty detailed, this step took about 3 hours to complete all together.

When painting this part, staying within the lines isn’t a requirement. The next step when sanding will remove excess paint.
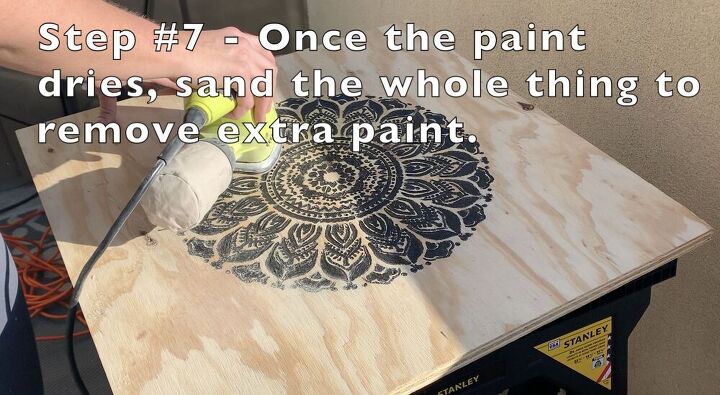
This step makes the previous step less daunting. Sanding the plywood over the mandala removed any excess paint that spilled over the carved areas.
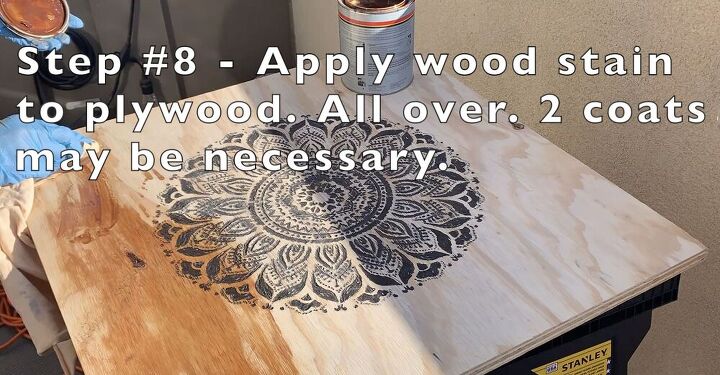
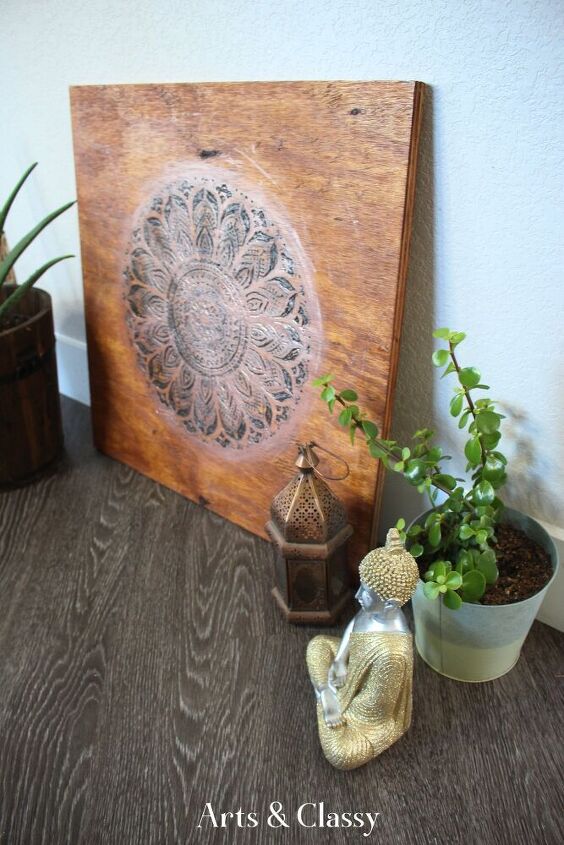
The stain I chose was in the finish “American Chestnut.” Any stain would work for this project depending on the room it will be placed in. 2 coats of stain were necessary for my project, but I could had added more to create a darker finish.
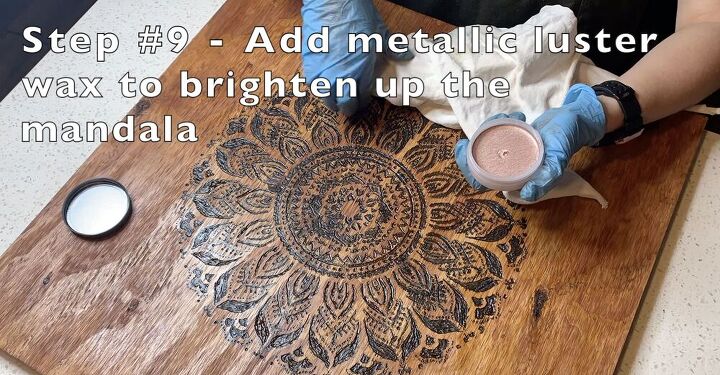
I loved using this wax to help brighten up the mandala from the center outward. It gave it an opulent & magical look. I used a cloth rag to apply the wax.
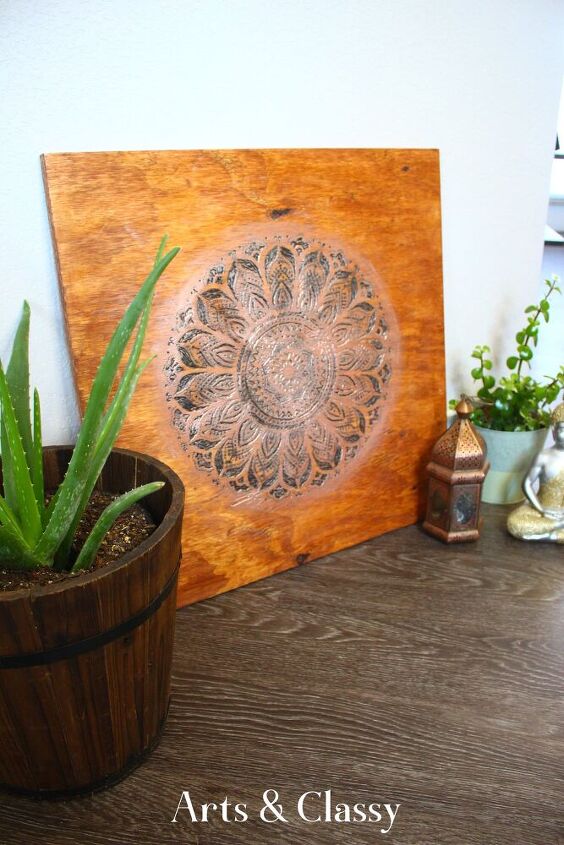
I love how this Mandala art turned out! Here is the finished product!! What do you think? Let me know in the comments below. I hope this tutorial inspires you to try this project.
Resources for this project:
See all materials


Comments
Join the conversation
-
Beautiful, wish I had seen these intrinsic art work when I was younger, with arthritis my movements are limited. Even the plain stencil before you added anything else looks beautiful. It sure is worth all the time it took you to make it
-
Very pretty,but I can see it better without the wax.


Frequently asked questions
Have a question about this project?