


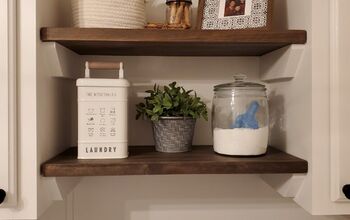
Arch Shelf DIY

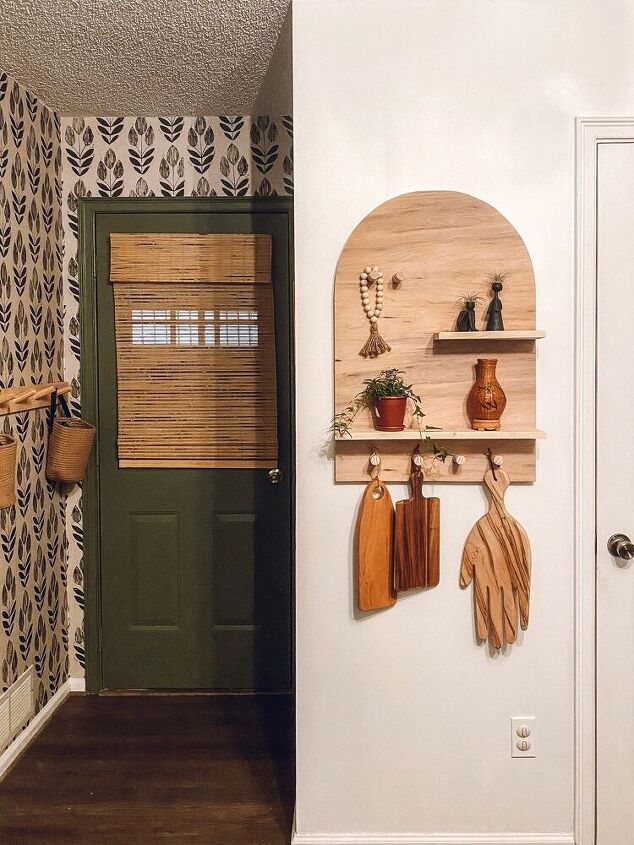
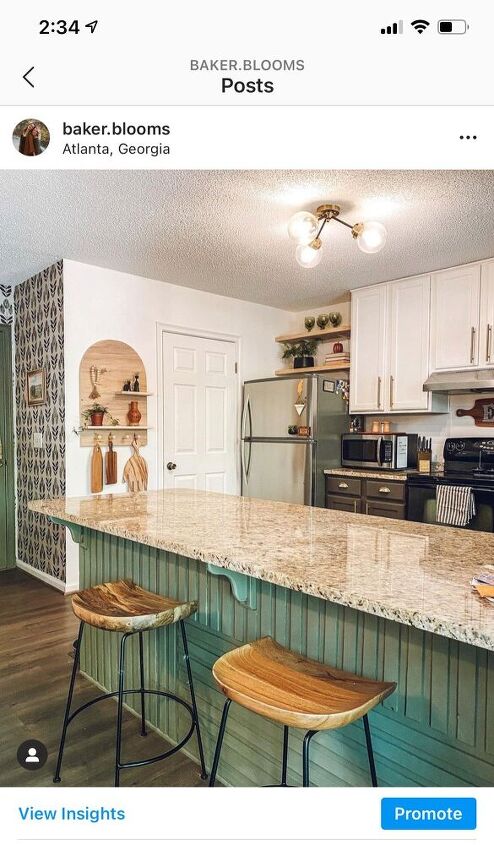
How to make a gorgeous custom arch shelf with minimal tools. It’s perfect for an entry way drop zone, a bathroom towel holder, a hat shelf, or even a plant shelf. I have mine in the kitchen to hold charcuterie boards and some knick knacks. Follow me on Instagram for the full videos.
www.Instagram.com/baker.blooms
*The price for this was calculated based on how much of the materials I actually used. You won’t use the full piece of plywood so you’ll have a good bit left over for more projects.*
Let’s make this shelf!
Tools needed:
jigsaw or router
sand paper
iron
Drill
pencil
sting
push pin
nail gun or hammer and nails
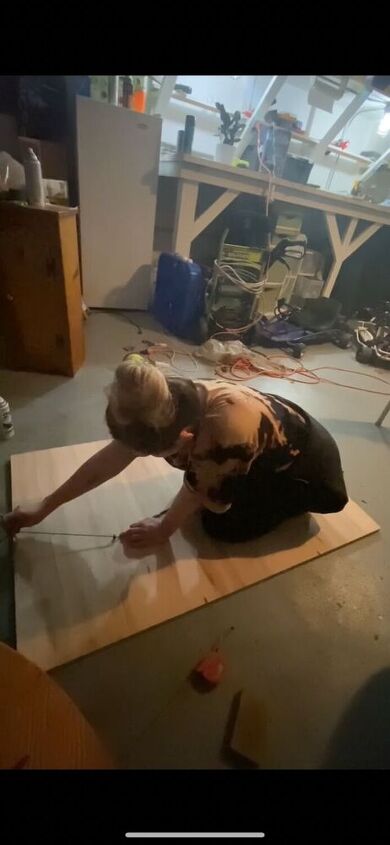
Measurements for this shelf are
34” tall
22 inches wide
Draw 2 straight likes spaced 22” apart and 23” long.
Find the center of your shelf. It will be 11” in. Place your push pin in the top center between your 2 straight lines.
measure a piece of string to 11” and attach to pencil and push pin. Pull string taut and connect your lines making an arch.
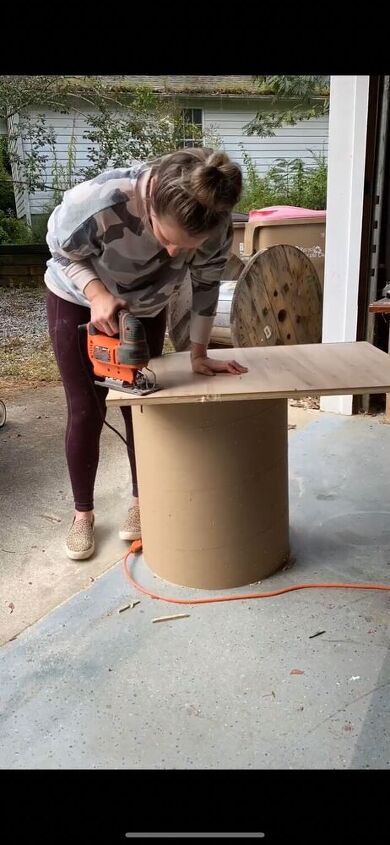
Using a jigsaw or router, cut your shelf.
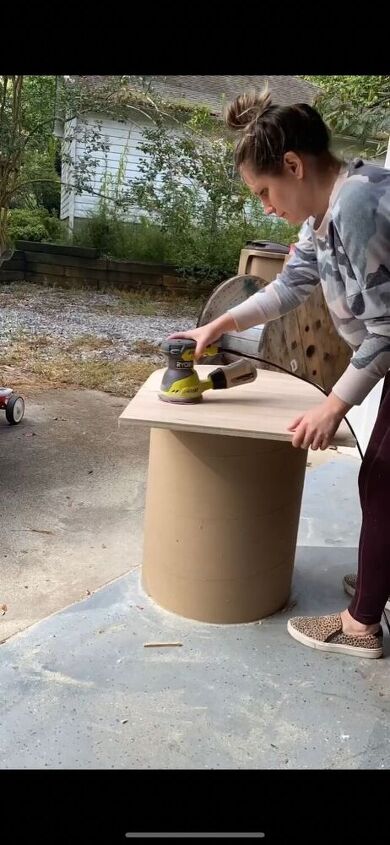
Lightly sand to remove any jagged edges.
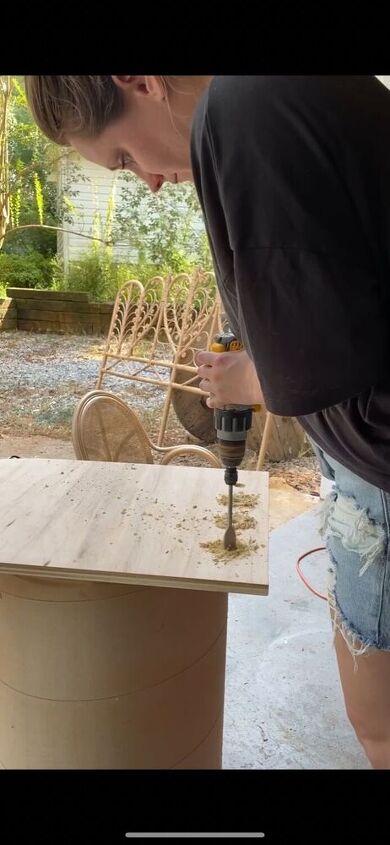
Using a 1” spade bit, drill holes about 1/2 in into the plywood.
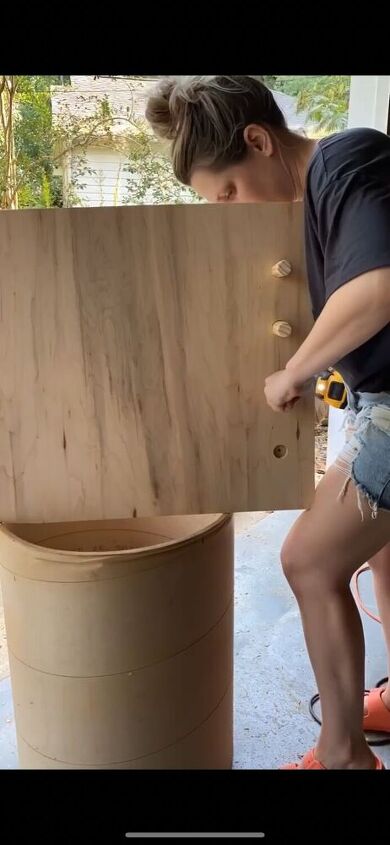
Cut your dowel rod into six 4” pegs. Sand the ends smooth. Attach pegs using wood glue and 1.5” screws 4 of the pegs will be along the bottom and 2 will go up top as pictured.

Cut your 1x3 into 2 shelves and sand. The longest will be 22” and your small one will be 11”.
Attach using wood glue and a nail gun or hammer and nails. (My phone died and I wasn’t able to film this part, sorry!)
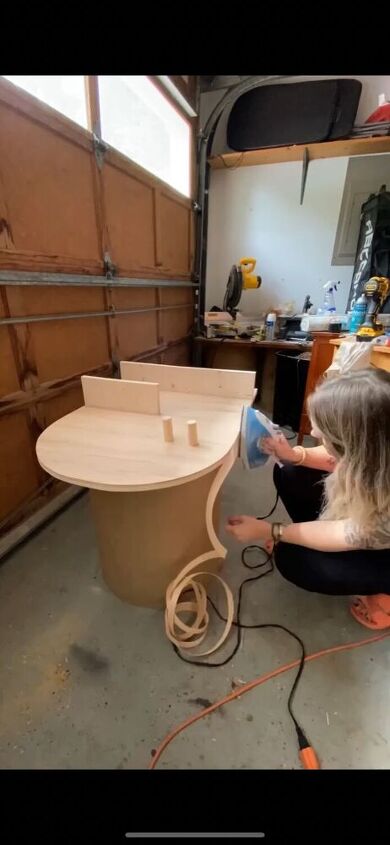
Use iron on edge banding to finish the edges. Once in place, trim excess with a blade.
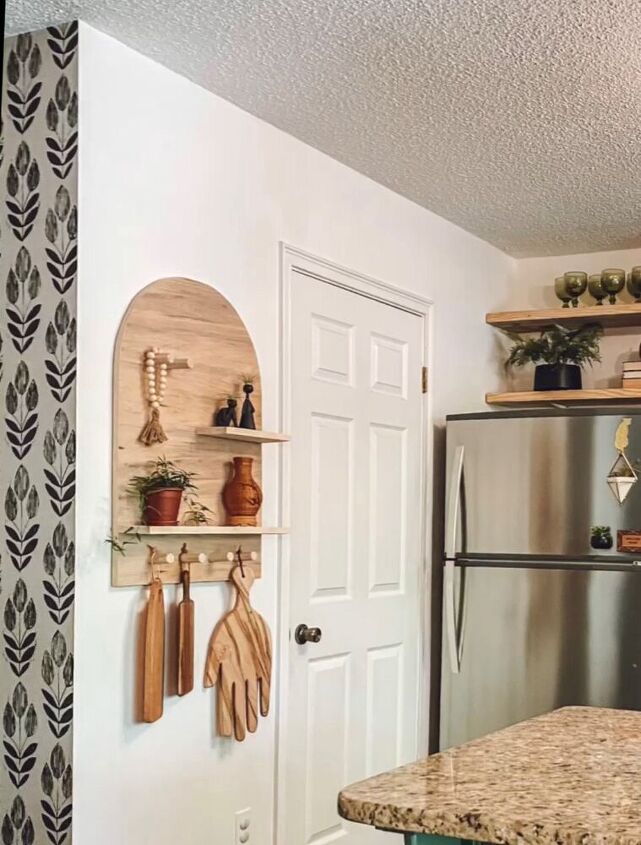
I left mine natural but you could finish with stain, paint or polyurethane.
I used 4 d rings and hung on screws. This will be a relatively heavy piece so make sure to find a stud or use anchors. That’s it! Enjoy your new modern arch shelf.
Resources for this project:
See all materials


Comments
Join the conversation
-
No question
I just what to say I like that project.
Thank you for sharing

-
Love the shelf and love your kitchen island. Great color.


Frequently asked questions
Have a question about this project?
How can you open the door with the fridge handle in the way?
If the door is to a pantry why not remove the door and put a curtain up, or a corrugated sliding door. If it is the door to the outside how about a sliding barn door?
Did you make the 3 boards hanging from the bottom pegs? They are so cute. I just wondered if you made them, what the dimensions were or what you used as a pattern. It's a great decorative shelf. Thank you.