


How to Make an Easy Wooden Clip Frame
I always struggle to come up with the perfect gift, whether it’s for family, friends, or in this case, teachers. I like to give thoughtful gifts and it’s always a bonus if I can make it. I was super excited when I came up with the idea to make these wooden clip picture frames for Valentine’s Day teacher gifts!

Step 1: Sand the Piece of Wood
I used a piece of 2″ thick wood that had been ripped down to 5-1/4″ wide. Before I made any cuts, I sanded down all surfaces of the full piece of wood using 220 grit.
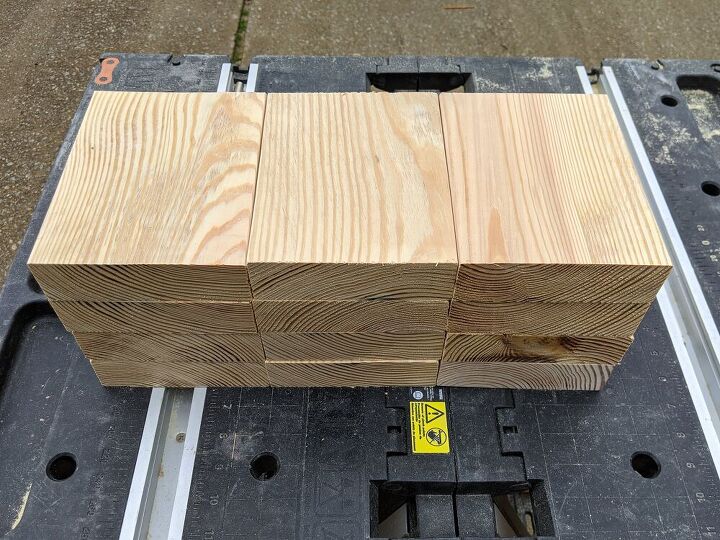
Step 2: Cut the Wood into Small Blocks
Using my miter saw, I cut the 8′ long piece of wood into 7″ long pieces. I ended up with 13 pieces total. Once they were all cut, I sanded the cut edges. I got rid of the rough edges and rounded the corners.
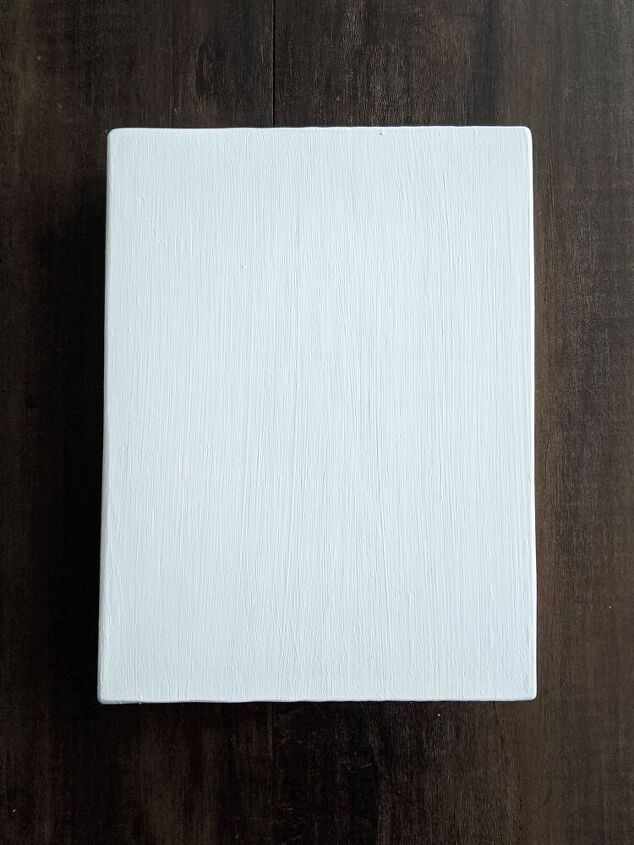
Step 3: Paint or Stain the Blocks of Wood
The beauty of these wooden frames is that they can be finished any way that you like. You can paint them any color, stain them or leave them as raw wood. I decided to paint them all white. I did two coats of white paint on all sides of the wood blocks.
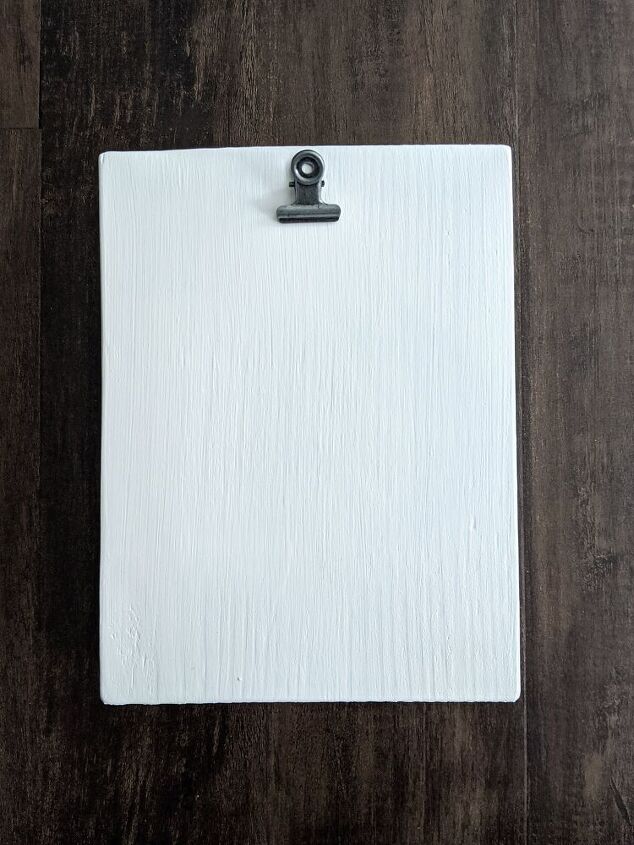
Step 4: Add the Clips
I purchased a pack of miniature clips on Amazon. I secured the clips to the blocks of wood using Gorilla glue. I put glue around the circle of the clip as well as the straight part of the clip that would be touching the wood. I centered them horizontally on the block and just below the top edge of the block.
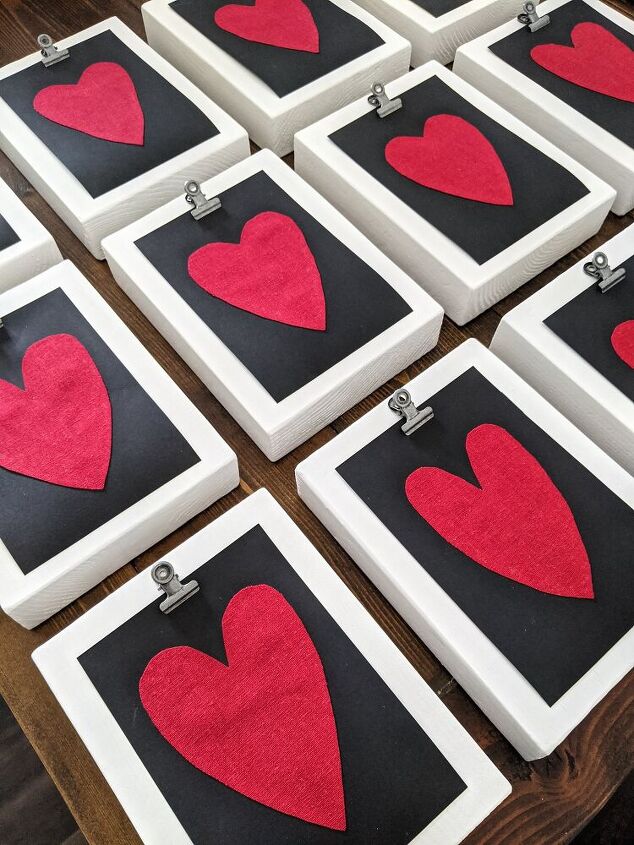
Step 5: Add a Picture
I made little heart cards since I used these as Valentine's Day teacher gifts. You can make different cards to match the season, or simply add a photograph. Either way, it makes a great gift for anyone!


Frequently asked questions
Have a question about this project?