


Painted Herringbone Design
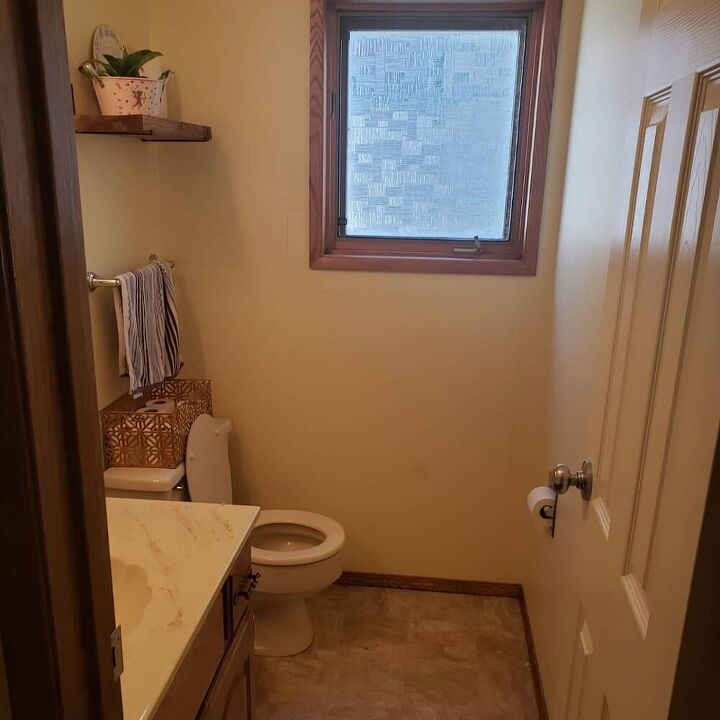
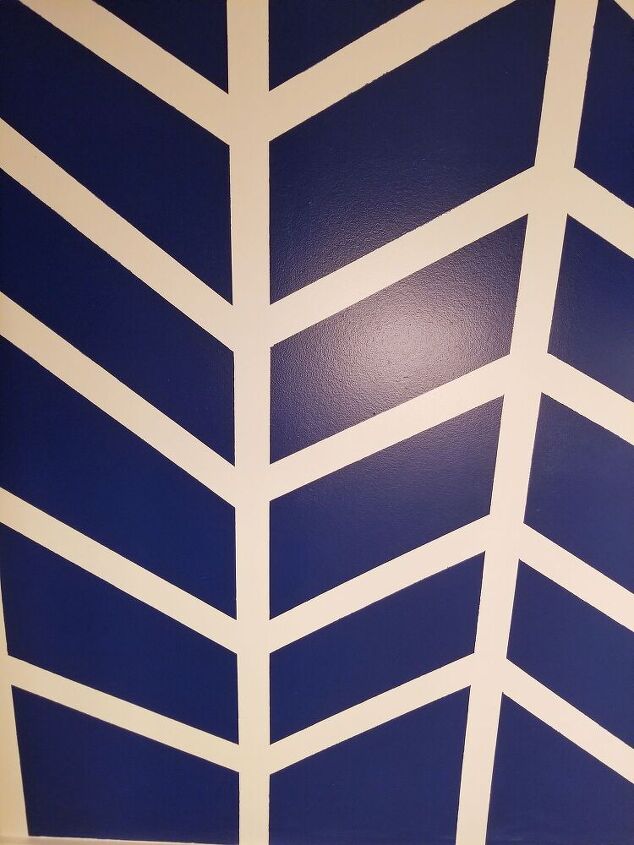
When designing the bathroom I wanted to have a featured wall with a herringbone design coupled with a paneling design at the bottom. Knowing the amount of light this powder room gets during the day, figured with a darker color tied in with a bright color the herringbone would really pop
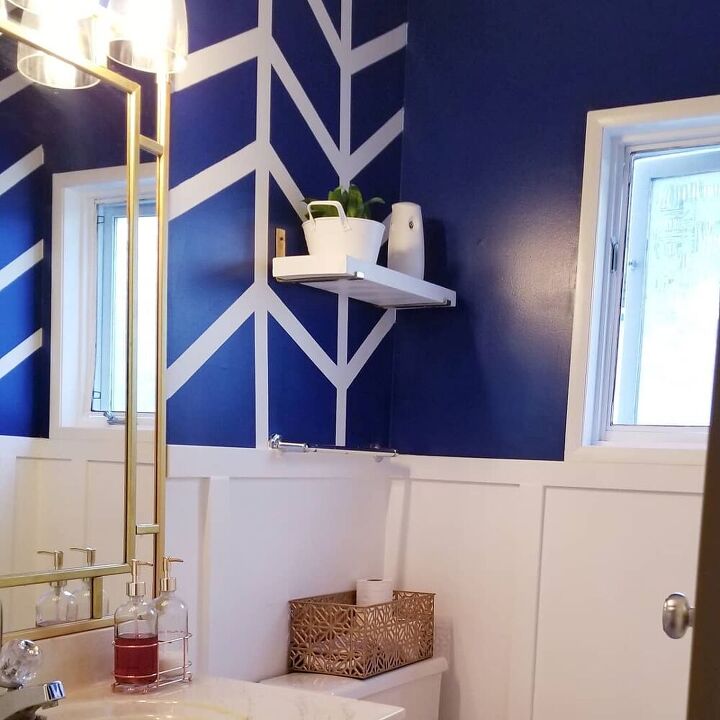
Here is how to achieve this look;
Material
- Behr Polar Bear white paint and inked navy blue paint
- Painters tape 1.88 inches (height)
- Paint brush
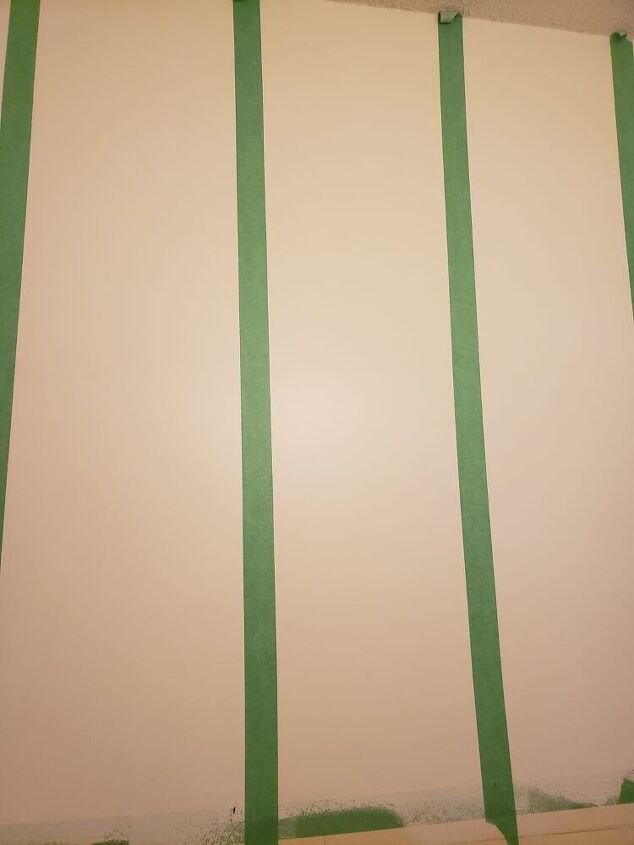
Painting and marking herringbone design
I started by painting the whole bathroom with Behr polar bear white, followed by marking where the panels would start from, once that was established I used painters tape as a division. To determine the space of the herringbone design , measure between 13-15 inches and place painters tape vertically from the ceiling to where the paneling would start from. With each vertical line meeting half way of the paneling
Placing Horizontal Lines
Next, I played around with the horizontal lines that runs across and mine are measuring between 9 – 11 inchs. Doing a harringbone style tape the first line making sure that it is straight , it is important to set up the first line properly so its easier for you when you do the next row.
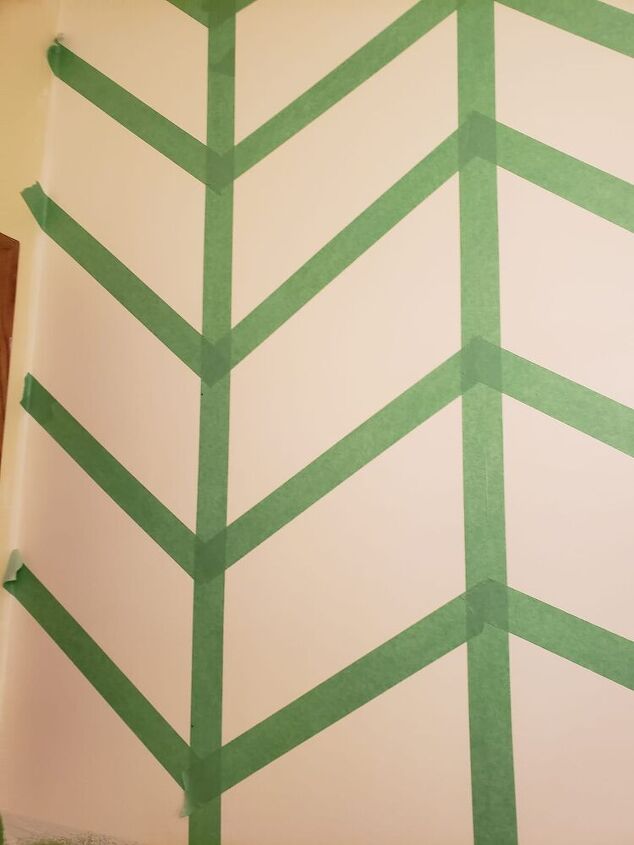
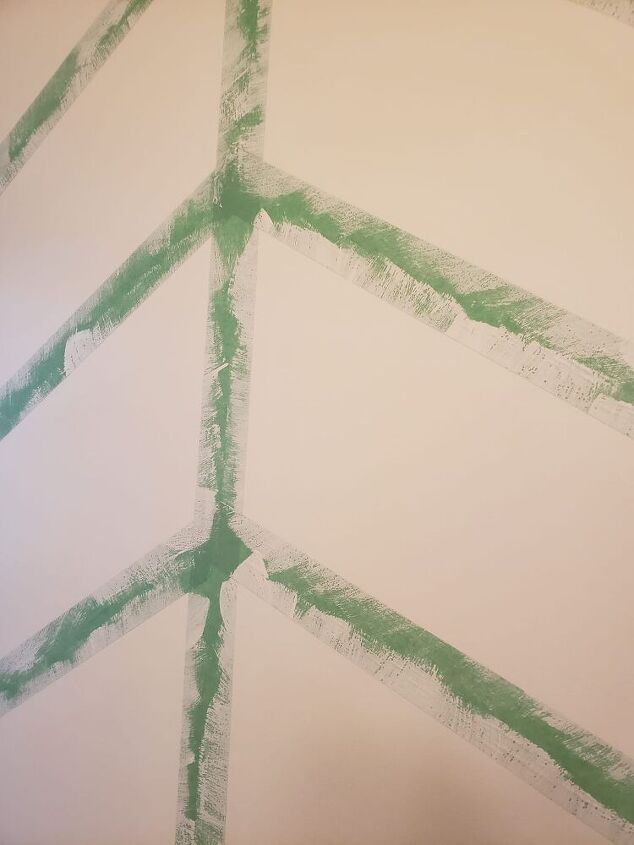
Seal the Edges
After all the horizontal lines were tailored I sealed the edges of the tape with the same paint behr polar bear to make sure the other paint won’t bleed into it
More painting :)
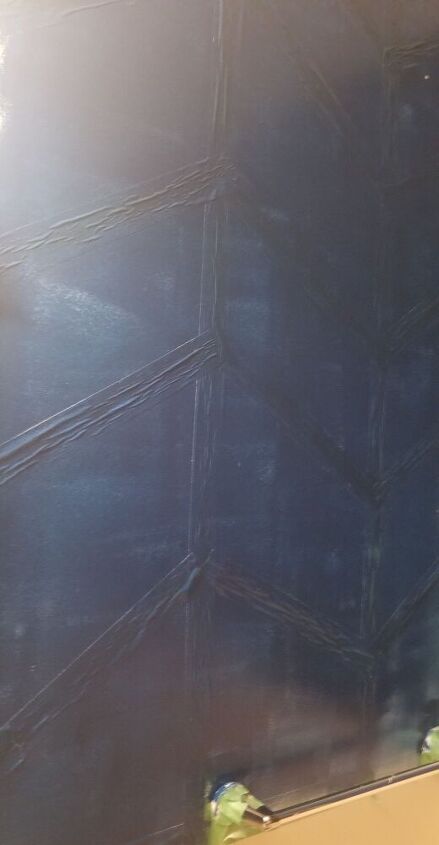
Making sure that everything was dry, I followed up with the behr navy blue ink paint and painted two (2) coats
Peal off the painter's tape
Before the 2nd coat of behr ink navy blue is completely dry pill off the tape slowly. Go back and clean up any smudges.
Here is the before and After video
You can learn more about the modernized mirror here
Resources for this project:


Comments
Join the conversation
-
Amazing job! From blah to wow! The room looks elegant
-
Thank you


Frequently asked questions
Have a question about this project?
Like it!
But why is it no one, I mean no one puts the toilet seat down in their pics? 🤢