


Laptop Riser

Does your home office need a little TLC? Mine did.
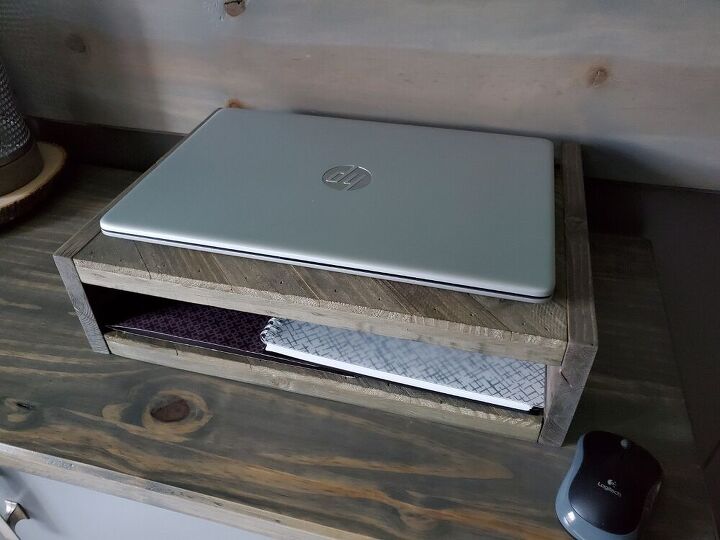
I decided to make a cute laptop riser with a storage spot underneath for papers and folders.
I wanted it to be unique, so I found a couple of things from Walmart and used some leftover scrap wood to complete the look. I hope you'll check out this project and give it a try!
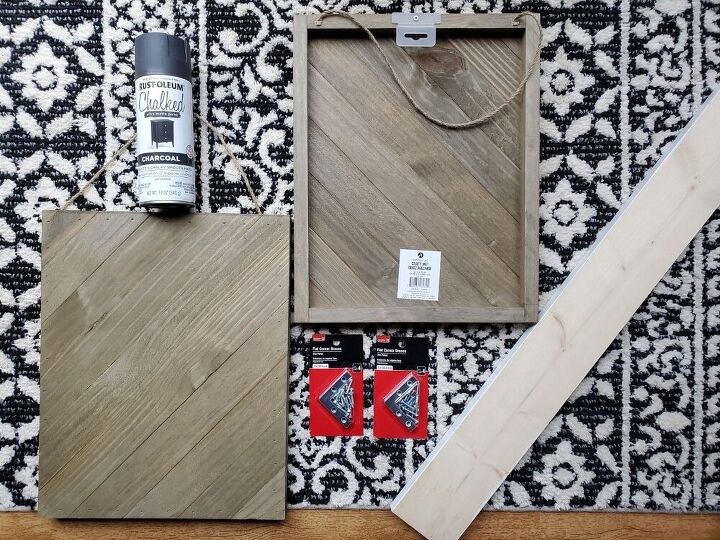
- 2 - 12" x15" diagonal rustic craft pallet
- 1"x5" Pine board
- Pneumatic nail gun
- 1.5 inch pneumatic nails
- Stain (I used Espresso and Classic Gray to match my pallet wood)
- 180 grit sandpaper paper
- Miter saw
Please Note: The spray paint and flat corner braces in this photo ended up not fitting my riser, so I left them off. I love the look and added character it brings to the front corners of the piece. I may look for some smaller ones to add one day.
I am using the purchased diagonal pallets as the riser top and bottom shelves.
For the sides of my project I used leftover 1"x5" pine board.
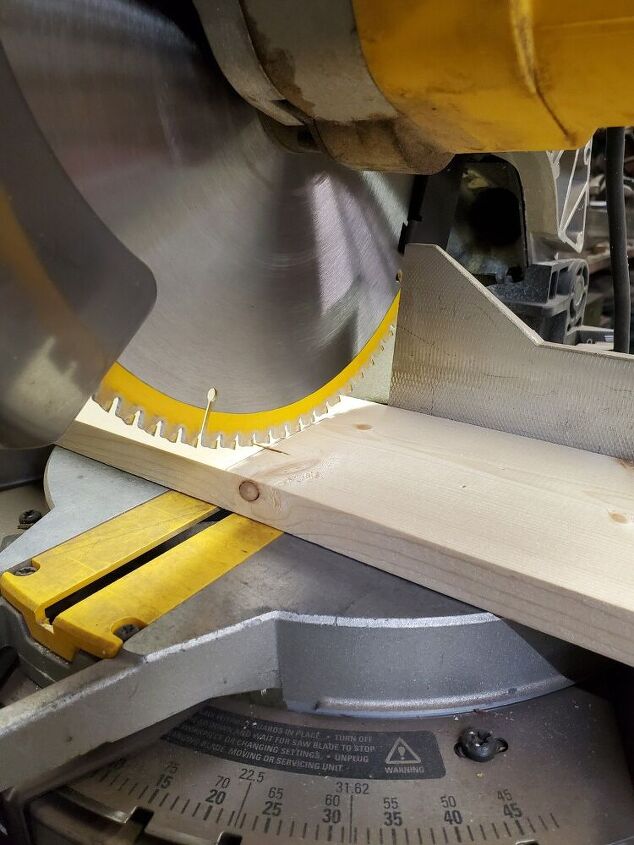
My purchased pallets are 12" x 15". I need the depth of my riser to be the 12 inches and the 15 inches as the width, so my laptop fits nicely on top.
With a measuring tape, I measured 12 inches and made my first cut using the miter saw.
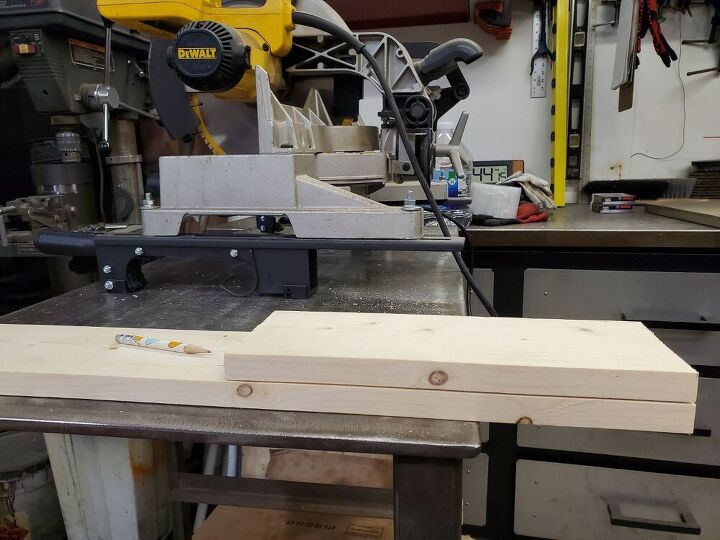
After cutting and making sure the first piece fit my pallet boards I laid the cut piece on top of the full board and made sure the piece was flush and made my next cut line.
After both pieces are cut, I made sure they both fit the sides of my pallet piece.
I sanded each piece of the cut wood, by hand, with 180 grit sandpaper. I removed the sawdust with a paper towel.
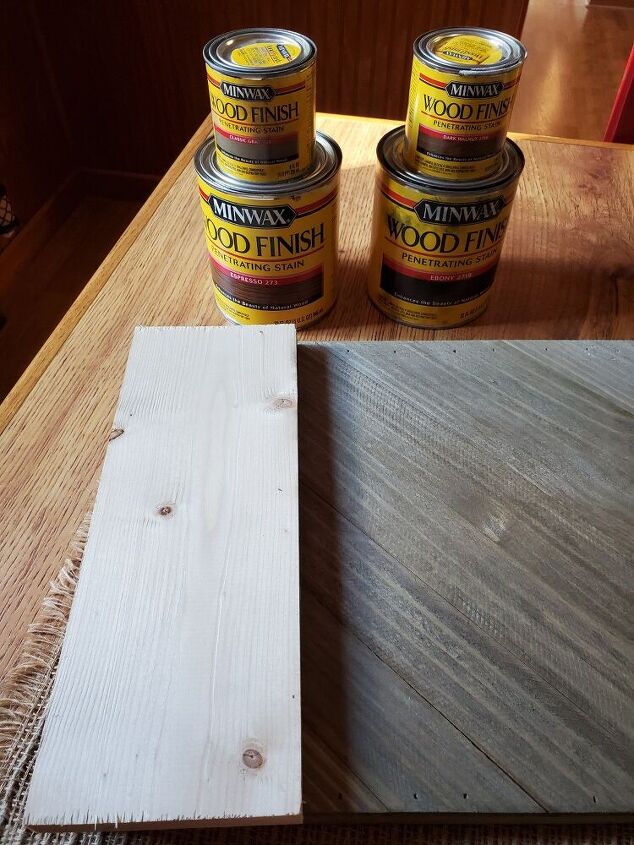
Now it was time to try and match the color of the rustic pallet wood. It looks weathered so I knew I wanted to add gray on top of any base stain I used.
I got lucky and tried the Espresso color first. Put it on and wiped it off immediately. I let it dry for about 10 minutes before I did multiple layers of the gray stain. I put that on top of the espresso color and did not wipe it off. I let it sit for 5 minutes and then added another coat of gray. Luckily it matched very closely on my first stain combo. Take your time and get the color you want.
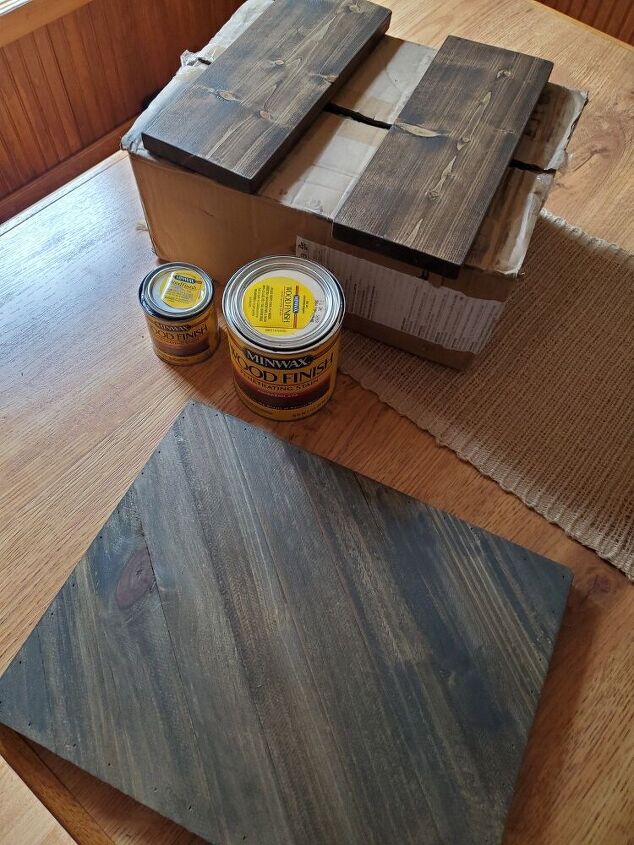
I let the stained wood pieces dry overnight. You don't have to wait that long. The project can be assembled as soon as the stain dries.
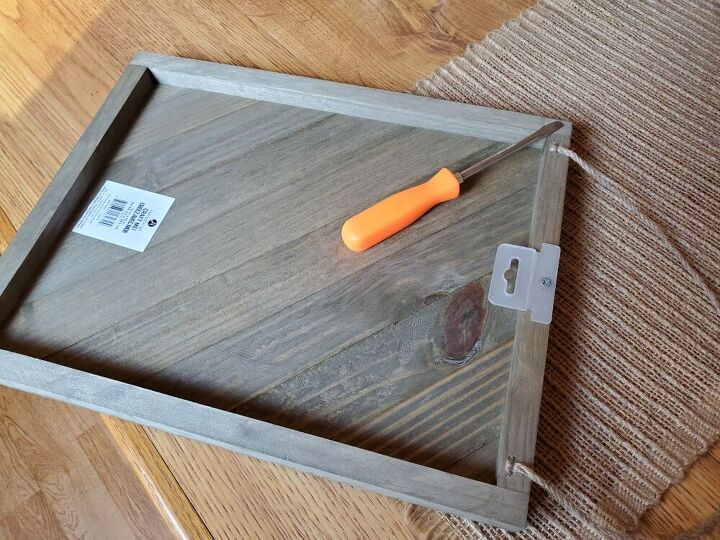
While waiting for the stain to dry I preped the purchased pallet wood pieces. Removing the twine for hanging, sticker and hanger.
After the stain is dry it's time to assemble the laptop riser.
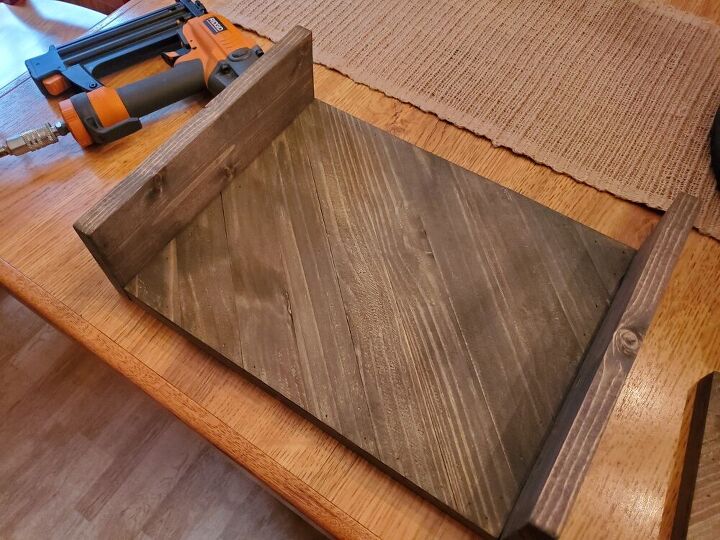
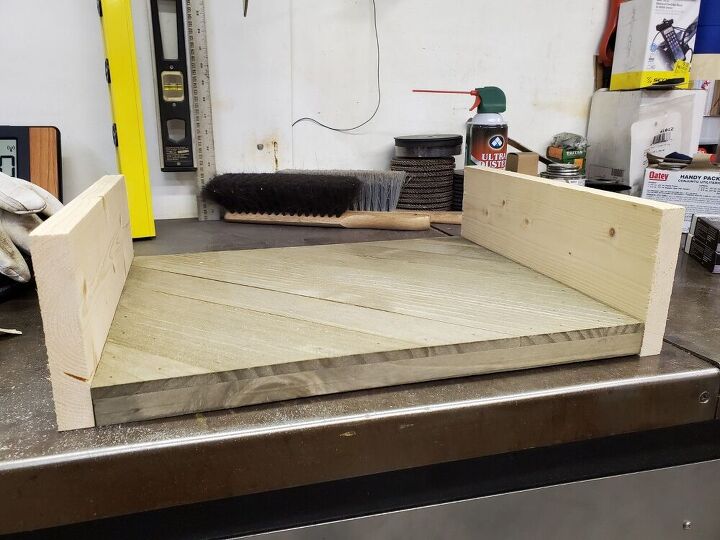
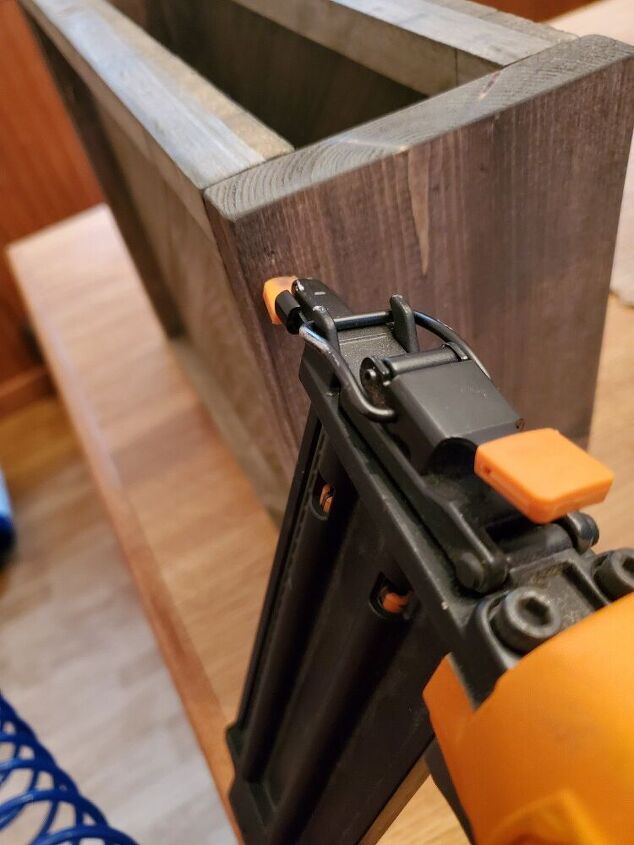
Using the pneumatic nailer, I attached the sides to the pallet board.
As you can see in the photo, this creates the bottom shelf for papers & folders.
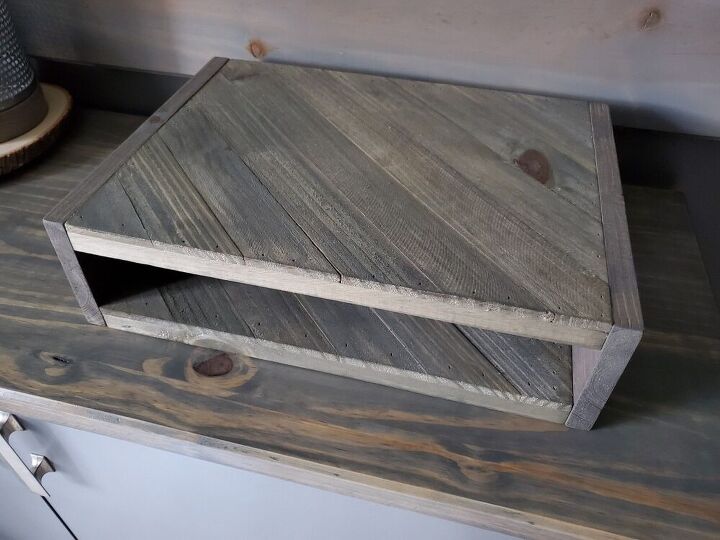
The last step is to add the top of the riser. The fit will be snug. Once you get your pallet wood between the sides, nail one side at a time. Make sure your top is level with the top of the side boards. Finish one side and then nail the second side.
Your laptop riser is now complete and ready for work.
Note- This is where you would add the corner braces. If you do this step, I recommend pre-drilling for the screws. This reduces the risk of your wood splitting.
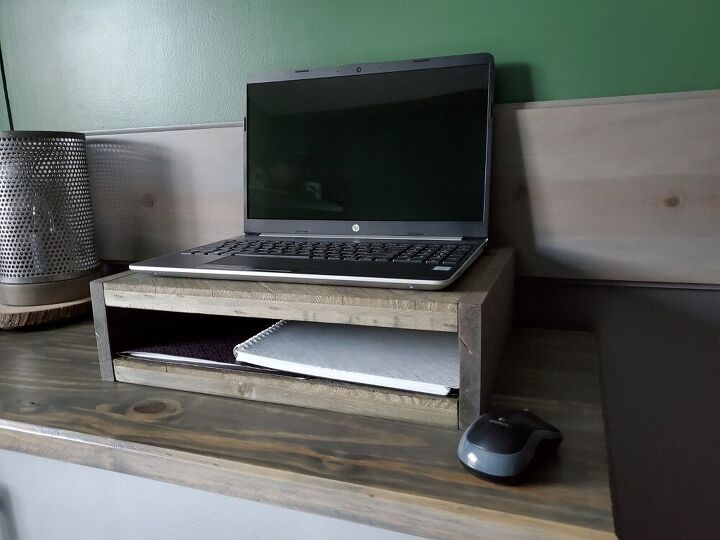
I love it!
This laptop riser matches my office perfectly and is very functional.
Resources for this project:
See all materials


Comments
Join the conversation
-
Love it. Looks amazing. Great share


Frequently asked questions
Have a question about this project?