


How To Stencil A Faux Backsplash: Tips, Tricks, & What Not To Do
6 Materials
$30
1 Hour
Easy
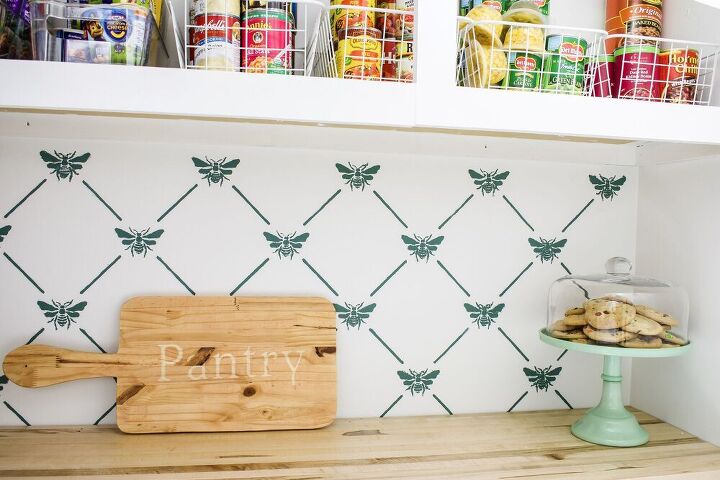
ADD A FAUX BACKSPLASH TO YOUR KITCHEN OR PANTRY EASILY WITH MY FAVORITE TIPS & TRICKSDo y’all know what’s better than a beautiful stencil backsplash? A beautiful stencil backsplash that you got right the first time Luckily after this tutorial you will be able to learn from my mistakes!I partnered with Stencil Revolution to create a gorgeous backsplash for our brand new pantry renovation project!They have the best selection of stencils & lot’s of different sizes to fit your space.
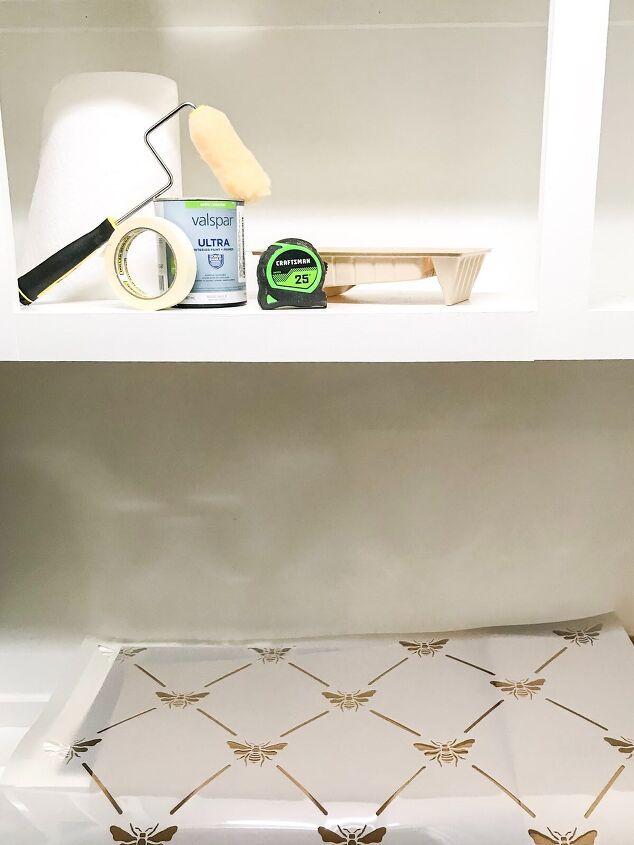
Supplies
- Stencil
- Paint
- Painters Tape
- Adhesive Spray
- Pencil
- Foam Roller
- Paper Towel
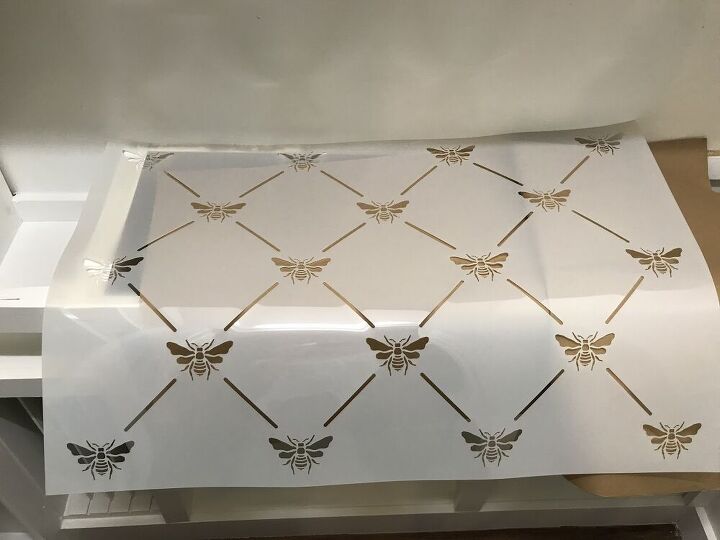
Choosing a stencil
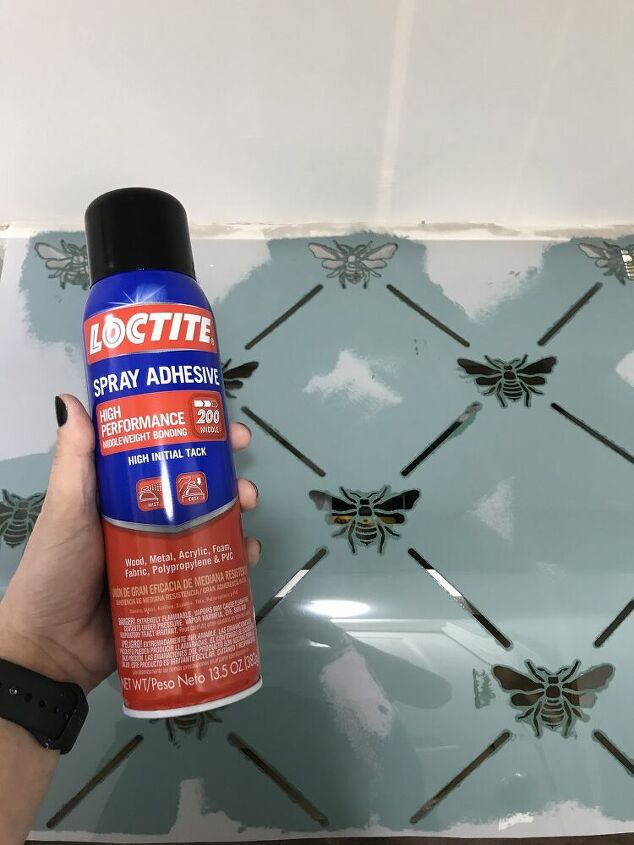
Apply Adhesive
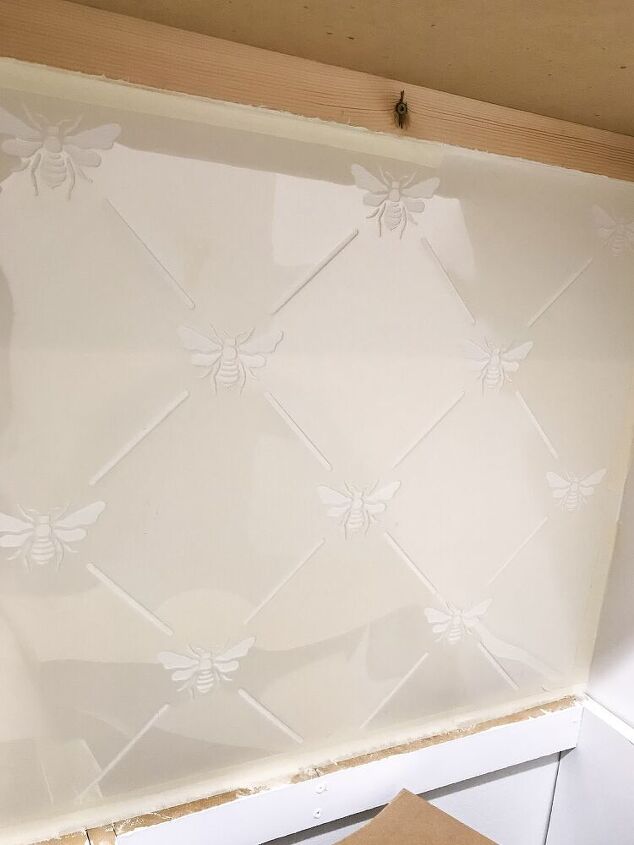
Place & tape the stencil onto the wall
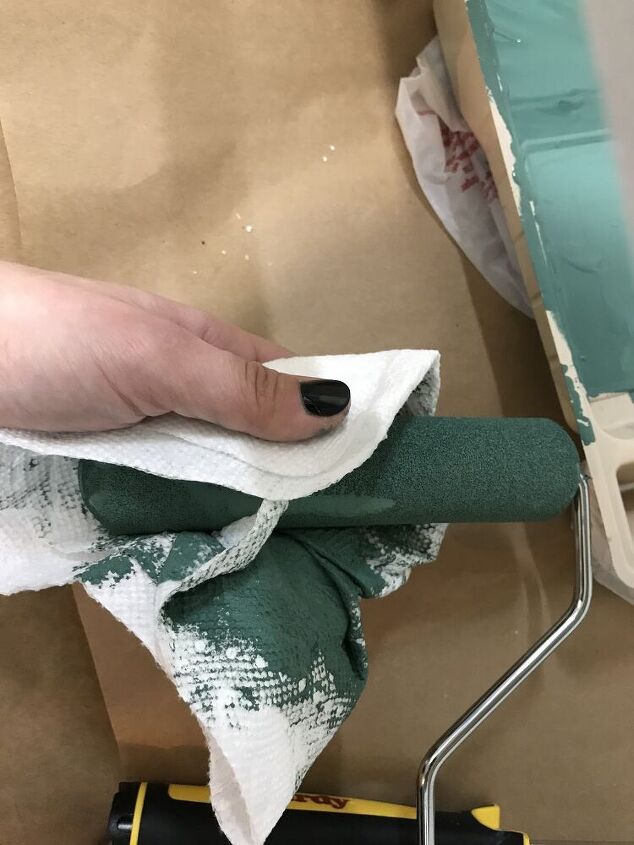
Use a "dry" roller
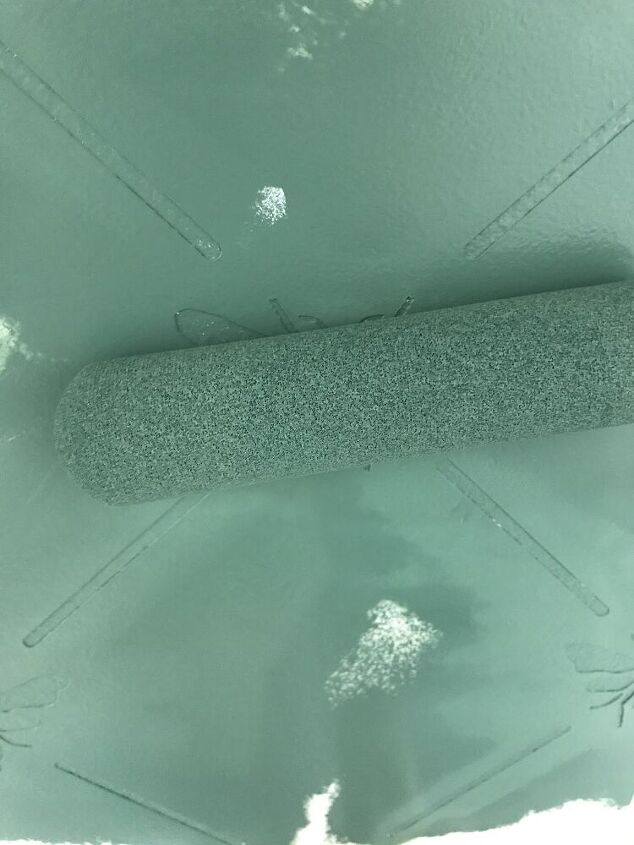
Dab paint onto stencil
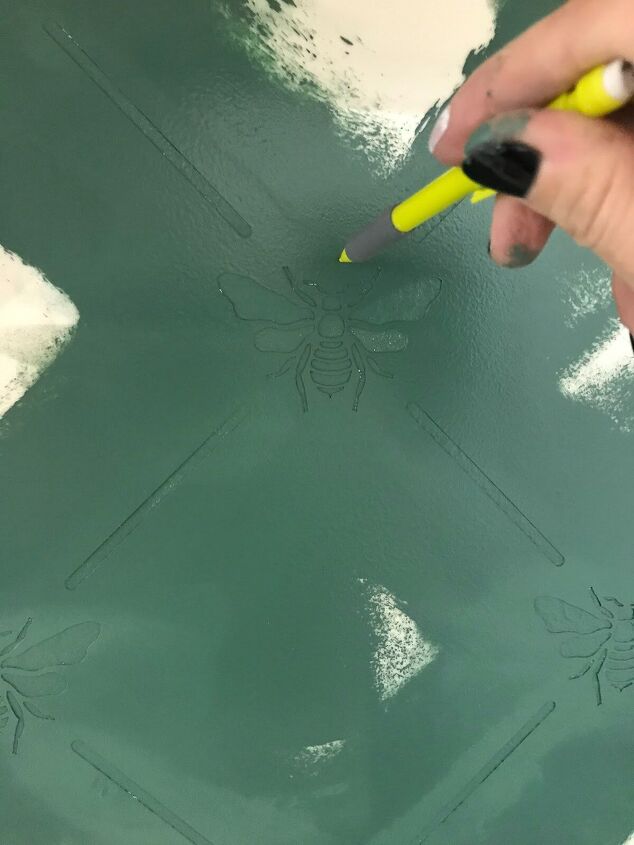
Use a pencil for loose areas
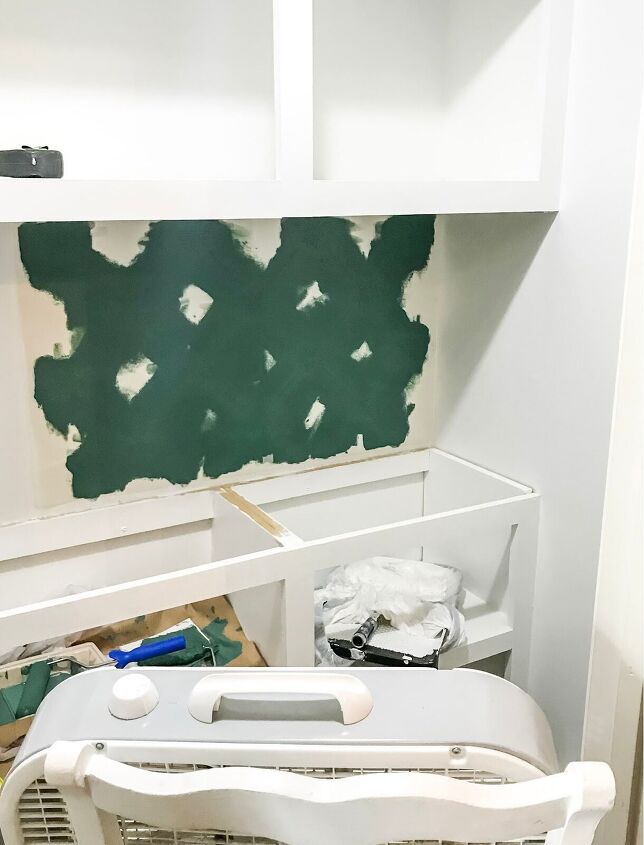
Drying paint
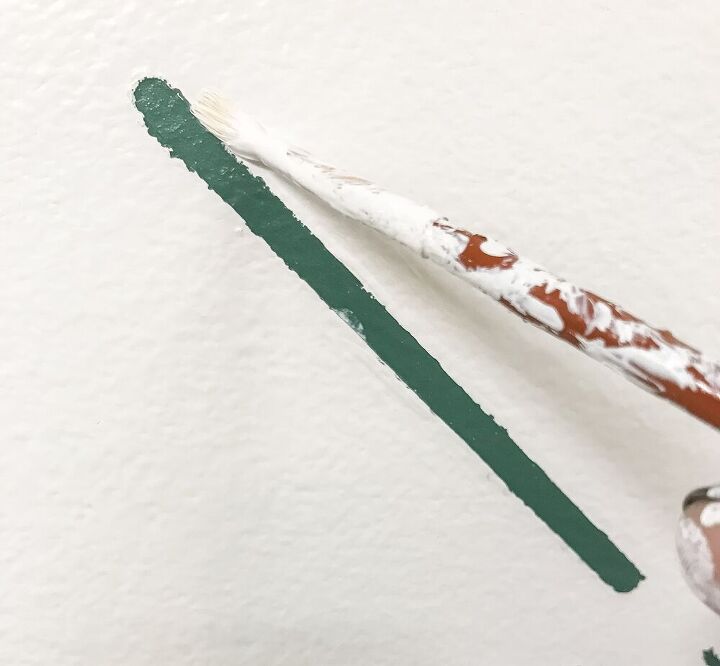
Small touch ups
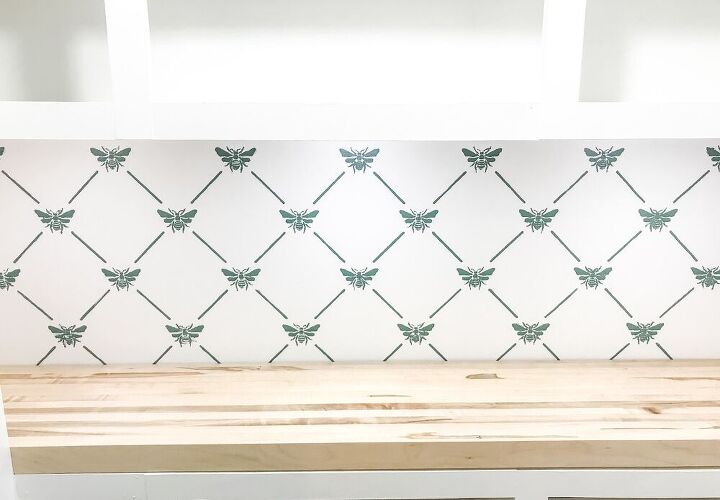
Finished backsplash
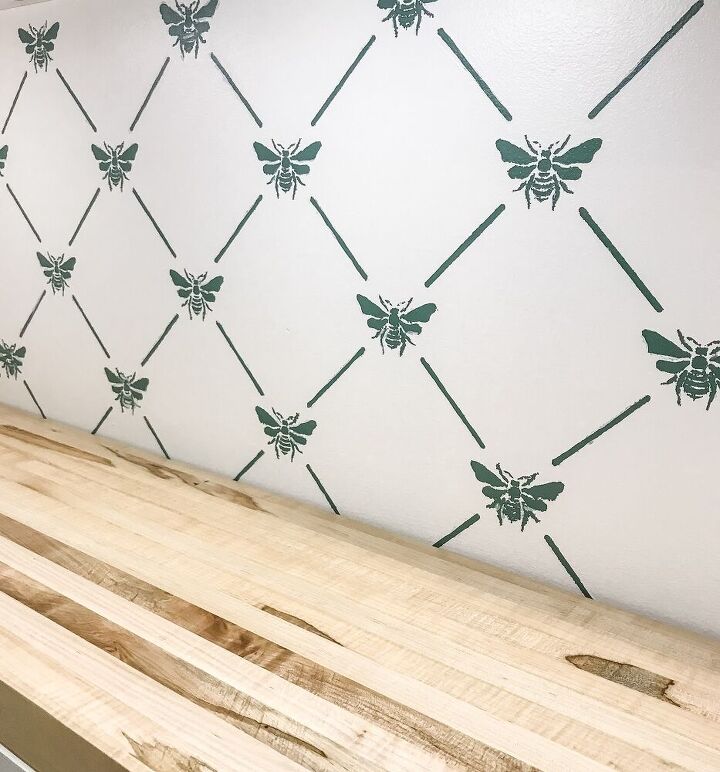
Faux Backsplash
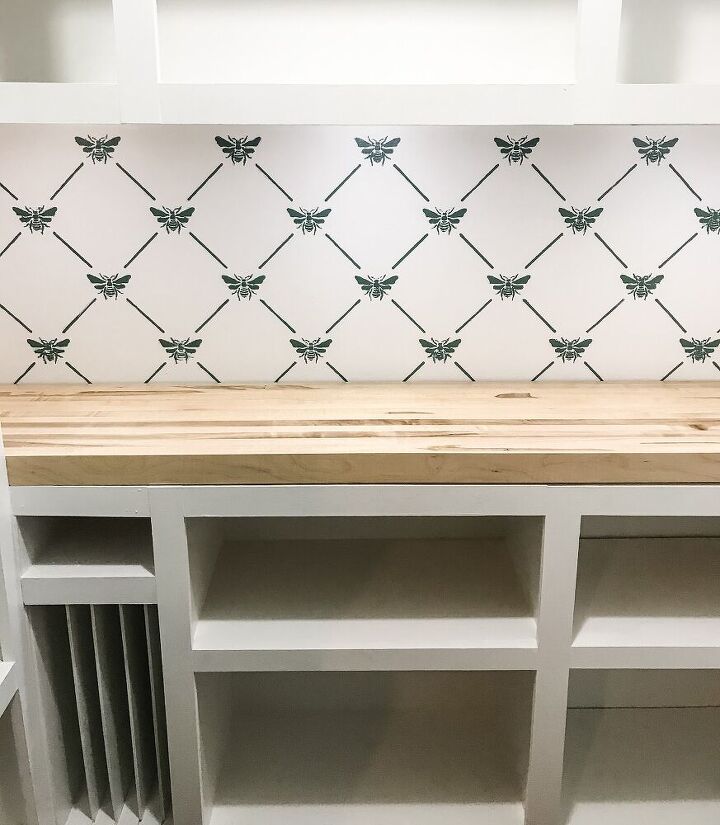
After
Styled Faux Backsplash


Any price and availability information displayed on [relevant Amazon Site(s), as applicable] at the time of purchase will apply to the purchase of this product.
Hometalk may collect a small share of sales from the links on this page.More info

Want more details about this and other DIY projects? Check out my blog post!
Comments
Join the conversation
2 of 7 comments
-
I love it!
-
I like what you did. I didn’t know how to change my backsplash now I know. Thanks


Frequently asked questions
Have a question about this project?