


How to DIY a Gutter Alternative
Looking for a less expensive, less of a hassle, easy to install way to divert some water? Try this gutter alternative!
First off, let me start by saying this is not a gutter substitute. Gutters handle much more water and with their downspouts, carry water nicely away from foundations to avoid damage.
This lil' trick is meant to divert water.
And it was perfect for our garage.
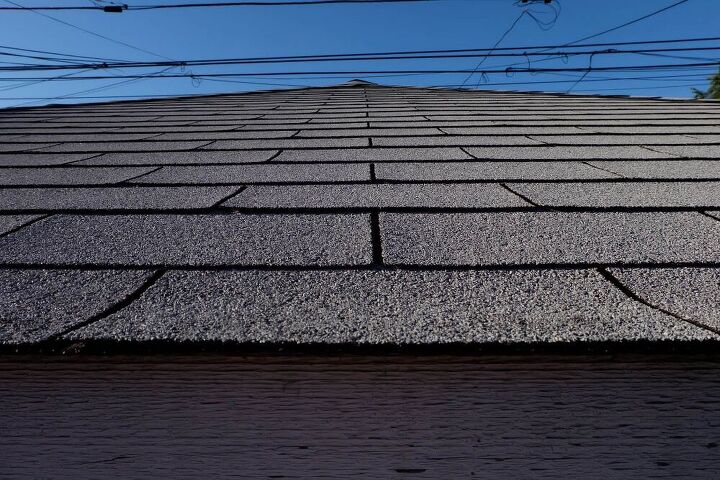
After installing our deck, I knew something needed to happen to keep excess water from dripping away at it. See, I was hoping to avoid the eyesore that gutters typically are and really all I needed was to re-route a smaller amount of rain water.
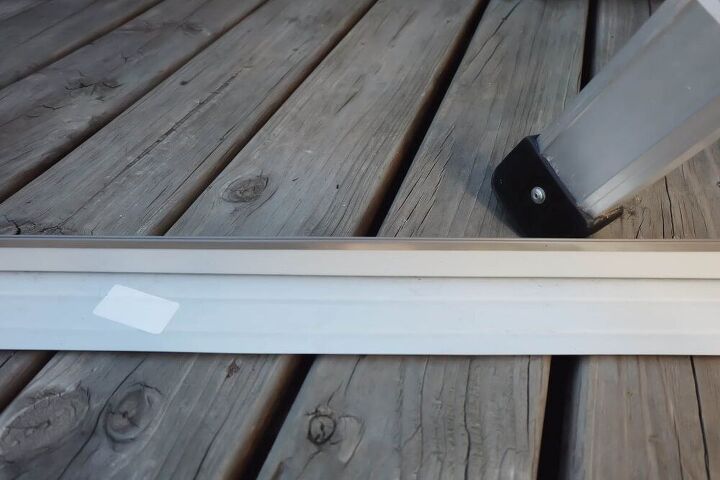
A pretty useless photo, sorry, but what it is is one of the two pieces of "D style roof edging" or drip edge that I purchased at my local home improvement store.
Measure where you're putting yours and purchase the lengths you need. Here I needed two 10 foot long pieces. Cost me eight bucks, yep, only $8. Far less expensive then the pile of gutter parts I returned!
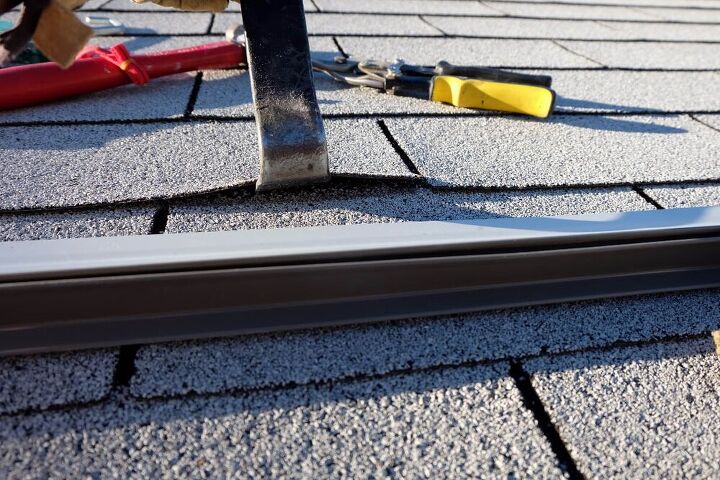
Here's the scary part.
Carefully pry up the shingles at about the third row up or so. Don't go all in whole hog here ripping things apart, you don't want to damage or break the shingles. If they don't want to come up, that's ok, you can proceed as I did.
Be sure to swing by the blog Flipping the Flip for more details on this!
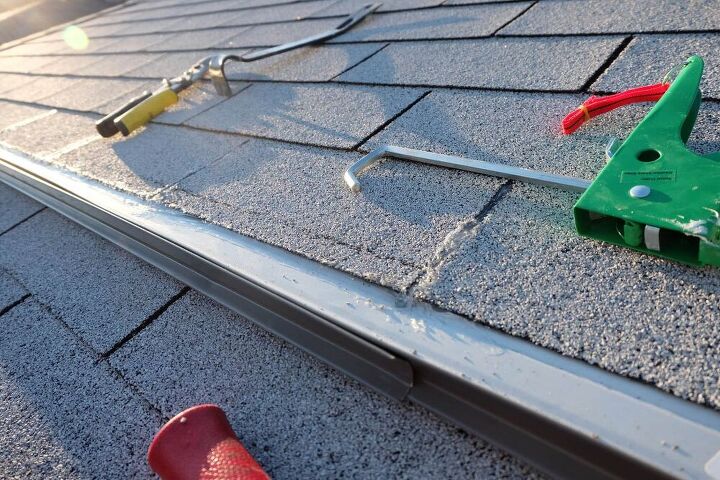
In the middle, you'll want to overlap your two pieces, or if you have multiple pieces, make sure they're overlapping.
Too, you want the middle higher than the ends so you'll be sloping the outside ends down slightly as you go. That's how the rain will keep moving and move away rather than sit or flood over.
Here you can see I caulked the gaps between the shingles that lead into the drip edge, but that's jumping ahead.
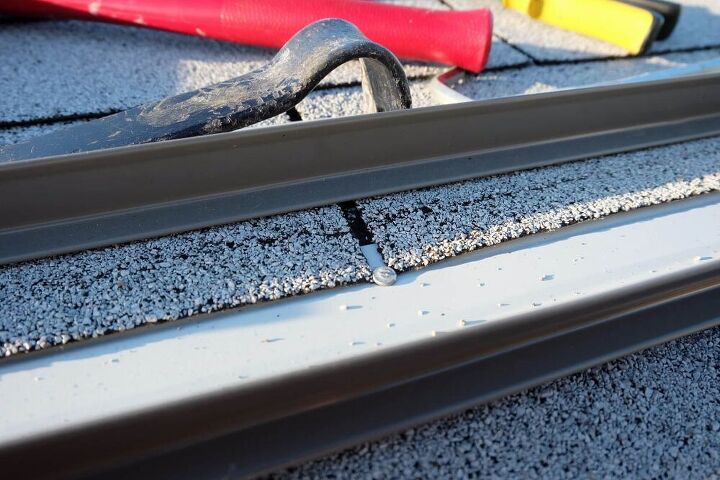
Because I couldn't smush the drip edge far enough under the shingles, I used galvanized roofing nails to tack everything down. Super scary too, I didn't want roof leaks!
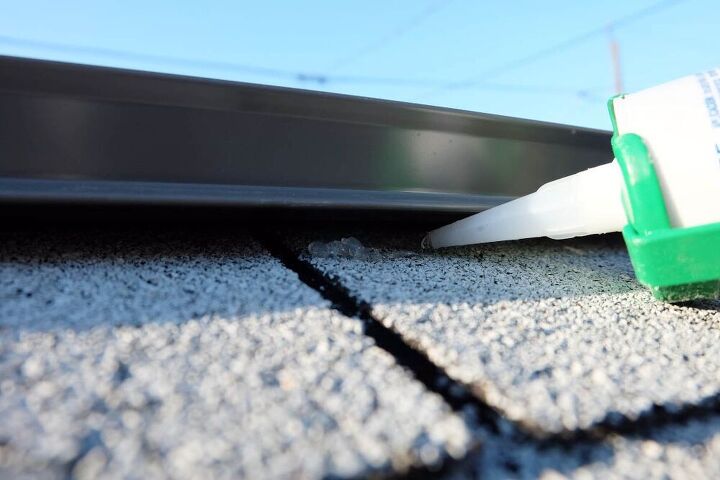
After trimming the ends to fit with tin snips, it was time to caulk.
Caulk everything. Seams, edges, nails, gaps, caulk it all. Use a quality 100% silicone caulk, the solvent clean up type for exteriors. Trust me, it'll last much longer than a water based one.
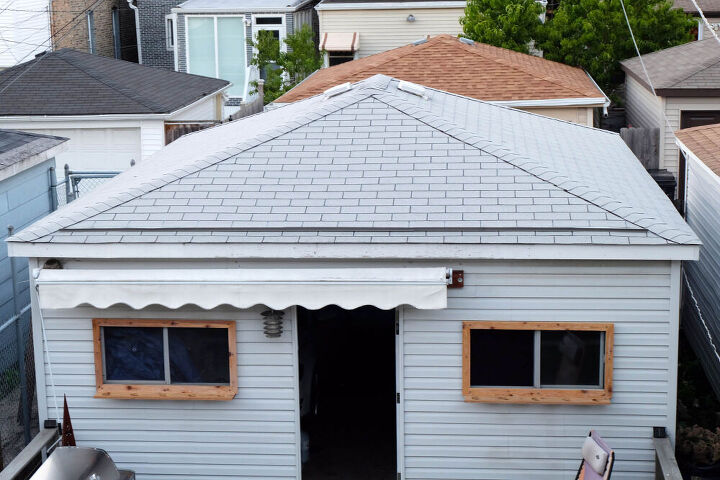
And there you have it! For infinitely less time and hassle, and for only around $25 (the cost of the drip edge and the caulk), rain is now diverted away from our heads as we go in and out of the garage! Keeping excess dripping water off the wood deck will extend its life too! Lots of wins here, folks!
Oh yes, swing by the blog and search for the cedar floating shelf planter window frames!
Resources for this project:
See all materials


Frequently asked questions
Have a question about this project?