


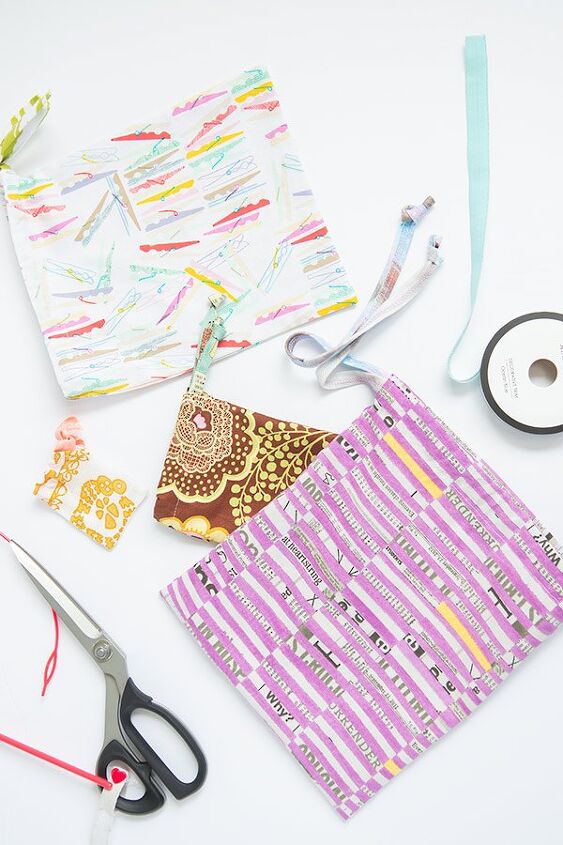
How to Make Easy Gift Bags and Get Your Resuable Gift Wrapping On
I love giving gifts, but seeing the mountain of one-use wrapping paper stack up, not so much. Thankfully it's super easy to make your own fabric gift bags. With a little bit of sewing magic and very little in the way of materials, you'll have a stack of gift bags you can use over and over again.
First off, you need to cut 2 rectangle pieces for every bag you’re making.
Here's some dimensions to give you some ideas, but know that you can make a bag any size you need.
- 2"x3"
- 5"x7"
- 8"x10"
- 9"x11"
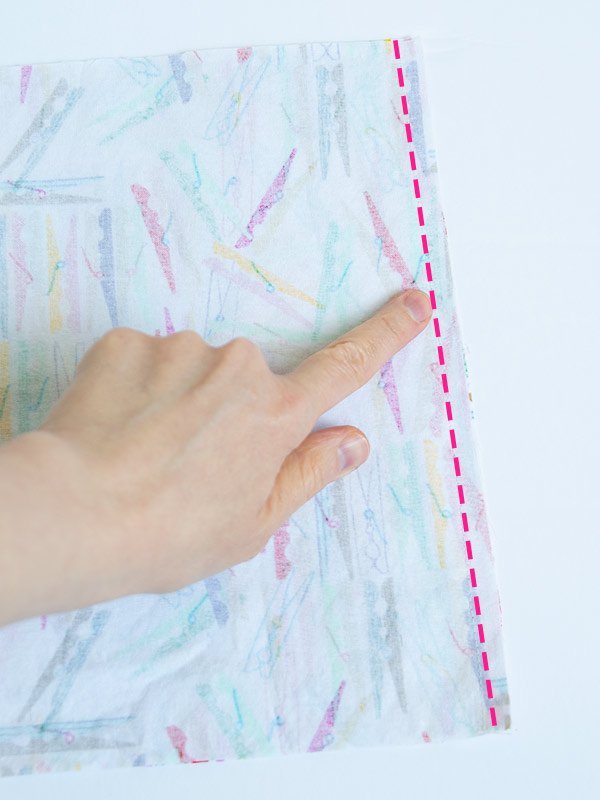
Once you've cut your rectangles, place your fabric right sides together and sew down one side with a 3/8″ seam allowance. Press the seam.
Finish off the seam with a zigzag stitch. Stitch close to the edge, letting the stitch cover over the raw edge.

Next you need to make the casing. The casing is the part of the top of the bag that the drawstring gets threaded through.
First press 1/4″ the top edge of the bag towards the wrong side. After that, fold down 3/4″ more of the top edge. You’ll see a 3/4″ wide band of the fabric on the wrong side now.
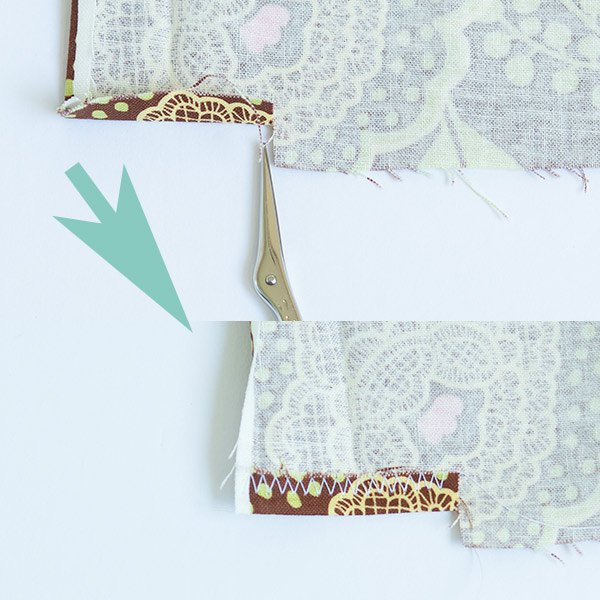
On each side, make a 3/8″ clip right at the bottom of the folded fabric.
Unfold the fabric and press back 3/8″ towards the inside of the casing.
Stitch this little piece of fabric down with a zigzag stitch.
Finish off the casing by folding back the pressed edges as they were. Stitch down the casing close to the pressed edge.

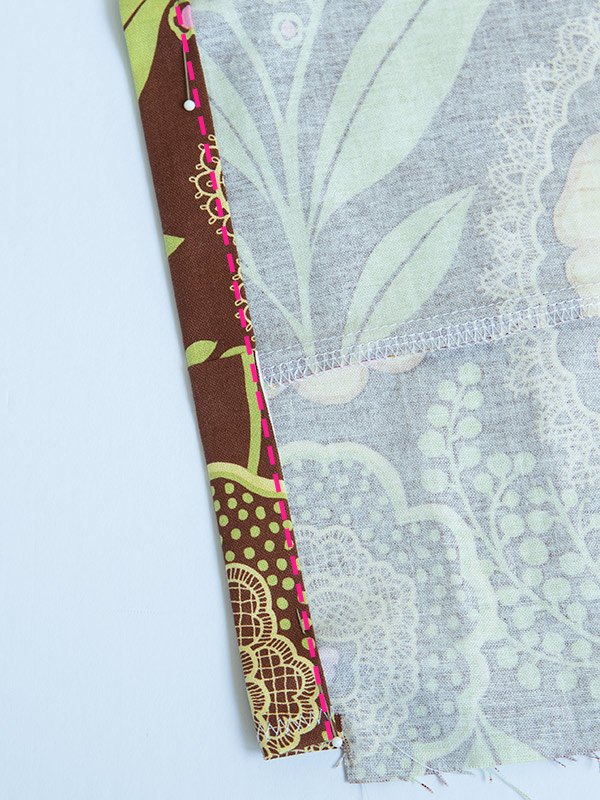
Fold the sides of the bag right sides together. Sew across the bottom of the bag and the sides with a 3/8″ seam allowance. Backstitch at the beginning and end of this seam.
When you get to the bottom of the casing, stitch right into that clipped edge and into the casing by a stitch.
Finish off the seam allowance with a zigzag stitch just like you did earlier.
From here, flip the bag to the right side. Use a chopstick and your fingers to tease out the corners.
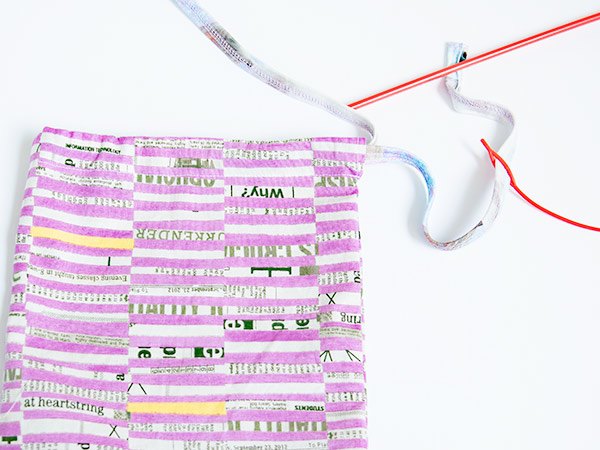
After that, grab the elastic threader. Thread it through the casing.
Thread the eye of the elastic threader. Pull the drawstring back through the casing.
Tie the ends of the drawstring together in a nice secure square knot.
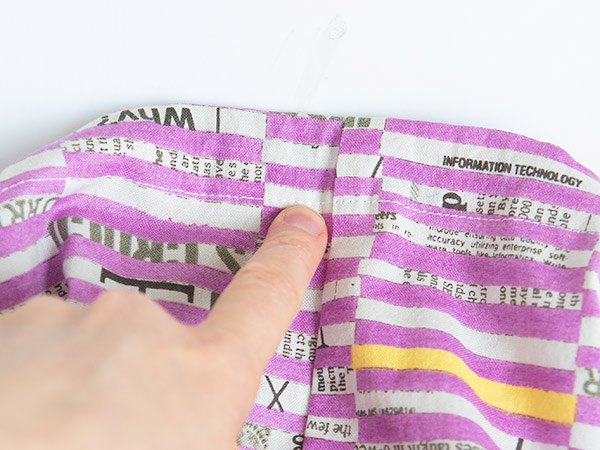
To keep the drawstring from falling out, stitch through the casing along the top side seam. This will anchor the drawstring inside the casing and save your sanity later.

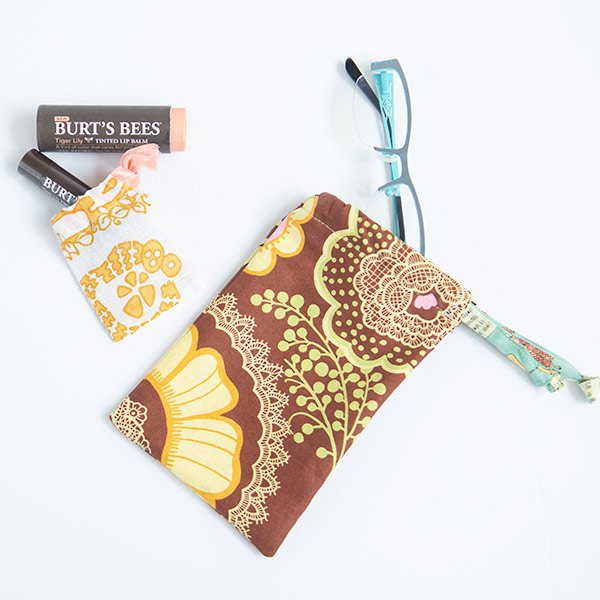
Make a bunch of these little bags, stuff them with your favorite gifts. They're wonderful for gift card holders, lingerie bags, soft glasses cases or about anything you can think of.
Resources for this project:
See all materials


Frequently asked questions
Have a question about this project?
Do you ask for the wrapping back to read-use or hope that the recipient doesn’t throw it away and uses it again?