


How to Finger Knit a Chunky Chenille Bolster Pillow
The long-story short is that I ended up purchasing TWO cases of foam bolster pillows, one week apart. Both times were in the middle of the night when I wasn't thinking straight (it was the middle of the night, after all!). On top of that, they both arrived at the same time so there I was, staring at 20 foam bolster pillow inserts thinking, 'What am I going to do with all of these?'
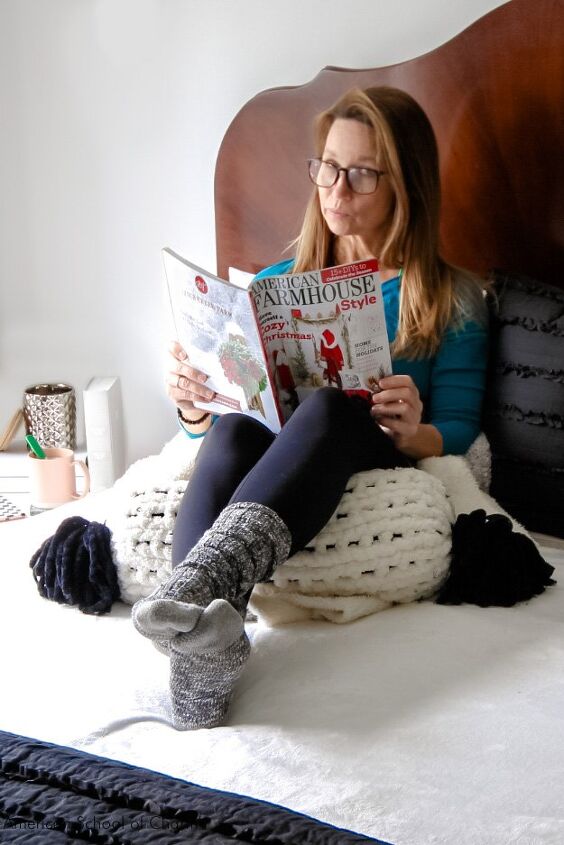
My mind went through a LOT of options before ending up at what has turned out to be one of my favorite snuggly home pieces in our house. That's not completely true as that would infer that there is only ONE. In reality, we have these floating around EVERYWHERE in a variety of colors and materials. What I'm about to share with you is by far my FAVORITE and, if you're in the gift-giving frame of mind, will be a WINNER in the realm of handmade gifts for anyone you know who likes to relax. Isn't that everyone??
FINDING SOME INSPIRATION
On Pinterest, I had seen some finger knitting and I decided that I would learn how to finger knit by making bolster pillow covers using some yummy soft chunky chenille yarn. Now, with many of these pillow projects complete, you get to benefit from what I’ve learned.
This project to learn how to finger knit is a GREAT first knitting project. If you’re like me (in the good ways, not the wacko ways) then you may become curious to learn how to actually knit as well. That will be the subject of more projects and yummy soft scrumptiously textural pillows and throws to come. Until then, I hope this starter project makes you as happy as it does me.For now, let’s learn how to finger knit a bolster pillow!
GATHERING YOUR SUPPLIES & PREPPING YOUR BOLSTER
Fortunately, this project doesn’t take a ton of supplies. This is what you’ll need:
- Chunky Chenille Yarn
- Optional Accent Yarn
- Foam Bolster Pillow Insert
- Sewing Clips
- Long Sewing Pins
- 1-yard cotton fabric
- 2-yards approximately 1/2″ ribbon or twill tape
- Sewing Supplies or
- Yardstick
- Twist Tie
To see the exact supplies that I'm using in this tutorial, visit my post for all the specifics!
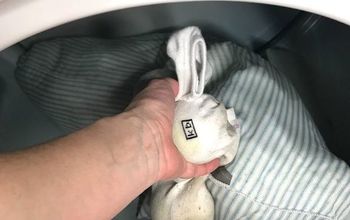
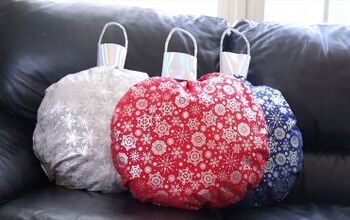
Since this is a post focusing on learning how to finger knit, for the first part of the preparation, I’m going to send you to see the post on how to sew a drawstring bag in my projects. Essentially, you need to cover the foam bolster. You can certainly just wrap it in some fabric OR, by preference, make a drawstring cover.If you don’t want to sew, you can use the Heat N Bond Iron-On Adhesive in place of all seams. Either option will work just fine. As a note, I’ve made this project using a cover with a drawstring at one end as well as a drawstring at both ends. Both variations work equally well so you can use your better judgment. OR, if you’re like me and have about 20 bolster inserts (sigh) then you can decide by trial-and-error, haha. (I’m actually NOT laughing, it’s more of an uncomfortable and shameful stress giggle).
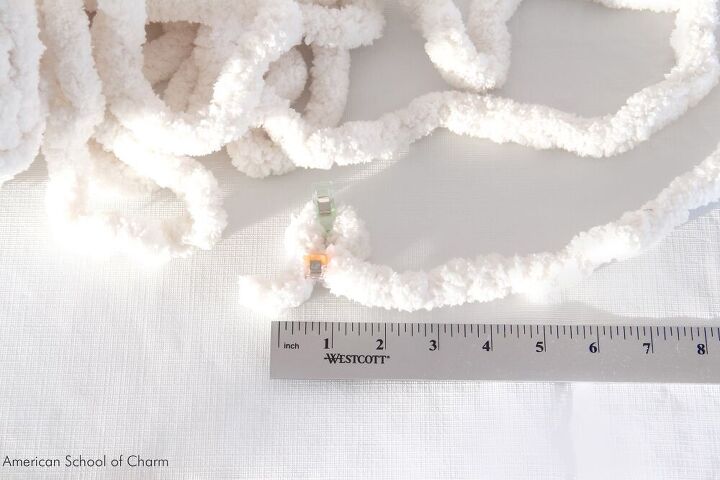
Take out your yardstick, sewing clips, and yarn. Make a loop and clip the top and the bottom where the ends cross.
Repeat this until you have a chain roughly the circumference of your lumbar pillow form. Try to keep the over-under in the same direction for each loop. Pull a length of ribbon through the loops with about 6″ extra ribbon on each end.
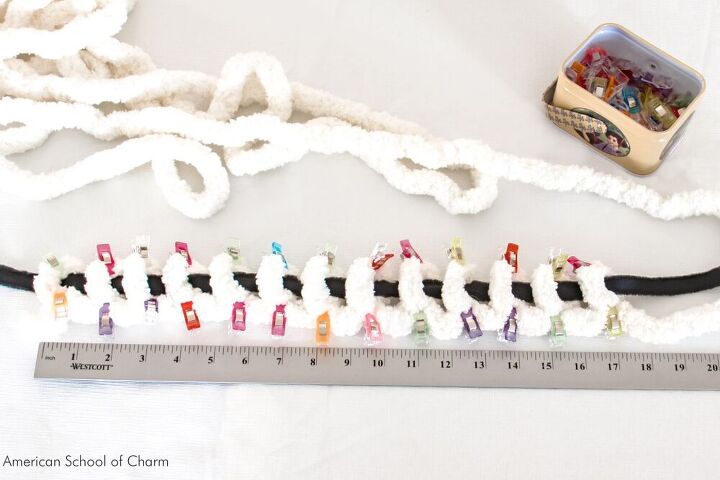
Voila! The cast on is complete!
Tip: Count how many loops you have and write that down on a piece of paper. I'll explain in a bit!
Fold the two end of your first row toward each other.Secure the twist tie to the loop that IS NOT attached to the ball of yarn. This is your first finger knit stitch.
Take the yarn tail attached to the ball and push it through the loop, from the underside, with the tail that isn’t attached. Make a loop on the topside with a hole approximately the size of your thumb. Move the clip to the top of this new loop. Continue the repetition until you have gone all the way around the chain and get back to the twist tie.
Repeat this for two more rounds.After you have gone around the circle three times (after you cast on to the ribbon … literary license), it’s time to get out your foam bolster pillow. Make sure you have it covered with fabric.
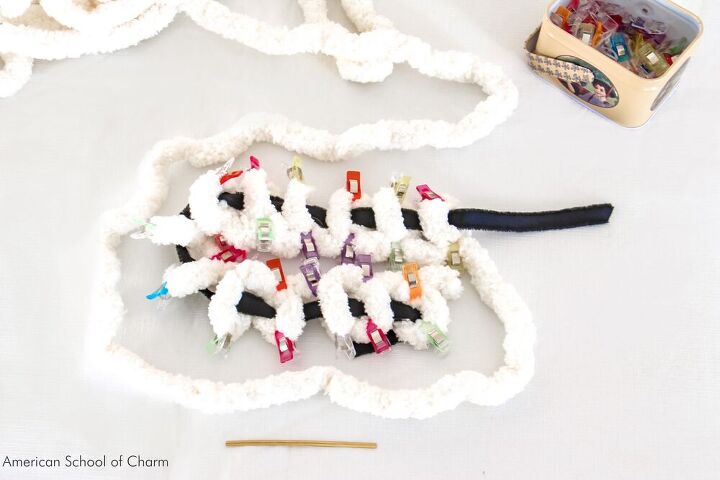
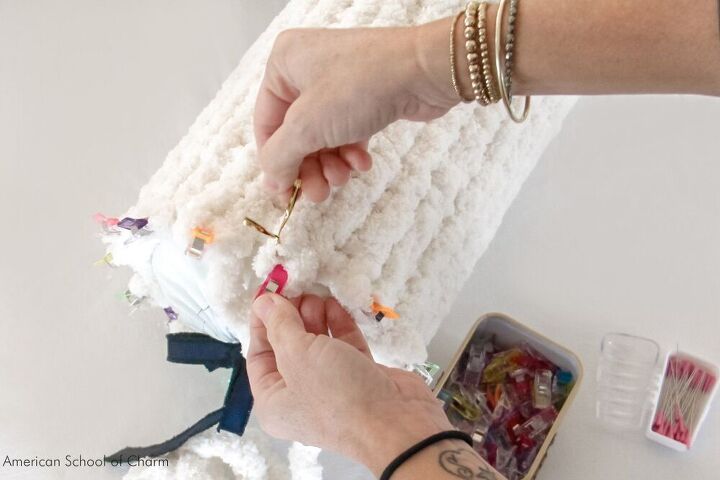
Continue creating new loops of yarn within the existing loops as you have been, with ONE notable new instruction. Instead of moving the sewing clip to the top of the new loop, you’re going to replace the sewing clip with a pin pushed right into the foam.
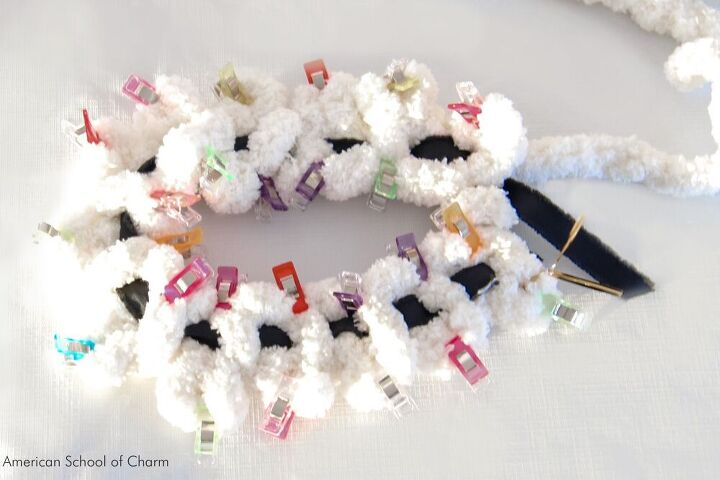
The first row of pins will go in right at the edge where the side of the lumbar pillow form meets the end.
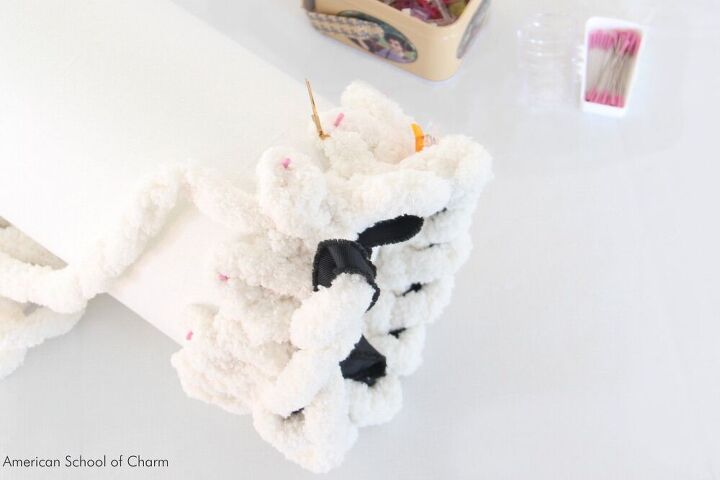
Do you remember I told you to write down the number of loops you made as you were casting on? That’s because we are going to hold each loop down with a pin. In the end, we want to be 100% sure that ALL PINS have been removed from the pillow form! Therefore, you need to be sure of the exact number used.Before you go any further, try to space out the loops and pins evenly around the circumference of the pillow form.
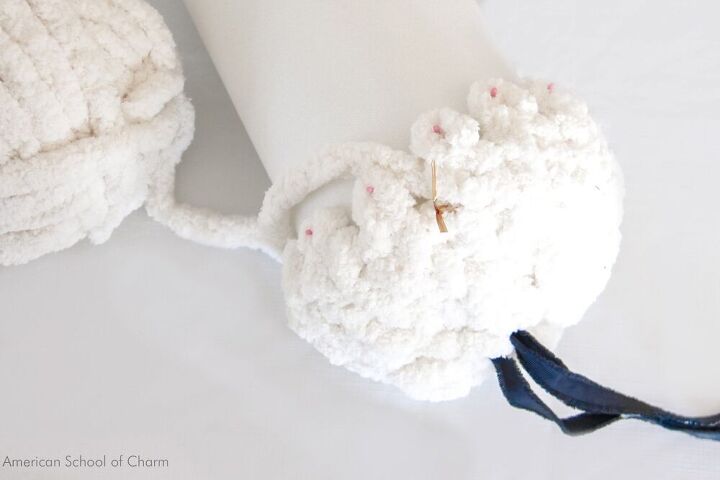
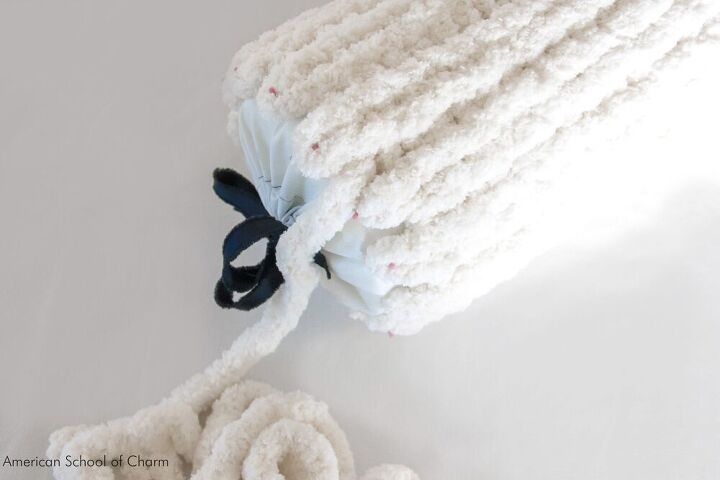
Now we can close up the first end. Just pull and tie the ends of the ribbon so the first row of loops closes on one another.
Styling tip and spoiler alert … there’s going to be an opportunity to add ornamentation to the end of the pillow form. If you want to add something, keep the ribbon ends out. On the other hand, if you want to leave it plain, I would use a coordinating ribbon that won’t stand out. You can just tuck the ends into the center hole.
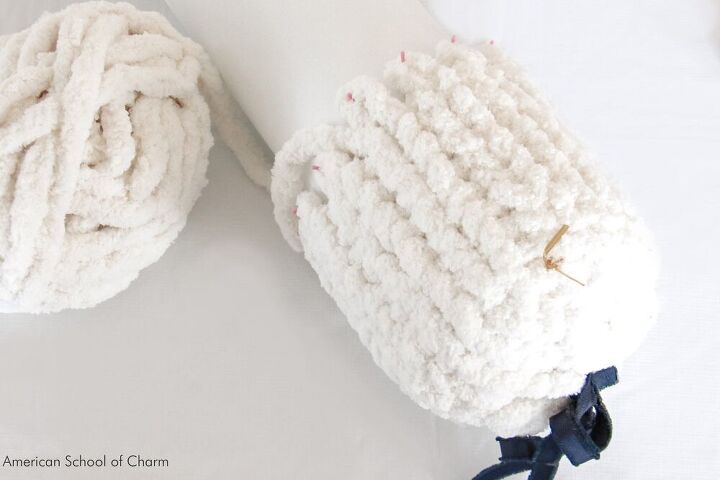
Each time you push the yarn through a loop to form a new loop, you’re doing a finger knit stitch! You’re going to keep doing this, gently pulling each stitch taught, all the way to the other end.
As the main section of the bolster pillow is complete, the opposite approach is used to finish the end.
Continue to make three rows of loop and clip stitches, just as done on the other end.
However, what happens if you run out of yarn? If you haven't yet, you're probably about to so we'll show this too!
Let’s throw out another knitting term, the SKEIN. The skein is basically a ball of yarn all set up for you to knit.
Do you remember old movies where the child would be forced to hold out his/her hands for grandma to wrap yarn around? That was getting the yarn in an easy to manipulate oblong ball, called a skein.
To connect two skeins of yarn, according to my research and practice, tie a loose knot leaving several inches of tail on each end.

As you continue to finger knit, keep the tails and knot on the outside.
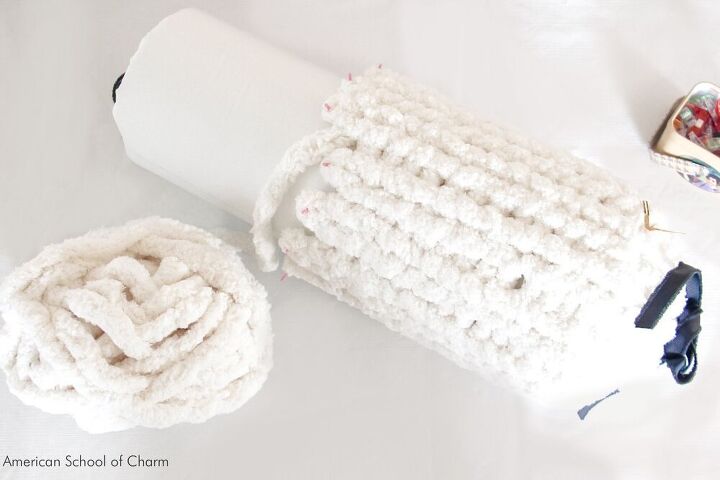
When three rows, or rounds, of loop and clip, have been completed, slide another length of ribbon through the loops. I suggest clipping the first end to a loop (as shown) to make sure you don’t accidentally pull it out as you work your way around.
Notice the knot is still on the outside. Let’s return to the finger knitting. We’ll come back to the knot in a bit.
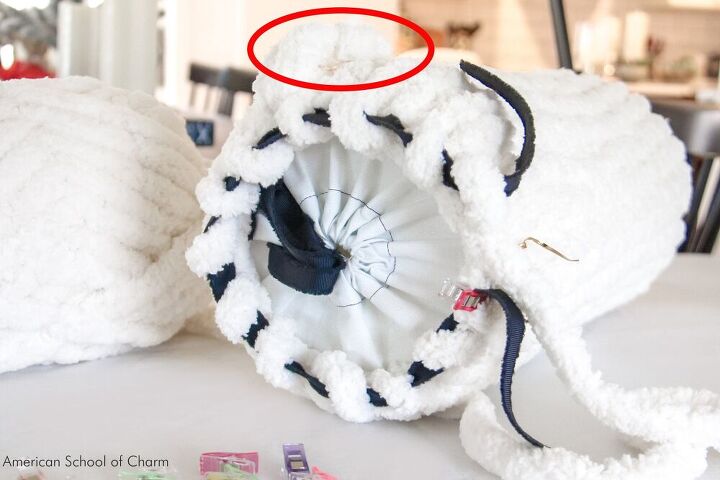
This really can’t be any easier. Isn’t this the best FIRST KNITTING PROJECT! To close up the end, just pull the ribbon and cinch the end loops together!
Notice the red circle? The knot is still on the outside just waiting to be handled.
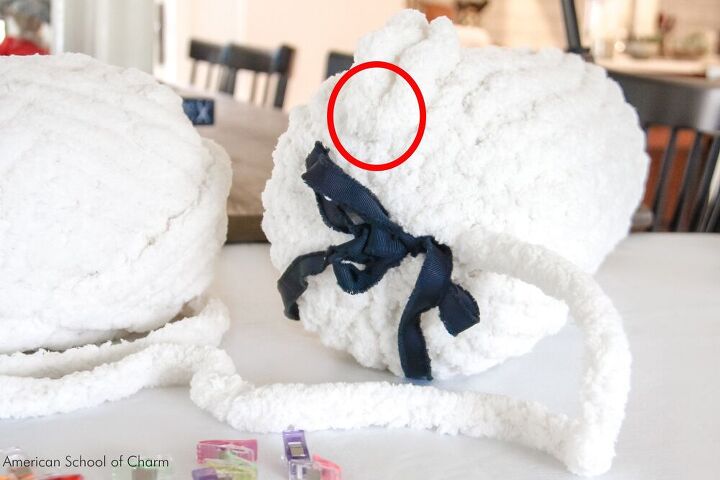
With the end closed and tied secure, the knot connecting the two skein ends can be untied. Each end is then woven into the surrounding finger knit stitches essentially disappearing.
Can you find the end in the picture below?
Look at the pillow! It looks great, doesn’t it?
If you don’t want to have anything at the end, cut off the yarn leaving a tail of about 6″ excess. Then weave it back into the finger knit stitches as done when the knot connecting the two skeins was untied.
Presto! Project complete.
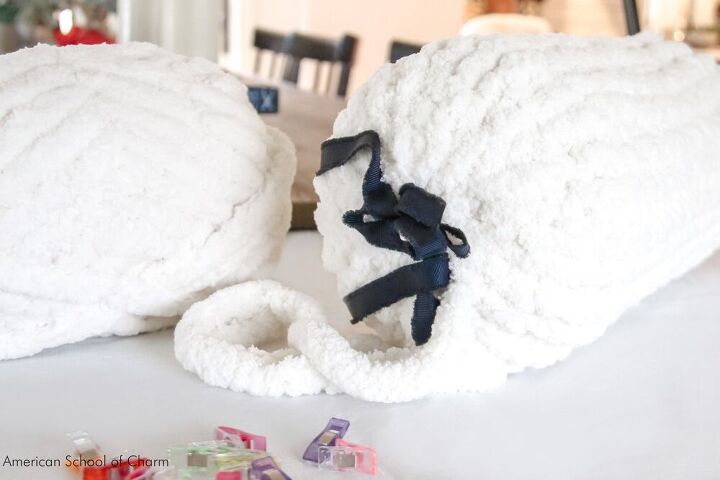
You can tuck the ribbons inside the end hole or you can use it to attach a pom-pom or bow. In this example, I took black velvet "yarn" and weaved it between finger stitches. Then I gathered the ends to form a tassel.
What do you think?
Not only does this chenille bolster pillow look great, as you can see from the picture, it's VERY comfortable too!
If you have any other questions, be sure to comment below. I'll respond as soon as I see the comment!
That's all for today. Have fun creating and remember to visit me over at AmericanSchoolofCharm.com and on all my social media channels!
Resources for this project:


Comments
Join the conversation
-
Giselle, I'm learning to "knit" or "finger/arm knit" THANKS for the inspiration! I'm gonna do my very best to make you proud LOL! IF I ever purchase a cellphone, I will send a pic of my finished project.
with MUCH heartfelt LOVE & THANKS!!!
-
Can the yarn knit cover come off to be washed? Thank you for a wonderful, beautiful pillow!


Frequently asked questions
Have a question about this project?