


Easy Polymer Clay Candy Ornaments for Christmas
I am always in the mood to craft for Christmas and those Hallmark Movies are giving me ALL the holiday feels! Sculpey® recently send me a goody box with Bake Shop Clay that is bendy even after baking, so it is perfect for Easy Polymer Clay Candy Ornaments for Christmas. Make these four fun candy-themed ornaments with the kiddos in just about an hour. They look so yummy on the tree.
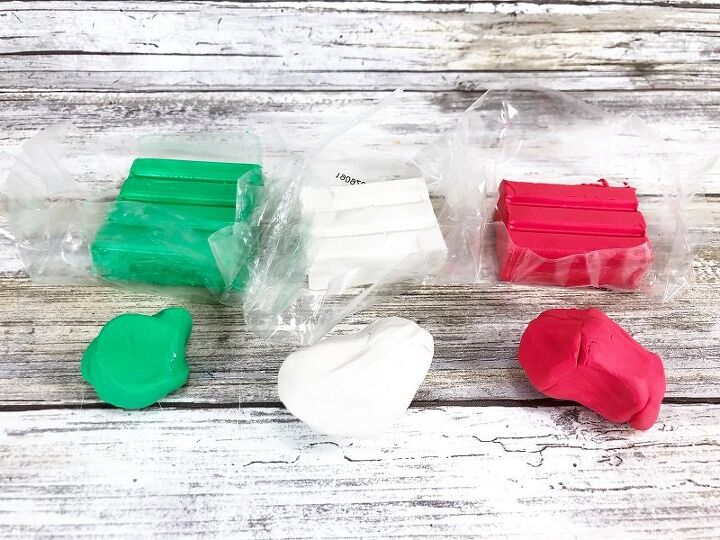
To begin Easy Polymer Clay Candy Ornaments, gather all supplies and read through all instructions. Remove red, white, and green Bake Shop clay from packaging and knead in your hands until conditioned and pliable. I used two sections of red and white clay, and one section of green clay. The red clay will transfer color onto your hands, so clean with a baby wipe in between colors. To create a clean, smooth, and flat work surface, wrap a piece of cardboard with parchment paper.
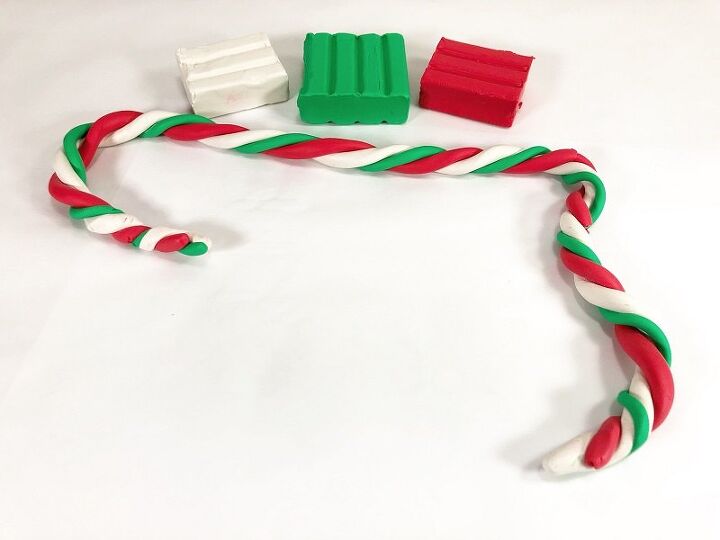
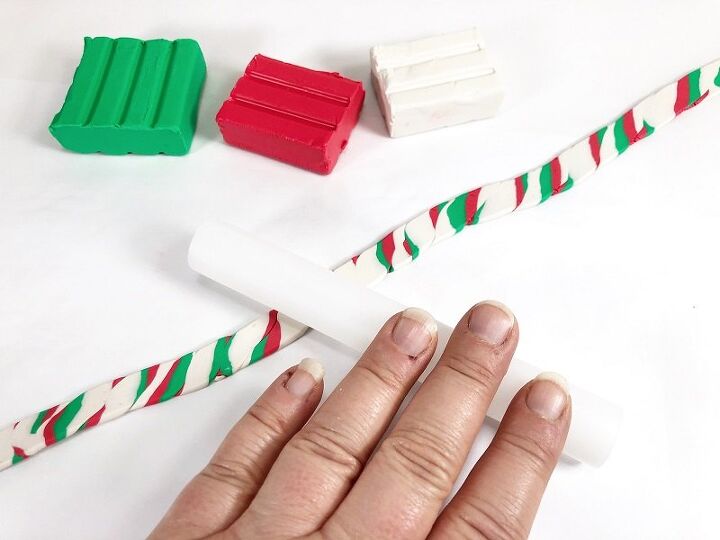
With your hands, roll out the red, green, and white Sculpey Bake Shop Clay into 18″ long snakes. Twist the three snakes together, pressing together gently as you go. Roll out twisted clay to create one 24″ long snake.
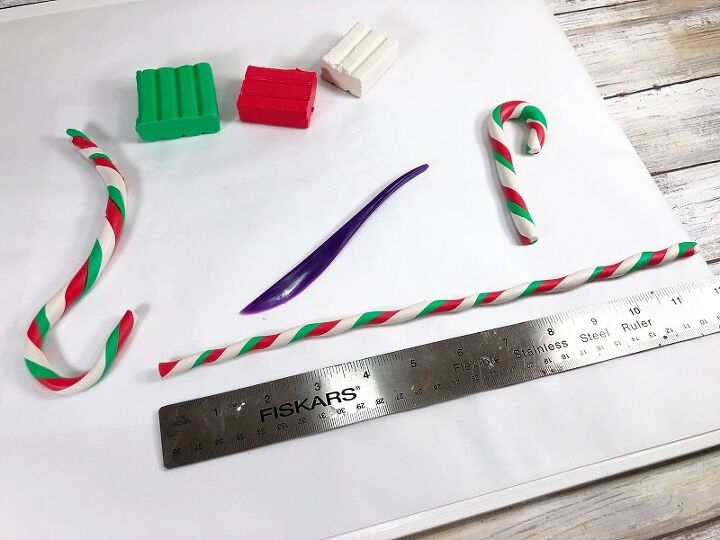
Measure and cut a six-inch length of the tri-colored clay snake with the tool included in the kit. Bend to create a candy cane shape and set aside.
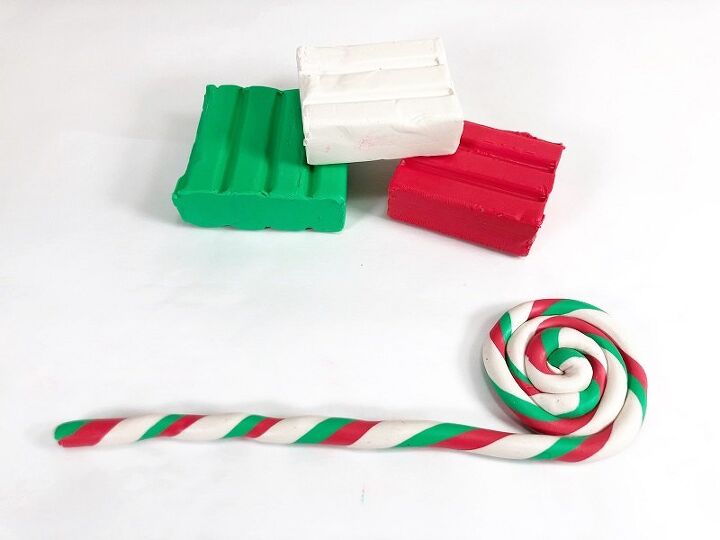
Measure and cut a second length of tri-colored snake twelve inches long and roll out into a 24″ long snake. Pinch at one end and begin rolling into a circle, and then secure the other end by smoothing clay together. Set aside.
Take the remaining six-inch section of the tri-colored snake, roll it out to twelve inches, and then twist it together again. Flatten using the clay roller included in the kit. Measure and cut 2 six-inch lengths. Cut a small triangle out of each of the four ends to resemble a ribbon.
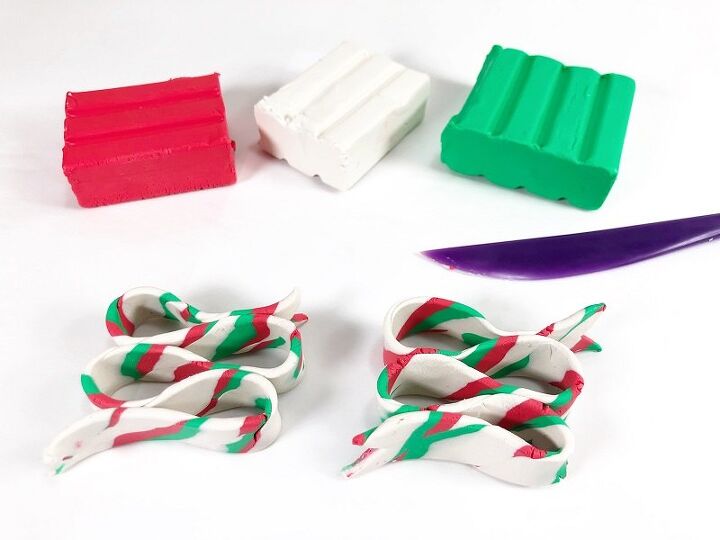
Stack each ribbon into four loops, leaving the ends open. Carefully pinch each intersection of clay together with your fingers to secure. Set aside.
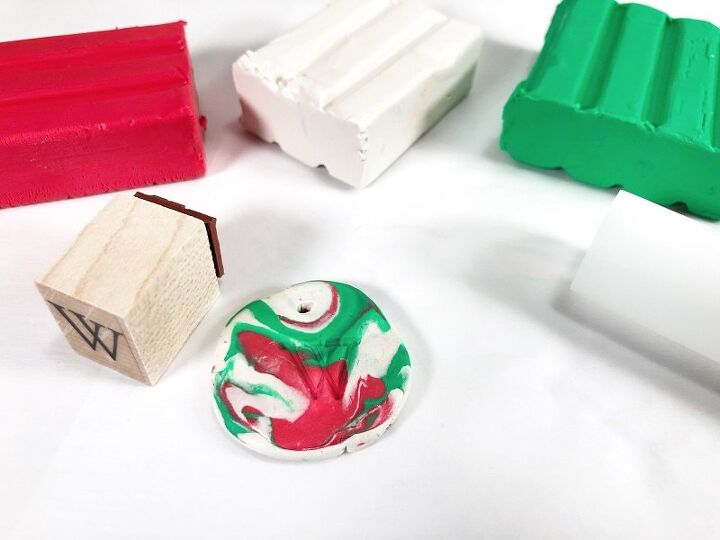
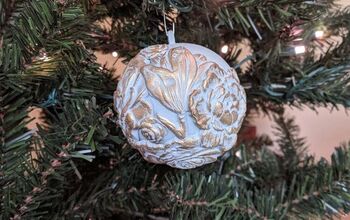
Because I love a no-waste craft project, take remaining bits and pieces of Bake Shop Clay and marble them together, press out into a rough circle and roll to smooth. Pierce a hole at the top center and press a rubber alphabet stamp into the clay.
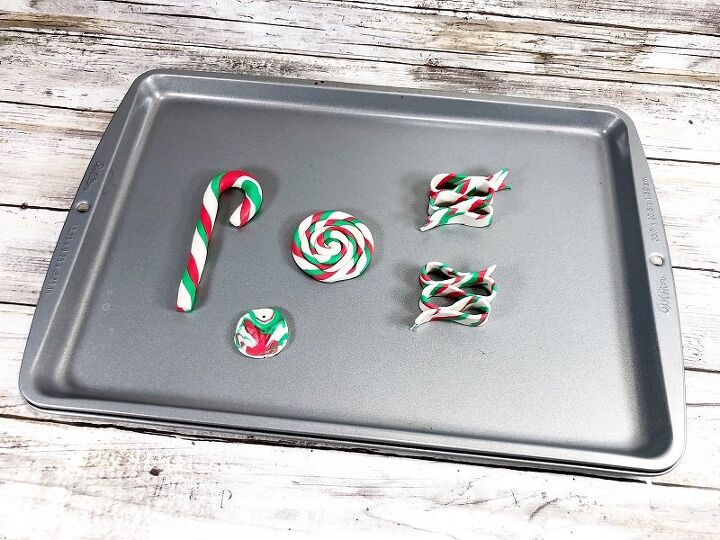
Place all Polymer Clay Candy Ornaments onto a clean baking sheet and oven bake according to directions on the package. I use this baking sheet for crafts only. Once baked, set the ornaments aside to cool completely.
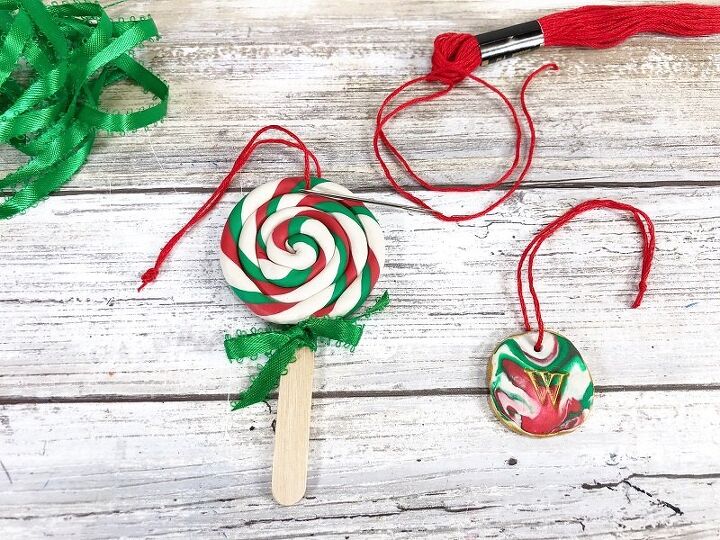
To finish the Polymer Clay Candy Ornaments, accent the monogram marbled disc with Dazzling Metallics Splendid Gold. Attach mini craft stick to lollipop with glue. Add a green satin ribbon bows to the candy cane and lollipop. Thread embroidery needle with red floss, stitch through the ribbon candy up and then back down. Leave a loop of embroidery floss at the top as a hanger, tie the bottom ends in a knot and then trim. Repeat with the lollipop and monogram disc, creating loop hangers with embroidery floss.
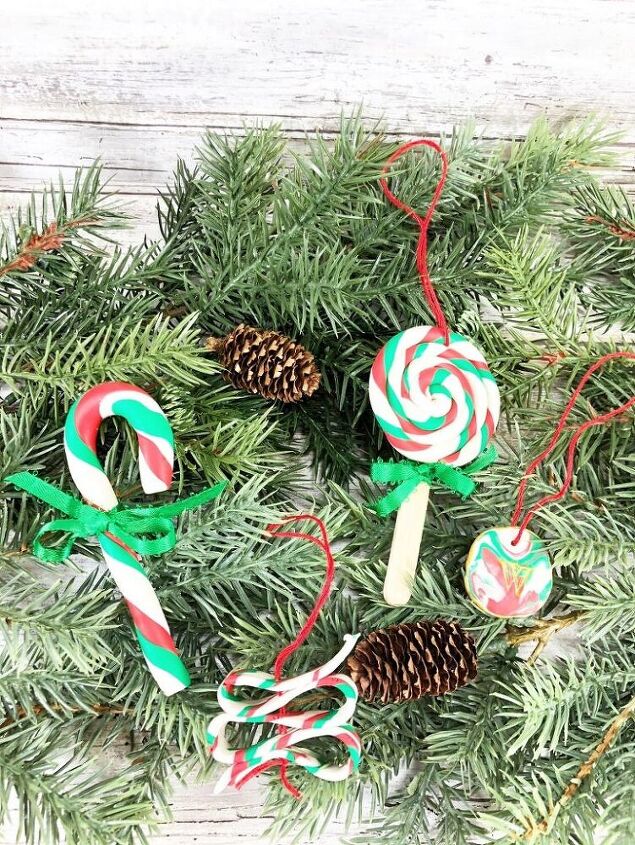
I hope you will use my easy Polymer Clay Candy Ornaments project as a jumping-off point to showcase YOUR crafty Christmas spirit. Get the kiddos involved and create some special ornaments that will certainly become keepsakes!
Resources for this project:
See all materials


Frequently asked questions
Have a question about this project?
VERY cute ideas with the clay ornaments and LOVE the adorable hot chocolate mug toppers. One thought...why not put the straw in after the "chocolate drizzle"? Don't need to worry about getting drizzle on them that way. :->