


Polymer Clay Coffee Table Decor/Paperweight

I'm always looking for the perfect shelf and/or coffee table decor. Something that's simple, easy and gives you something interesting to look at! I tend to buy small faux plants or small statue-like things. I find such things aimlessly walking the aisles of Homegoods! 
The last couple of months, however, while on Instagram, I saw some home decor accounts where they made their own paperweight! Now paperweights also make great decor items, as you can easily place them in a pretty tray on your coffee table or even use them as a book-end on a shelf. I don't think I ever really knew what "polymer clay" was, but I saw that these decorative items were made from this type of clay. While in Michael's Crafts one day, I decided to pick some up!
Now if you don't know what polymer clay is, it's a clay (duh) that can be manipulated and rolled and kneeded and made into something! They come in a variety of colors too! After you've made whatever the item is that you're making, you then put the item in the oven (yup, you're regular ole' oven) for a few minutes and let it "bake." You then take it out, let it cool, and voila! You can then paint the piece or leave it as is if you purchased a specific color. All polymer clay brands are different too. There's some that you can actually just let it air dry and it hardens.
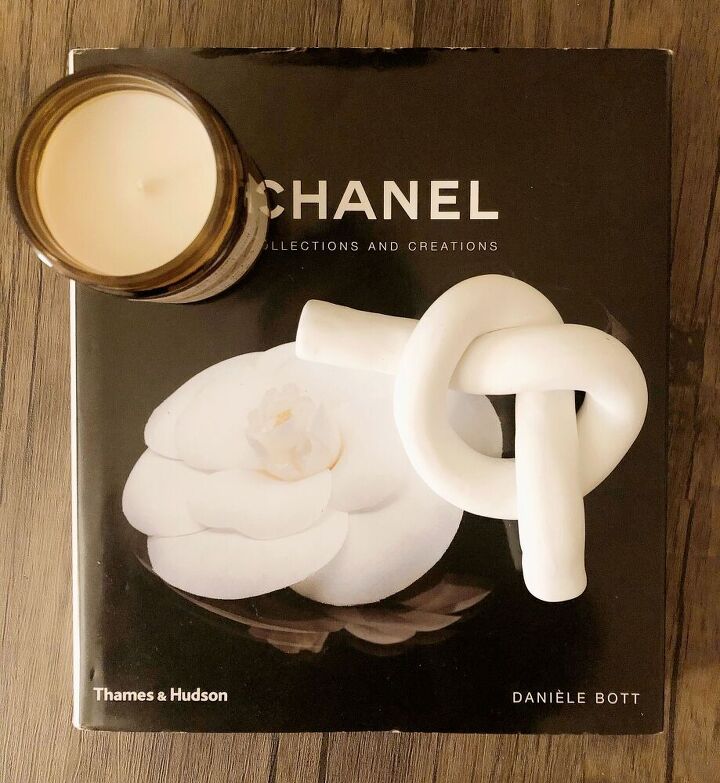
So now that I purchased my own polymer clay, I decided to make one of those cool, modern knots. I've actually seen some on home decor websites where they sell for $100+!
It's a super easy DIY and you what's great is that you can make it look however you'd like!
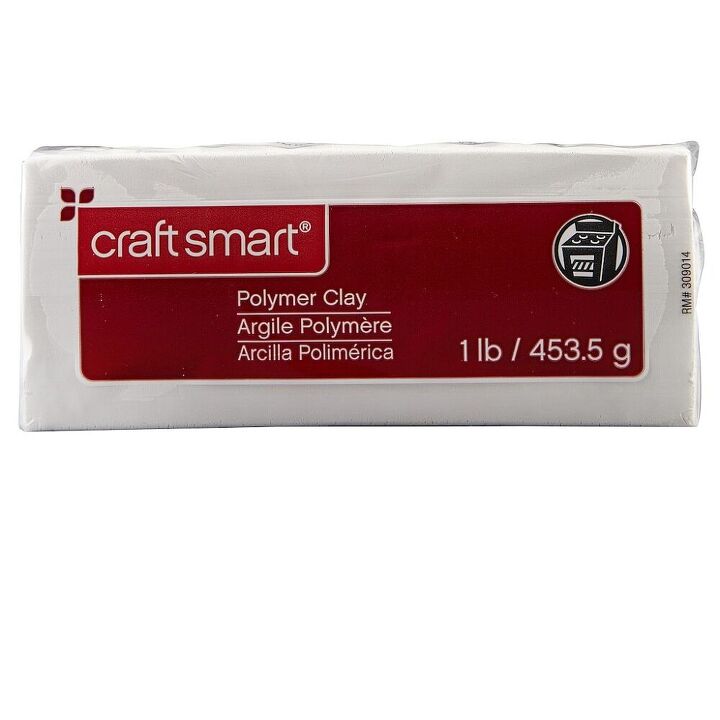
You'll first need polymer clay! This is the specific brand that I used, purchased from Michael's Crafts. You can use whichever brand you like or can find.
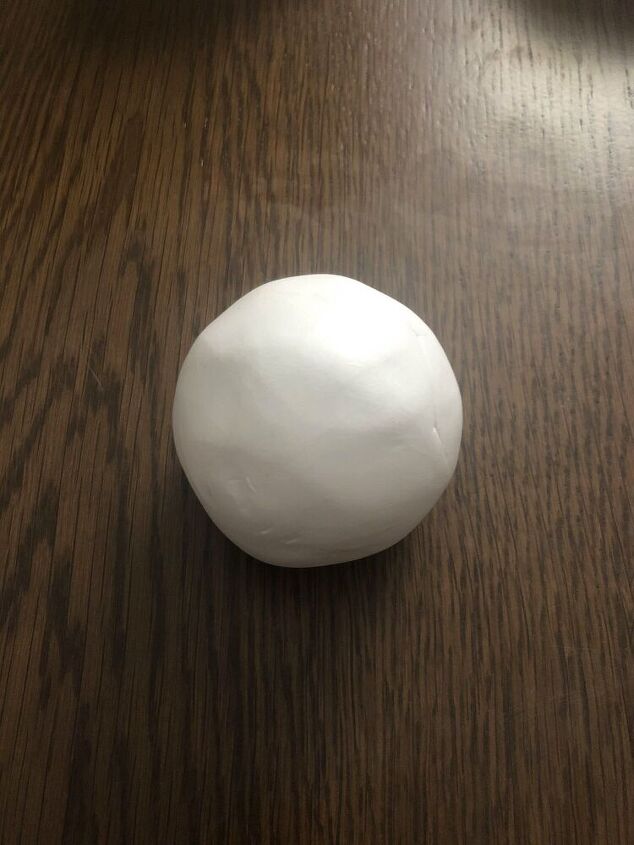
You'll first want to manipulate the block of clay and roll it into a ball. Polymer clay tends to be thick, so you gotta put a little muscle into it! I used a little more than half of the block of clay, but you can use however much you want, depending on the size you want your knot to be.
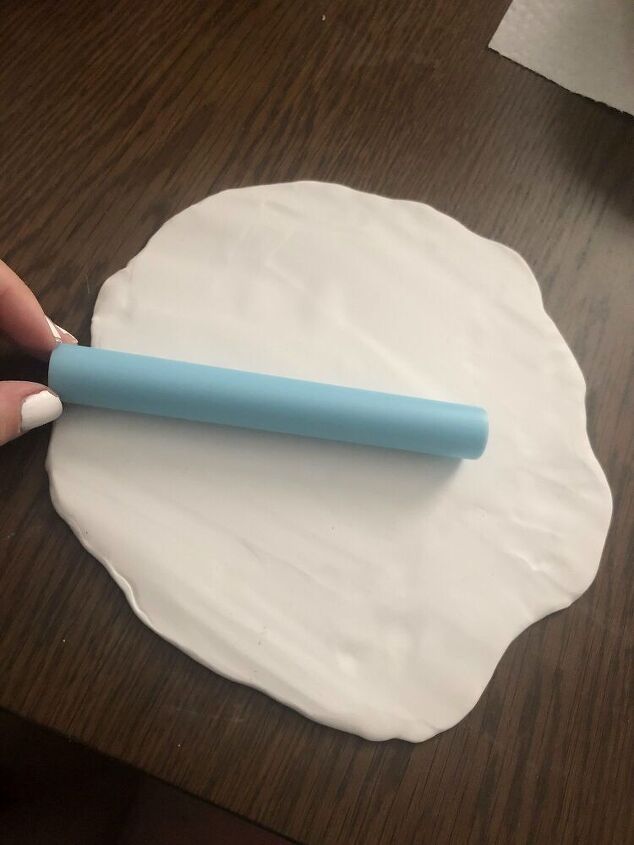
Once it's rolled into a ball, you can then begin flattening it out. I picked up some clay tools from Michael's as well! (Highly recommended!) But you can always use something you have lying around your house that you think would suffice in rolling out the clay.
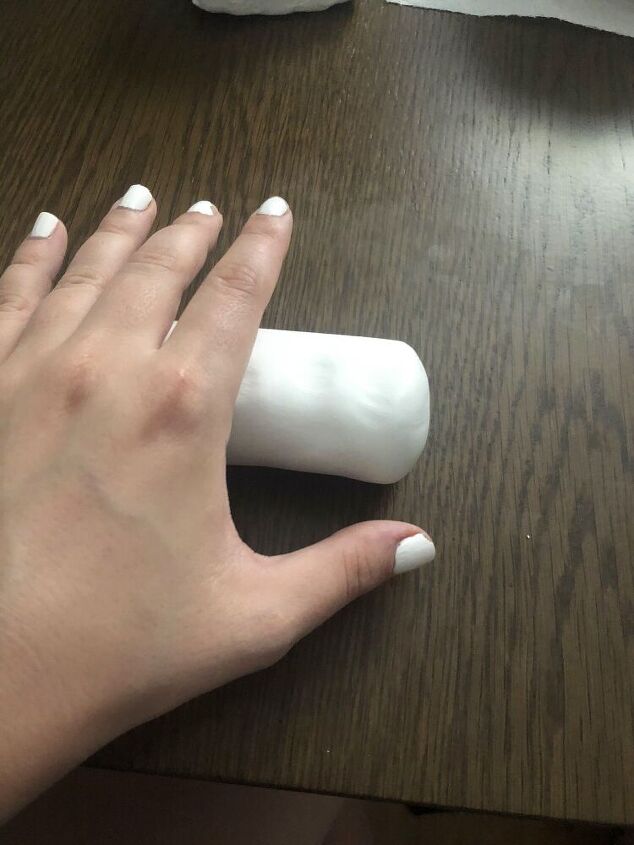
Once I had the clay flattened out a bit, I then began rolling the clay. I rolled it into probably about a 2-inch thick long "snake." I'd say it was probably 10-12 inches in length.
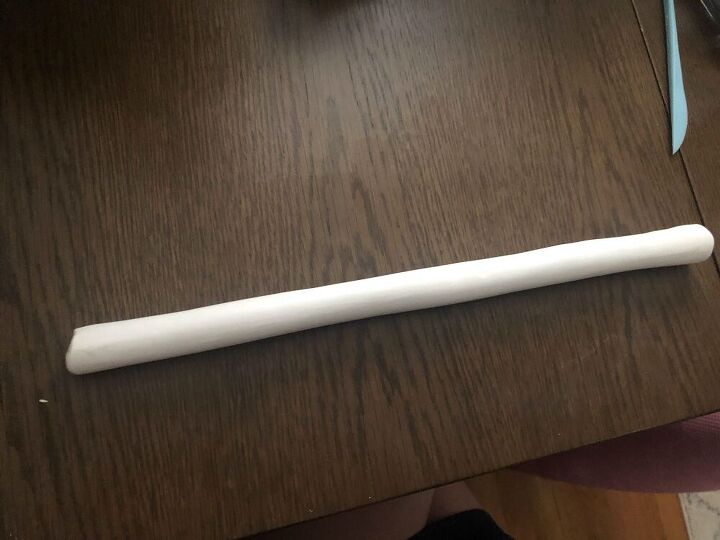
Here's my clay "snake." With my clay tools, I did cut off a little bit of the ends, just to give them a finished look. You can also smooth them/fix them with the palm of your hand too! Once it's the length and thickness you like, you can then manipulate the clay into a knot. This step is pretty simple, as long as you know how to tie a knot! After your knot is done, you can follow the instructions on the clay packaging for baking times and temperature. (Or if you have the clay that air drys, follow those instructions!)
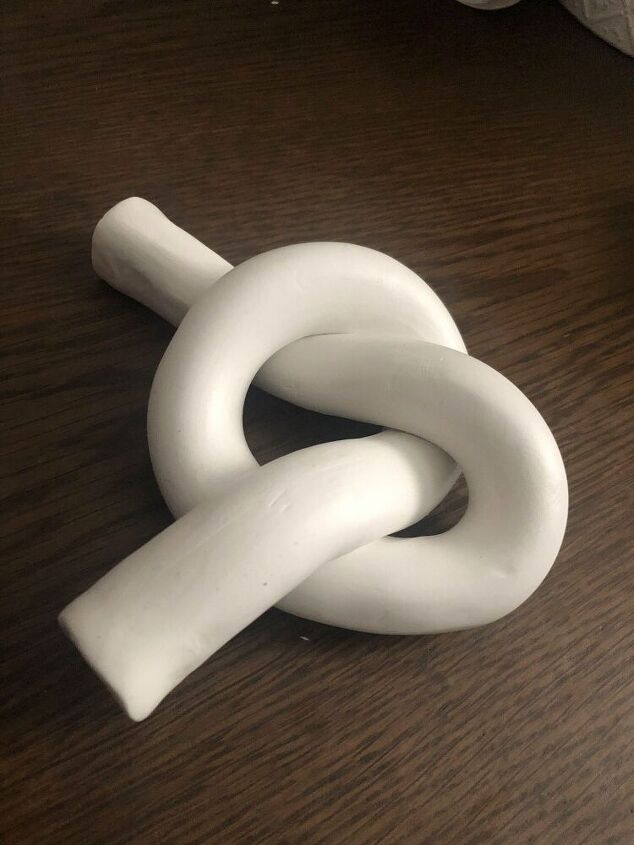
Here's the finished knot!
You can paint it or spray paint it if you'd like. I chose to keep it as is! It makes the perfect coffee table decor, simple and pretty!
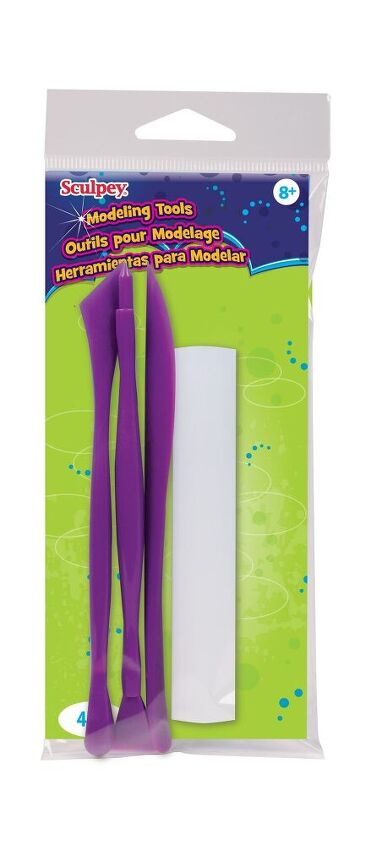
These are the clay tools I purchased! You can also get them at Michael's!


Comments
Join the conversation
-
I will and spray paint it gold metallic. Thx so much.


Frequently asked questions
Have a question about this project?