


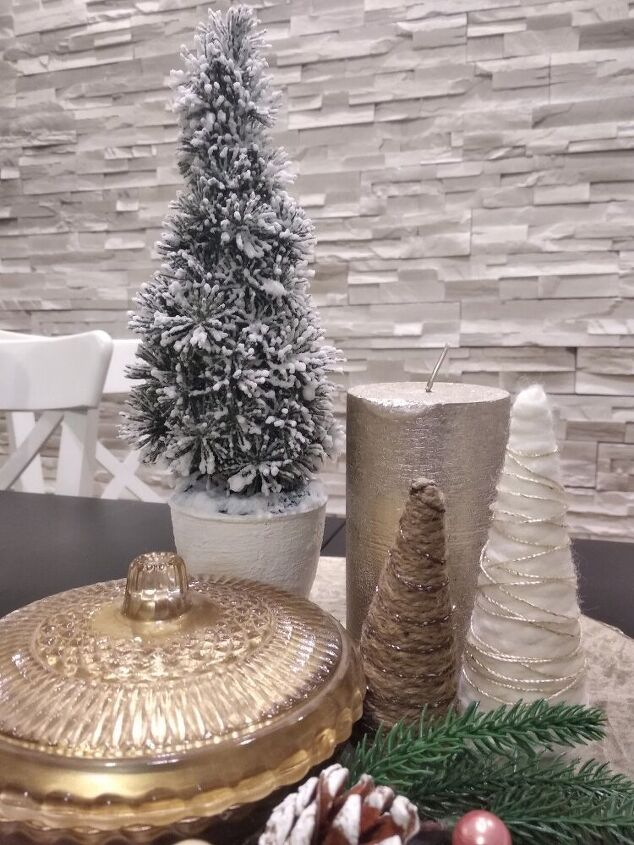
DIY Mini Christmas Tree

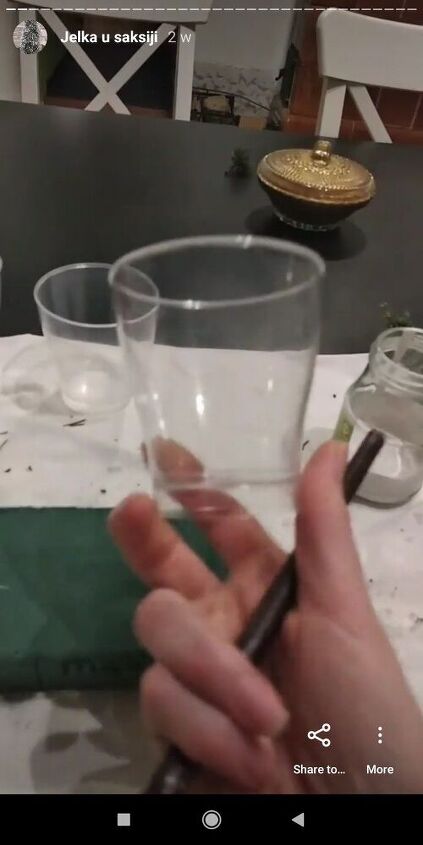
It all begun with this cup that I have, from buying desserts in a cup. I found that it has a really nice shape and I got this idea to paint it and make a litlle tree for Christmas. All I needed was some paint, some branches , hot glue and a foam block... So, here is the full tutorial.
The list of materials that I used:
- Plastic cup
- Acrylic paint
- Baking soda
- Foam block
- Pine branches
- Snow spray
- Hot glue gun
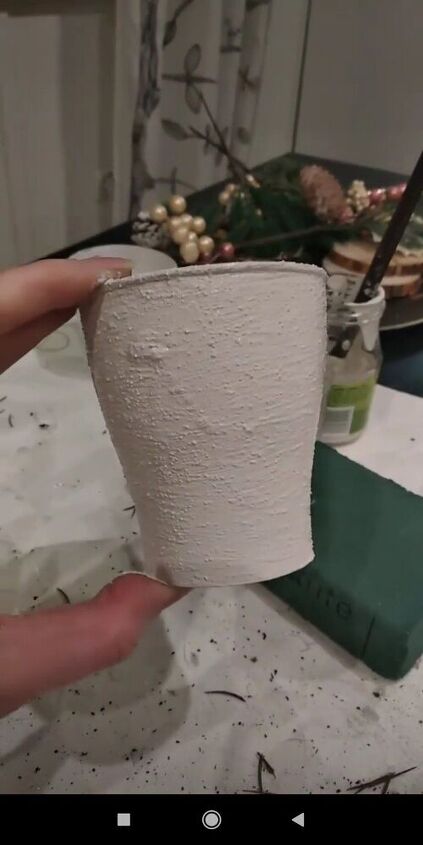
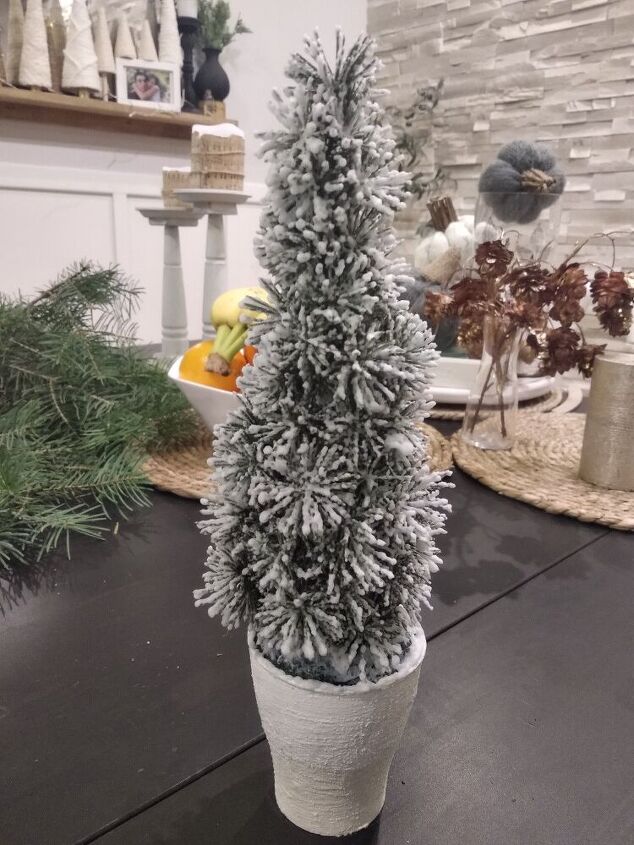
So this is the cup I ' m working with.. I decided to paint it white. I mixed my acrylic paint with some baking soda. This technique has an amazing effect. It makes everything look more textured and makes plastic look like ceramic. So I painted on two coats and while it was drying, I was preparing the pine branches.
So I picked a branch, and since it looked to skinny for my taste, I glued together three of them to make them look fuller and look more like a Christmas tree.
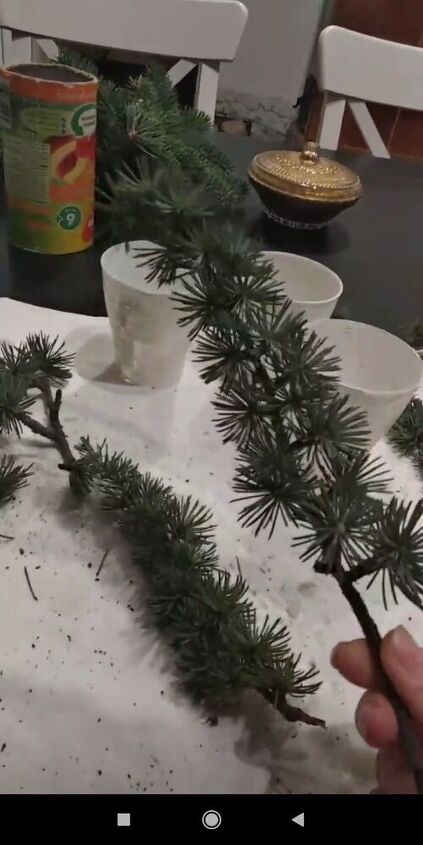
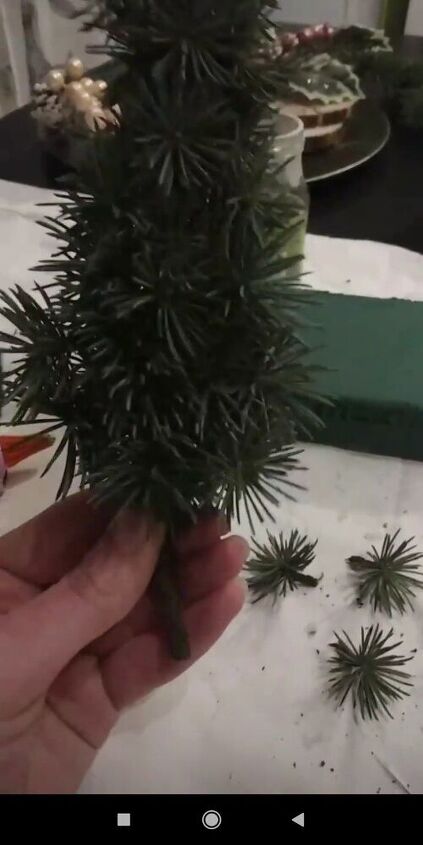
I added those litlle parts where I felt there was a hole and it needed to be fullfilled.

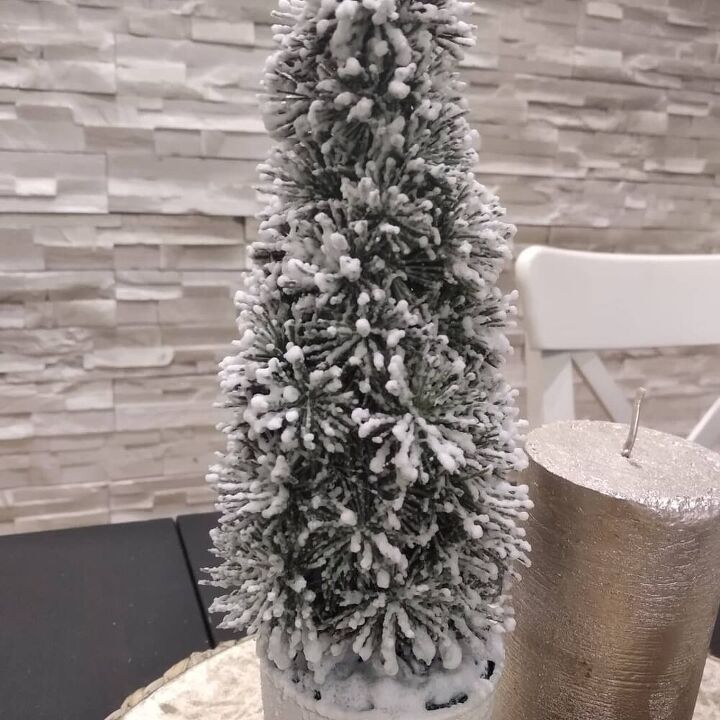
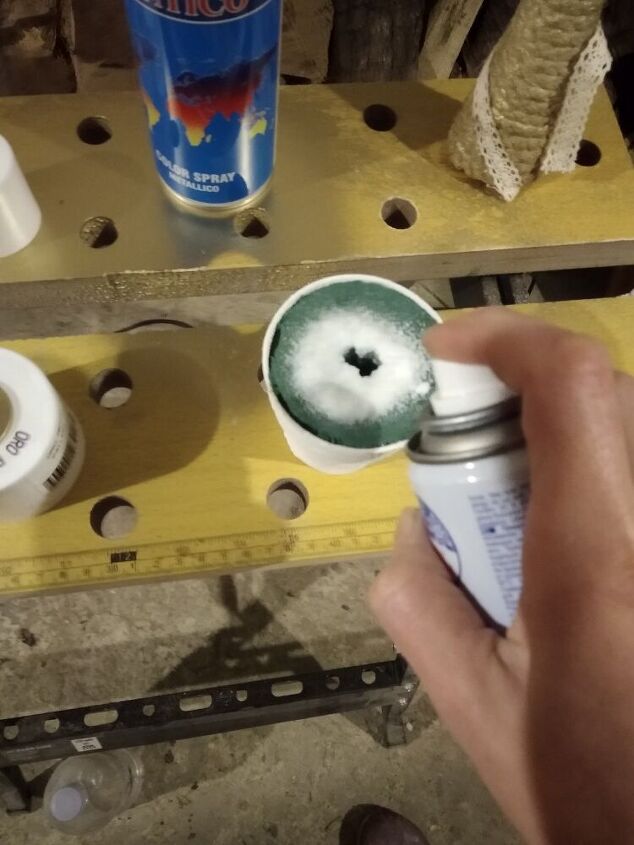
I put the foam block in the cup and sprayed some snow on. Stuck the tree in the foam, sprayed some more snow and that's it. It turned out super cute 🙂


Frequently asked questions
Have a question about this project?