


New Post for My Mailbox

Someone backed into my mailbox overnight, so I had to get to work and take care of things. Not a fun or fancy DIY, but very much necessary. Here's how I replaced the post:
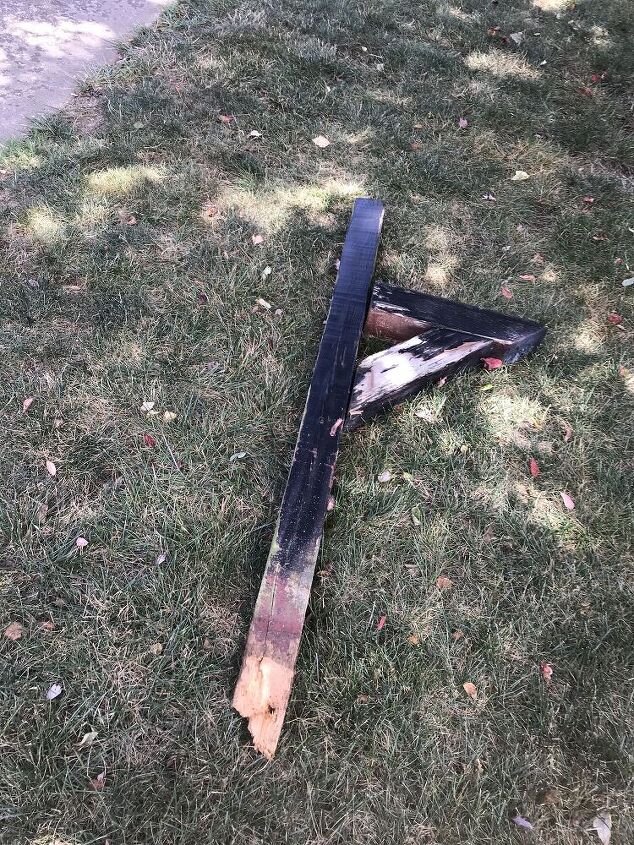
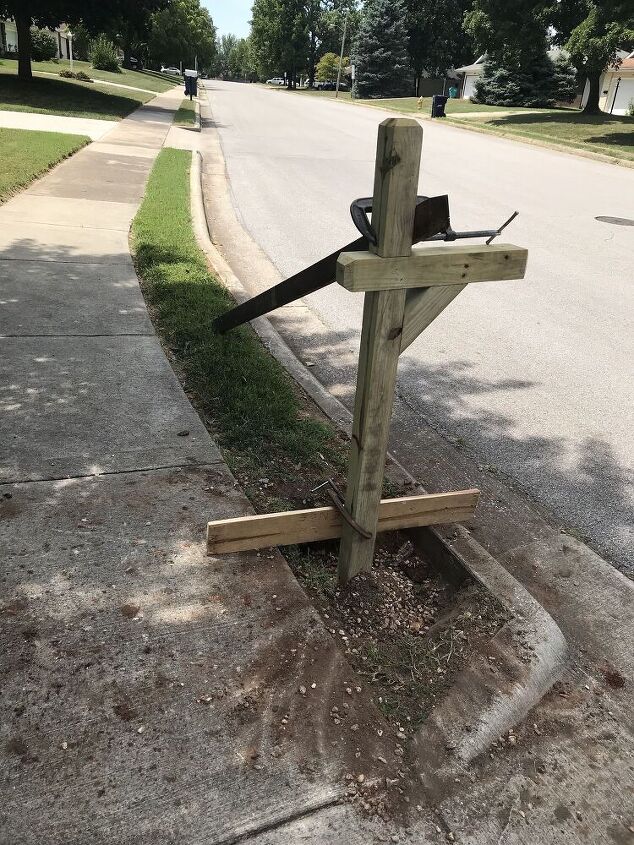
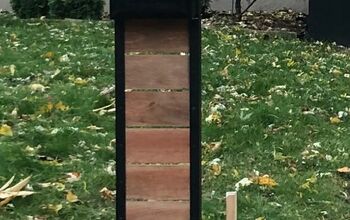
Broken mailbox post. I removed the mailbox, then thought .. " Let's post a project!"
The old black paint was due for a touch-up anyway, right?
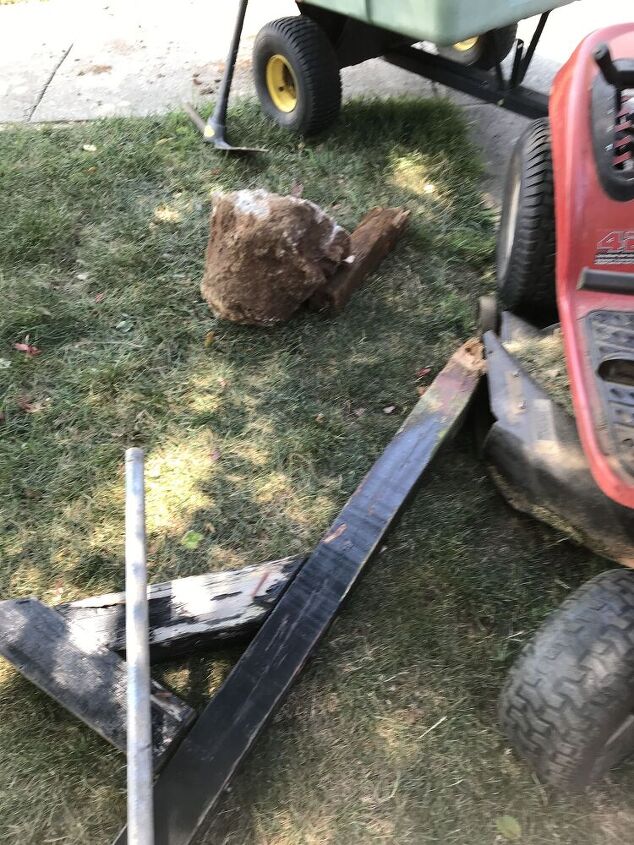
I used a piece of pipe to pry the old concrete out of the ground. My riding mower is there because it has a cart attached to haul the concrete away
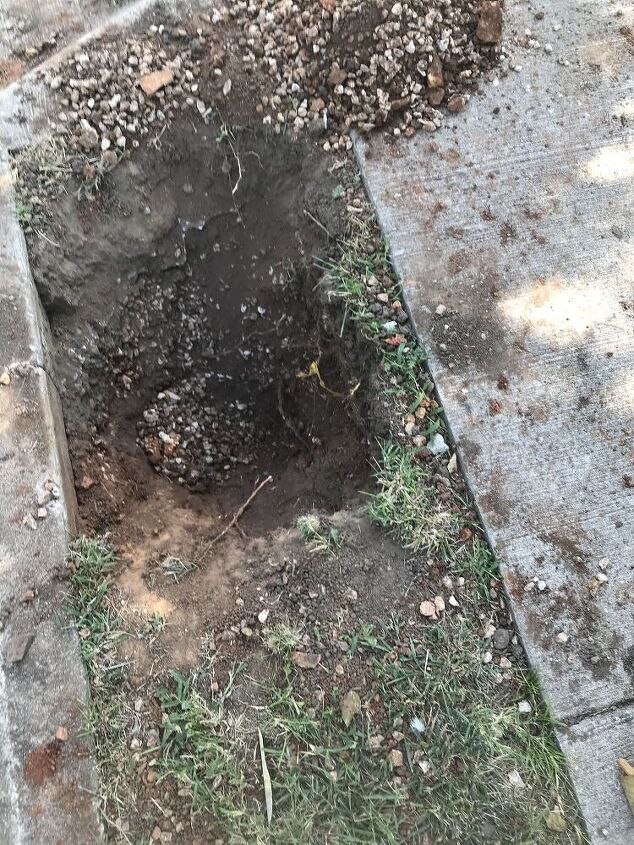
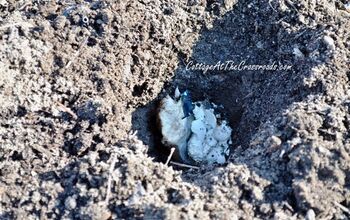
I dug out as much of the old gravel fill as I could with a shovel as I could and then the rest by hand. Check your local regs for proper dimensions on mailbox height and distance from the street, curb, etc.
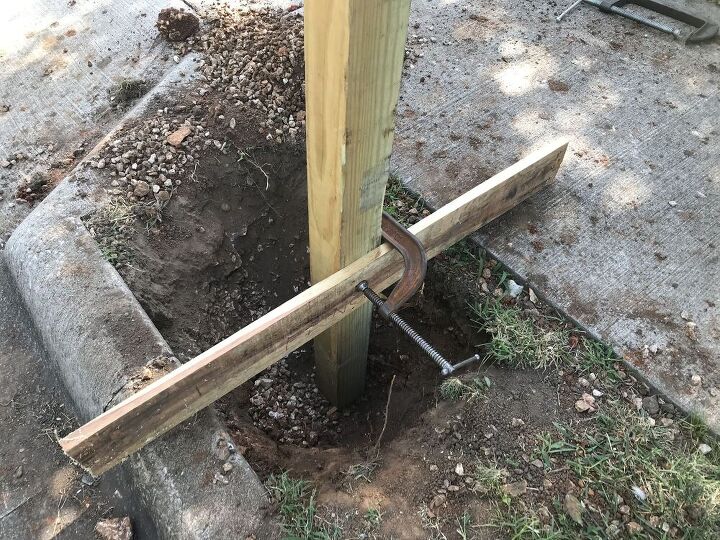
Here's an oak pallet scrap (I normally use as a fence on my table saw) with a C-clamp to help hold the new post upright, to help position the post.
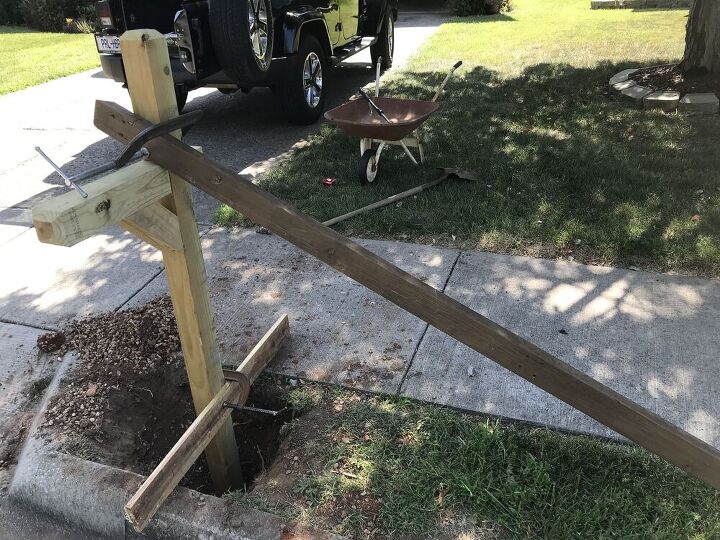
.. along with a scrap from my recent deck remodel to get everything both vertical and stable. The C-clamps let me adjust as necessary.
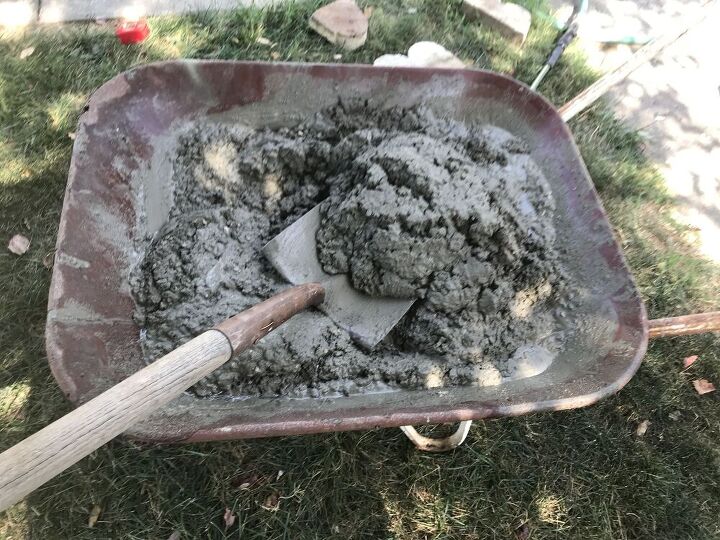
Mix up your concrete according to directions. I got away with one 70 pound bag because I re-used so much of my filler, wouldn't hurt to buy two just in case.
Mixing concrete is harder than it looks 
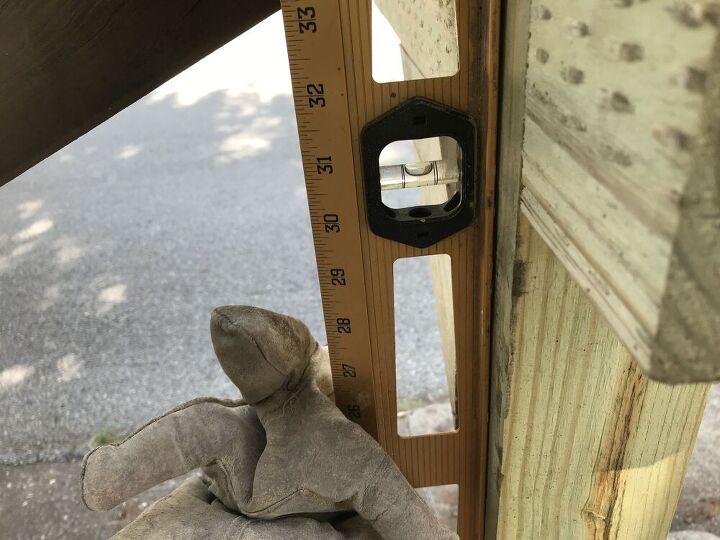
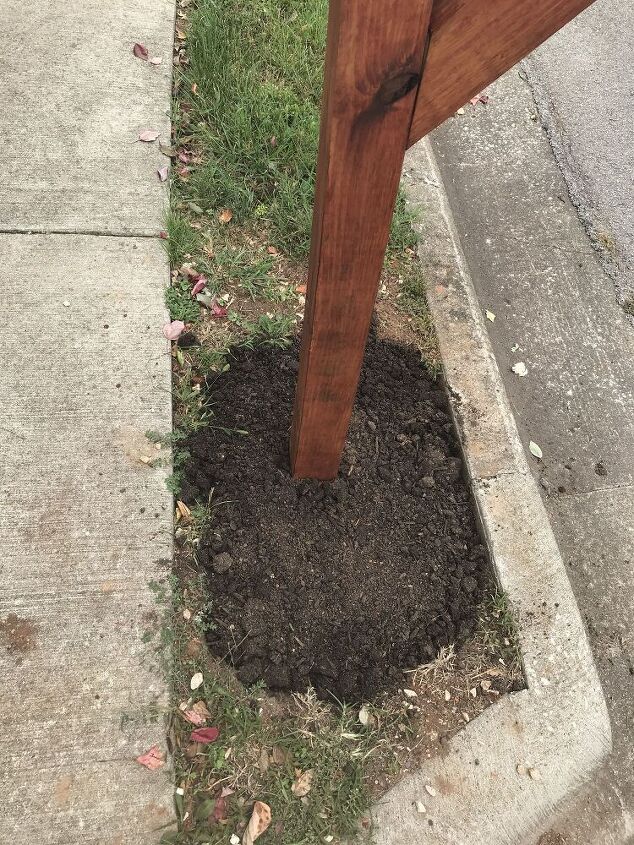
Double check everything for level and pour in your concrete and fill.
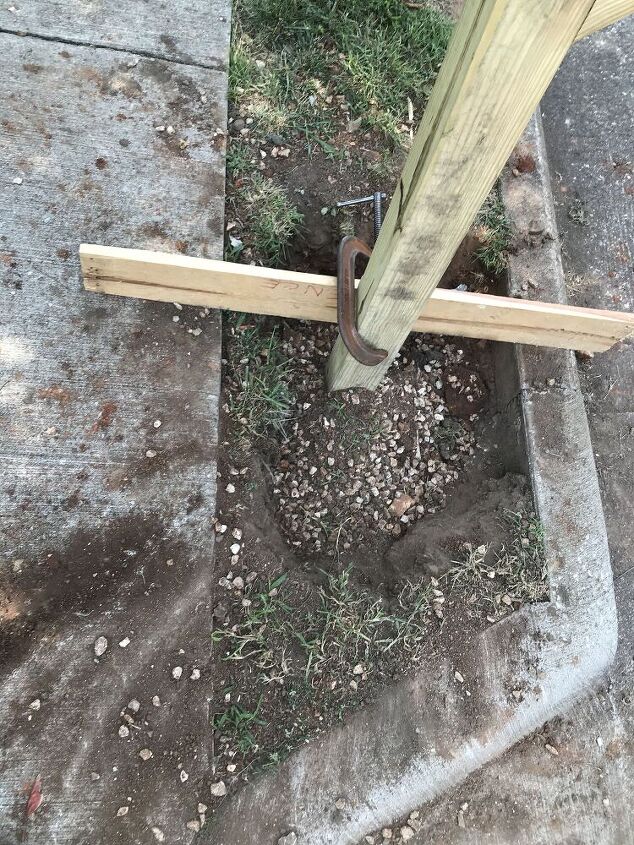
Here's the concrete and fill within 3 or 4" of the surface
It will set up overnight. I did this on a Sunday so mail would not be interrupted too much
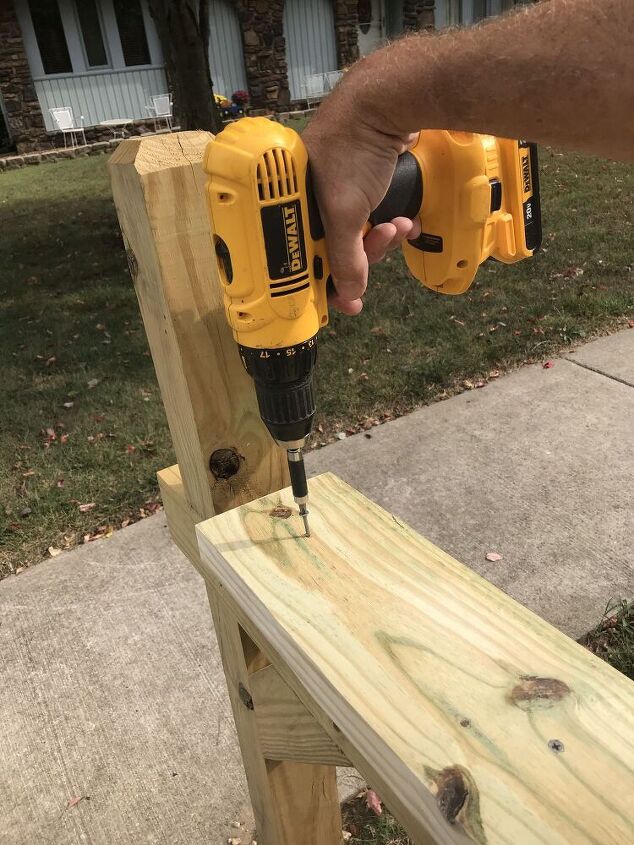
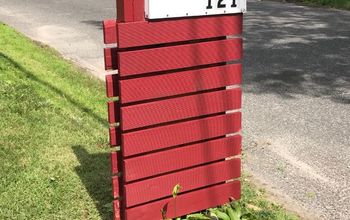
Next day: Here's a 2x8 I cut down to 5 3/4" wide, and for the length of the mailbox. I'm attaching it to the horizontal part of the new mailbox post. This gives us a great place to attach the mailbox. Leave a small gap in the back for the mailbox to drop down behind the 2x8. I think a thinner board would look better, but I didn't have a treated 1x8 on hand. Many people make the mistake of using plywood (often not outdoor/marine grade at that). The horizontal screws in later steps attaching the mailbox split the plywood and only makes matters worse.
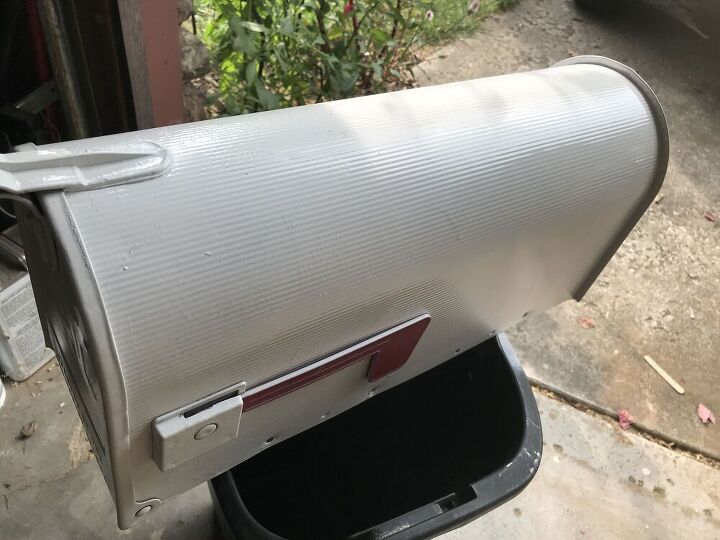
I gave the mailbox a fresh coat of Rustoleum white
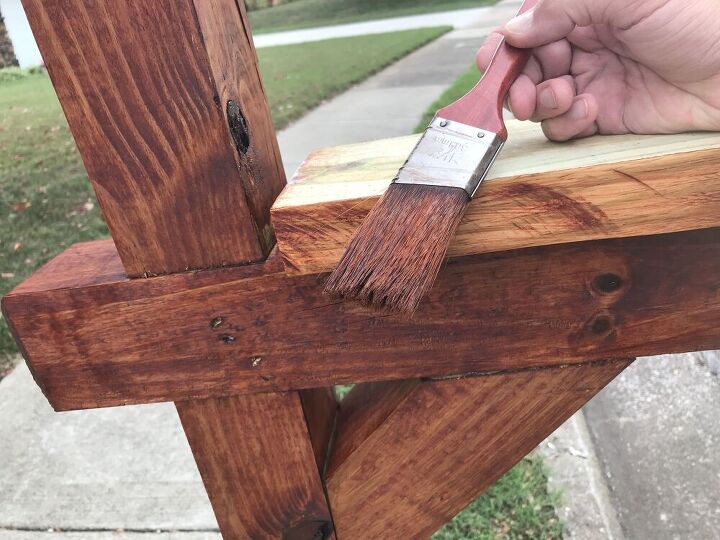
Stained the new post the same color as my deck remodel / new stairs. Note: I made sure I found a 'dry' post when I picked it up at Lowes. Notice the gap between the 2x8 and the vertical part of the post.

Attach the mailbox on each side with some screws made for treated lumber.
Throw a little topsoil over your fill and you're ready for landscaping.
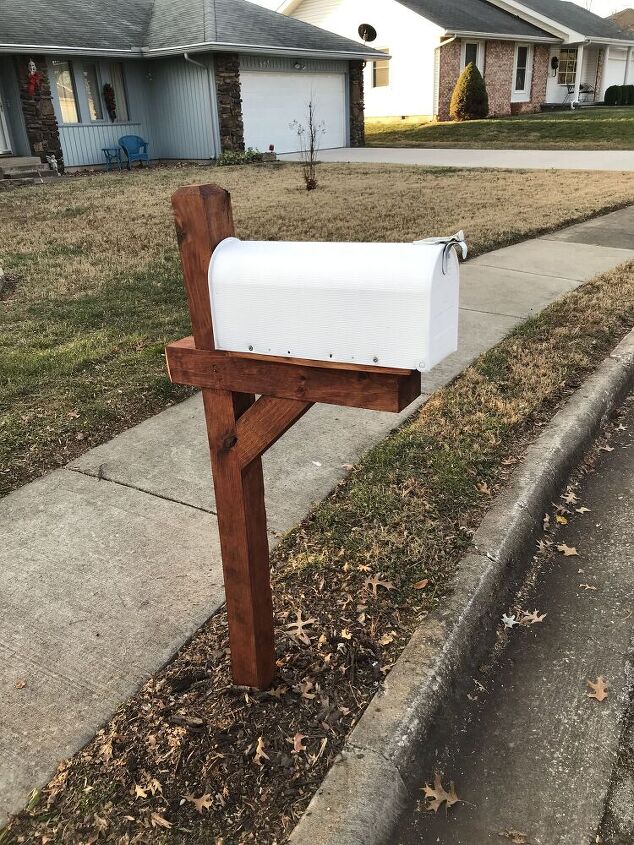
Here's the finished post and mailbox. It ended up two inches closer to the street than the USPS design, but the letter carrier didn't complain. Comment if you have any ideas that will help others, and ask any questions you might have.
Happy Hometalking!
Resources for this project:
See all materials


Comments
Join the conversation
-
glad to help. I have since discovered the red bags of cement. Pour it in dry and add water. No mixing!
-
I WOULD HAVE BEEN TEMPTED TO PUT A 3 OR 4 INCH METAL POST IN--YOU COULD EVEN BUILD A WOODEN BOX AROUND IT FOR "LOOKS". NO MORE BROKEN POST. BUT OVERALL, VERY NICE. THANK YOU GOR PICTURES TO GO WITH EACH STEP .


Frequently asked questions
Have a question about this project?
What color of stain? Haven’t seen your deck or steps