


Christmas Bulb Upcycle With Paint
Last year, we upgraded our tree to a 9.5 footer. The smaller tree that I’d had for years, just looked too puny with the higher ceilings in the new house. That smaller tree has now gone to live at my son’s apartment.
After we got the new tree up last year, I realized that because of the bigger size, the ornaments I had just weren’t enough to fill it all out. I needed several more, larger bulbs to make the new tree look right.

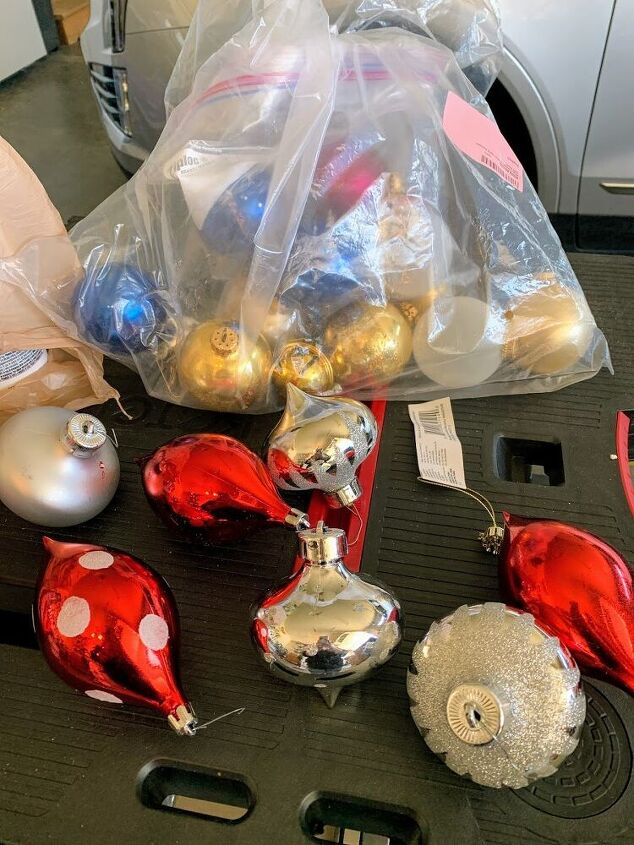
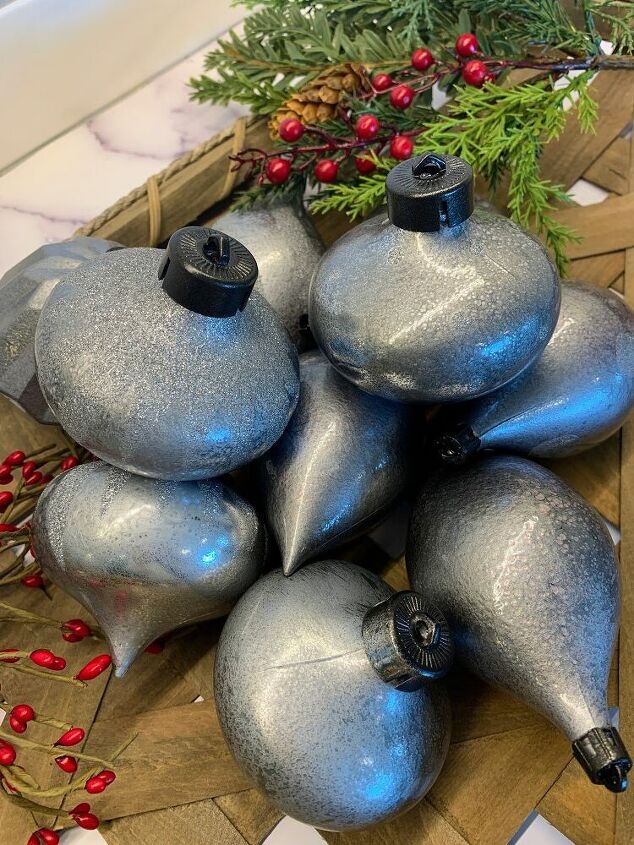
That’s when I remembered this bag of old odds & ends ornaments packed away in the basement. They are pretty, but they just don’t work with the style of my tree. But, they are bigger in size, which is what my tree needed. Even though they were all kinds of bright colors, I knew I could give them a quick and easy makeover to make them fit in with my tree decor.
My ornaments were a mixture of plastic and glass, and both accepted the paint just fine, so don’t be afraid to try this technique on whatever old ornaments you have that need a makeover.
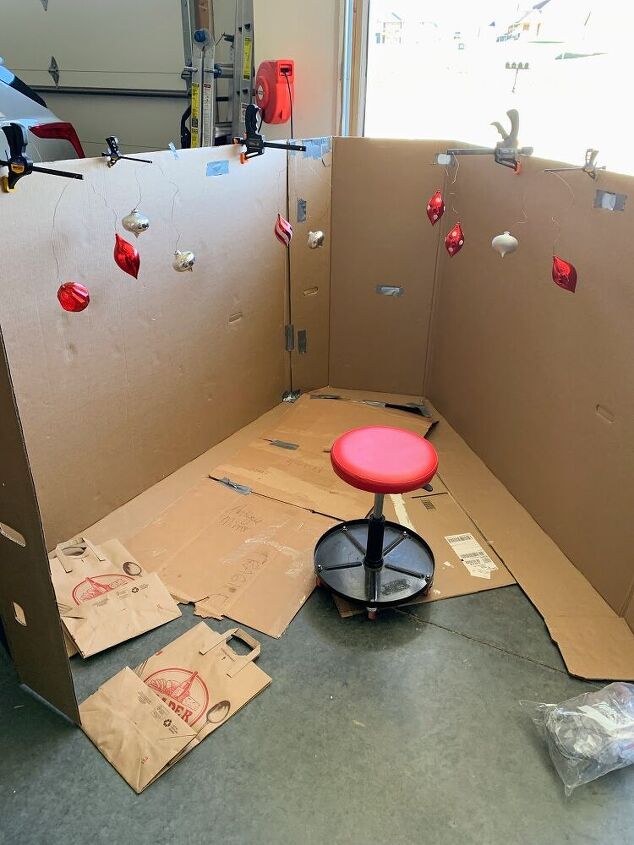
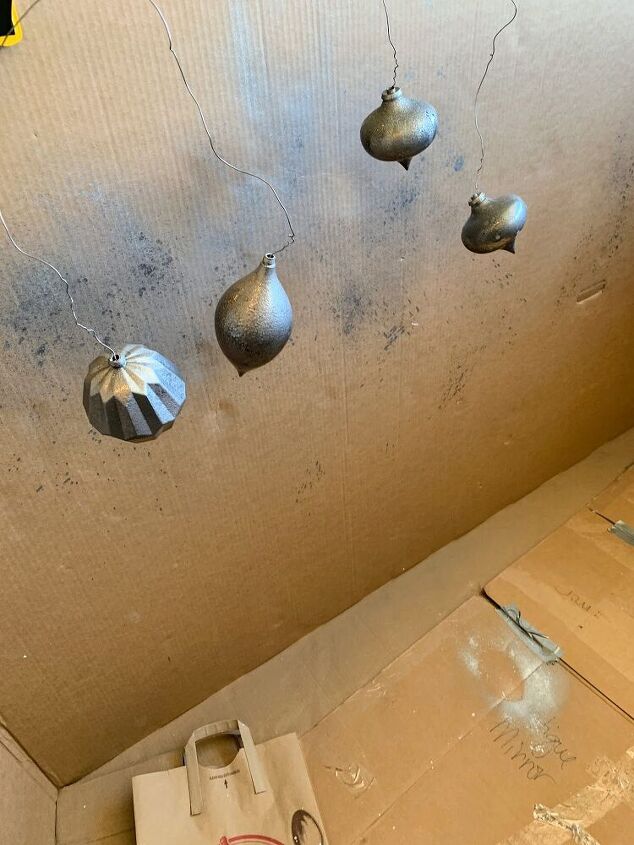
Since it was a bit too cool and windy to paint outside, my husband set up this painting booth for me in the garage. It worked brilliantly!
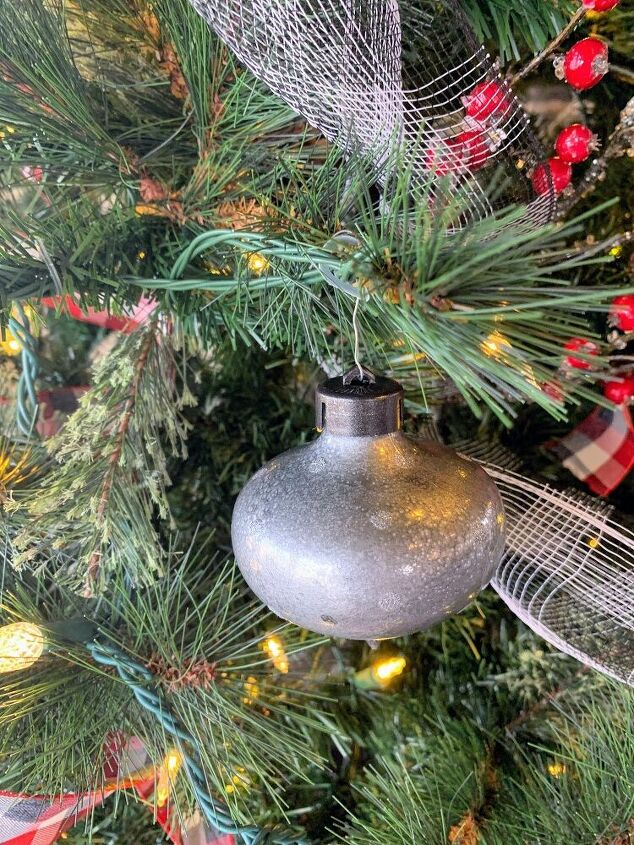
He attached clamps to the top of the cardboard. I removed the ornament caps from the top of each one, and was able to insert a piece of slightly bent wire into the top of the ornaments to hold them on.
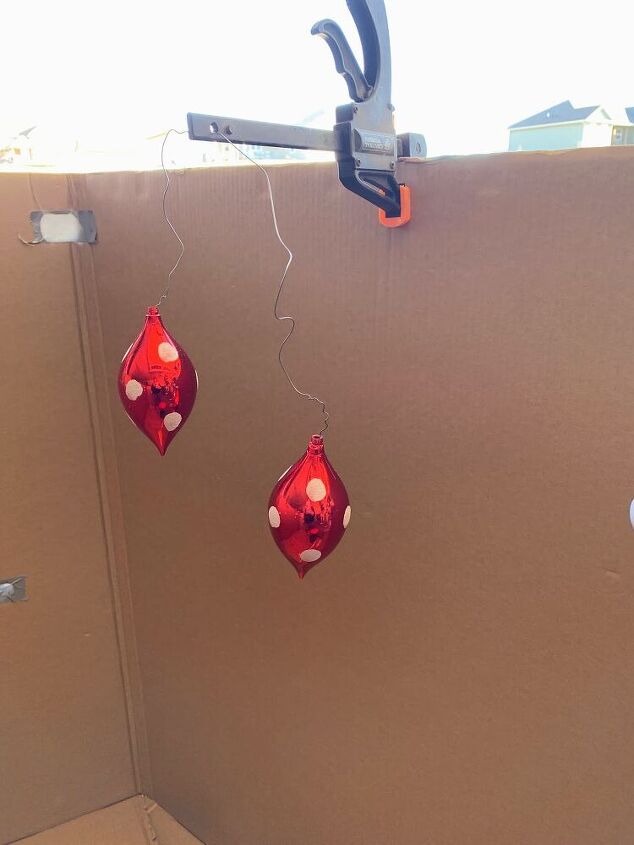
Hanging the wires on the clamps let me paint all sides of the ornaments easily. Some of the ornaments had glittery patterns on them, and I just painted right over them.
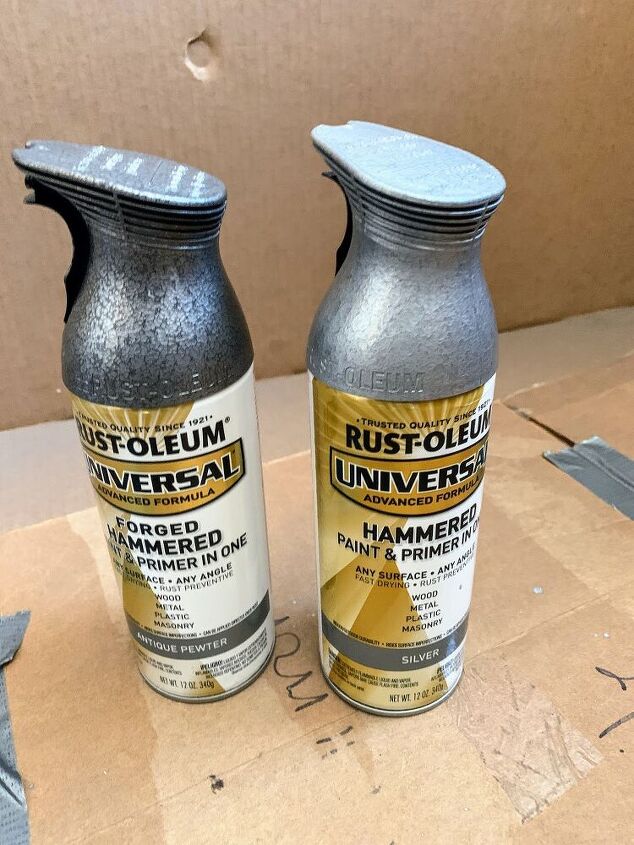
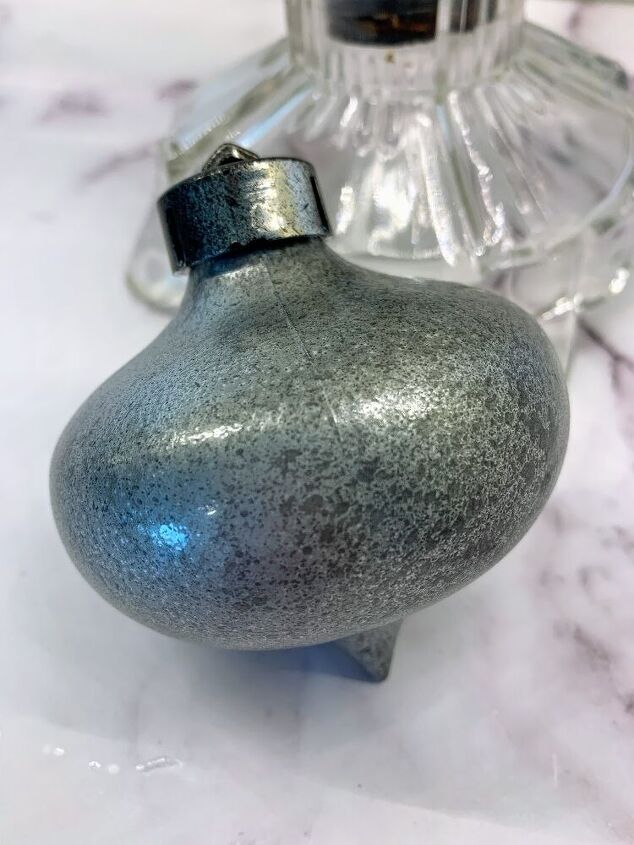
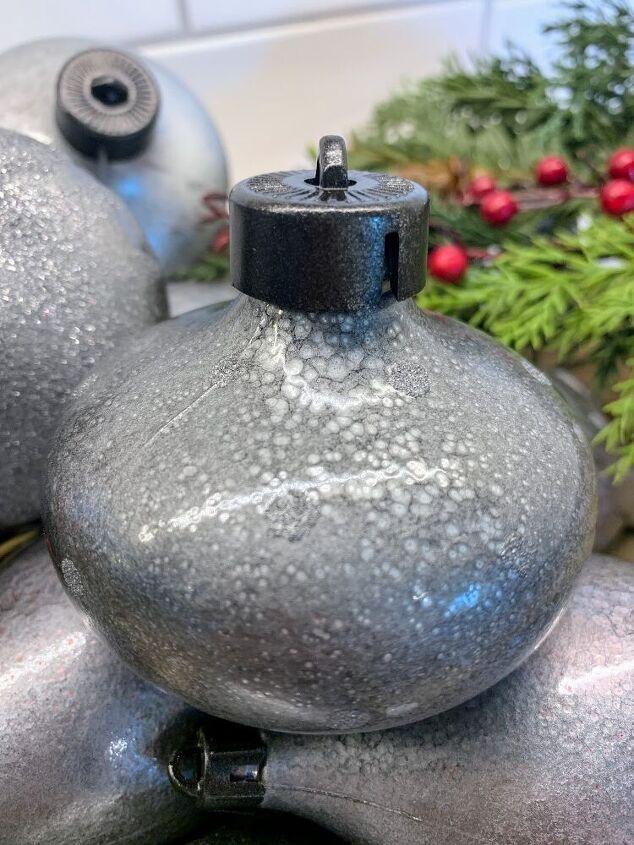
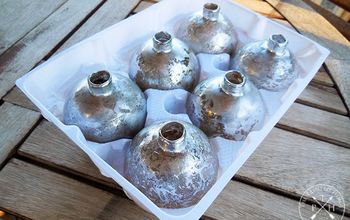
My goal was to get a mercury glass appearance to my ornaments. To accomplish this, I used two colors of Rustoleum for the ornaments themselves, and a third color for the ornament caps.
I began by giving all the ornaments a very light base coat of Rustoleum Hammered Silver.
Then, while the paint was still wet, I lightly sprayed over the top of the silver with Rustoleum Forged Hammered Antique Pewter. With this color, I held my can far away, and only lightly glazed the ornaments, so as not to completely cover up the silver. This technique created the color variations found in mercury glass.
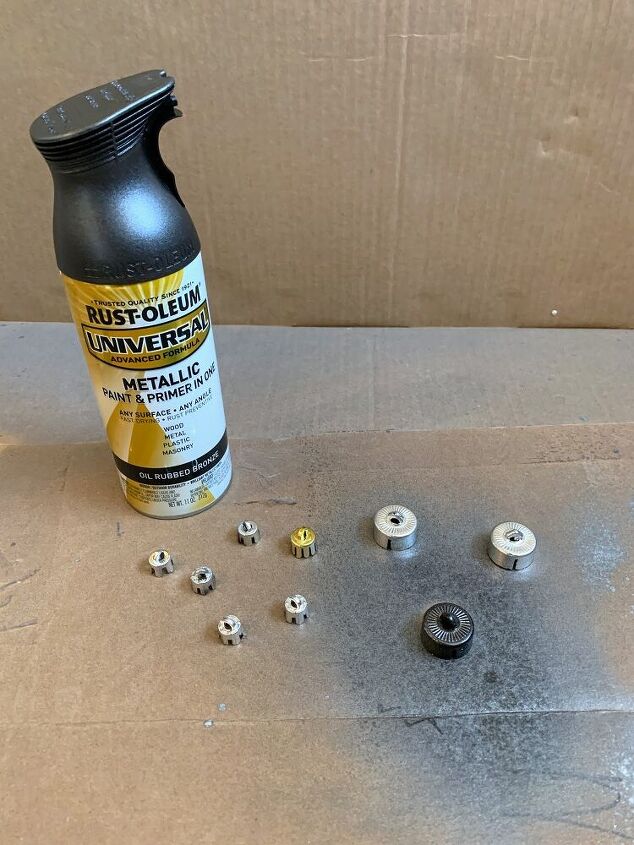
Next, I removed all the caps, and gave them a light spray with Rustoleum Metallic Oil Rubbed Bronze spray paint.
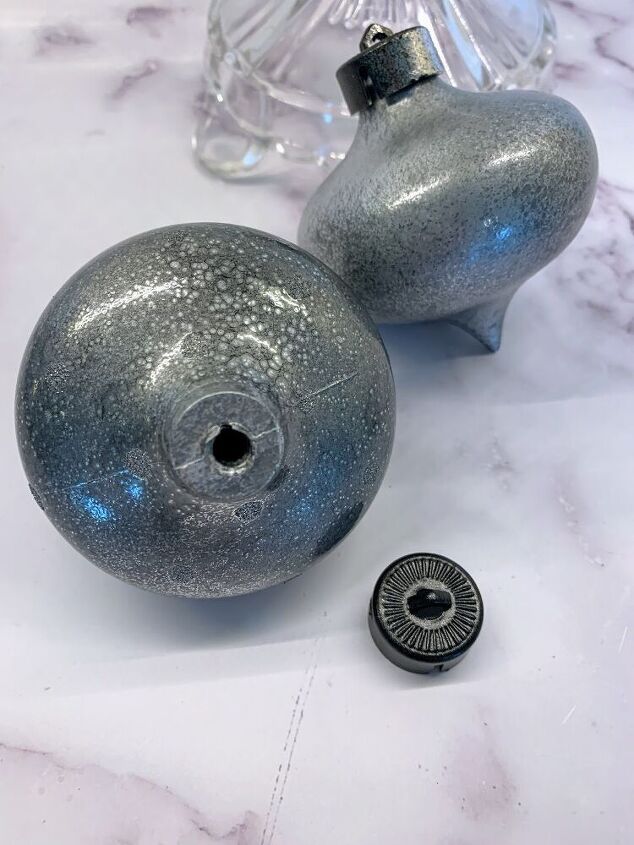
I let the paint thoroughly dry overnight, before I popped the ornament caps back on, and they were ready to hang on the tree!
I'd love it if you'd come visit me at The House on Silverado for more fun Christmas ideas!
Niky @ The House on Silverado
Resources for this project:
See all materials


Comments
Join the conversation
-
Love the painting booth idea. The end result of your ornaments is gorgeous! I never would have thought of using the hammered spray paint but now that I've looked at the different colors.. .I'm so following your lead - spray paint booth and all! Thank you!
-
Great idea!


Frequently asked questions
Have a question about this project?