


DIY Modern Board and Batten Wall
Want to create a simple and inexpensive accent wall that is just stunning?! Check out this modern board and batten wall tutorial!
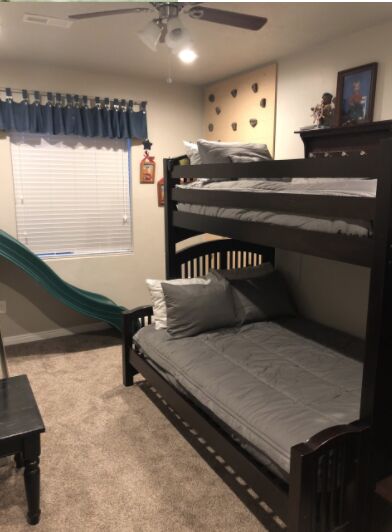
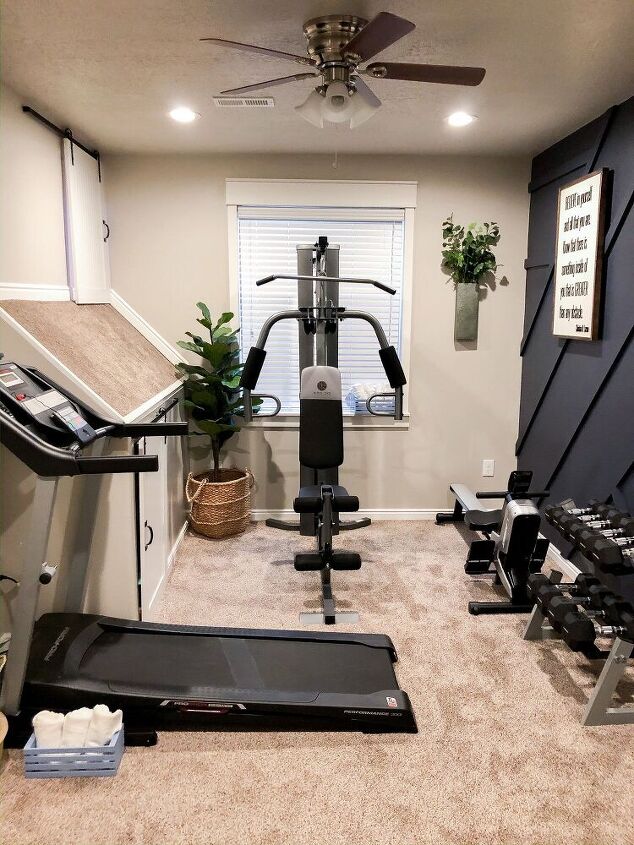
Before: This little boys room was ready to be turned into a family work out room. We moved all the furniture out and grabbed our supplies for the new accent wall.
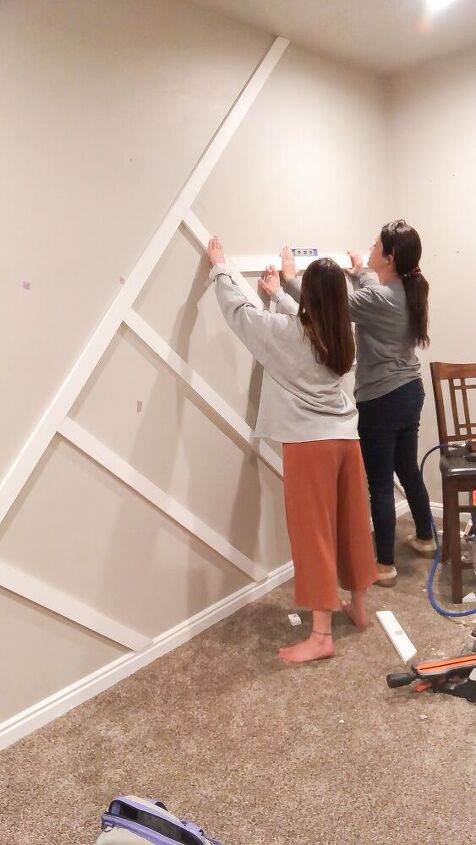
For this wall I used about 12 1×3 primed MDF boards (8 feet long) that cost about $5 a piece, sold at Home Depot. I used brad nails to install into the studs. Find your wall studs and create a horizontal line on the wall for each stud so you can tell where the studs are throughout the process.
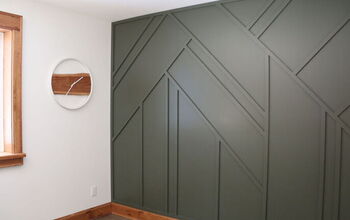
You will create any design you desire using these boards. I wanted to create a Modern Board and Batten Wall that I had seen on the blog Plank and Pillow. The tutorial the Henry and Brooke wrote is so easy to follow and super helpful.
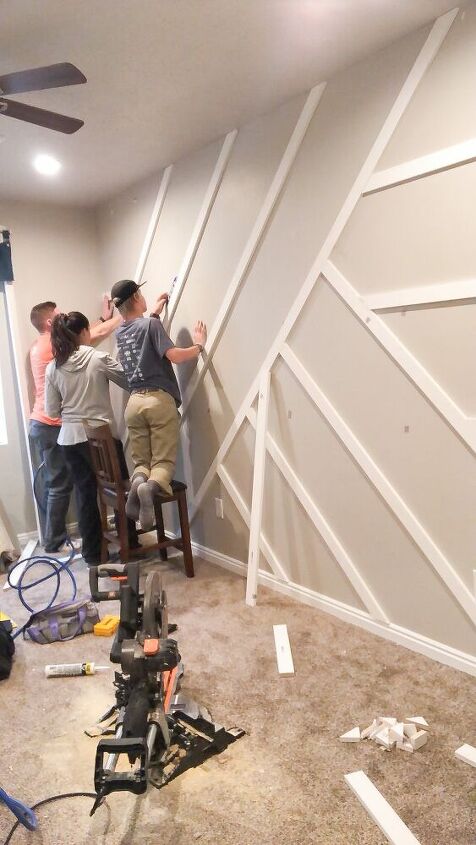
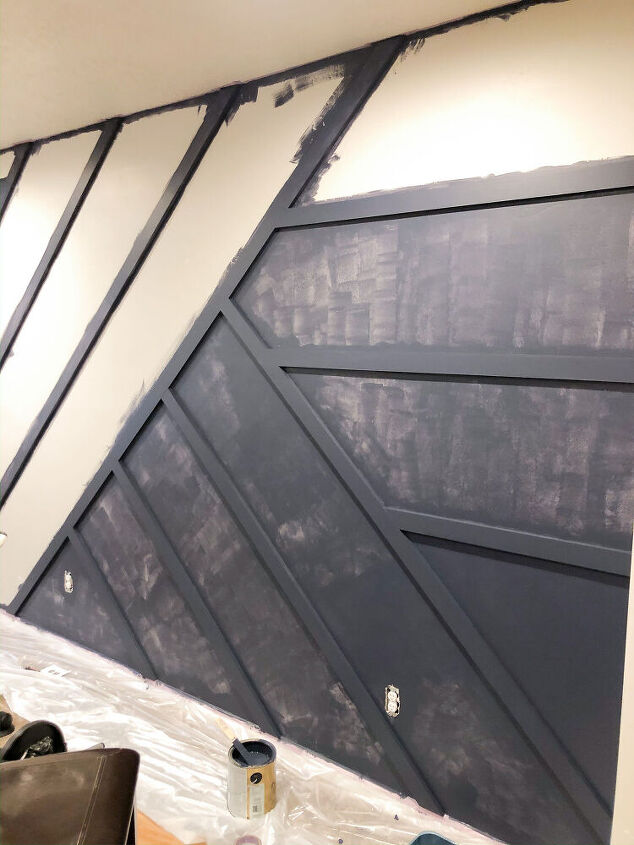
I created my pattern that was similar to Henry’s at Plank and Pillow. The basic principal is to start with a large line somewhere in the center and work off from it, with 45 degree angle cuts. I spaced my boards about 20 inches apart. Before nailing to the wall I made sure to find the studs I had marked so the nails were secure. I also used a level to ensure the horizontal pieces were straight.
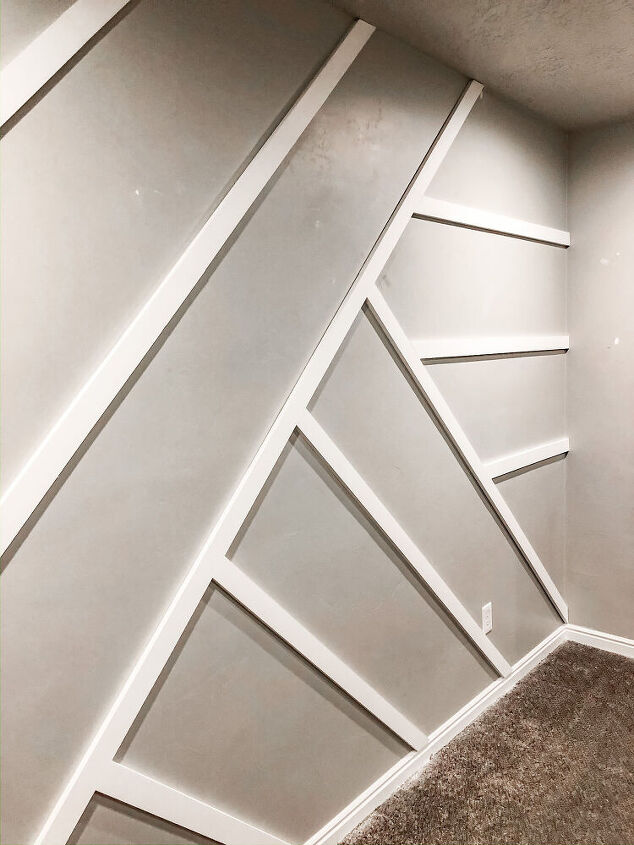
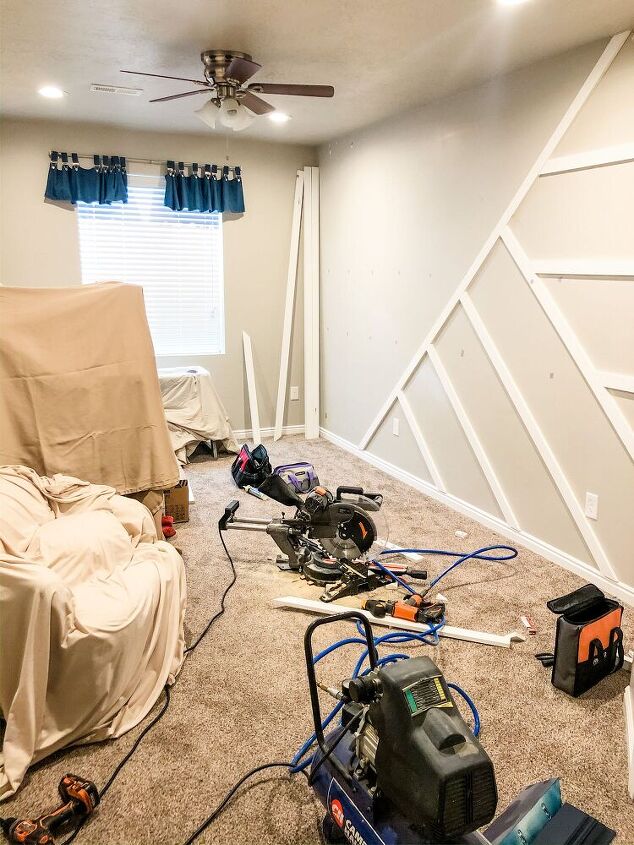
I filled in the nail holes, let dry, and then sanded them down before I started to paint. I also like to wipe down my wall with a microfiber rag before I get ready to paint to make sure it is clean and free of dust. You can caulk the edges but I chose not too.
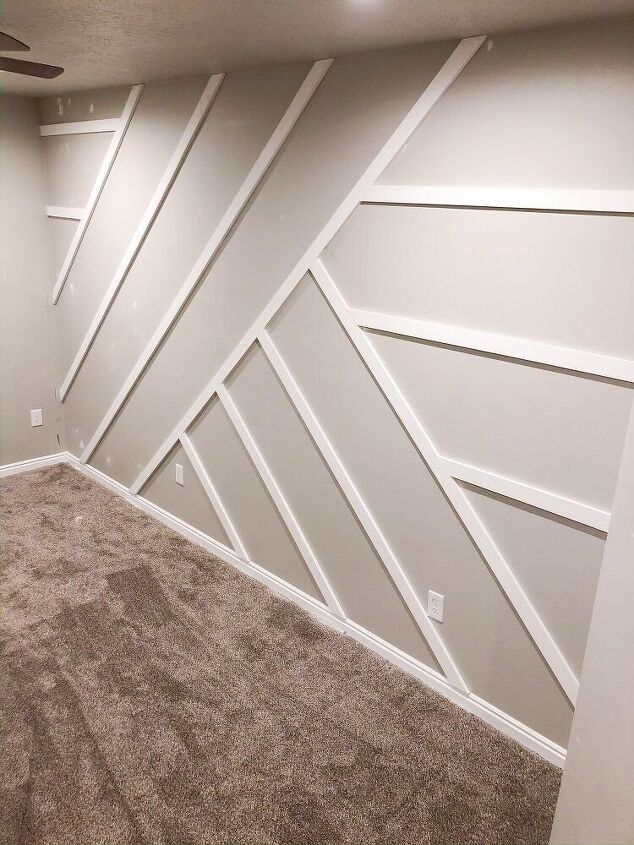
I cleaned up the room and prepped it for painting.
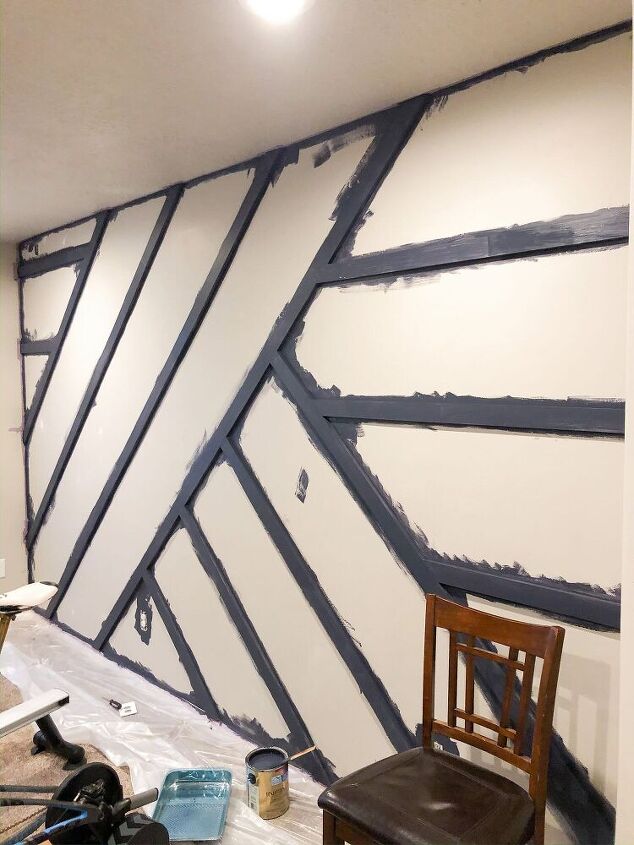
Use a paint that is paint and primer in one, and only requires one coat. You can be generous with the paint as you roll it on with the Purdy rollers. I started with the boards first and then filled in the sections.
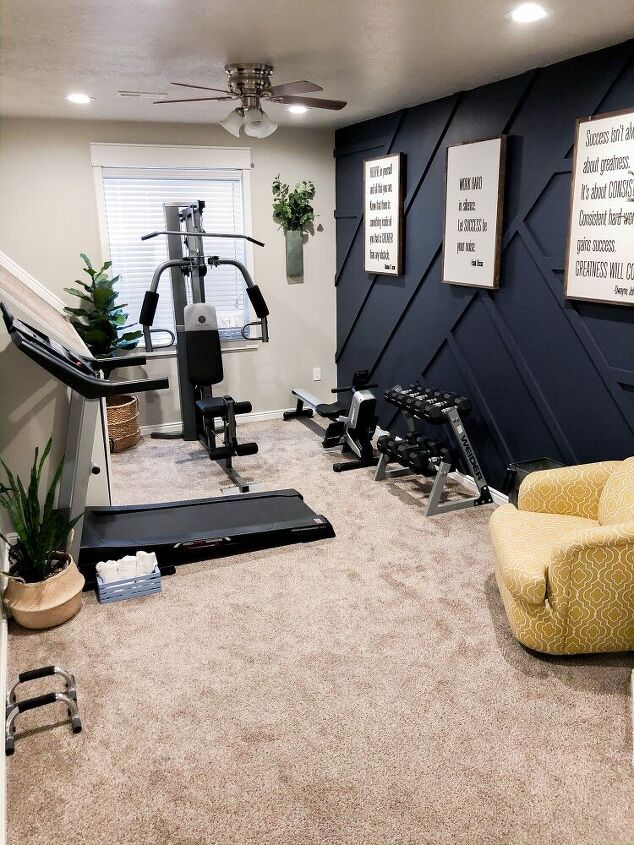
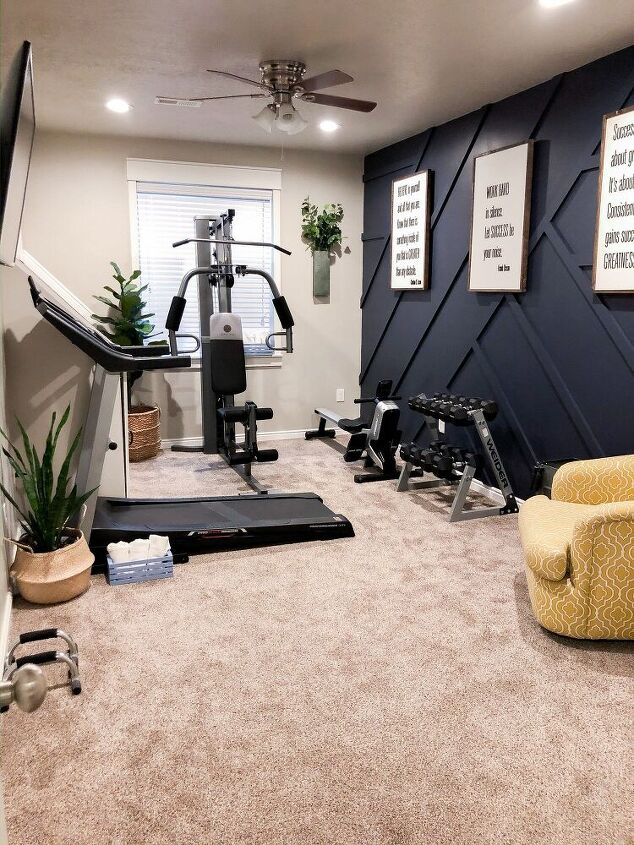
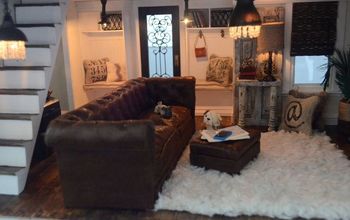
This Blue Endeavour (HGSW1451) color from HGTV HOME by Sherwin-Williams really turned out beautifully. Once it dried completely I was so smitten by how subtle the color was, but how it added such a beautiful statement. It was exactly what I had wanted.
We installed the workout equipment we received from and everything fell into place. I then finished decorating the room and absolutely loved the final product! This place is now a spacious work out room that has such beautiful colors in it.
Resources for this project:
See all materials


Comments
Join the conversation
-
LOOOOOOVE that wall color and thank you for sharing what color it is. I’m doing a wall like this in our bedroom as soon as our kitchen remodel is done. 🤦🏻♀️🤯😢😫
-
I love your project. My only thought is that it probably would have been easier to paint the entire wall first and then the boards before fixing them to the wall. Then you'd only have to give a quick layer on the boards to cover the nails portions for I can only imagine that painting all these different sections must have been time-consuming with all these angles! Nonetheless, the end result is gorgeous.


Frequently asked questions
Have a question about this project?
Since you turned the boards at 45 degree angle, i assume the longest boards needed to be at least 10 ft to reach floor to ceiling....did you need to join two of the 8 ft boards together to get the desired length? If so, how did you do this so the boards looked seamless?