


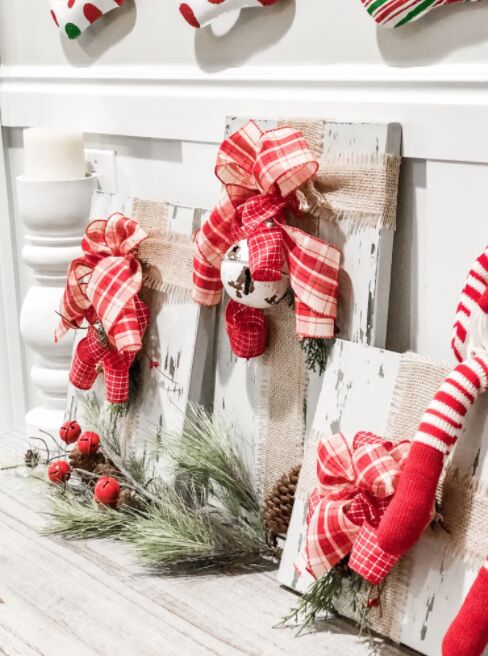
How To Make Wood Christmas Present Decor
Ready for a simple DIY Christmas decor project to make last minute? These wood presents are fast and make a great statement piece. They are inexpensive and last forever.
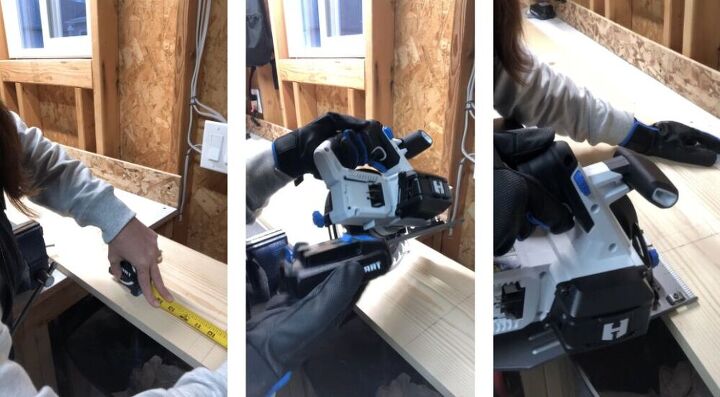
Cut your board into the lengths you desire. There is no right or wrong way to do this. I chose the 1×10 board (which is really 9 1/2 inches wide), but you can use any size you would like. The first cut was 9 1/2 inches long, and the second cut was 13 1/2 inches long. The third cut was 17 1/2 inches long.
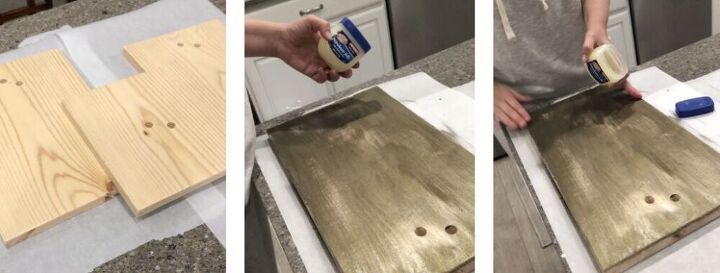
Additionally I wanted to make two holes in the center of the boards for tying my ribbon. I want to make sure these boards can be changed up and did not want to glue ribbon on it permanently. For the smallest square board I found the center and then measure 1/2 inch away from it toward the top right corner and the bottom left corner. It was my first time using a spade bit and it was really simple.
I then did the same thing to the other boards, but this time it was not in the center. It was 3/4 way to the top of these boards.
Time to paint. You can do any look you desire. Stain only. Paint only. Or leave the boards raw. I chose to do a chippy paint look. For a simple review, these are the steps:
- Paint the board a darker color with dark paint or stain and let dry.
- Rub Vasaline onto edges and certain parts of the board that you want the paint to “chip off” of.
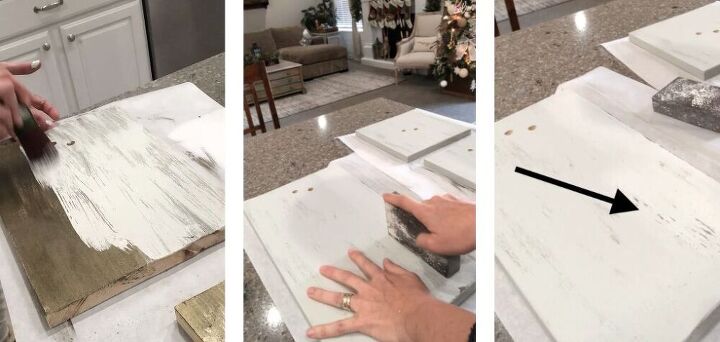
- Paint a top coat of lighter paint and let dry.Use a sander to gently rub off the top coat of paint where the Vasaline is.
- Finish with a top coat.
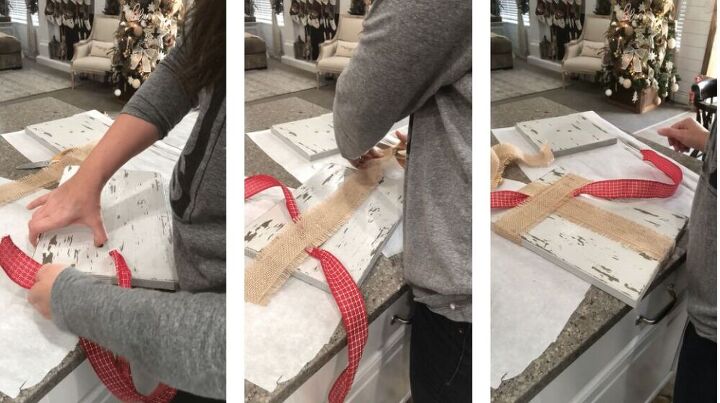
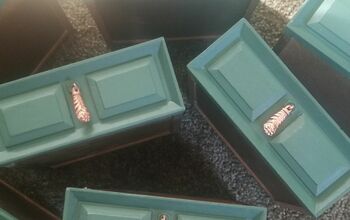
You can tie the ribbon in anyway you would like. I first added the length of bow ribbon through the holes, then left them untied as I added a different color of ribbon vertically and horizontally across the top. I then turned the board over and taped the ribbon with duct tape to the back, once again so I can change it out later. You can glue or staple gun it if you prefer a more permanent ribbon.
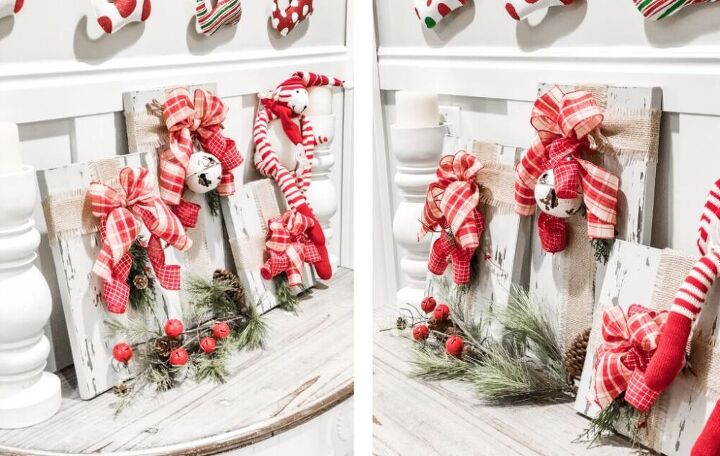
I then turned back over the board and added different elements as I tied the bows. One board had a bell, the other two had some greenery. Just be creative and do what you like!

You have finished your simple DIY Christmas Decor wood presents! You can set them anywhere or even hang them from the back where the ribbon has looped. Wasn't that so fun?

Comments
Join the conversation
-
love this idea! i will be looking in my wood pile tomorrow, i need a couple of these for my outside christmas tree. thanks
-
I hope you had a chance to make it!!


Frequently asked questions
Have a question about this project?