


Make This Vertical Christmas Tree Sign With an Unexpected Twist...
My Christmas tree is finally up! Or should I say one of them...
Vertical porch signs are all the rage lately! I personally like them because they don't need much horizontal space, don't need a base (they can sit on the ground!), and they are easy to store.
But rather than words, this Christmas I dreamt of perhaps having a vertical 'tree' sign instead. One you could decorate as desired of course!
So I designed a Christmas stencil around this very thing... but this round, both the tree AND crate it sits in can be decorated to suit! Fun!
But then things took an all new twist that turned out more custom than I ever imagined...
This little tree sign has a place to even stuff Christmas cards if desired... yup, it's productive too!
Here's what I did:
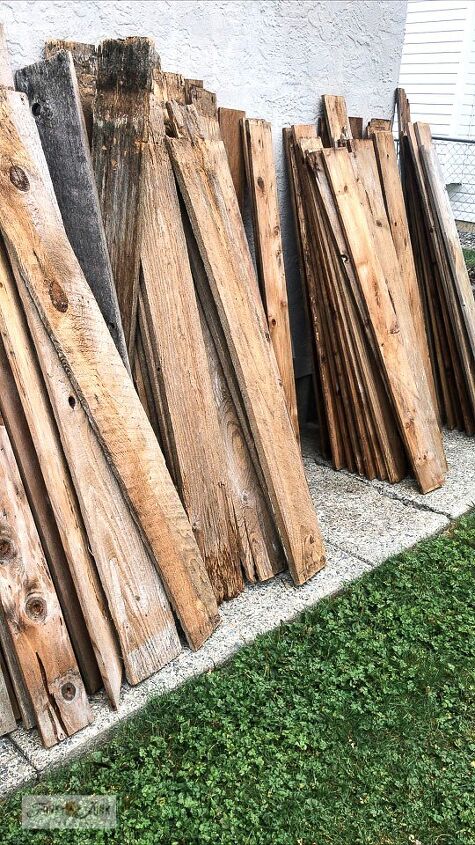
I collect reclaimed wood, so grabbing 3 pieces to make this sign ended up being perfect!
You can also use new cedar planks from the hardware store.
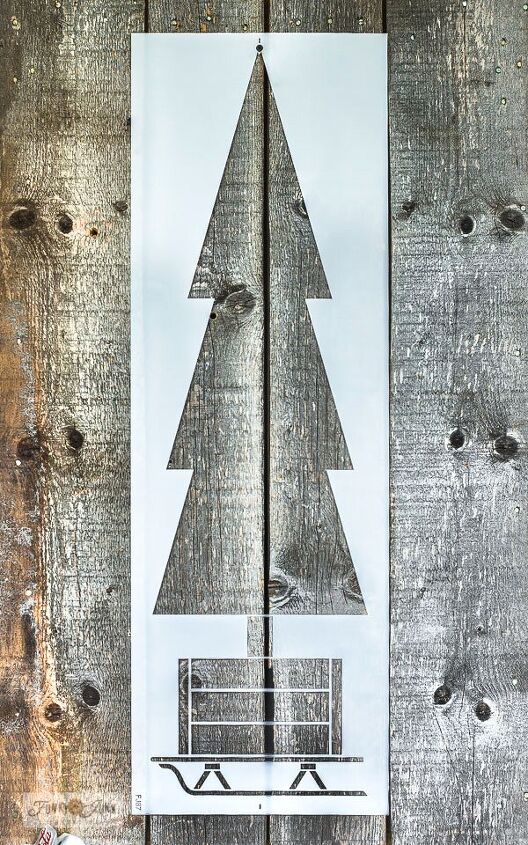
Tall Christmas Tree in Crate (stencil HERE) is a 3 foot tall vertical stencil, designed so you can decorate the tree AND crate!
Christmas Crates (stencil HERE) was used to decorate the tree.
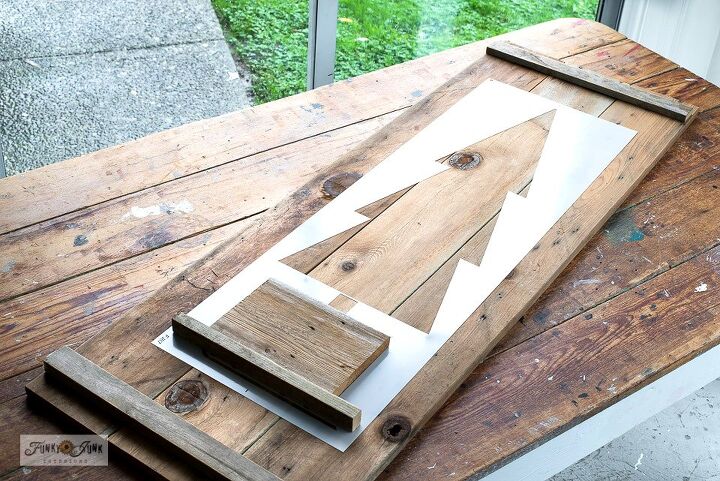
The Tall Christmas Tree in Crate stencil was placed on top of reclaimed wood to gauge how tall to make the sign boards.
Two small support boards along the top and bottom hold the sign together.
I also placed some scrap pieces of wood under the tree to resemble a simple 3D crate. How cute!
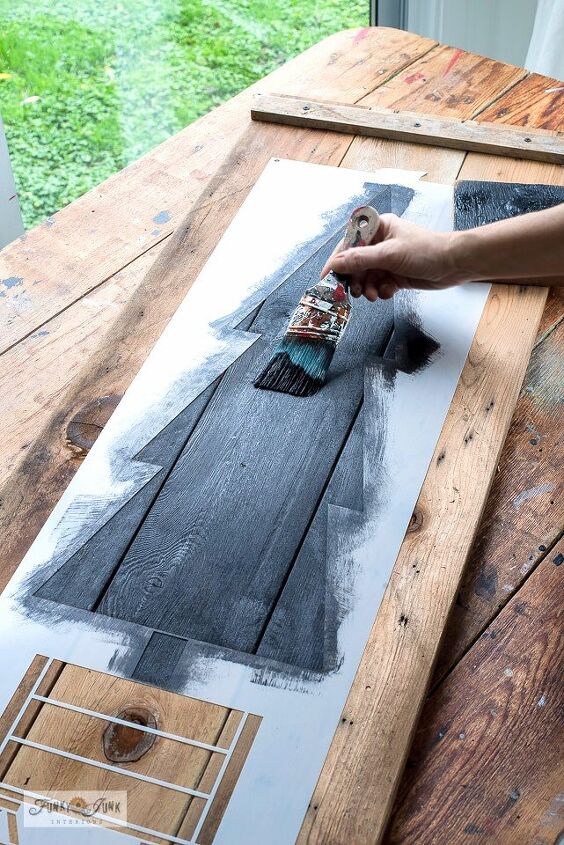
Since this stencil is so large, the tree image was painted on with Fusion Mineral Paint's Coal Black with a wide angled brush instead of a stencil brush!
Care was taken around the edges by dry-tapping so paint bleed didn't transpire under the stencil.
Watch the helpful video inside my blog post link below to see how it was painted.
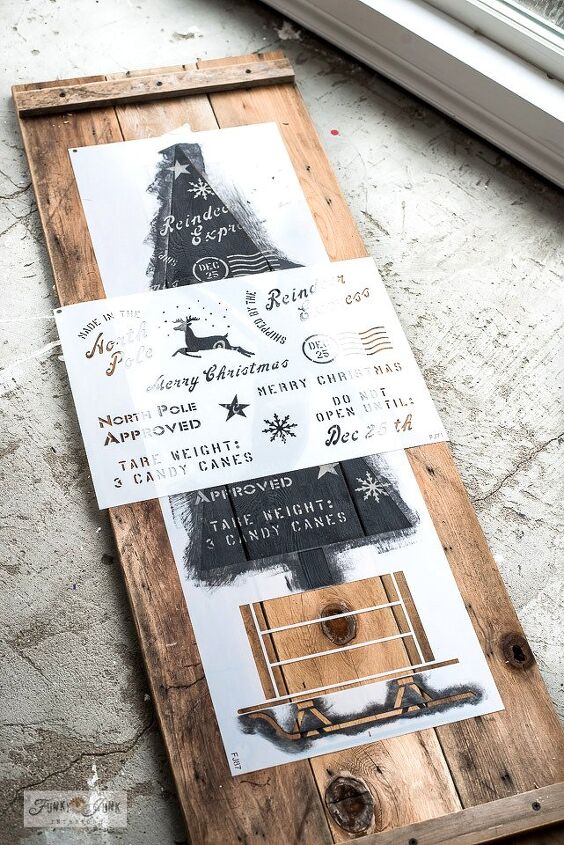
Once the tree was painted, before removing the tree stencil, Christmas Crates was placed on top, and stenciled in Fusion's Algonquin so the lettering resembled the reclaimed wood look.
The stencil was stenciled just as it was designed, then slightly re-arranged to suit as I reached the higher part of the tree.
Coverage was quick and it turned out fabulous!
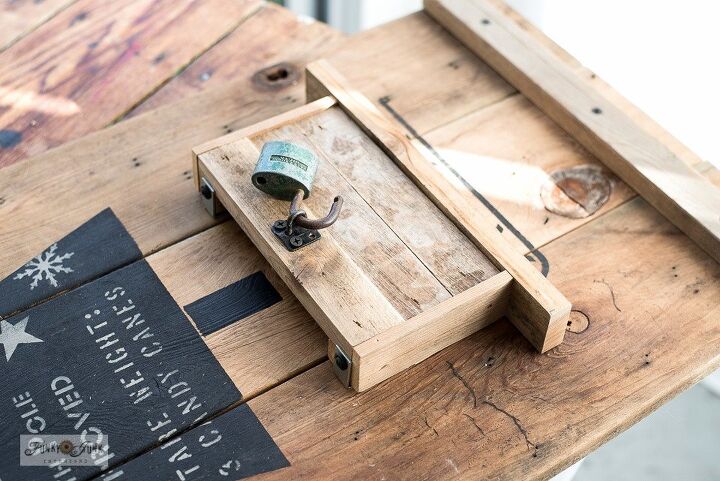
Some scrap wood pieces were rigged up to resemble a realistic crate, leaving an opening so you can tuck things inside, such as fresh evergreen branches or Christmas cards!
The wood pieces were cut, dry-fit, air nailed together, then attached to the sign background.
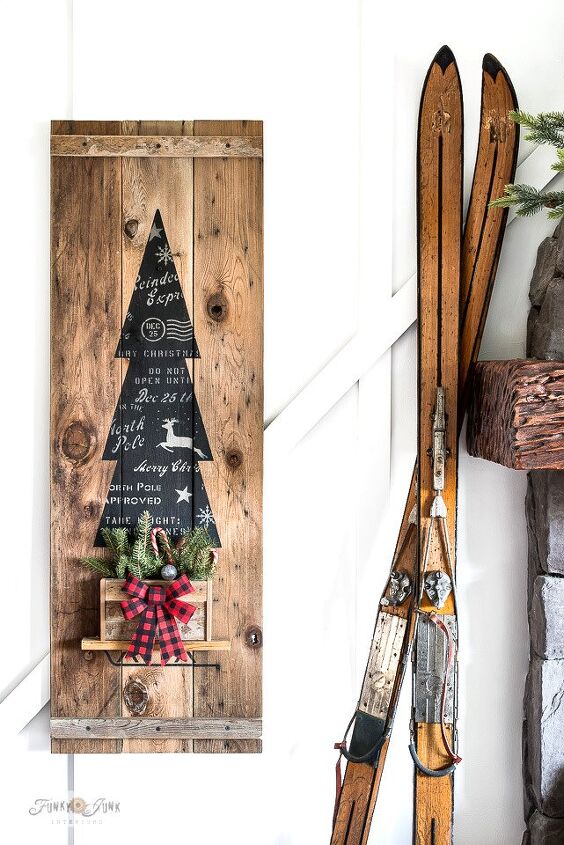
And the end result is one cool Christmas tree I had to hanging INSIDE the house instead of out on the porch!
Could you imagine the addition of fairy lights? Or painting or adding a pattern to the tree any way desired?!

I love my new Christmas tree vertical sign. And it was a whole lot more fun to make than stringing up lights on the real deal... LOL
See it holding Christmas cards HERE in the original blog post!
How would you decorate the tree to suit your home?
Resources for this project:
See all materials


Comments
Join the conversation
-
Super, super CUTE!!
-
Absolutely Gorgeous...can't wait to make several for gifts. You are very talented.


Frequently asked questions
Have a question about this project?