


DIY Christmas Wreath With Vintage Ornaments
I saw a beautiful little tinsel wreath with faded vintage glass ornaments and I knew I had to try to re-create it! I found the perfect vintage-style ornaments at Walmart for this cheap and easy Christmas DIY. Click through for the directions and short supply list! Find more detailed instructions at GirlsBuildClub.com
Make this vintage-style Christmas wreath for cheap with supplies from the dollar store and Walmart. I love it's vintage vibe. :)
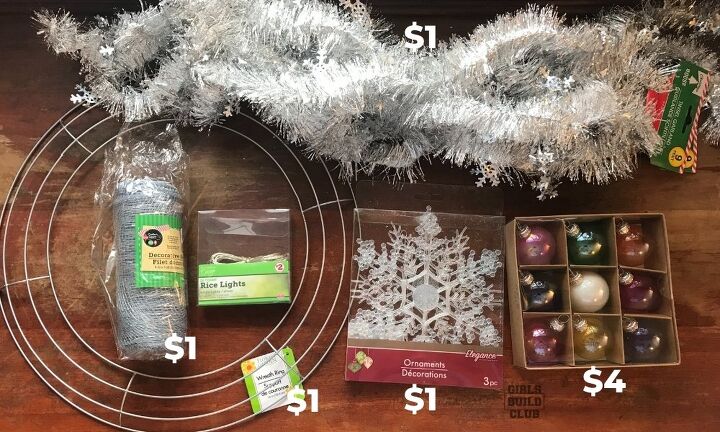
Supplies You'll Need:
- Wire wreath form ($1) at Dollar Tree
- Silver mesh ($1) at Dollar Tree
- Silver tinsel ($1) at Dollar Tree
- Snowflake ornament ($1) at Dollar Tree
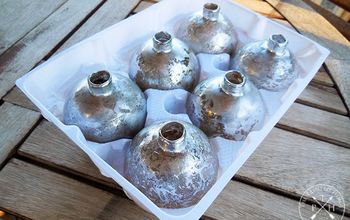
- Vintage Style ball ornaments ($4) at Walmart
- Floral Wire or hot glue
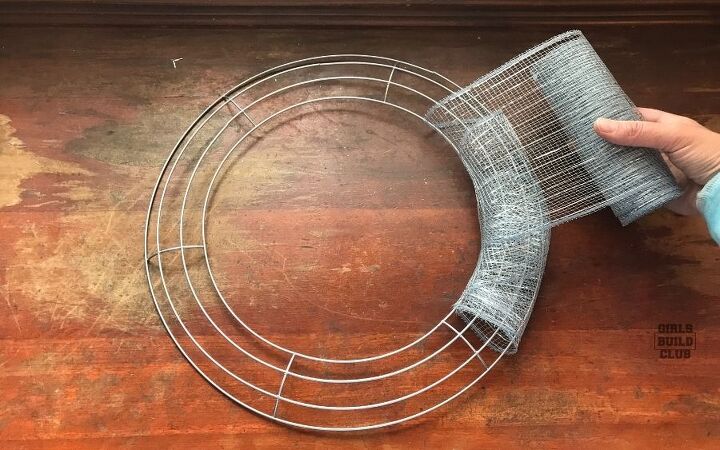
Start by wrapping your wire frame with mesh to help hide it.
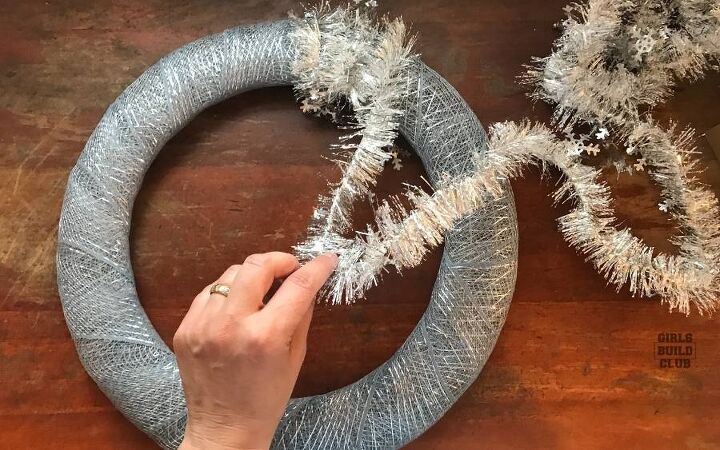
Next wrap over the mesh with your silver tinsel.
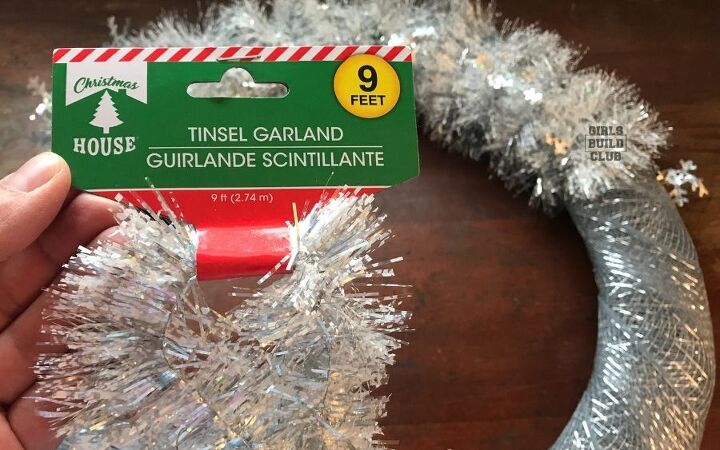
I think I used 3 of the tinsel garlands to completely cover it.
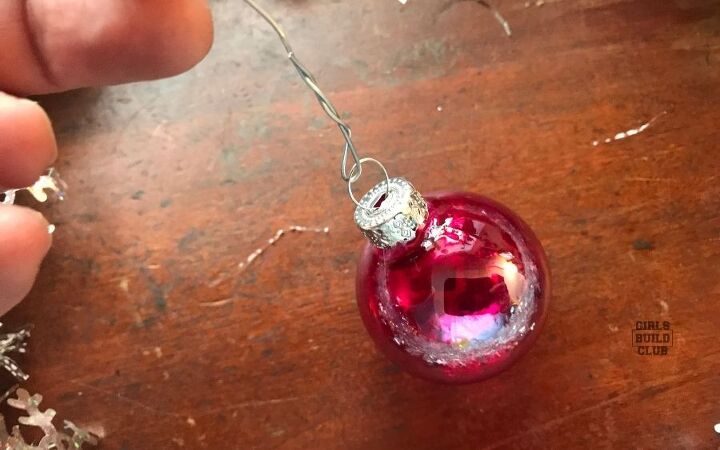
Now take your vintage style ornaments and add a bit of wire to them. If you want, you can use hot glue to glue down the cap first. That will keep the top from detaching accidentally later on.
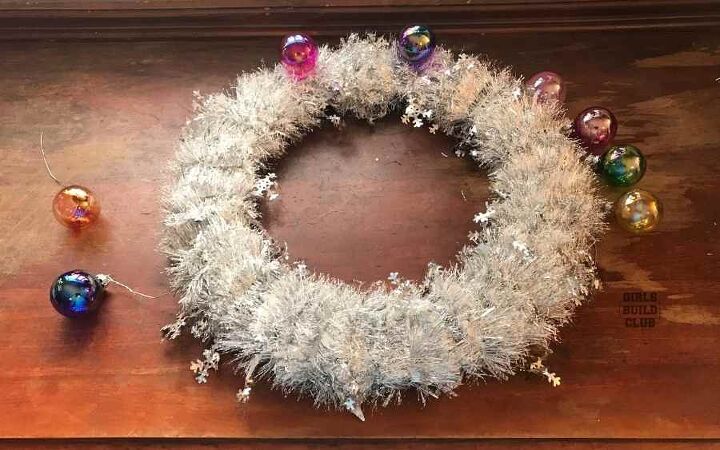
Start attaching your ornaments to the wreath.
Poke the ornament wire through the tinsel and mesh from front to back and then wrap the remaining wire around the frame.
(If you're enjoying this DIY, sign up for Girls Build Club for free here.)
It hides well in the fluffy tinsel, so don't worry about wrapping it toward the front. I did and you can't see it at all.
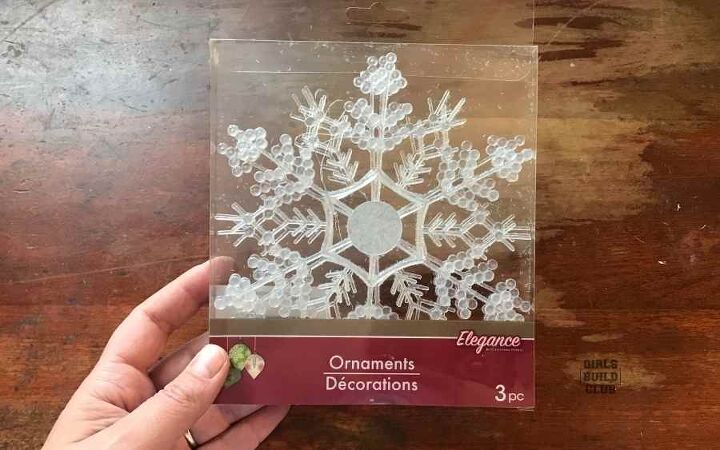
Add a nice little centerpiece ornament - I used this snowflake ornament for $1 at the dollar store.
You can use whatever you want! Maybe an ornament of your favorite animal? There are so many fun ones out these days.
Add some battery powered fairy lights, too, if you want!
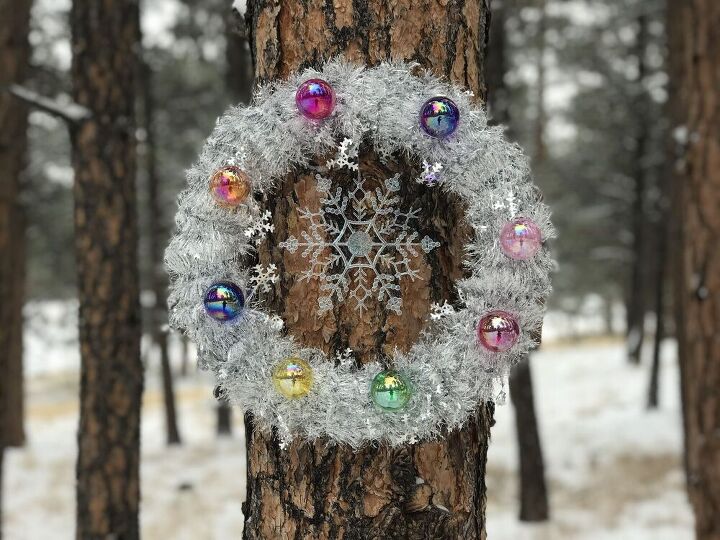
Hang up your handmade Christmas wreath inside or outside and enjoy!
Check out GirlsBuildClub.com for more projects like these. You can even join the club for free here.
P.S. If you liked this post, leave a comment or let me know if you have a question. I try to respond to everyone.
Thanks for reading and see you at Girls Build Club!!
Resources for this project:
See all materials


Frequently asked questions
Have a question about this project?