


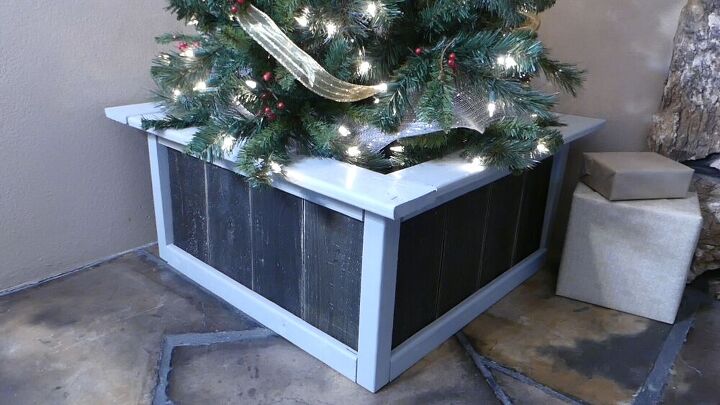
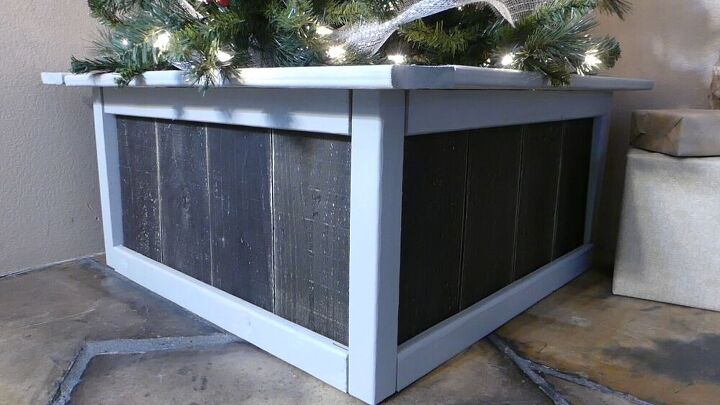
Tree Box

I’m just not crazy about tree skirts. They look dated to me and for some weird reason, mine are always covered in dog hair. If you’re looking for a tree skirt alternative, too, try this easy to build Tree Box.
You’ll need (affiliate link on my blog generate proceeds and ALL are donated to no-kill animal shelters and rescue organizations):
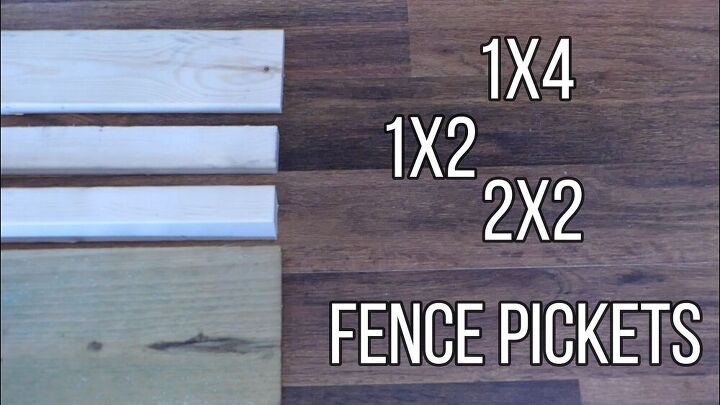
* Wood – 1x4s, 1x2s, 2x2s, and fence pickets
* A miter saw, safety glasses, measuring tape, a drill, and 1 and a quarter inch screws.
* A nail gun and brad nails, wood filler, and 8 corner brackets with half inch screws.
* And whatever you’ll need to finish off your tree box. I’m using stain, spray paint, a paint brush, a drop cloth, and some sand paper.
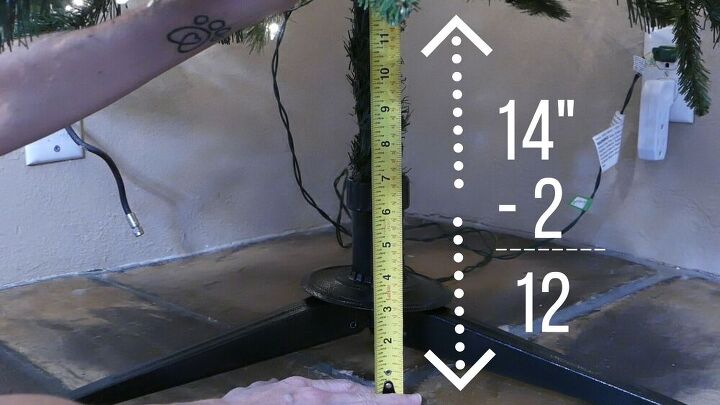
First, measure from the floor to about two inches below your bottom branches to get the rough height of the box. It’ll actually be about 3/4s of an inch higher when everything’s done. My tree’s bottom branches start at about 14 inches up so I’m going to make the side of my box 12 inches tall.
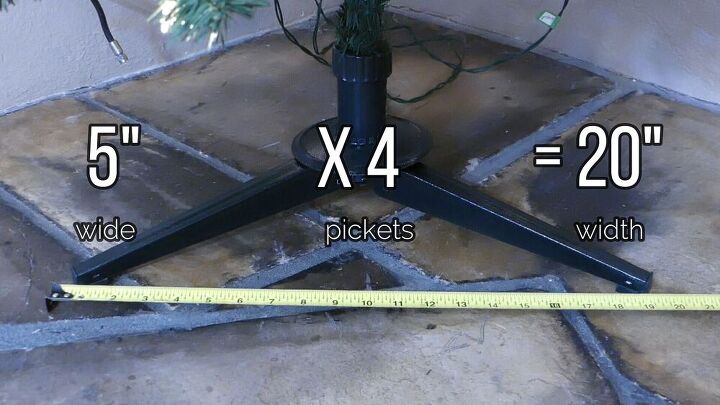
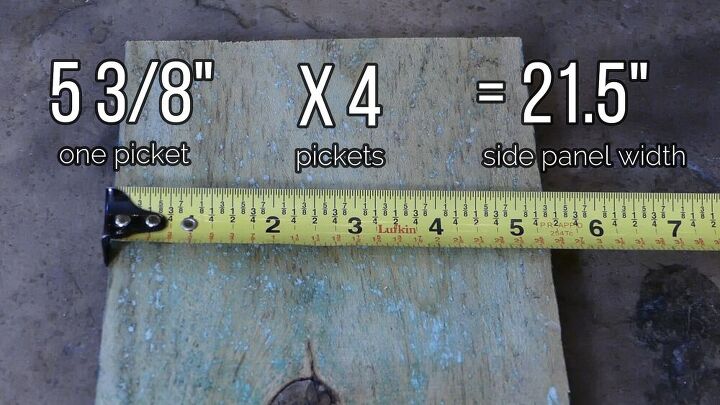
Next, measure the widest point of the stand as a reference for the width. Mine measures about 20 inches wide. Use this measurement to figure out how many pickets across you’ll need. Since my pickets are just over 5 inches wide, I’ll need four across to fully cover the width. It’s ok if it’s a bit over.
Then take the actual width of one picket times the number of pickets you’ll need for the width of the tree – 5 and 3/8 inches times 4 pickets equals 21 and a half inches.
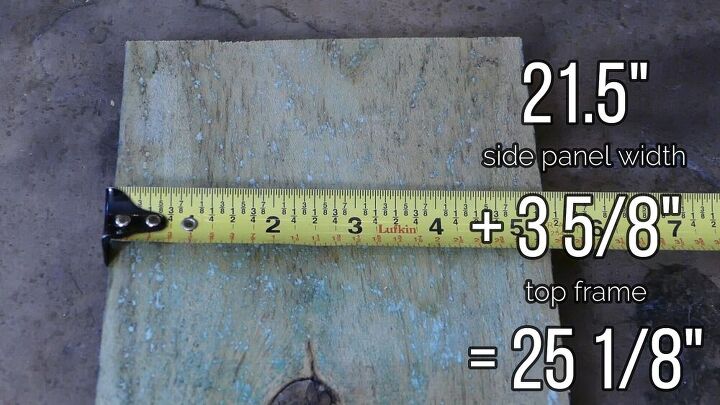
Finally, take the width and add 3 and 5/8s inches for the top frame. For my tree, that’ll be 25 and 1/8 inches.
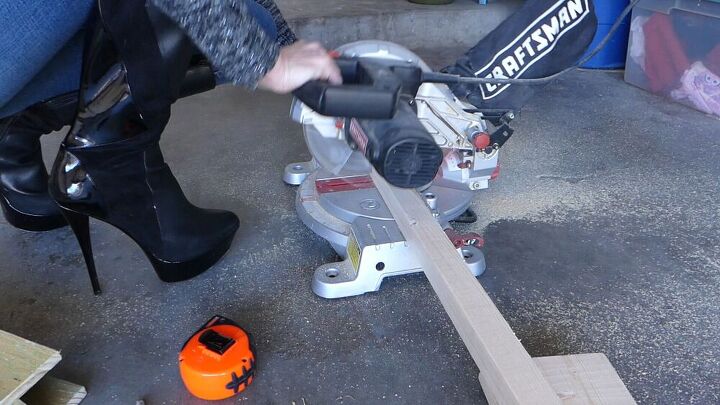
Cut the wood with a miter saw. You’ll need:
4 – 1 by 4s to that last measurement (25 and 1/8s inches for my tree)
8 – 1 by 2s cut to the width measurement (21 and a half inches)
4 – 2 by 2s cut to the height measurement (12 inches)
And 16 – pickets also cut to the height measurement (12 inches)
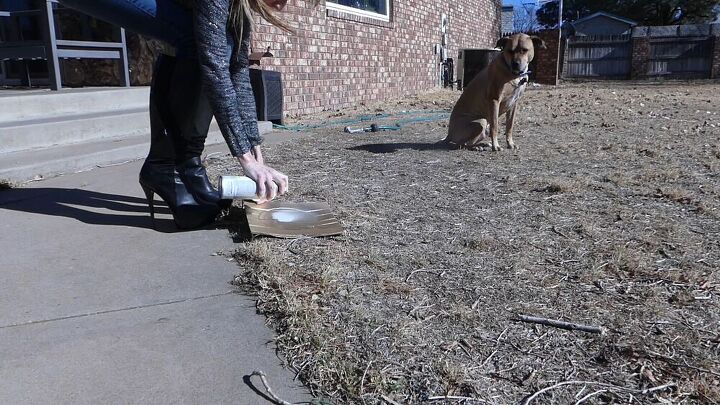
Stain and paint all of the wood over a drop cloth. I’m using a coffee gel stain for the pickets...
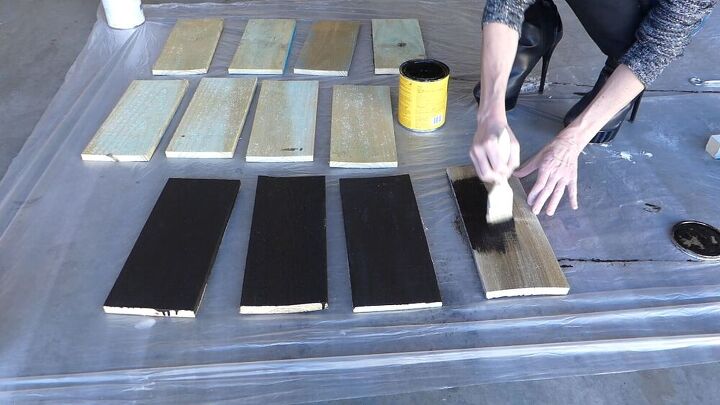
and Rust-Oleum’s Perfect Gray spray paint for the 2x2s, 1 by 2s, and 1 by 4s. Allow everything to fully dry.
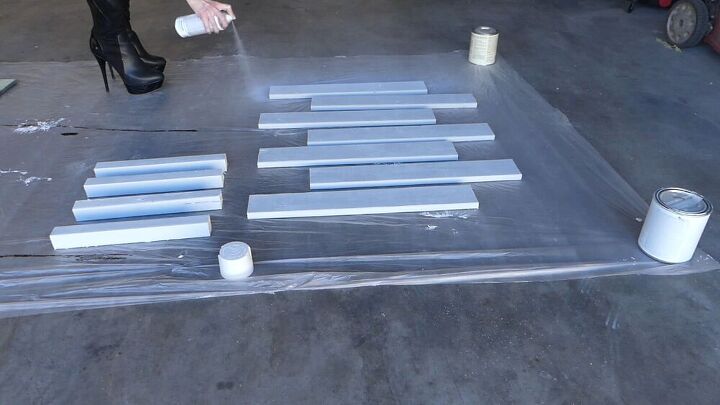
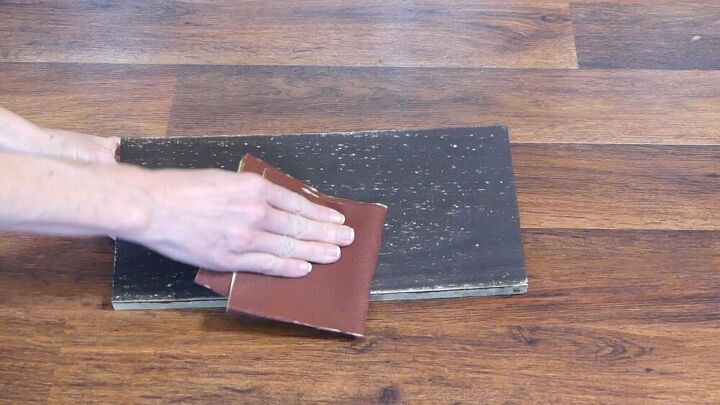
I’m also using sandpaper to rough up the stained wood and make it more rustic looking.
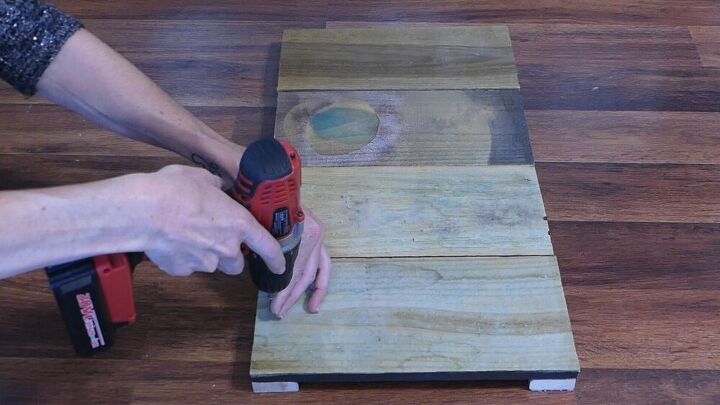
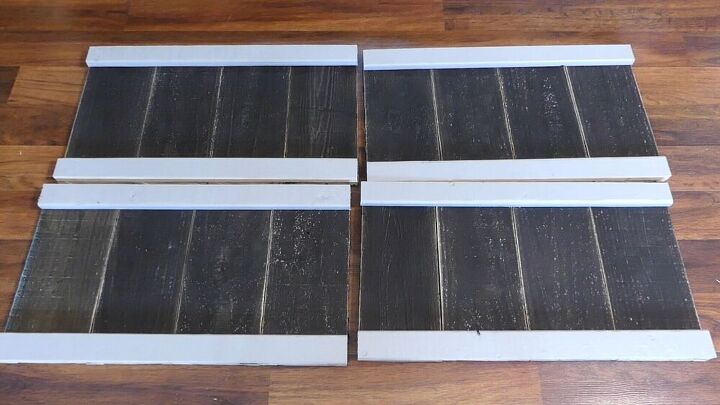
Lay two of the 1x2s nice side down...
and add the pickets nice side down on top.
Line all of the wood up so that the 1x2s trim the top and bottom edges of the pickets. Drive screws through the ends of each picket and into the 1x2 to secure.
Make three more using the same process.
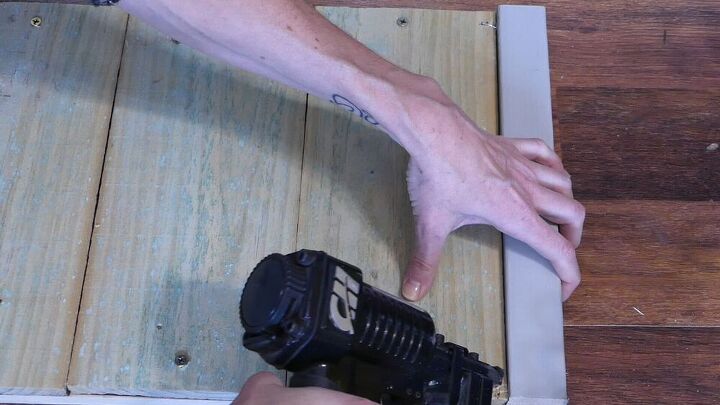
Line up a 2x2 on either side of one picket piece.
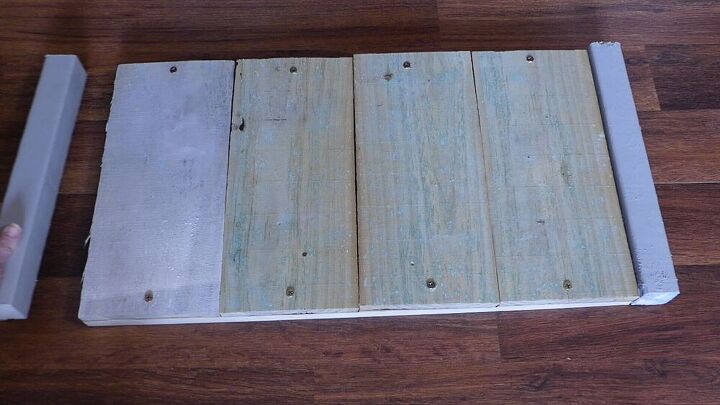
Use the nail gun to tack them together.
Lay a second picket piece down and line up the first one vertically at a 90 degree angle. Tack the second to the first’s 2x2 in the same way. This will make one half of the box.
Do the same thing for picket pieces 3 and 4 so you have two halves tacked together.
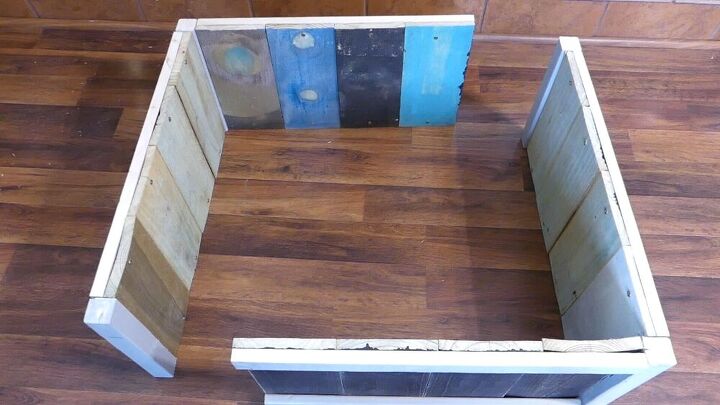
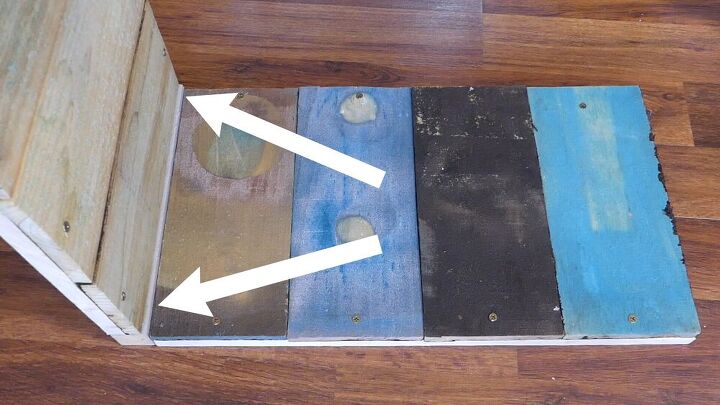
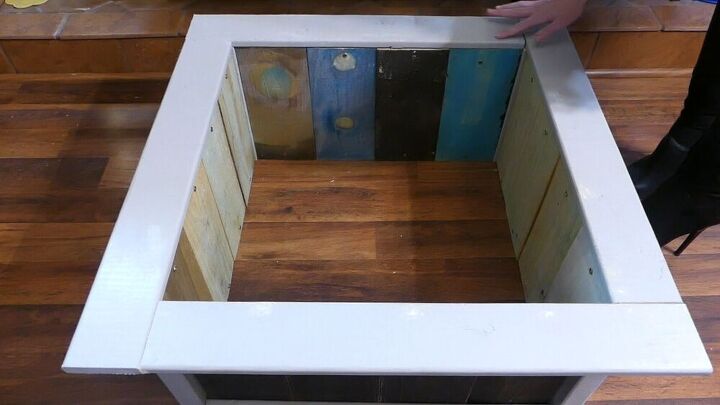
Line them up right next to each other to form the tree box. Then place a 1x4 so that it lays along the top inner edge but leaves one end’s 2x2 exposed.
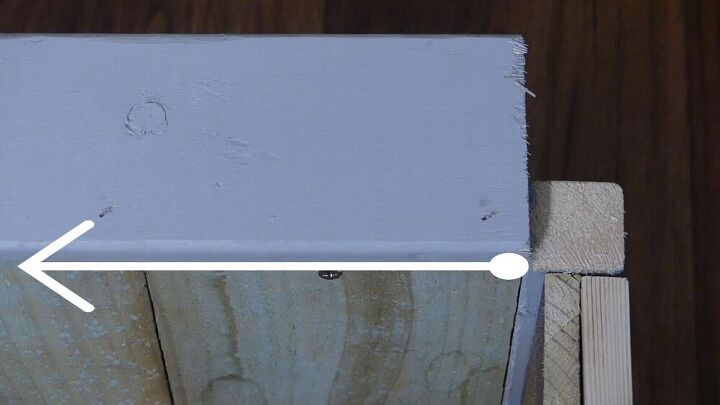
Nail in place along the length and add the next piece so that the end lines up perpendicular to the last board. This will frame the top of the tree box and there’s no miter cuts.
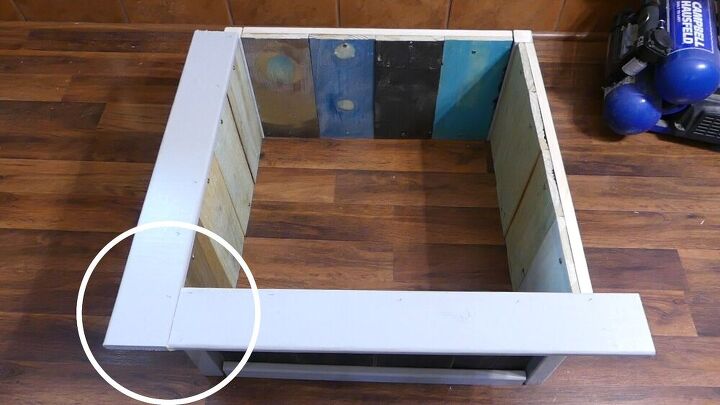
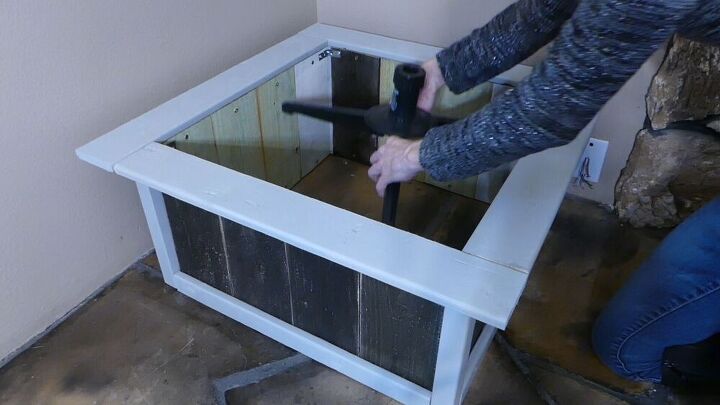
With the 1x4s securing the pickets and 2 x 2s together on top, add brackets to further hold the top and bottom of all corners in place.

Fill in the nail holes with wood filler. Allow to dry and gently sand.
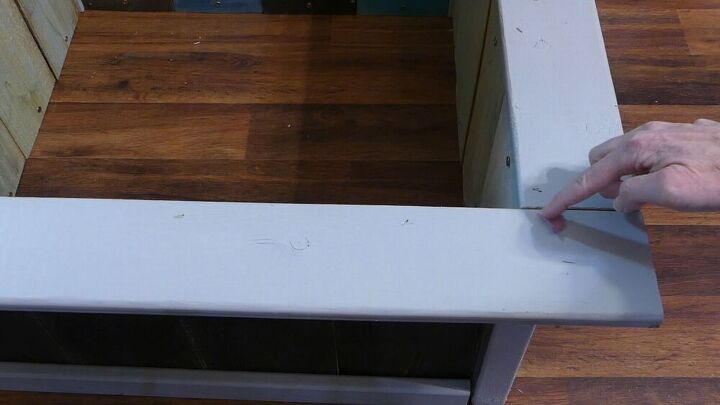
Here’s my trick for touching up spray paint. Go outside and spray a little paint onto a scrap piece of cardboard or paper plate.
Then take it inside and use it to paint over the sanded wood filler.
Place the tree box where you plan to display your tree and then add the stand inside.
Now you just have to figure out what to do with that tree skirt, lol!
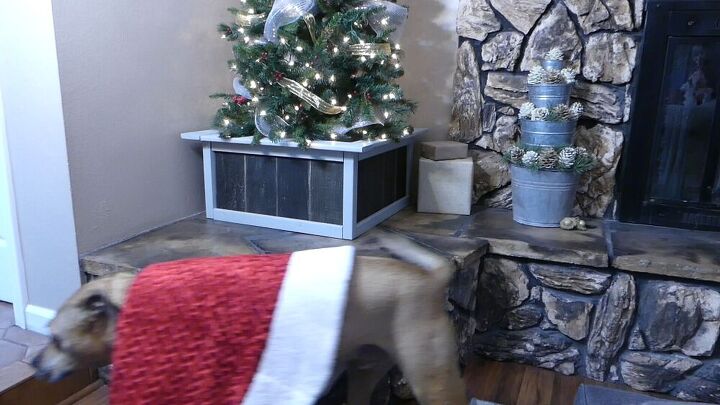
The Tree Box hides your fake tree's stand and 'trunk' but also hides the stand and water if you have a real tree. And there's plenty of room to get in there and add water when needed.
Watch the step-by-step video tutorial here! Proceeds from this video and the entire channel are donated to no-kill animal shelters and rescue organizations. THANK YOU for watching, liking, subscribing, and sharing as this helps raise the monthly donations ❤
Resources for this project:
See all materials


Comments
Join the conversation
-
And all done whilst wearing your high heeled sneakers, wow!
-
I also didn't want a tree skirt because the i-robot I run daily messes with it! I used a wide amazon box and covered with twine and ribbon! I do like yours it could be used all year!
This is my skinny tree, didn't put up my large tree this year but think I'll make one like yours for the larger tree, next year!


Frequently asked questions
Have a question about this project?
Doesn't it make it difficult to water the tree?