


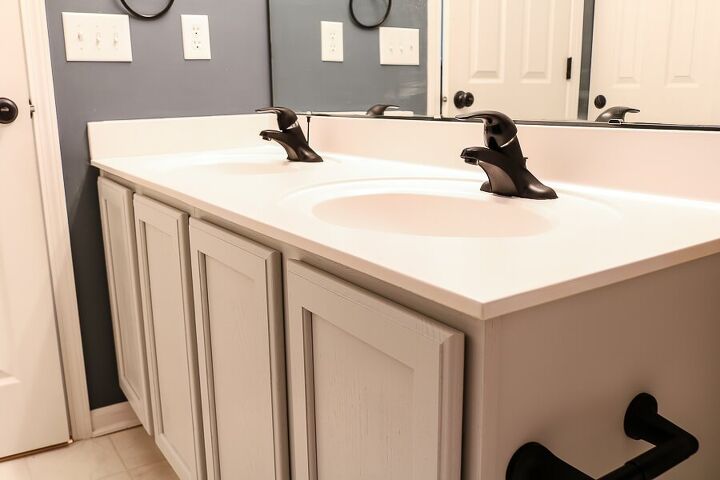
How to Spray Paint the Bathroom Faucet + Accessories
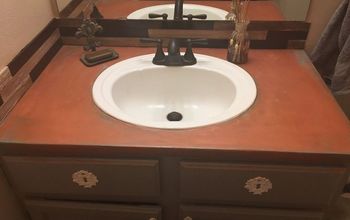
I was tired of looking at this lack luster bathroom, so I decided to spray paint the faucets and the accessories. I will preface this post by letting you know this probably not a permanent fix and I plan to do a "how's it holding up" post in a couple months, but in the few months we have used these spray painted faucets and accessories, I am ecstatic.
1.Gather your Materials
Here are all the materials you will need to give this project a go at your house. You can click any of the pictures below to see the details for each item.
- Automotive Primer (I used dark gray which gave a black finish)
- Lacquer top coat
- Frogtape (regular & delicate)
- Brown paper to cover areas you don't want to spray
- Drop cloth for floor and other areas
- Goggles to protect your eyes
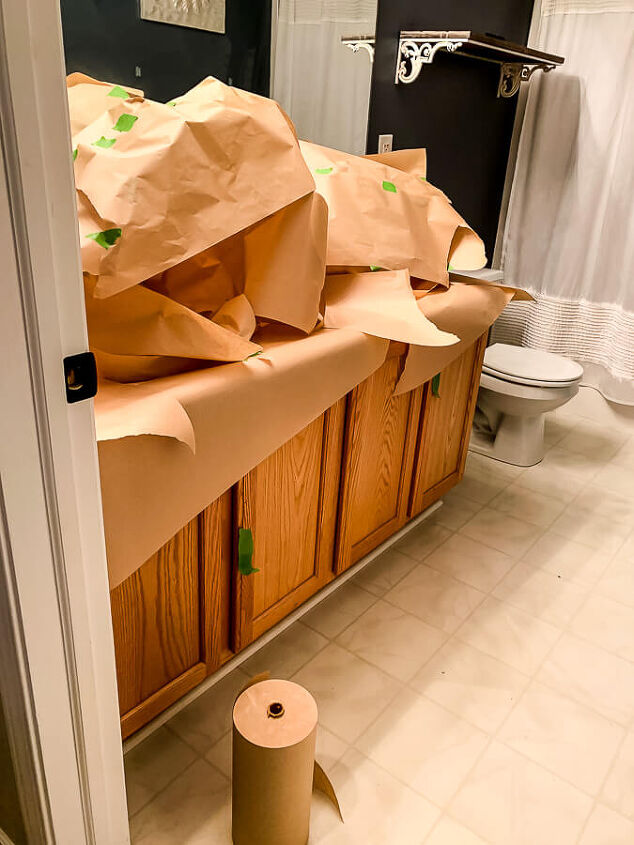
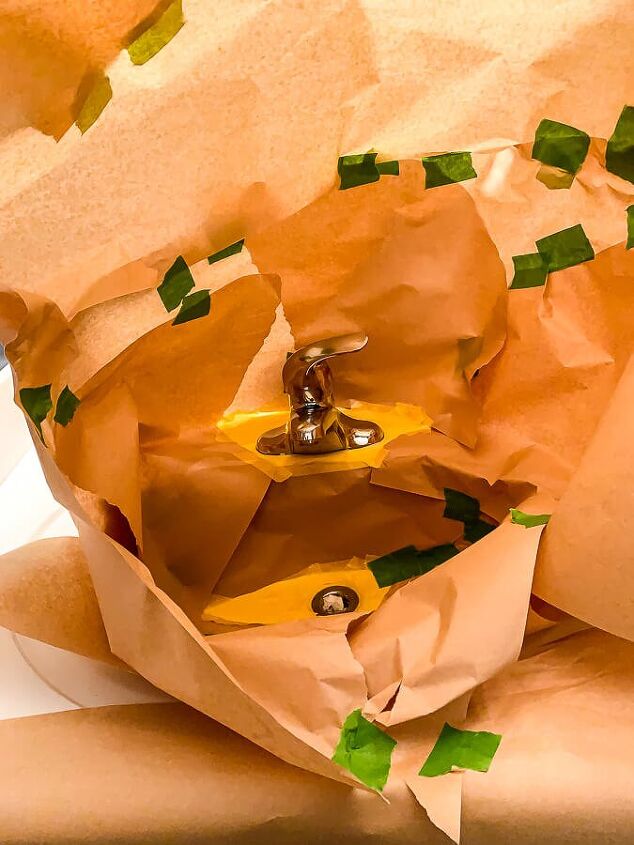
2.Prep the Faucet
Clean the faucet, rough up the chrome with a sanding sponge, and tape around the faucet.
Since I spray painted the bathroom countertops (hello $10 counters!), I used delicate tape on anything that touched the countertops and regular tape on the rest.
I created a dome like shape around the faucet so I could contain the spray mist as I sprayed.

3.Spray anything you can outside
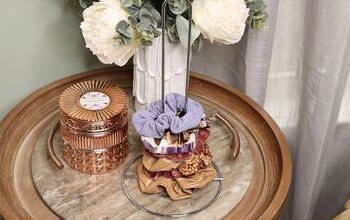
I could have taken the faucet off and sprayed it outside, but lazy girl DIY is more my speed, but for the accessories I sprayed them outside.
You can see my contraption I made with a couple clamps, a random stick, and a pencil that I used to allow me to spray the whole thing at once instead of one side at a time.
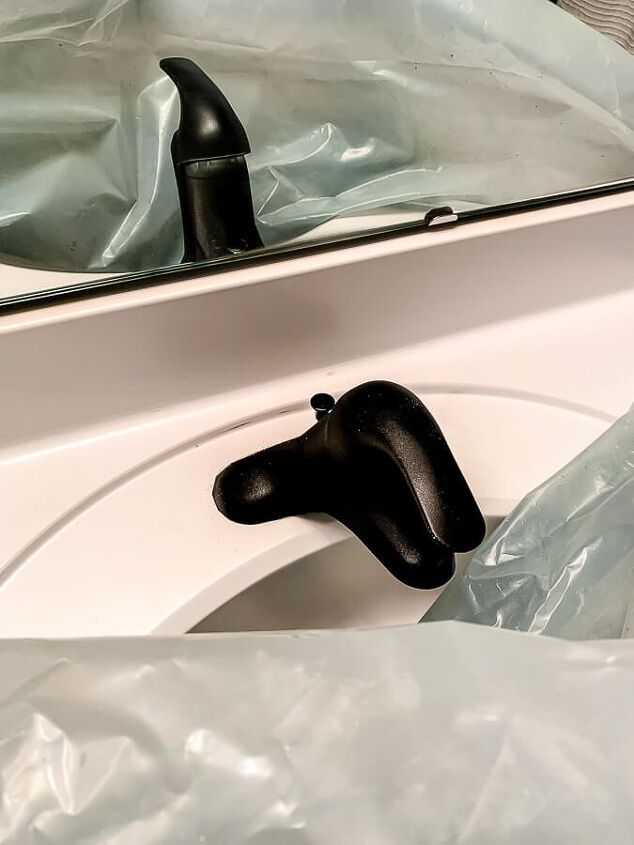
4.Notes and Last Steps
As you are spraying, be sure to follow the instructions on the can exactly.
When you get to the part where the automotive spray is dry, spray the top coat a couple of times, a few minutes apart, according to the directions on the can.
The more lacquer spray layers you can have, the better it will hold up and be smooth like you would find at the store.
Remove the tape 20 minutes after the last coat to avoid pulling any paint when it's totally dry.
You can find more tips on the blog post linked below.

Comments
Join the conversation
-
Looks awesome! Id like to try this. How do you prevent paint from scratching and chipping?


Frequently asked questions
Have a question about this project?