


Framed Christmas Art With Lights
Learn how to create a piece of framed art with lights for Christmas. A simple DIY project that doesn't require a cutting machine or special tools.
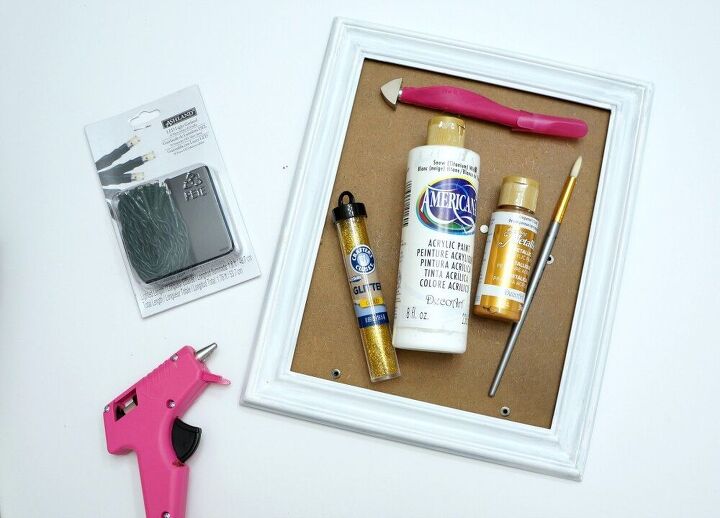
Here are the supplies you need to make this lighted sign.
A frame - remove the glass but keep the cardboard backing
Reindeer stencil
Paint in gold and white
Glitter
Mod Podge
LED battery powered lights
Hot glue gun
Brad tool or something to punch a hole through the cardboard
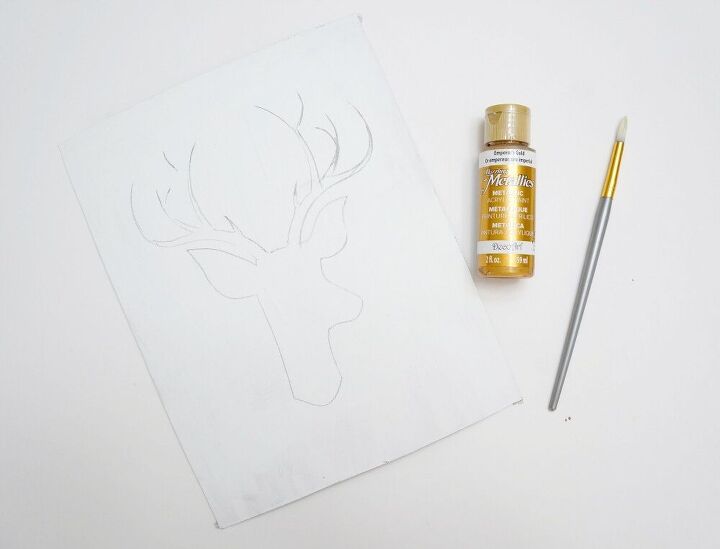
Paint the cardboard of the frame white, when dry trace the reindeer onto the cardboard.
Then fill it in with gold paint.
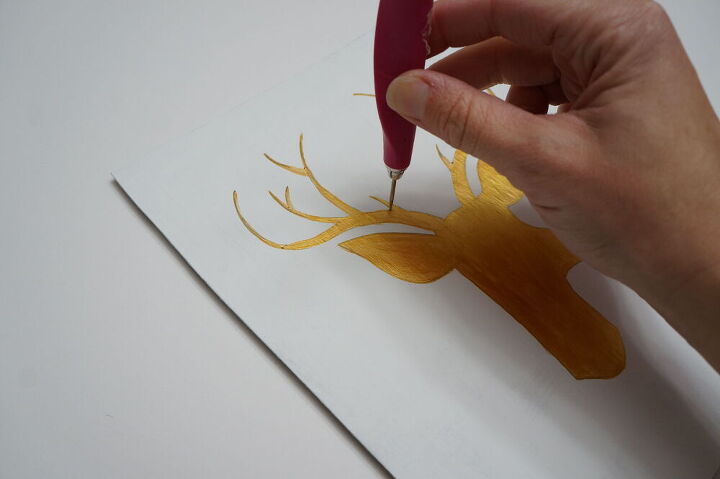
Use a brad tool to punch holes through the cardboard around the reindeer silhouette. Make these holes large enough so that the lights can fit through.
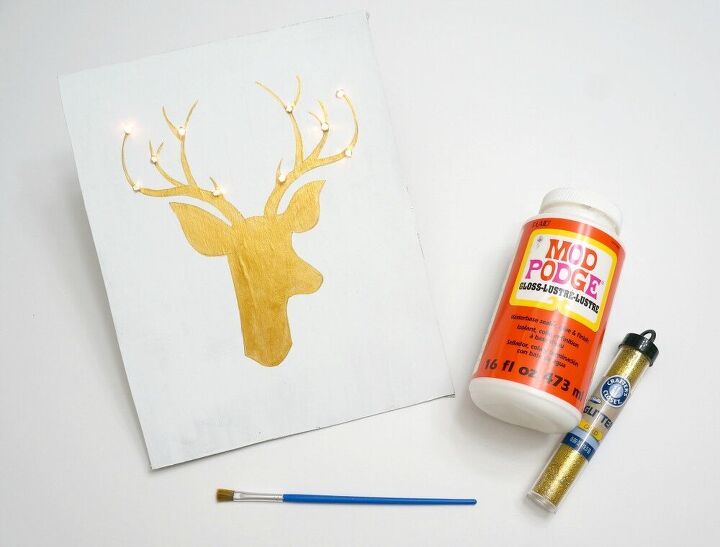
For a little added sparkle, brush Mod Podge onto the reindeer and sprinkle with gold glitter.
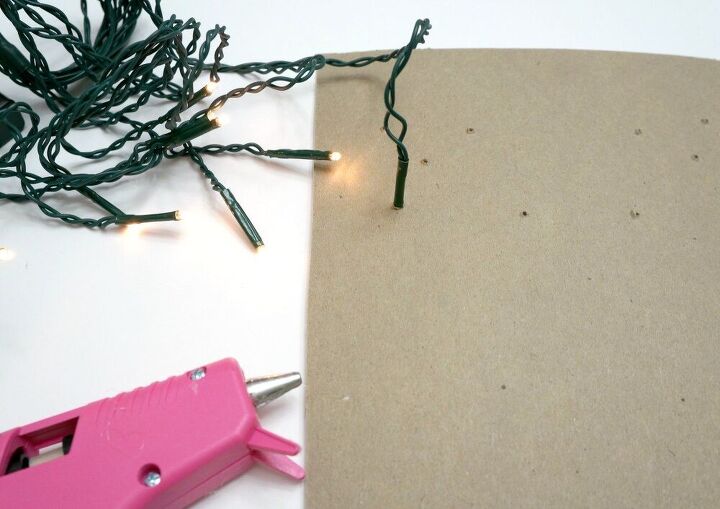
FIip the cardboard over and push each light through a hole. Use hot glue to secure the light in place.
When all the lights are in, snap the cardboard back into the frame and display this on a shelf. The battery pack and wires can easily sit behind the frame without showing.
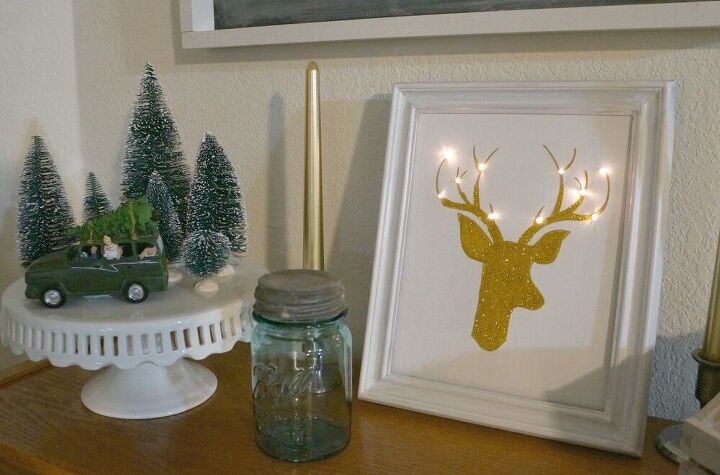
This lighted framed reindeer art is easy to make and looks so good displayed at night.
Resources for this project:
See all materials


Comments
Join the conversation
-
This is just too cute! I could see that sitting on my buffet with all my other white and gold. I need to get some things started real soon so I don’t get too far behind…lol. I have too much going on right now and just hoping to get into crafting before the years end. This project is definitely a keeper! Nicely done!
-
Definitely going to do this! I can think of other scenes that lend themselves to being lighted like that! Thanks for posting!


Frequently asked questions
Have a question about this project?
Do you use a short string of LED lights? Where are they available?