


Build a Snowboard Shelf

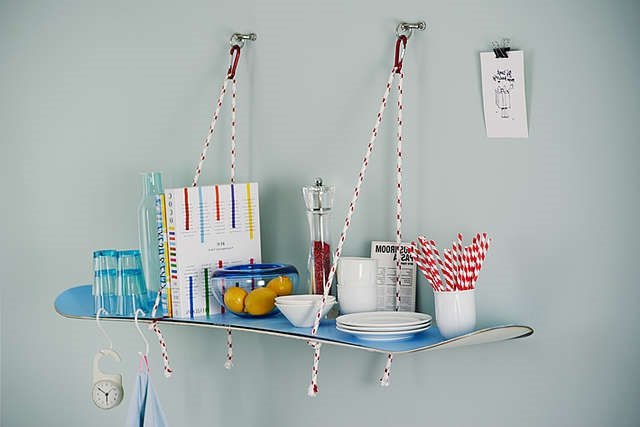
Hang out in style: a snowboard on a rope and snap hook brings a sporty flair to the kitchen as a practical shelf.
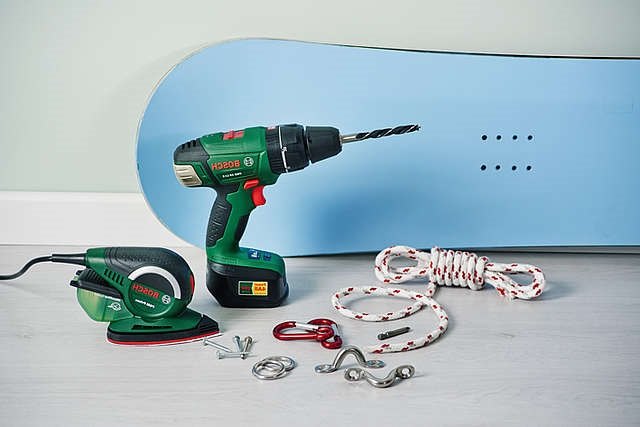
Is your old snowboard obsolete? Anyone who has bought a new snowboard can turn the old board into a practical shelf. We show you how to do it step by step.
Material list
- 1 old snowboard
- 3.5 m braided rope, 9 mm diameter, red / white
- Metal drill 10 mm
- 2 snap hooks 8 x 80 mm
- 2 spring eyelets 10 mm
- Metal ring, diameter 30 mm
- Cordless two-speed hammer drill
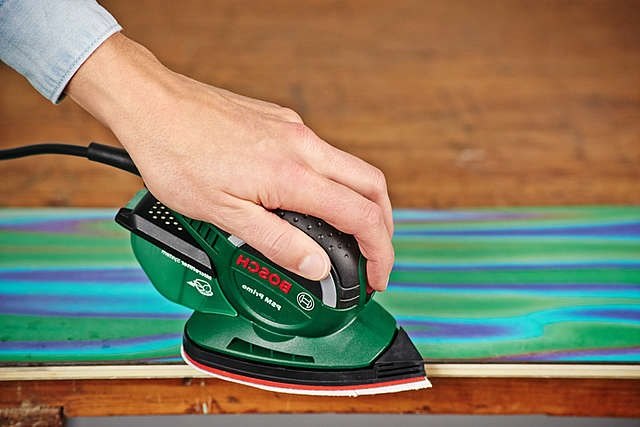
Sand the edges
Sand down the edges of the cleaned snowboard. This works very easily with the multi-sander, for example. Mark four holes for hanging on the back of the board. Transfer these distances to the wall.
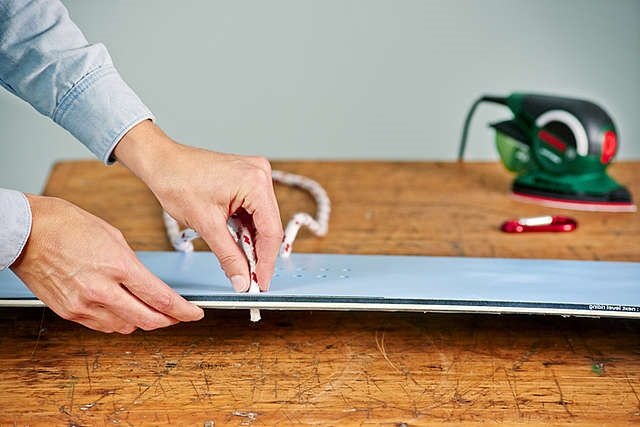
Drill holes
Drill holes in the board with a hammer drill. Attention: Use a metal drill on a snowboard with a metal core! Then set the desired height of the shelf and attach the rope to the snowboard with a knot.
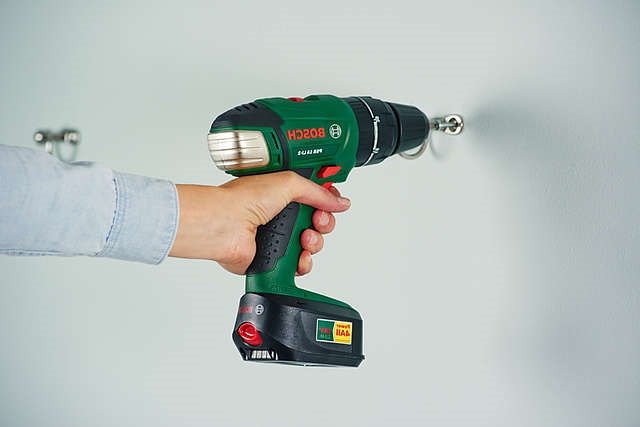
Mount the suspension
For the wall holes of the hammer drill, switch to a masonry drill, drill holes and insert dowels. Then attach the spring eyelets and the eye plates and attach the snap hooks.
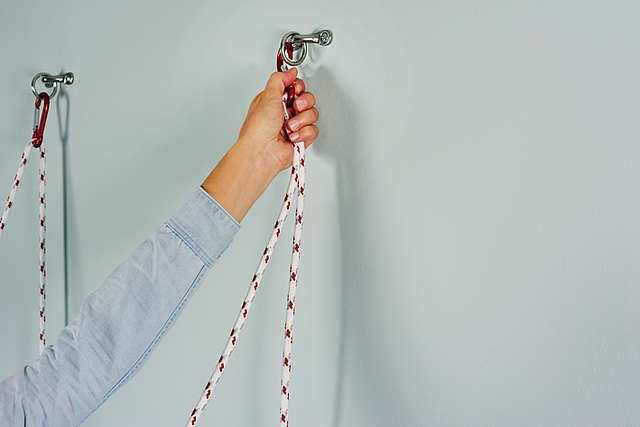
Hang up your snowboard
Finally, pull the ropes through the carabiner and the fast-paced shelf is ready!
Resources for this project:
See all materials


Comments
Join the conversation
-
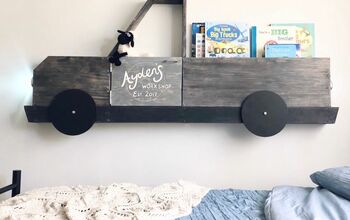
Very cool. This can be done with a skateboard too. Good share
-
Anything that works for you and you can afford, I give you a high five. It is cute and
 Happy Holidays!!


Frequently asked questions
Have a question about this project?