


DIY Felt Christmas Ornaments
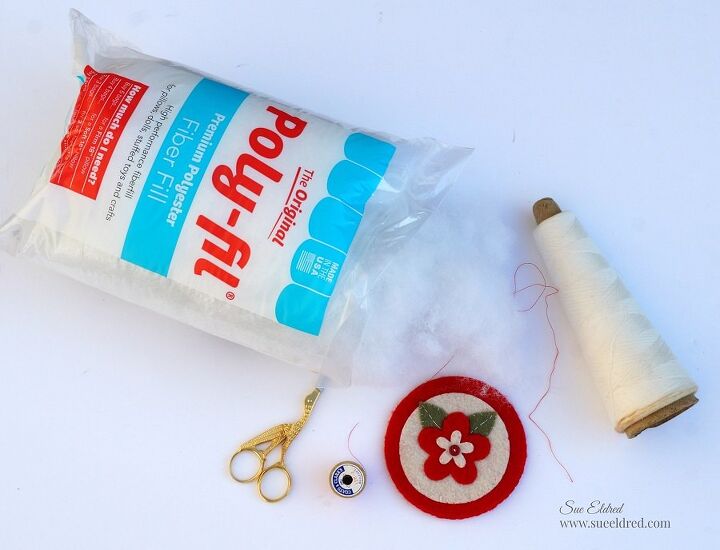
8 Materials
$1
30 Minutes
Medium
Create Simple Homespun Christmas Ornaments with Felt.

Create your own simple flower shapes by drawing them first on cardstock or copy paper to create a pattern.
Circles can be traced using lids.
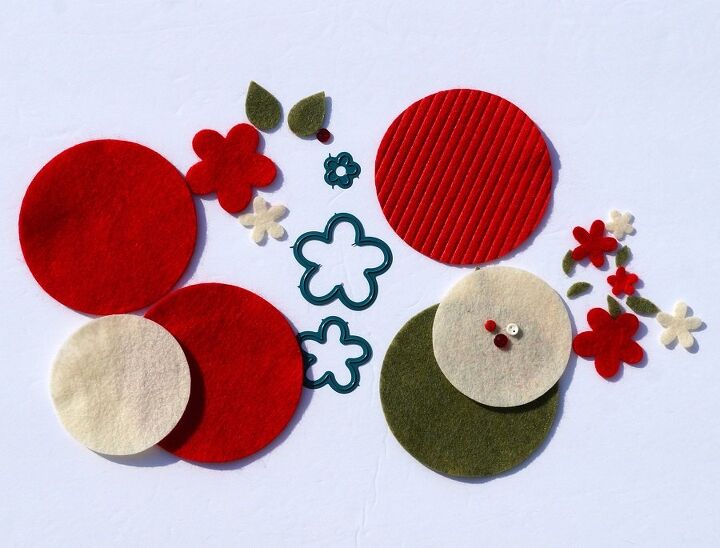
You can also use small dies to make your shapes. If you use dies make sure to use one that will cut fabric.
You will need to circles the same size to make the front and back of the ornament.
Materials Used: (*affiliate links)
- Fairfield Poly Fil Premium Fiber Fill*
- Kunin Felt: Red, Cream, and Olive
- D1009 Posey Die Set #3 (The Maker's Movement)
- Circle Die
- Die-Cutting Machine
- Beacon Fabri-Tac Permanent Adhesive*
- Embroidery Scissors
- Small Buttons
- Needle and Thread
- Twine
- Ribbon
- Optional: Joy Iron-on Embroidered Letters


Directions:
- Die-cut the flowers, leaves, and circles out of felt.
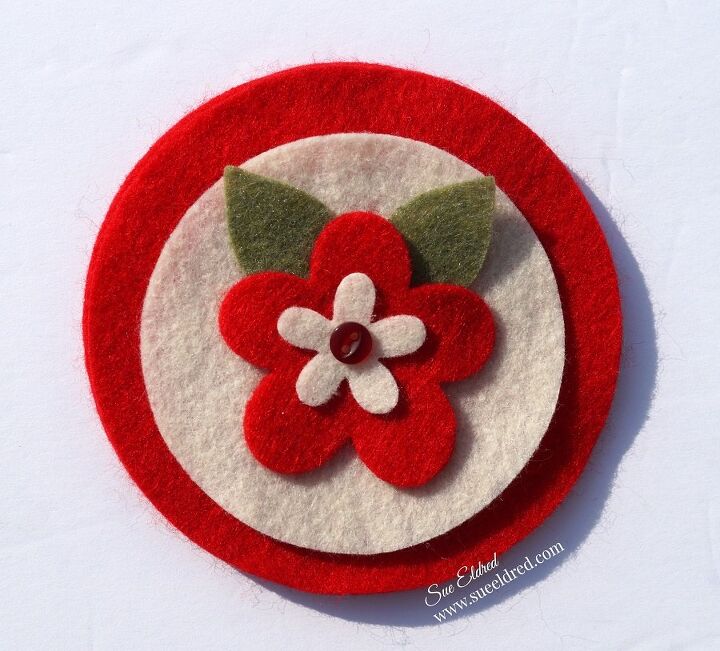
- Arrange the die-cut pieces on the felt.
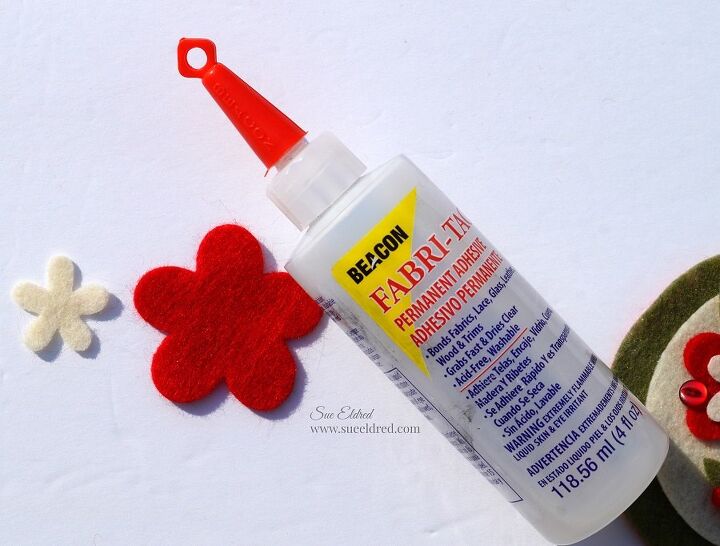
- Add a small dab of fabri-tac adhesive under the top felt piece to hold it in place while you do your stitching.
- I like to start with the top layer first and work my way down so that I’m not going through as many layers of felt at one time.
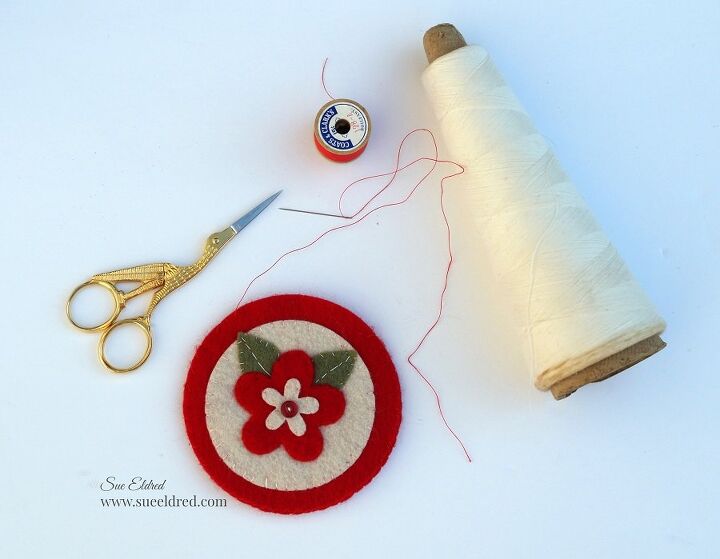
- Hand sew simple stitches in white and red thread around the pieces.
- Use small, close stitches to close the ornament 3/4 of the way closed.
- Add a small amount of poly-fil into the center of the ornament and finish sewing it closed.
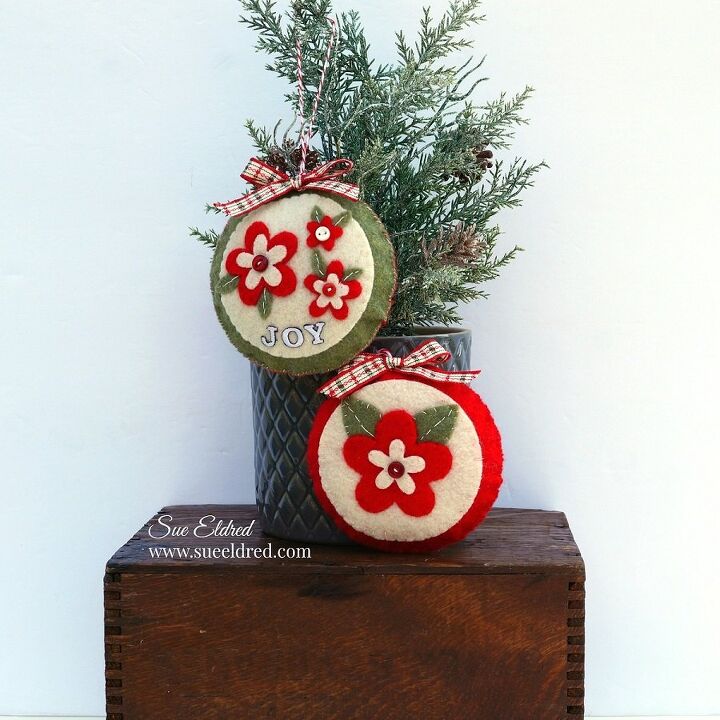
- Use a large hole needle to add twine to the top of the ornament for hanging.
- Adhere a small bow onto the top of the ornament with fabri-tac adhesive
.
- To add a small word, like the word joy, iron the letters onto the felt circle before stitching.
Resources for this project:
See all materials


Any price and availability information displayed on [relevant Amazon Site(s), as applicable] at the time of purchase will apply to the purchase of this product.
Hometalk may collect a small share of sales from the links on this page.More info

Want more details about this and other DIY projects? Check out my blog post!
Comments
Join the conversation
2 comments
-
These are so cute. On a larger scale they can be holiday throw pillows. Good share


Frequently asked questions
Have a question about this project?