


How to Create a Bay Window Slat Wall
I always love finding new ways to use current trends. I recently installed a slat wall as an accent wall in my boys’ room and loved it so much that I wanted to find another place to install it. Their room also has a bay window which seemed very plain once the slat wall was installed…so what better place to install a wood slat wall than around the bay windows?!
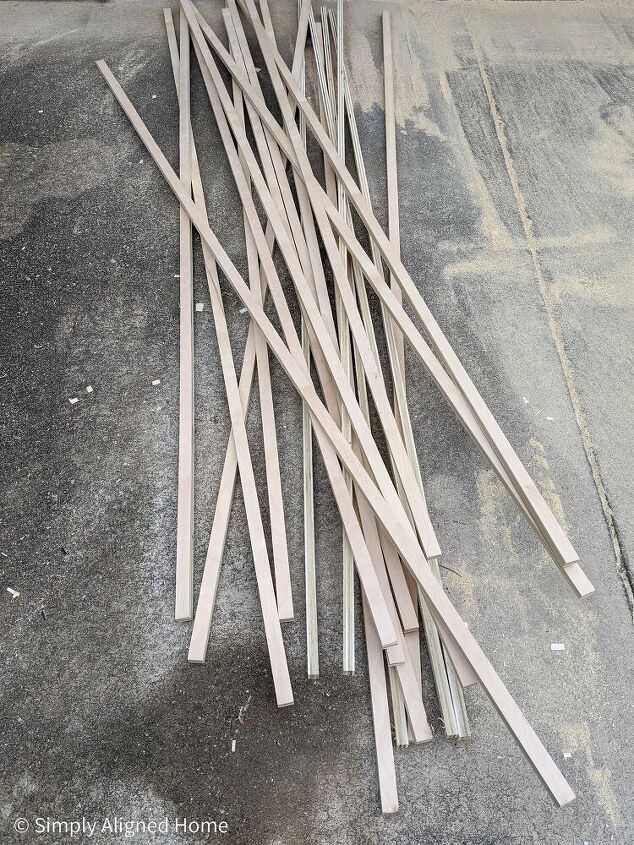
Step 1: Rip Plywood into 1" Slats
Once you determine how much wood is needed for your project, but the plywood into 1″ slats.
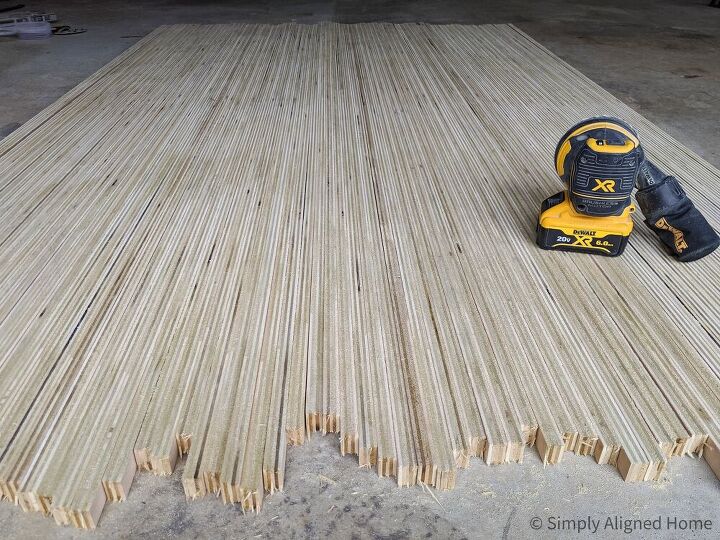
Step 2: Sand the Plywood Slats
I started by sanding the cut edges of the plywood. I mainly wanted to get rid of the rough edges since I knew it would be nearly impossible to make them smooth. It was easiest to line all of the pieces up and sand them at once using my orbital sander.
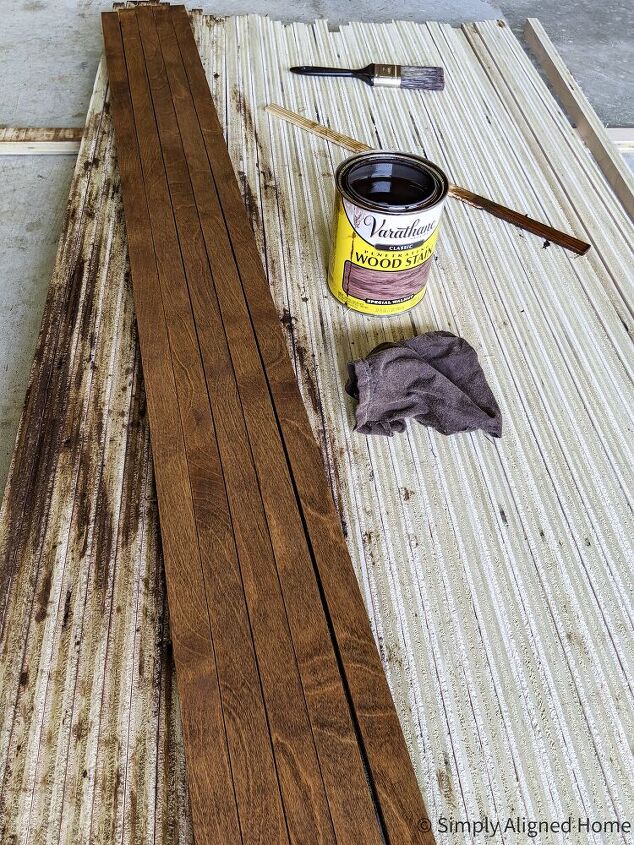
Step 3: Stain the Plywood Slats
I used a paint brush to apply stain to the two cut sides first. Once the sides were stained, I applied a light coat of stain to the front surfaces using a rag.
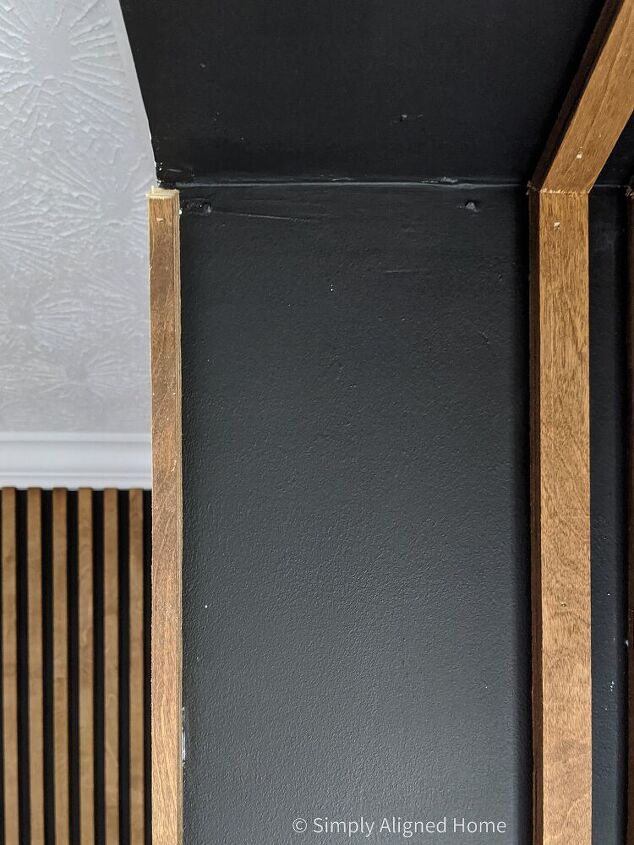
Step 4: Paint Around the Bay Windows
I painted the surfaces where I would be installing the slat wall…the side walls and the ceiling. Since the wall would not really be seen beneath the slats, I used a cheap matte black paint and applied two quick coats to the accent wall.
Step 5: Install Slats Around Windows
As with the main slat wall, I used both construction adhesive and finish nailer to install the slats. I cut all of the corners on a 45 degree angle. The edges that intersected the baseboard were cut straight. I used a spacer the same width as the slats to make the installation quicker.
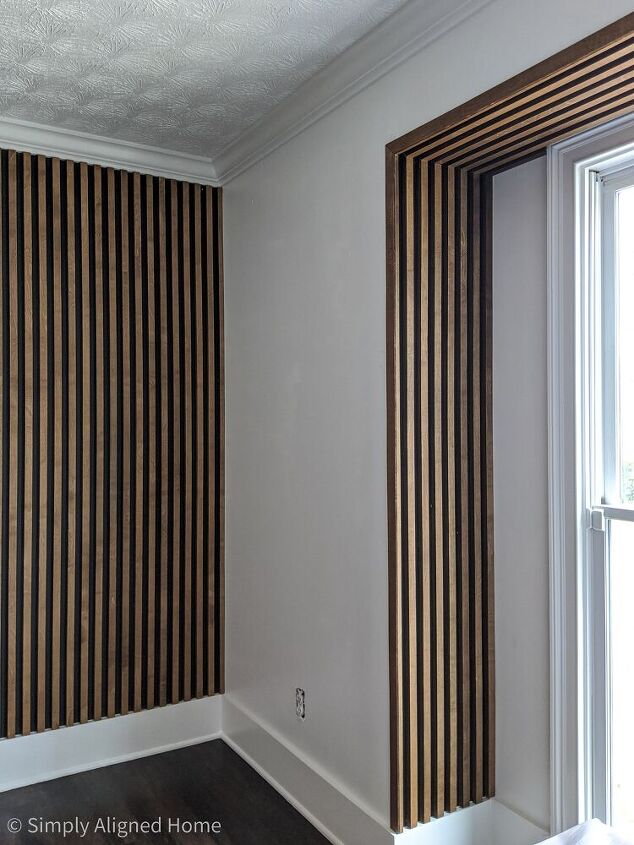
Step 6: Trim Out the Window Slats
I decided to trim the entire window with 1-1/2″ wide lattice. This allowed me to trim up the outer edge of the slats and make clean, straight lines on the bedroom wall.
I cut the corners of the lattice on a 45 degree angle. I secured it to the slats that were already installed using construction adhesive and nailed it to the wall using finishing nails.
See this guide on how to trim out a window for a flawless finish!
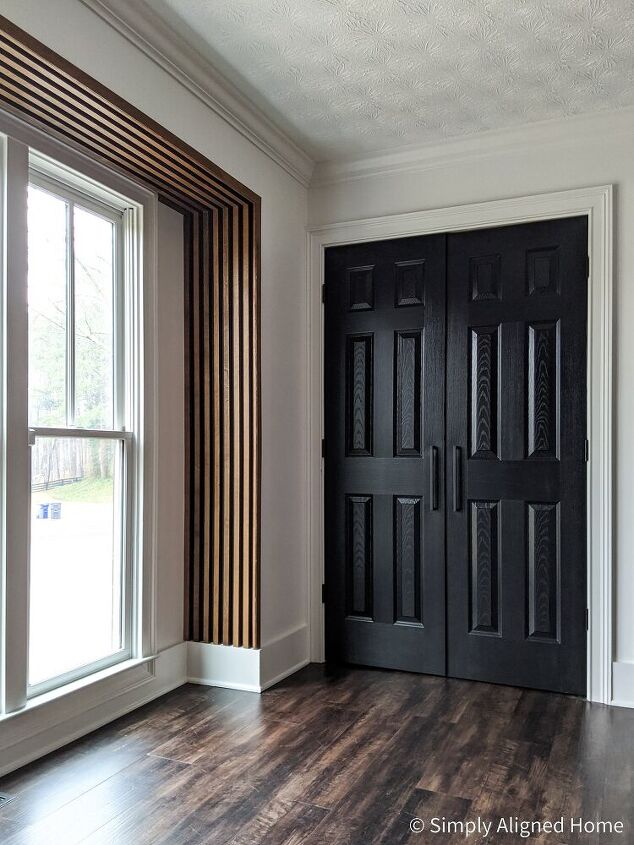
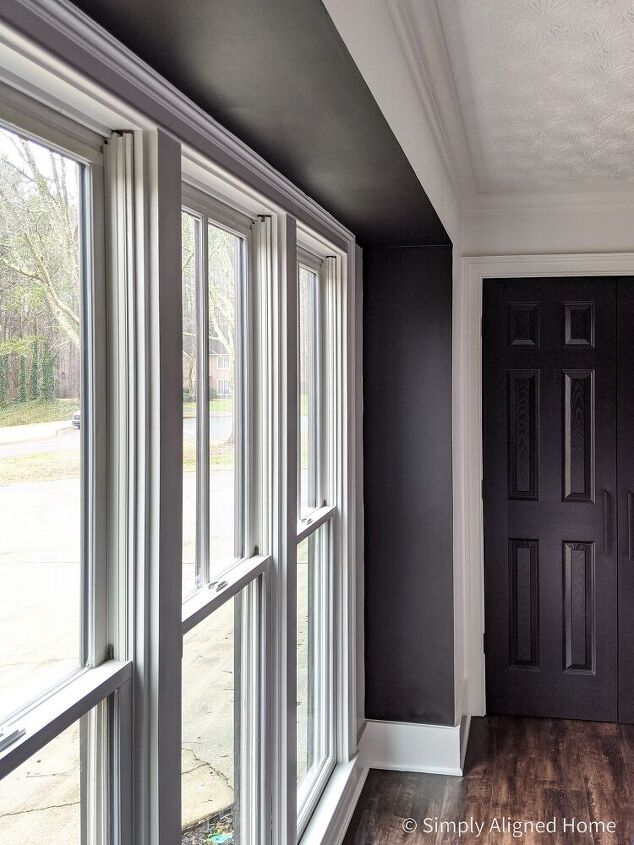
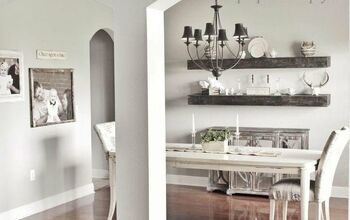
The finished product was quite stunning! It was the perfect compliment to the accent wall! For more details, see my original post for this bay window slat wall.
Resources for this project:
See all materials


Comments
Join the conversation
-
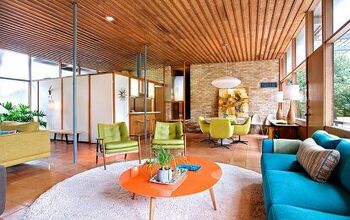
Yes, wooden slats were a popular design trend during the mid century years.
-
Love the overall look between window, wall and doors. This looks more challenging to plan than do.


Frequently asked questions
Have a question about this project?
Where’s the final picture with the lattice? Sharp as heck but I think I’m missing something
Did you consider wrapping around to the window sides? I think that would look more complete, but very nice!
What about a window seat?