


Winter Wedding Bouquet

by
Ariel
3 Materials
$30
1 Hour
Medium
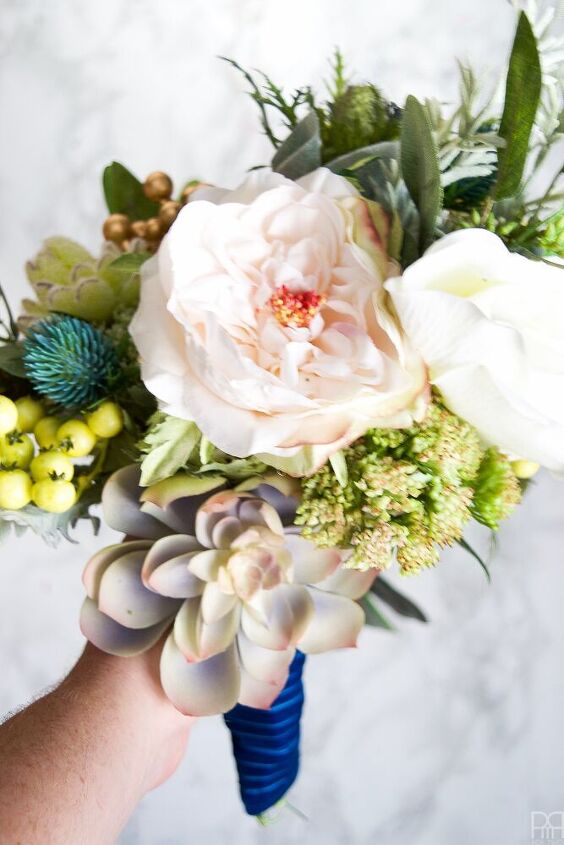
Bouquets – much like table arrangements – are such fun to create. With my friend’s bouquet, we knew she wanted angular and hard-edge florals more than soft and curvy blooms. This brought me more in the direction of thistles, succulents, berries, and greenery with one or two big blooms thrown in for colour and contrast.
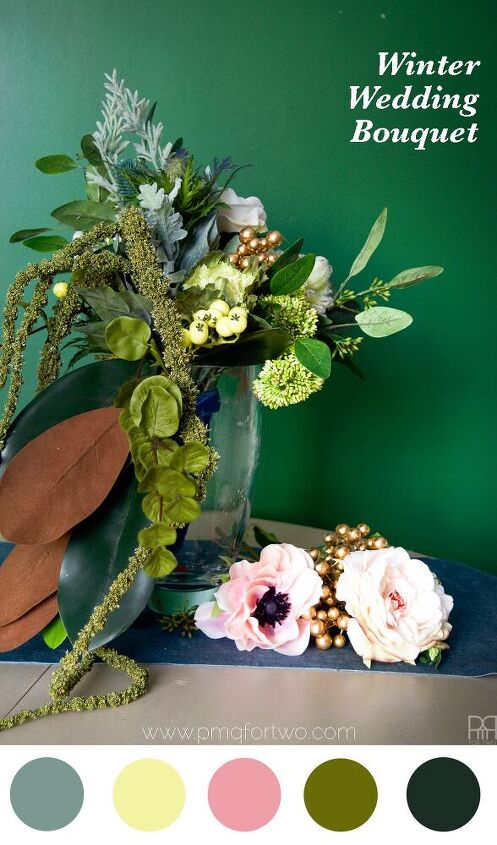
The fact that we’re working with silk florals also means that my friend can keep her bouquet forever. It’ll never dry-out or need to be protected quite the same way. If you want to keep your bouquet for posterity’s sake, faux-florals are a great solution.
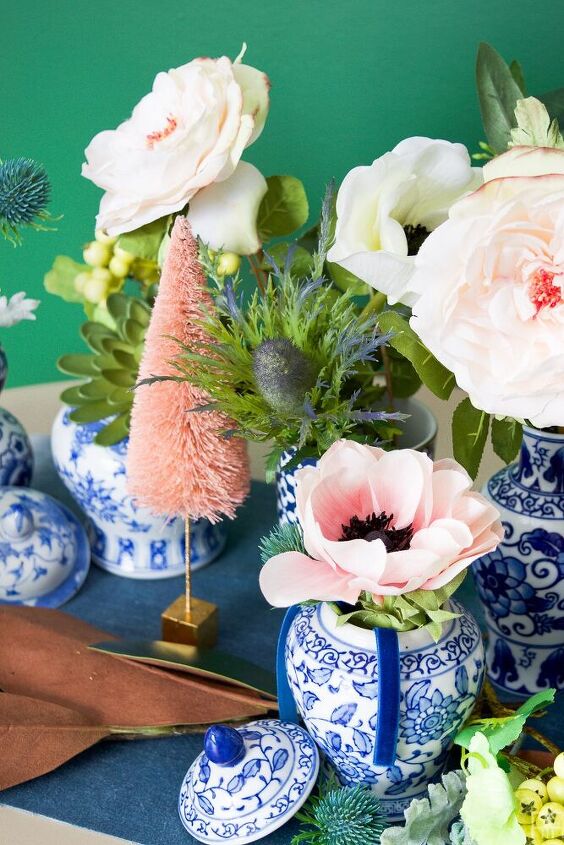
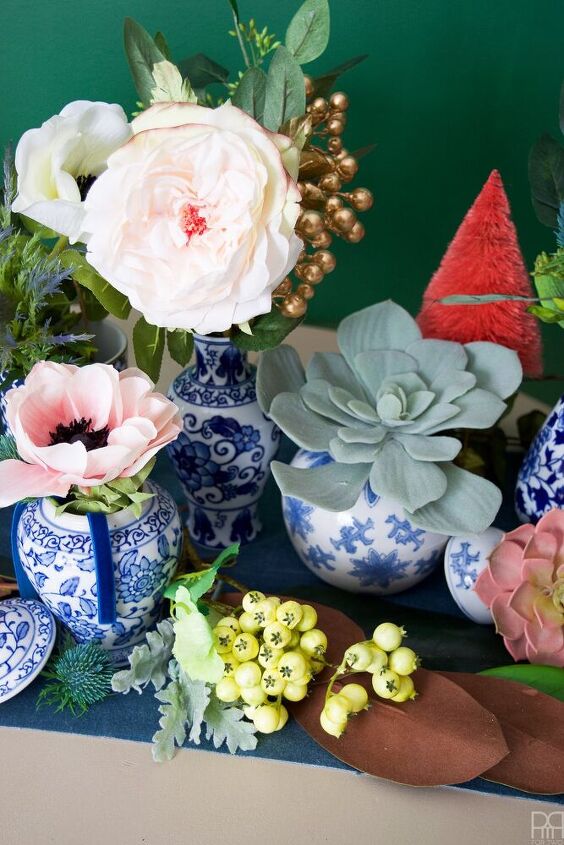
I mean, just look at those succulents! They look so full of life, so real, and oh-so beautiful. The same can be said of the berries, the anemones, the thistles and the english rose. Just beautiful!
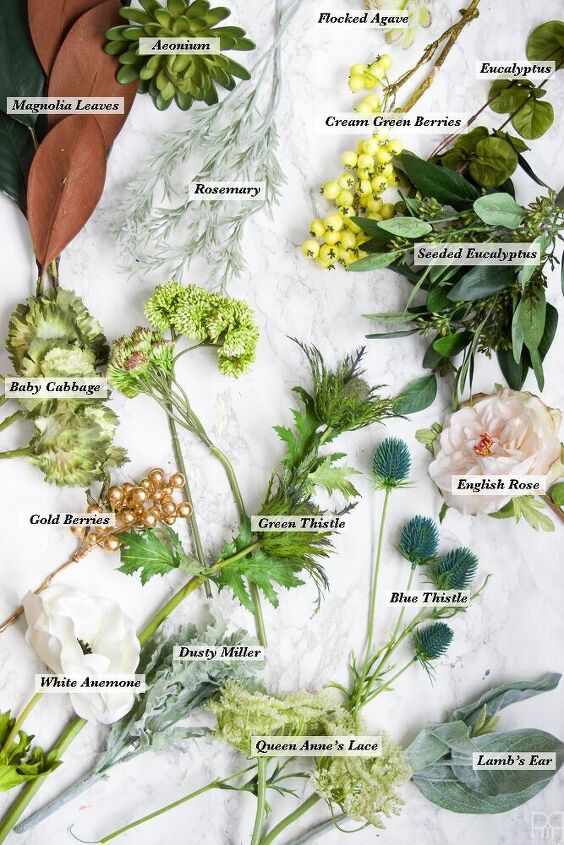
Materials needed for these bouquets:
- English Rose in Vanilla white
- Anemones in Pink and White
- Succulents: Echeveria, Flocked Agave Cactus, Lavender Succulent, Aeonium Pick in Green
- Berries in Cream Green and Berries in Gold
- Thistle Spray in Blue
- Thistle Branch in Green
- Lamb’s Ear
- Dusty Miller
- Starter Bouquet: Faux Cabbage & Queen Anne’s Lace
- Eucalyptus Bush in Green
- Magnolia Leaves
- Amaranthus Spray
- Blue Velvet Ribbon
- Floral Wire & Floral Tape
- Scissors and wire cutters
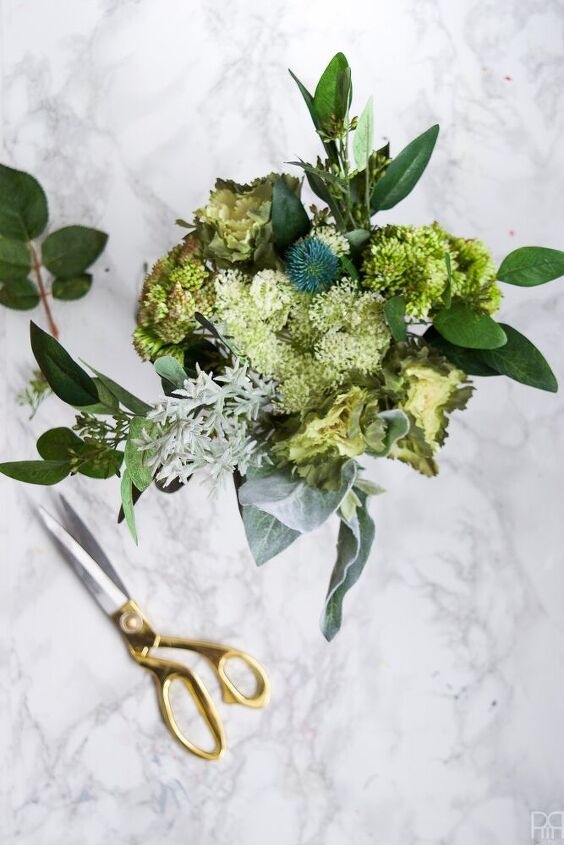
Step 1: I used a starter bouquet that would help showcase the accent stems. This one has little cabbage heads, grape seed, Queen Anne’s Lace, Lamb’s Ear and rosemary sprigs. It’s quite beautiful on its own, and if my friend or I had been simpler people, this would have been perfect as it stands on its own very well.
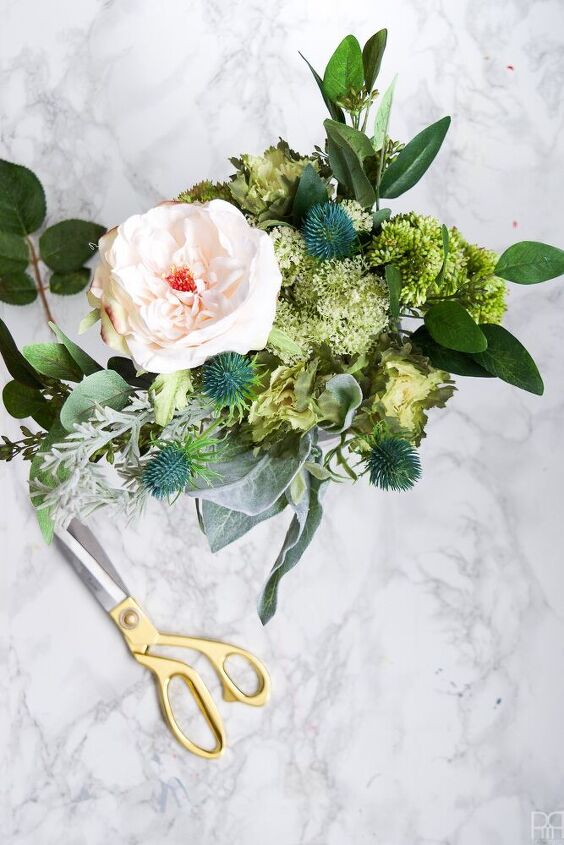
Step 2: I then started adding pops of blue in the form of thistles, and a big english rose.
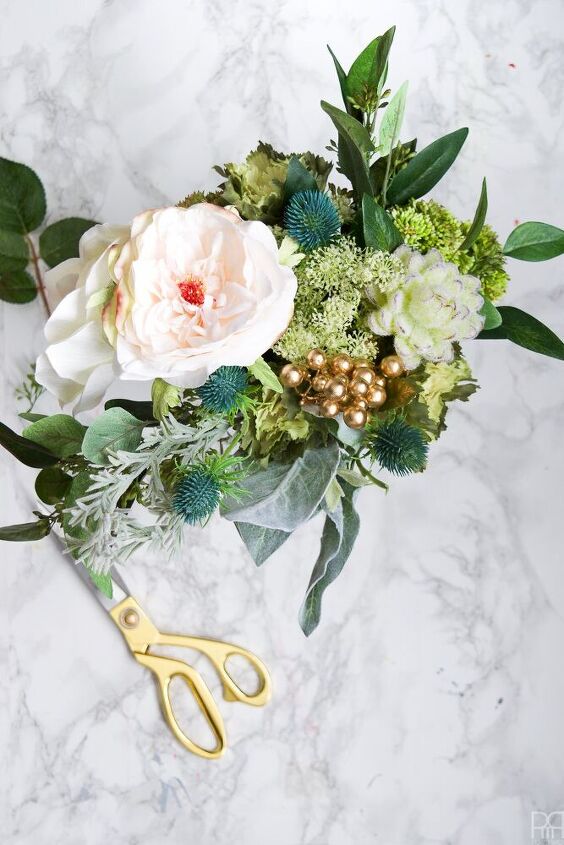
Step 3: Followed shortly by an anemone and a succulent and some berries!3: Followed shortly by an anemone and a succulent and some berries!
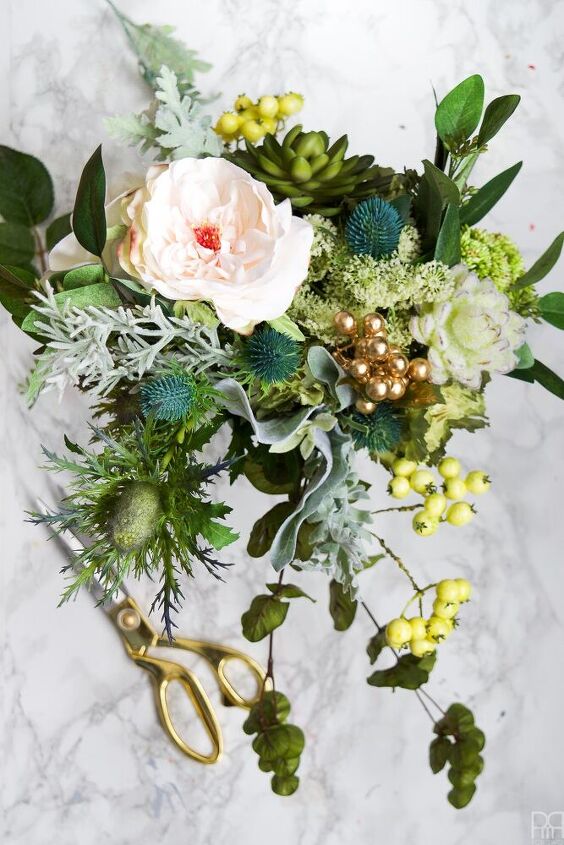
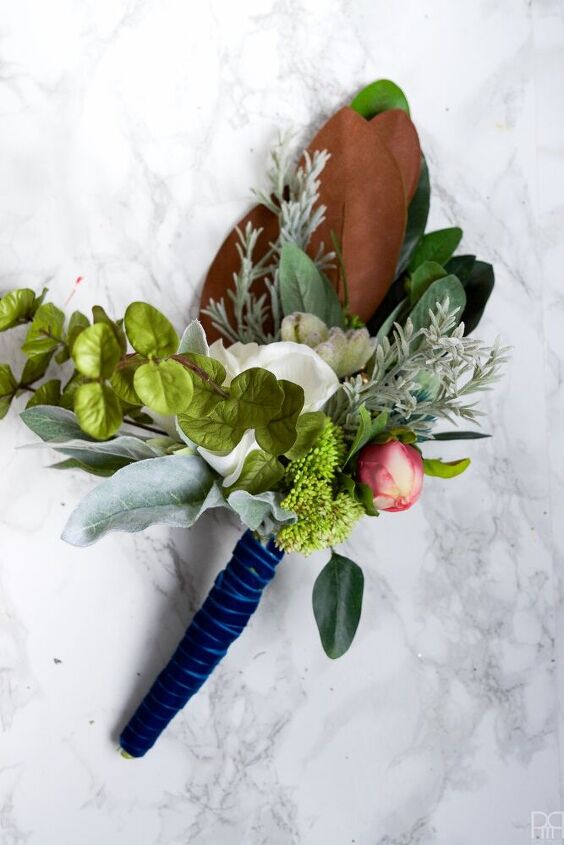
Step 4: The whole point of creating a more natural bouquet like this is to add dynamics and motions, while drawing the eye to different aspects. You do this by adding high-low, left to right, and then depth.
Step 6: Once you’re happy with your arrangement it’s time to wrap the stems. This can be tricky if you have differently weighted parts, as some may require more securing than others, but floral wire and floral tape will do the trick just fine!
Enjoy your beautiful Wedding bouquet!


Any price and availability information displayed on [relevant Amazon Site(s), as applicable] at the time of purchase will apply to the purchase of this product.
Hometalk may collect a small share of sales from the links on this page.More info
Want more details about this and other DIY projects? Check out my blog post!
Comments
Join the conversation
1 comment
-
This bouquet is just gorgeous!!! I love the idea of being able to keep it for sentimental value!!


Frequently asked questions
Have a question about this project?