


Easy to Make Mortar Wreath
I recently saw concrete rings and decided to give a mortar wreath a try! Instead of using concrete, I have been using mortar that was left over from our bathroom expansion.
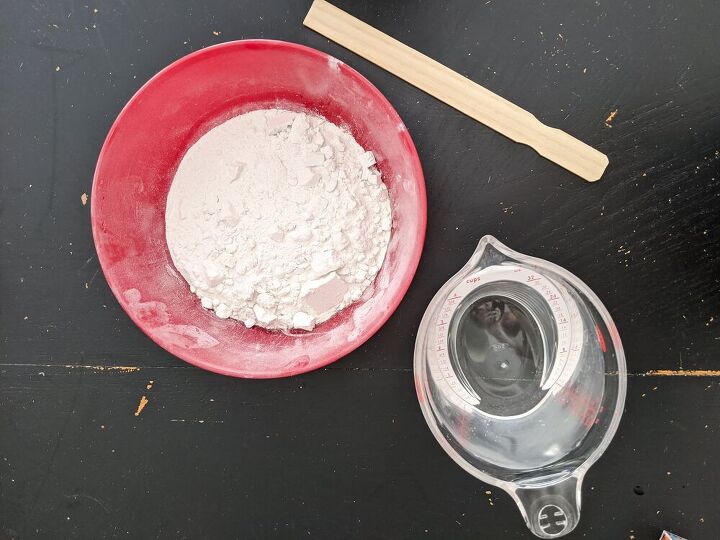
Step 1: Mix the Mortar
Only a small amount of mortar is needed for this wreath. I, unfortunately, mixed way too much mortar at first. I would recommend mixing a little mortar at a time.
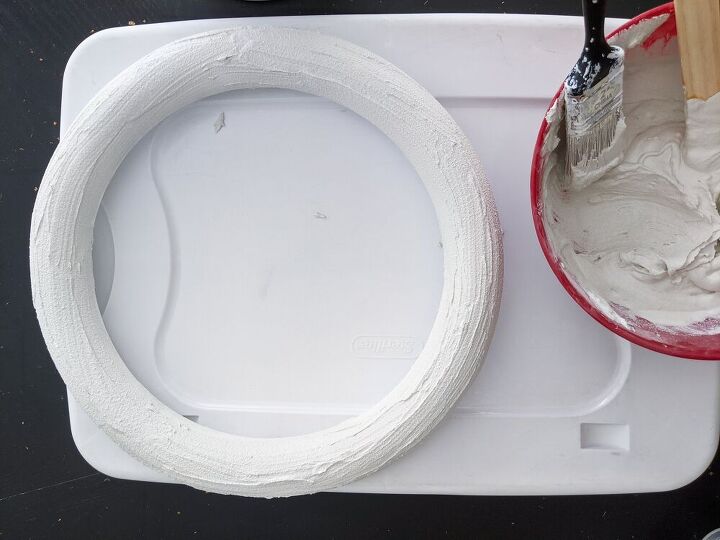
Step 2: Apply Mortar to Foam Ring
Once the mortar is mixed, apply it to one side of the foam ring using a paint brush.
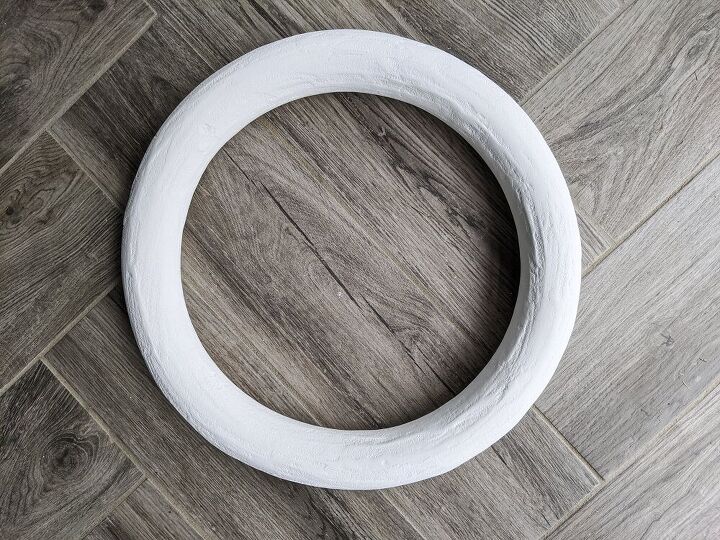
Step 3: Lightly Sand Mortar Wreath
Once the foam ring is completely covered with mortar and the mortar is dry, lightly sand the wreath. I did this using my 220 grit sand sponge. I was very careful to not sand one area too much or the foam ring would be exposed.
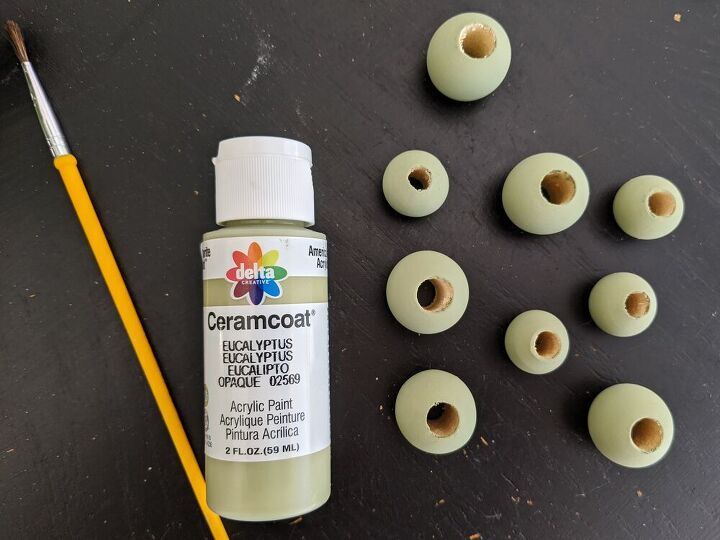
Step 4: Paint Wooden Beads
Instead of hanging the wreath with just a rope, I decided to add wooden beads to the rope. I painted the wooden beads using an acrylic paint and craft brush.
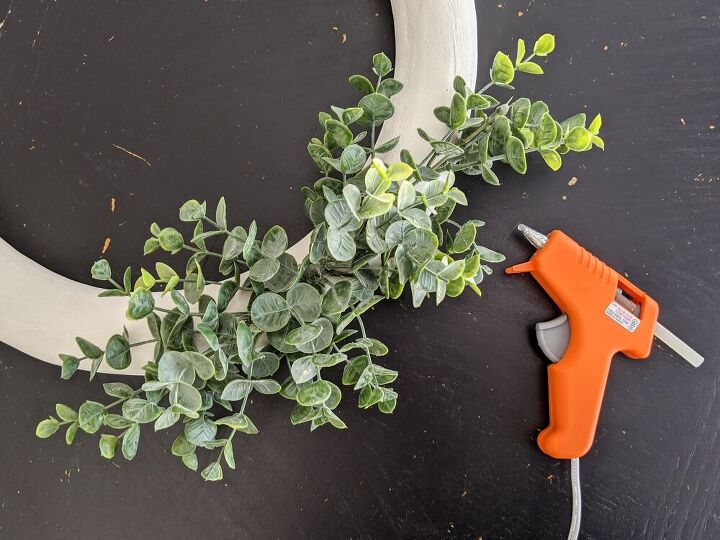
Step 5: Attach Stems to Motar Wreath
I then secured boxwood stems to the wreath using a hot glue gun.
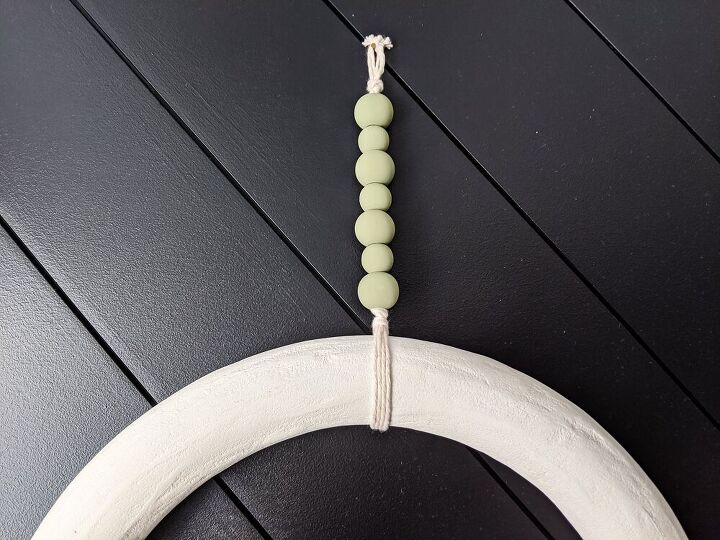
Step 6: Attach Rope to Mortar Wreath
Once the painted beads were dry, I secured the hanging rope around the wreath. I then strung the beads on the rope and tied it off with two knots. This made a little loop to be able to hang the wreath.
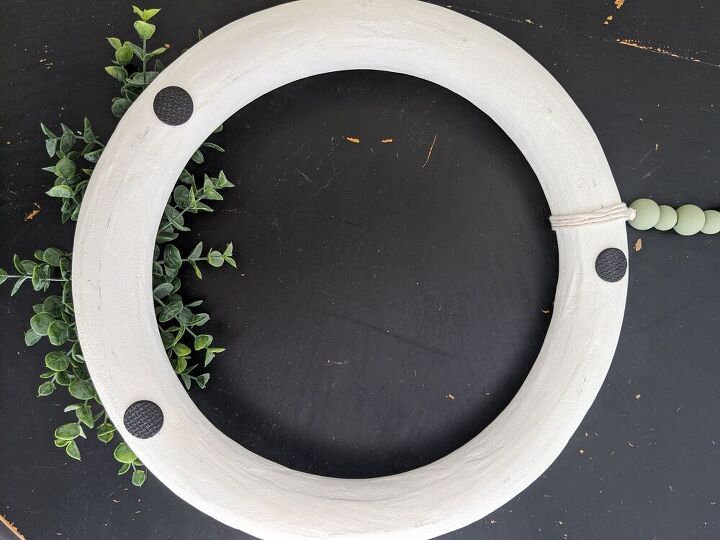
Step 7: Add Non Slip Furniture Pads
Since I would be hanging this wreath on a dark painted door, I added non slip furniture pads to the back of the wreath. This will prevent the wreath from scratching the door and help to keep it in place.
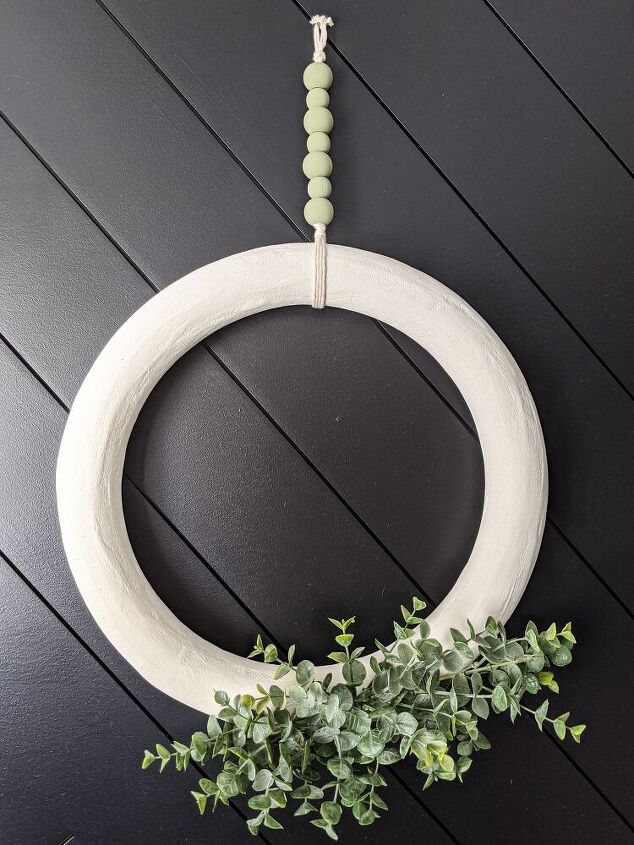
This wreath looks amazing against a dark or colorful wall. It is the perfect simple, modern decor to add greenery to any space!
Resources for this project:
See all materials


Comments
Join the conversation
-
This wreath is so cool ~ clean, simple and elegant ~ I love it.
Thank you for sharing!

-
One of the spectacular wreaths I have seen.less is more


Frequently asked questions
Have a question about this project?