


Simple DIY Sign/Card Holder

When I saw Monica from House of Esperanza feature this easy DIY sign holder on Instagram, I just knew I had to try it. This simple DIY sign/card holder can be made using only one tool- a miter box! You can typically pick up miter boxes for less than $20 from the local big box stores! This is a fantastic project for those that are new to DIY/woodworking.
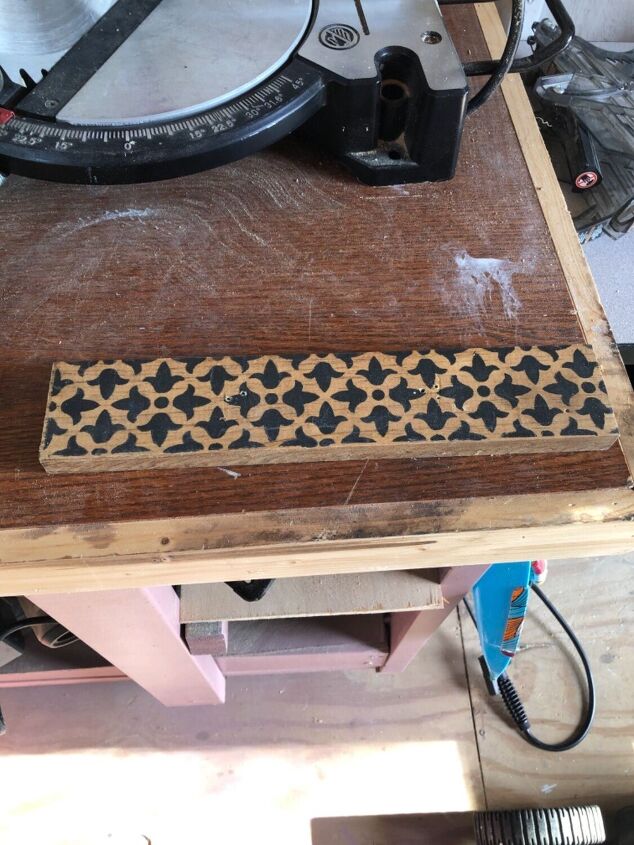
I started off with a scrap piece of wood that I had leftover from another project. This particular piece of oak had a stencil design on it that adds a bit of flair to this simple sign holder. You can paint, stencil, or stain the wood to your desired finish.
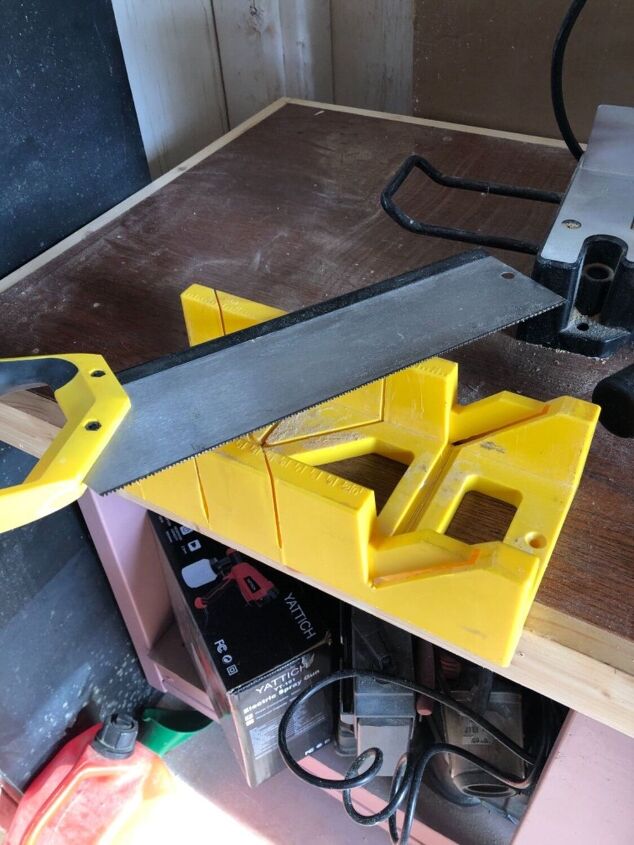
As previously mentioned, the only tool that you will need is a miter box. A miter box it used for cutting pieces of wood/trim. Many will use this in place of a miter saw. *Side note: Even though I have a miter saw, when I am working on trim inside of my home I will opt for the miter box, as it does not create such a mess  *
*
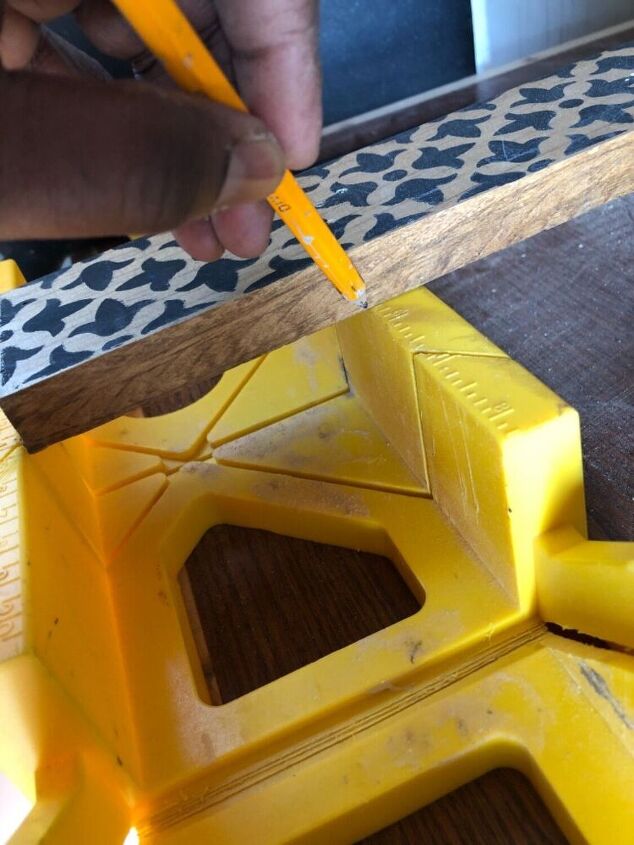
I placed the piece of wood perpendicular to the miter box in order to measure the width of the board so that it would fit inside of the miter box "vertically".
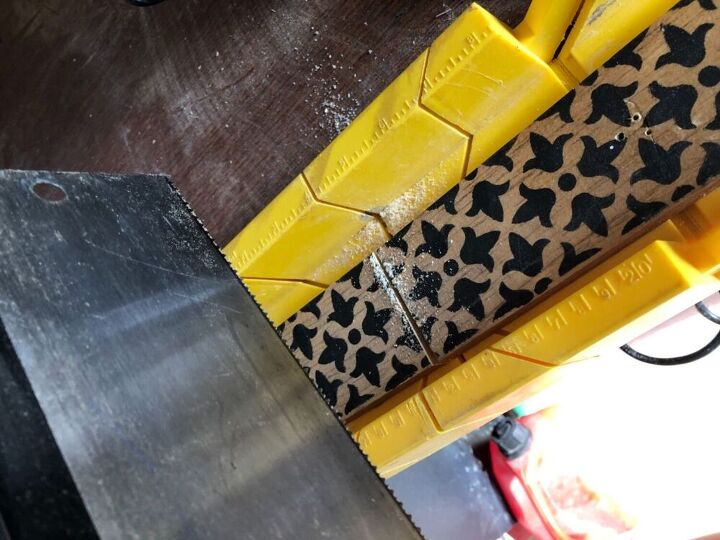
Placing the wood inside the miter box, I sawed the board in two.
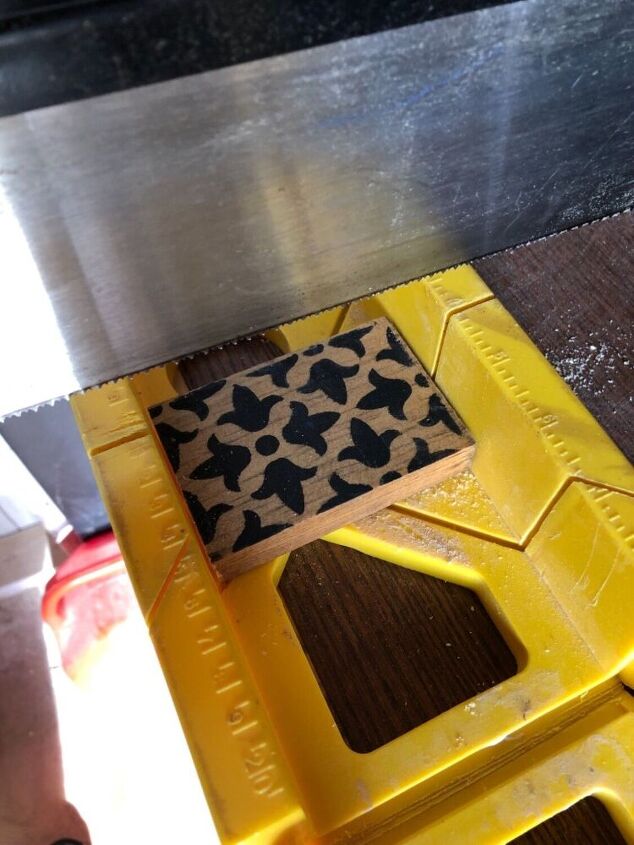
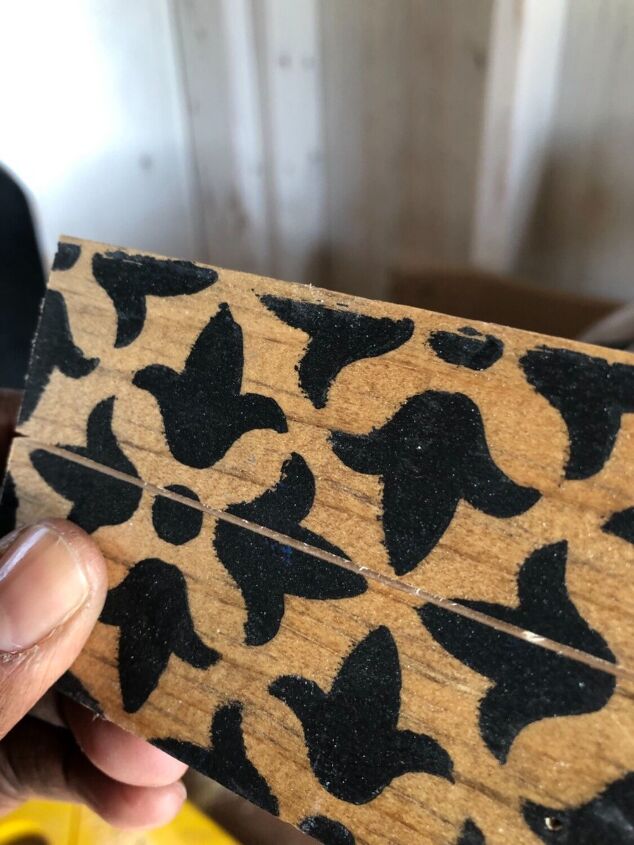
After removing the second piece of the board, I then placed the piece that I previously measured in to the miter box. I placed it perpendicular to the miter box's cutting surface. I then simply sawed down into the wood approximately .25"!
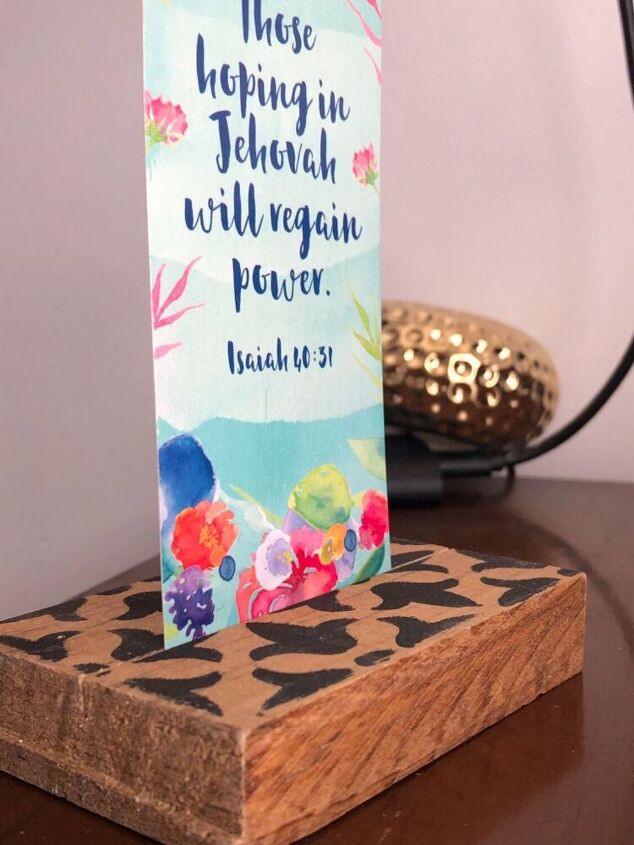
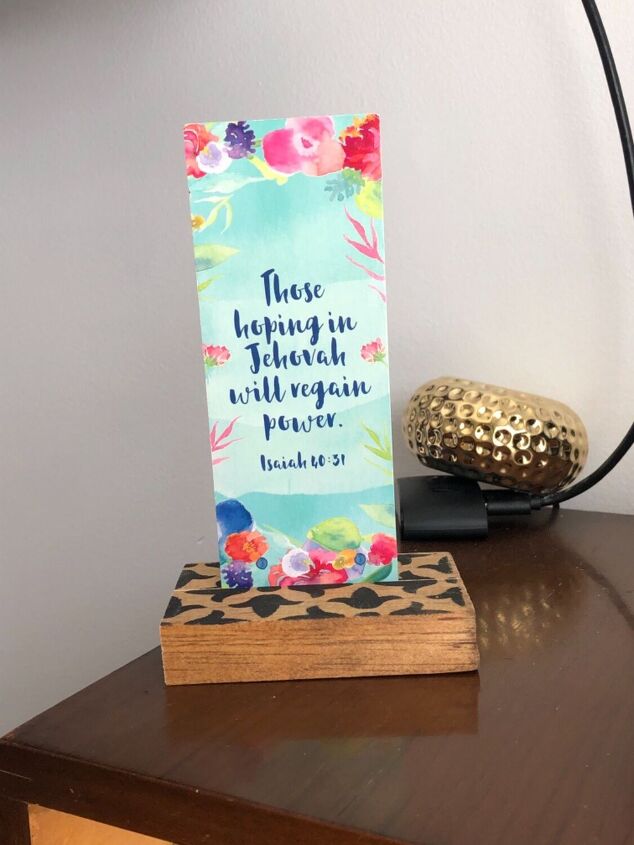
And just like that, my sign/card holder is done!!
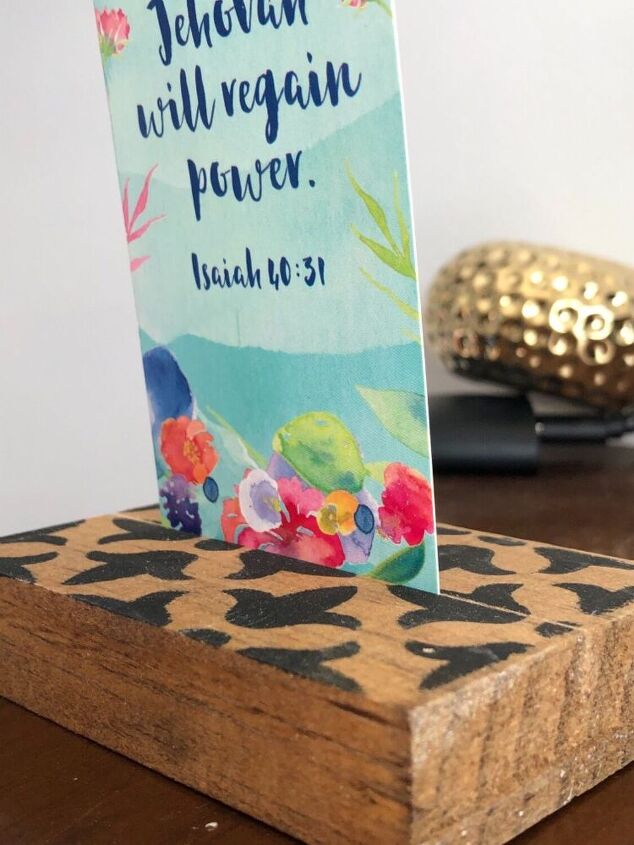
You can then place a card or sign with the message or image of your choice!!


Comments
Join the conversation
-
When I read this and how you put the blocks together. It made me happy because I too hope in Jehovah 🌹thank you ❤!
- See 1 previous
-
Beautiful Sister, Agape!


Frequently asked questions
Have a question about this project?