


Don't Ditch It-Fix It

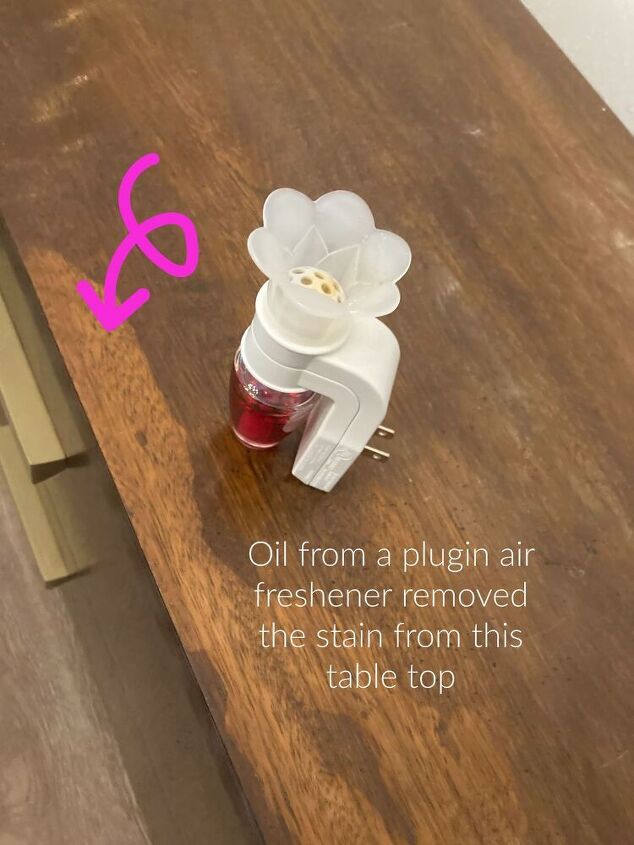
My granddaughter decided to take the plugin out of the wall and lay it on this tabletop so she could plug in her iPad.
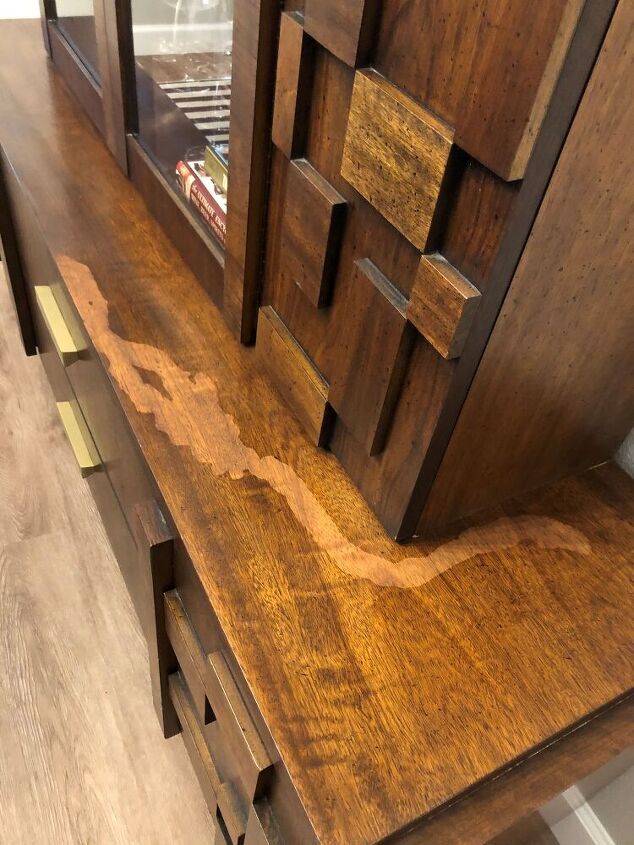
Unfortunately, the plugin leaked all over the table and took the finish off. Ugh!
Lucky for my daughter she has a Mom that can fix just about anything. YAY, Mom to the rescue!
The oil from plugins can literally remove the stain off your stain furniture.
There is something in the oil that eats away at the stain or paint. I’m not sure what it is but don’t despair I can help you fix it.
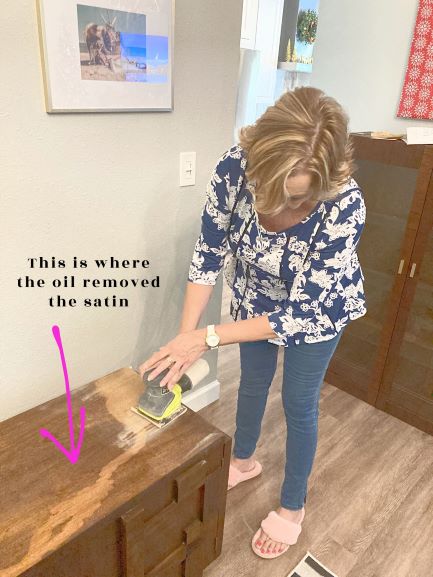
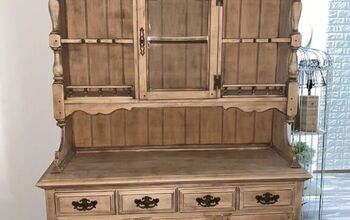
Unfortunately, you cannot just go over the damaged area. The first thing you need to do is sand the entire piece. I use medium-grit sandpaper using an electric sander. Make sure you sand in the direction of the wood grain.
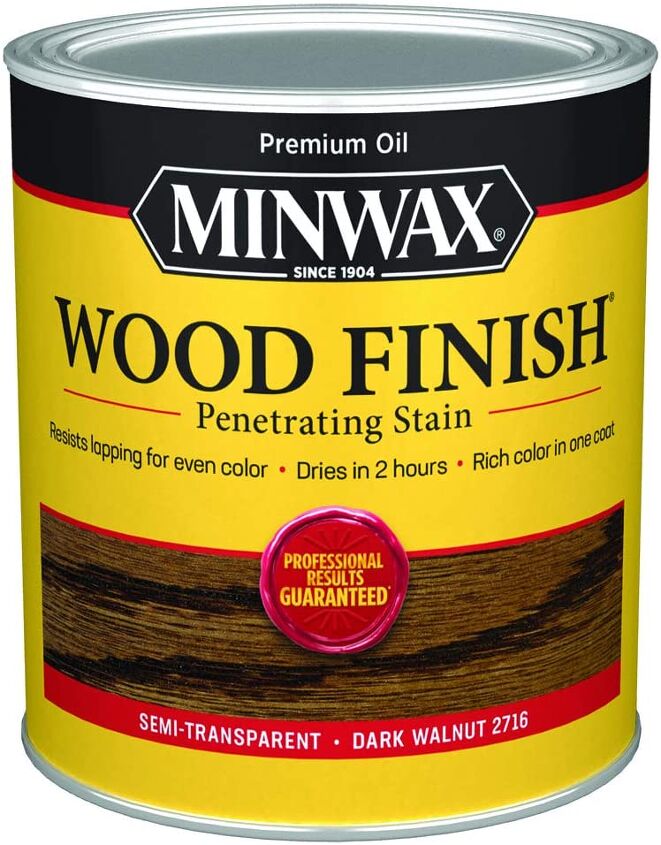
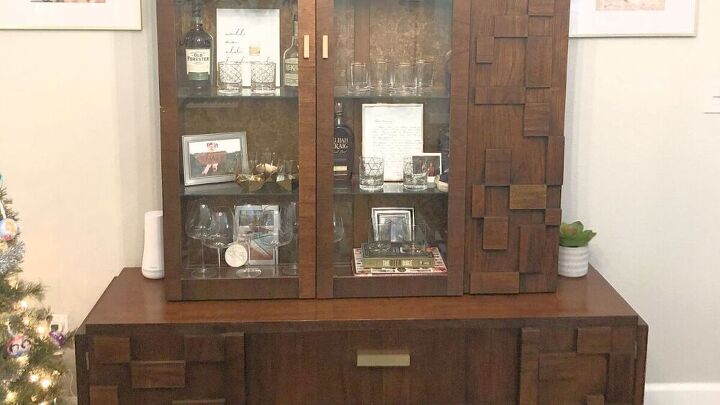
This is the stain I applied to the furniture piece. I used a walnut color that matched the existing wood finish.
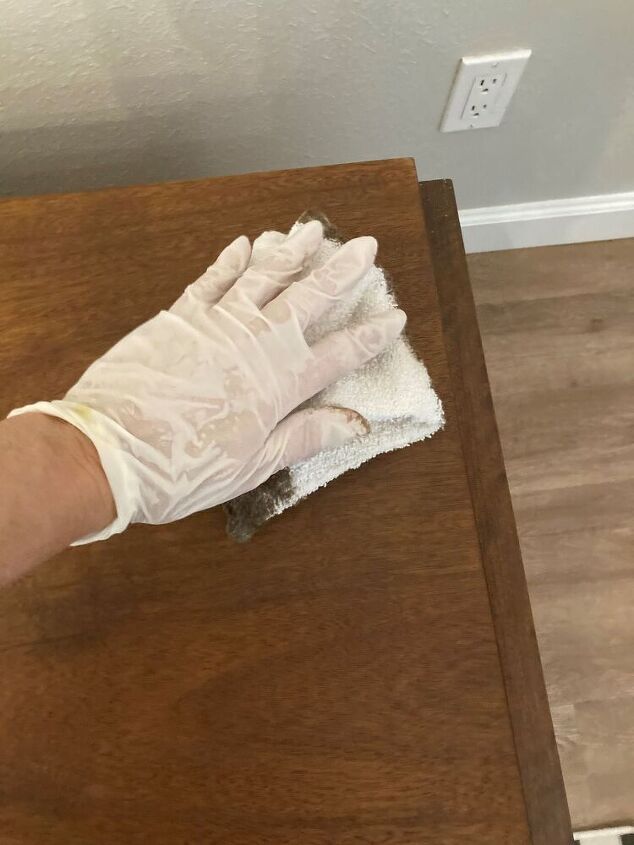
After you’re done sanding wipes the area with a clean cloth to remove all dust particles. Once it’s clean apply the stain using a clean cloth or sponge in the direction of the grain. If you want it a little darker, wait about 30 minutes, and apply a second coat.
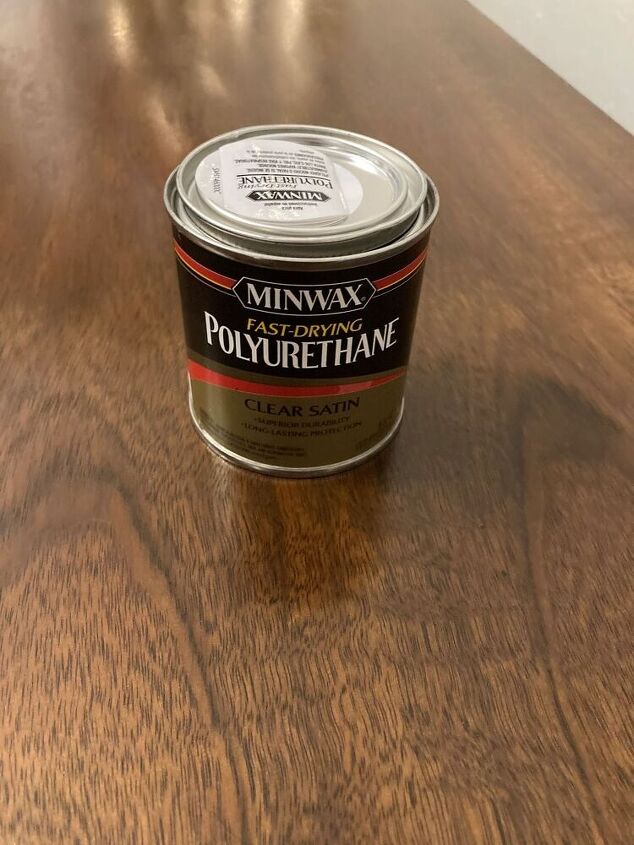
Once the stain is dry apply two coats of Polyurethane. I used a satin finish on this. I applied it with a sponge roller. This will help protect.
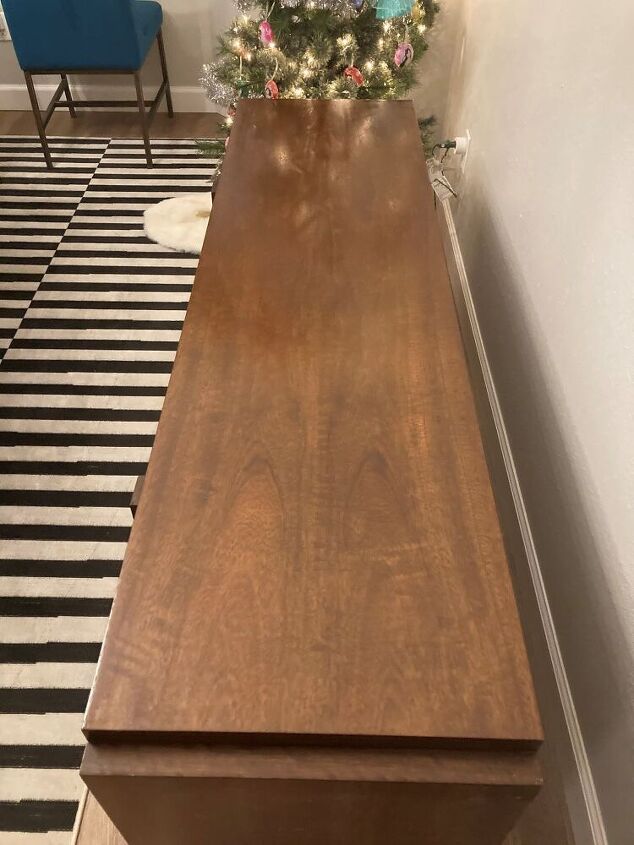
Let it dry overnight and it’s good as new.
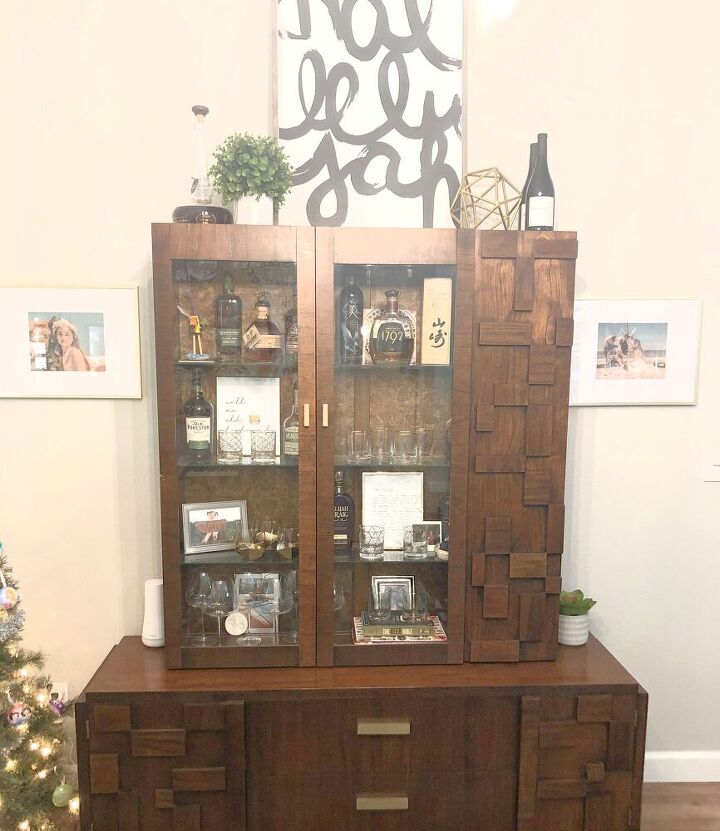
Look at that. It looks as good as new.
I hope you enjoyed this was helpful. If you have any questions or need help, join my FREE Facebook Group “ Ask Cheryl Phan”
If you want to learn more Tricks and Tips, get my weekly blog HERE.
See Ya on the inside!
Blessings
Cheryl
Resources for this project:
See all materials


Comments
Join the conversation
-
Nice wood refinishing job.
-
Thank you for not painting it. I hate seeing people paint over beautiful wood finishes.


Frequently asked questions
Have a question about this project?
How did you keep everything from getting sandy?
I have been looking for a new dining hutch for years. I love yours!! Do you think I might be able to find one like it? Love how you managed to fix such a large stain
Came out beautiful!!!Mabey we should use the plug in stuff for stripping?