


Add Some Style to Your Decor With This DIY Vintage Pattern Art
I love the artwork on vintage sewing patterns. It's "of an era" in the best possible way, and these cheery illustrations deserve more than to be forgotten in a drawer.
With a little easy work, you can display your favorite sewing patterns and inject some vintage style into your home for super cheap.

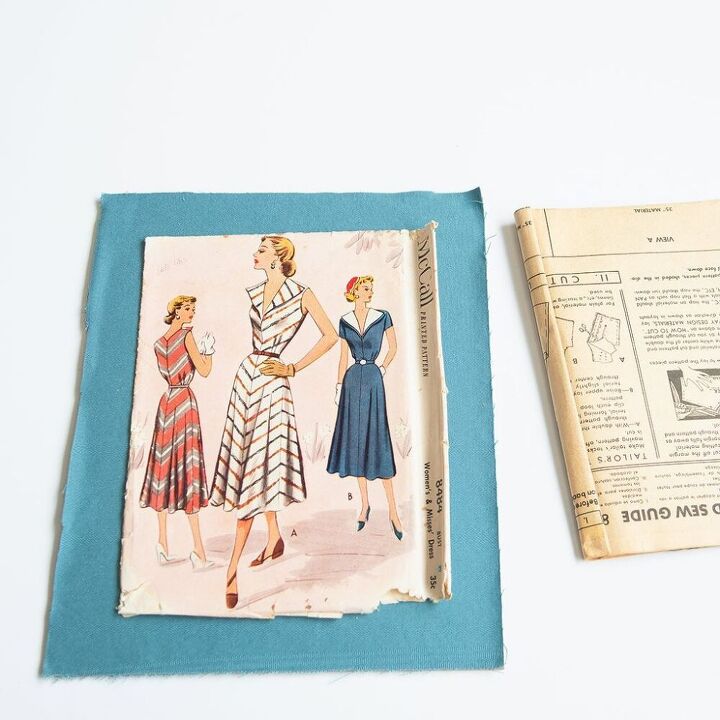
I love backing illustrations like these with leftover fabric. It won't take much fabric, and you can pick something bright and cheerful that catches your eye. Make sure it's a piece of fabric that’s at least the size of your picture frame.
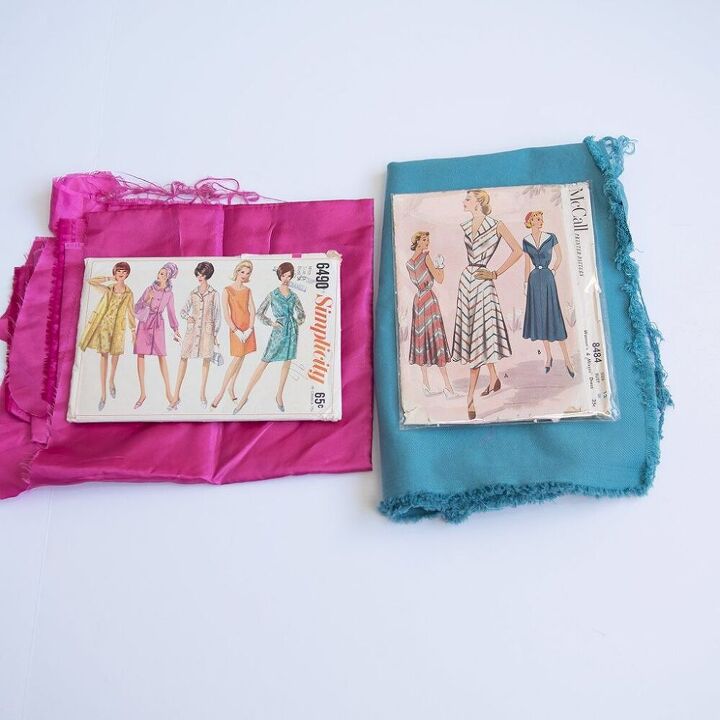
Whatever patterns you’ve chosen, pull a couple pieces of fabric and set each pattern on top. Which one catches your eye? Is there one that jumps out at you that you’ll want to keep looking at over and over again once it’s on the wall?
Next, cut a rough rectangle from your fabric. Definitely iron it so that it looks all nice one it’s behind the glass.
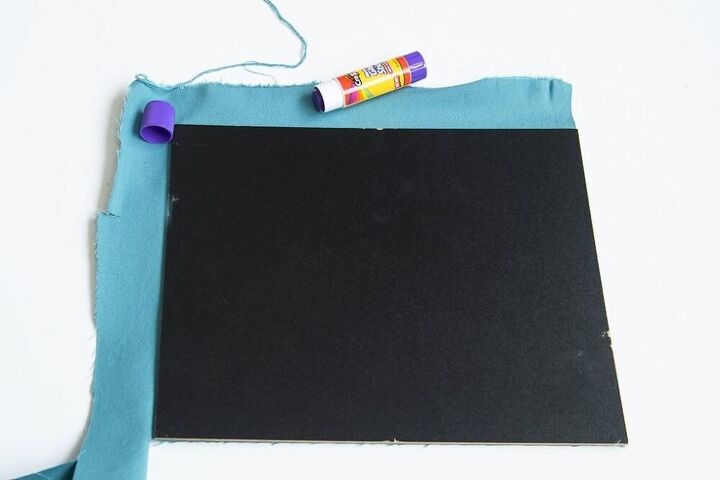
From there, pop out the back from your picture frame.
Use your glue stick to adhere the fabric to the picture frame back.
Let the glue dry, then cut the excess fabric off around the edges.
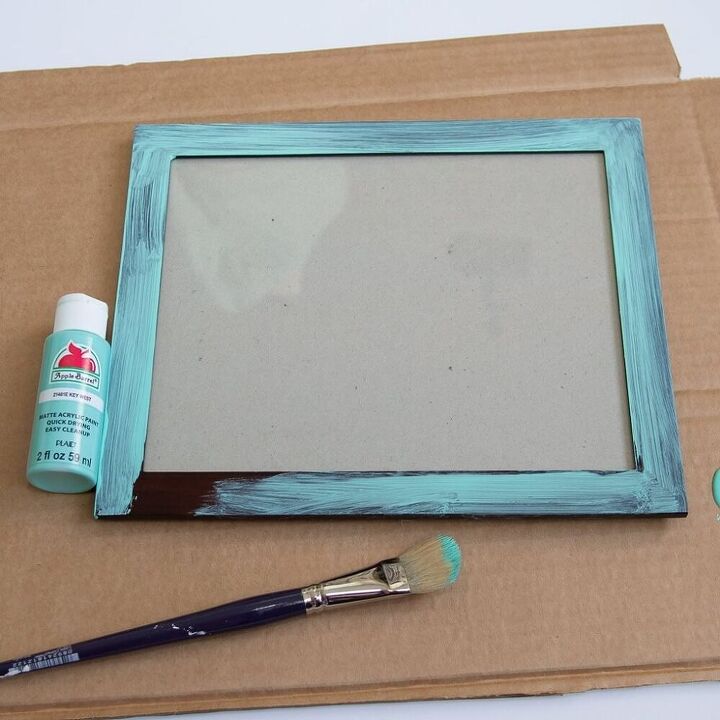
Take the glass out carefully. You can put painter's tape around the inside of the frame if the glass is being stubborn and not popping out.
Next, paint the frame. It usually takes 2-3 coats with acrylic paint. Let each coat dry about 30 minutes before you add another coat.
You can sand with extra fine grit sandpaper in between coats for an ultra smooth finish.
Take the pattern envelope contents out of the envelope. Picture frames aren’t usually thick enough to handle all the envelope guts unless you’re using a shadow box. Save the contents in a manila envelope if you know you'll use the pattern.
Flip the envelope over.
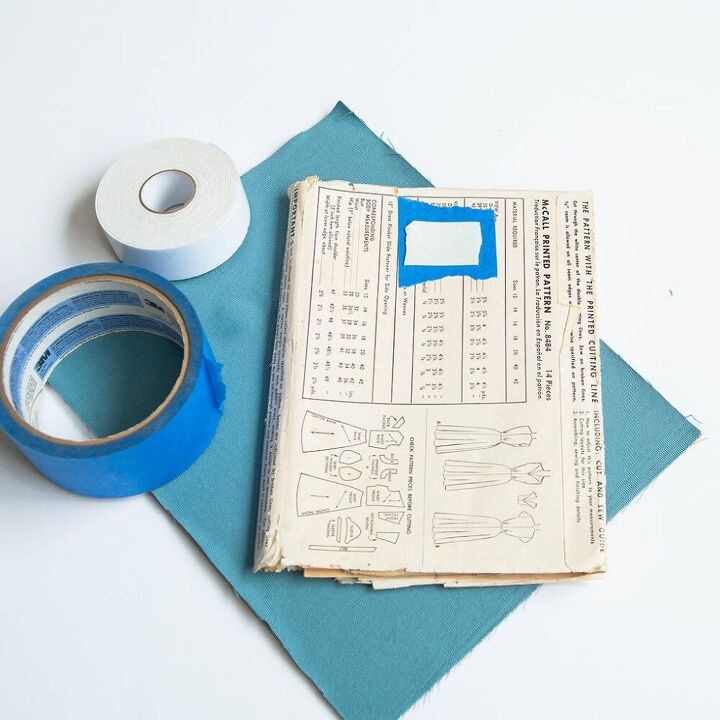
This is going to seem fussy, but I hate the idea of tape possibly damaging your beautiful pattern.
Put a strip of painter’s tape towards the top middle of your pattern.
Add a piece of poster tape on top of the painter’s tape. The poster tape is double sided and strong enough to hold up cardboard on a wall. Peel off the backing from the poster tape once it’s on the painter’s tape.
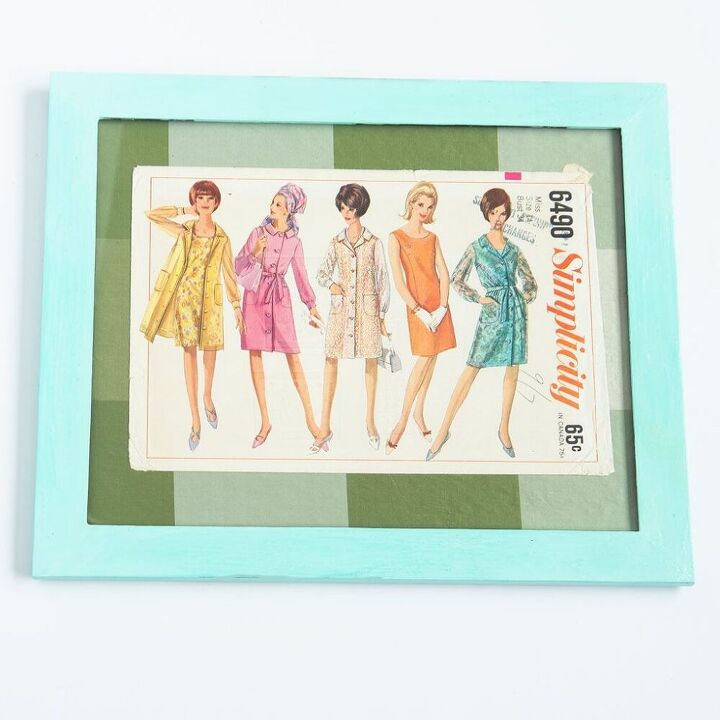
To finish up, pop the glass back into your finished frame, followed by the pattern/backing combo.

Find a spot in your creative spot and make a little grouping with your frames. Enjoy your new happy art on the cheap!
Resources for this project:
See all materials


Comments
Join the conversation
-
Love this idea. I have some 50 year old patterns that I used to make clothes for my babies. I think I may just try displaying them like this. I couldn't bare to part with them.
-
I love this. Such sweet memories of my mom who sewed beautiful clothes for me. I know i inherit her fabric but i don't know how many patterns i still have.


Frequently asked questions
Have a question about this project?
Yes I have a bag of real old patterns.Can buy frames at $ tree...also even the patterns may look cute framed?? TY for idea🐸
Oh the memories..........I have lots of those. any good ideas for the tissue pattern pieces inside the packages????
Hello. This is such a great idea! I am a bit confused about why you used the poster tape and what it was protecting? I must have missed something. Thanks!