


From Drab to Fab!

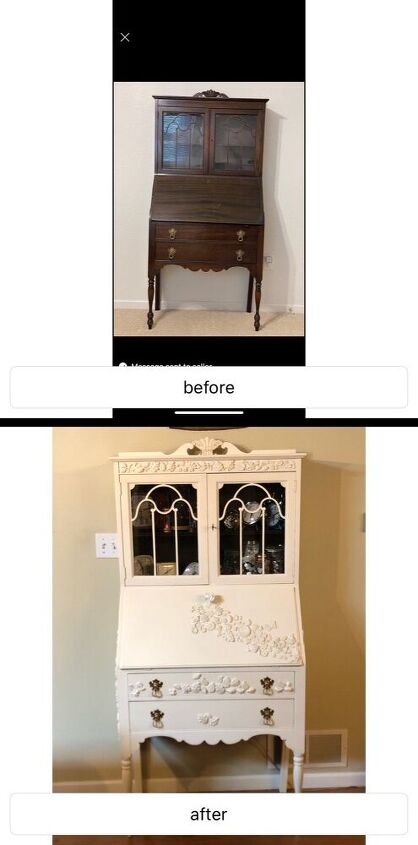
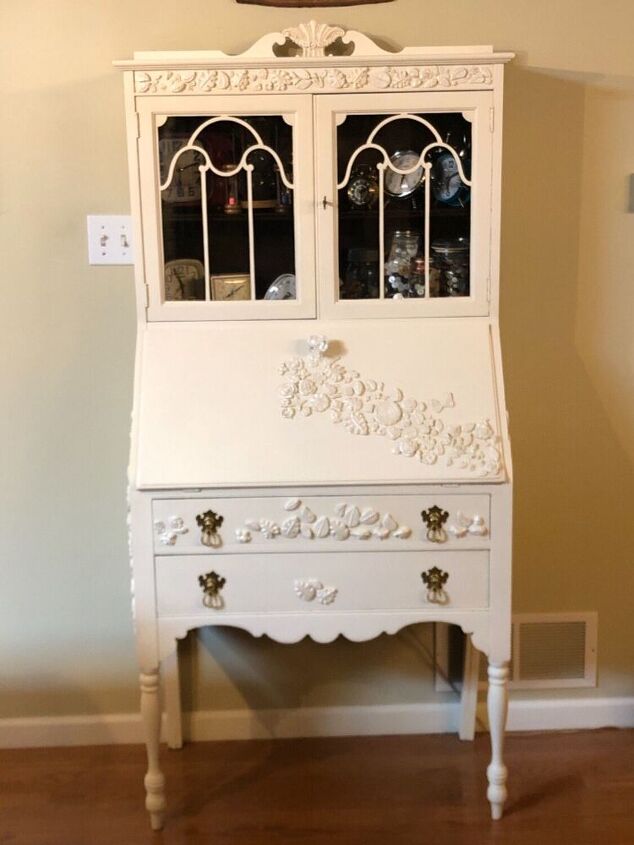
I bought this old secretary that needed a lot of TLC. Every time you took the front panel down it would fall off. One leg was busted. A lot of chips in the wood. However, I felt like this needed rescuing. It was way to pretty to pitch.
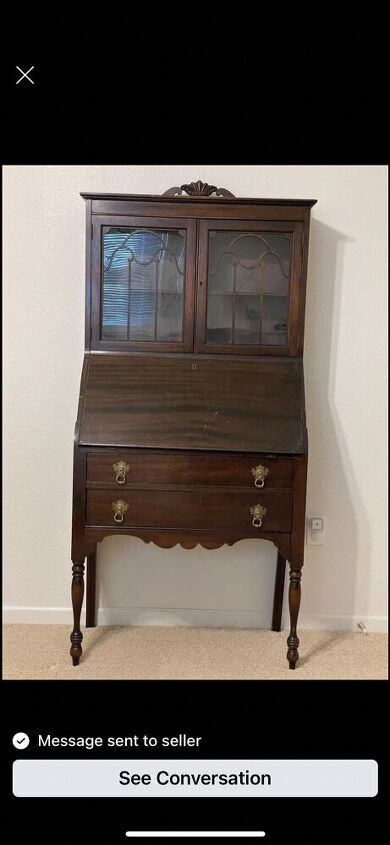
It looks way better in the picture. Up close it was in desperate need of repair.
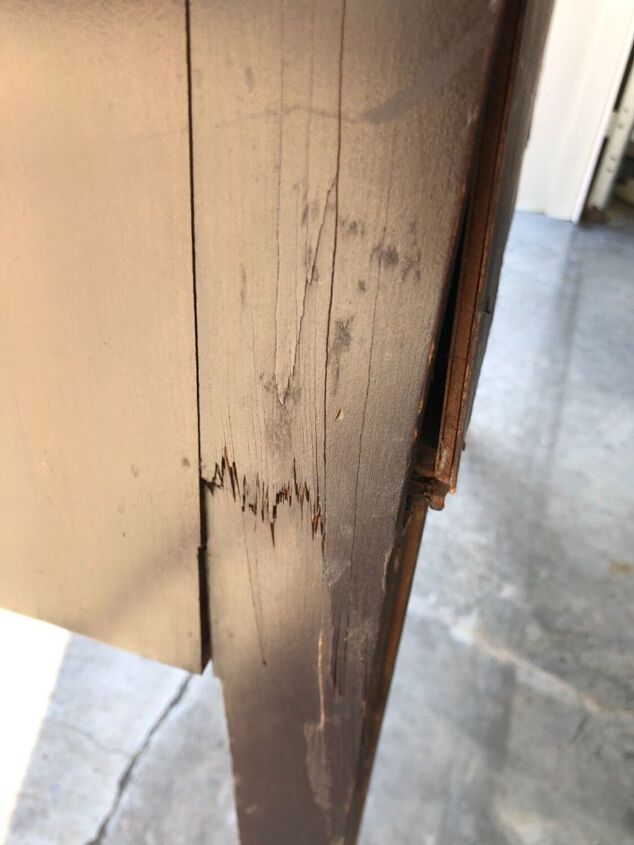
I started first by doing the repairs. I re-enforced the leg with another piece of wood behind it and screwed it in place then I filled in the wood that has been cracked with rockhard putty. After drying I sanded the whole piece down.
Even though sanding is not my favorite thing, it’s an important part of the process. Otherwise, your paint won’t stick and make it for the long hall. I’ve tried taking shortcuts and it never works out.
I learned a valuable lesson here. When painting the wooden pieces in front of the glass, I put cards behind them. I didn’t want paint on the glass. My lesson -take them out as soon as you’re finished painting before it dries. If you let it dry it sticks to the back and it’s next to impossible to get off.
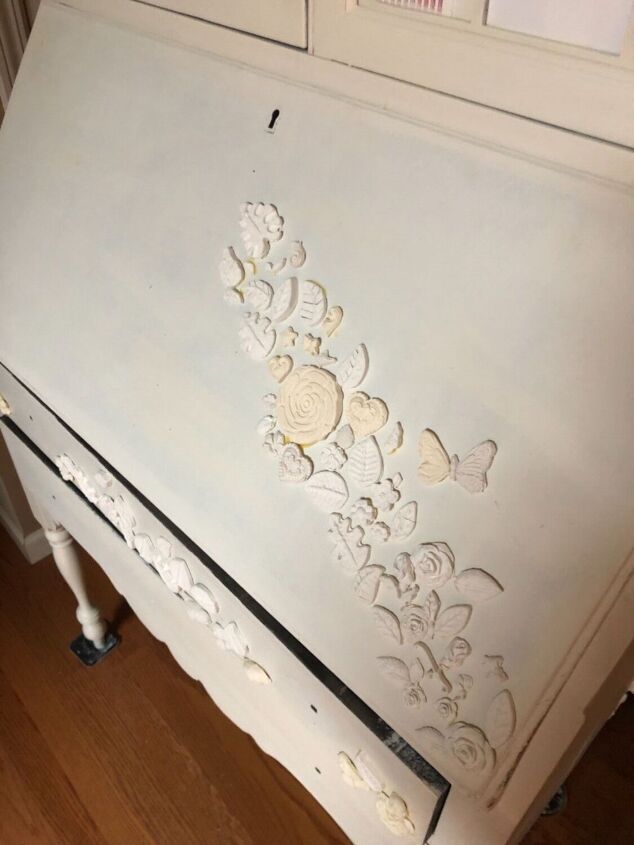
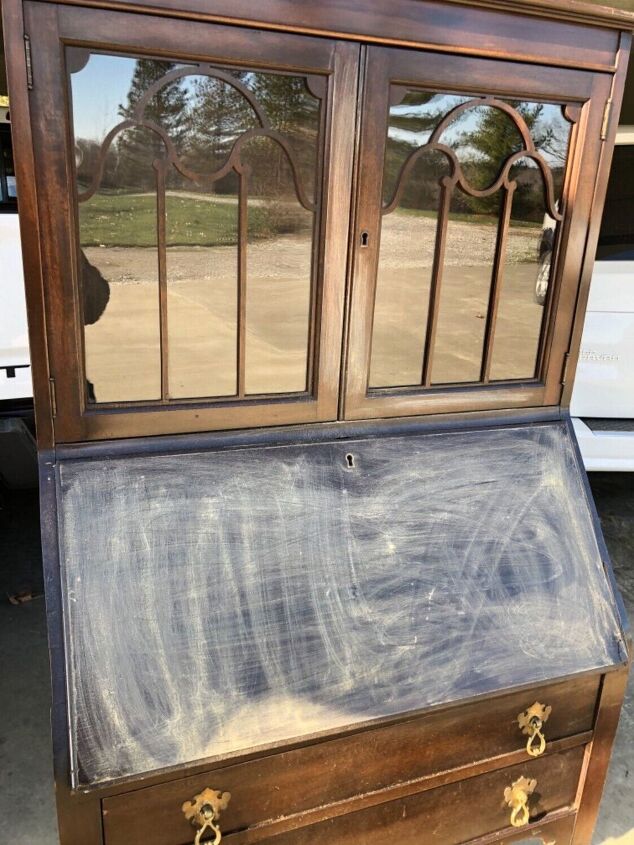
This was the longest part of the process. There was a crack in the front of the fold down desk. As well as a lot of pit marks. I filled them in with wood putty. However, Even with painting over them it was not a smooth surface like I wanted it to be. So the next best thing was to hide them. I made appliqués out of clay papier-mâché from some molds that I had from previous projects.
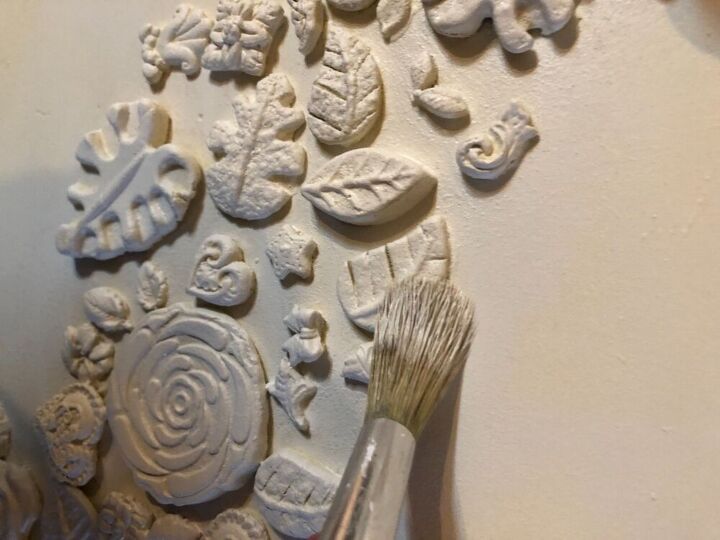
I wanted a lot of the appliqués. So I put the mixture in the molds and it took about two days for them to dry. So over the course of a week I had enough appliqués that I was satisfied with. I glued them on the surface of the secretary with wood glue. The pattern on the secretary was basically just to hide the defects.
After the wood glue dried ,I painted the appliqués with wood primer.
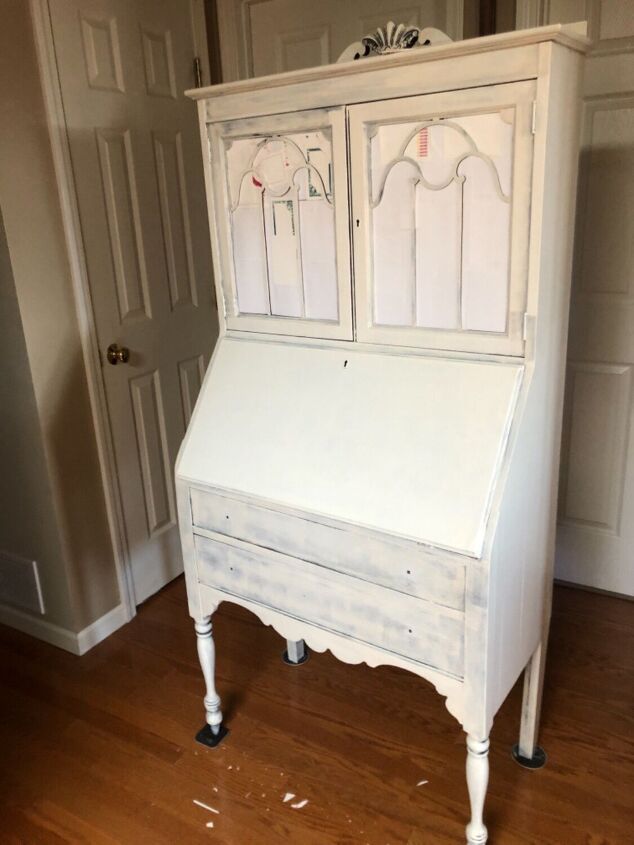
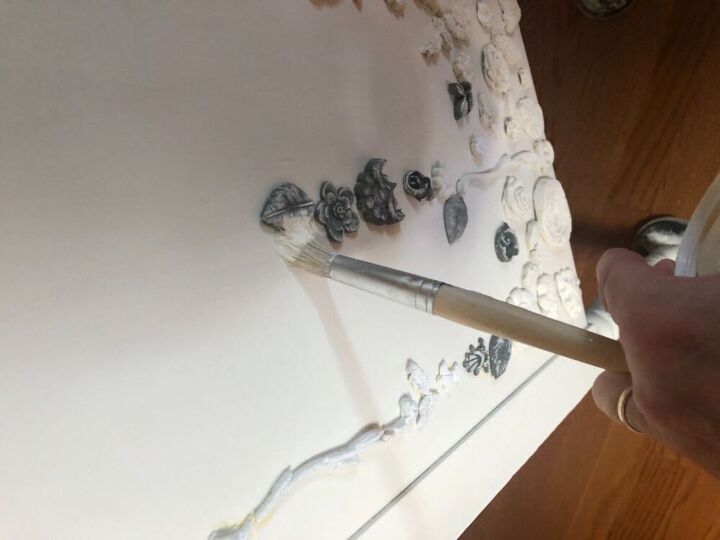
I put a liquid wax over the primer. Let that dry, then put a matte white paint over the entire secretary. I spray painted the handles with gold metallic paint. Even with a lot of elbow grease, I couldn’t get the brass to shine up.
The top edge of the fold-out desk was chipped from years of pulling on it. I planed it off before I started painting to get rid of the chip. Then I drilled a hole beneath the keyhole and attached a rose shaped knob. From this point on you can pull on the rose knob instead of the lip of the pulldown desk. No more future chips.
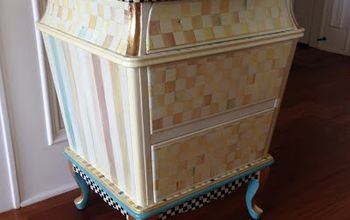
even though this might not be everyone’s taste, it’s appealing to me. It has a feminine feel.😍
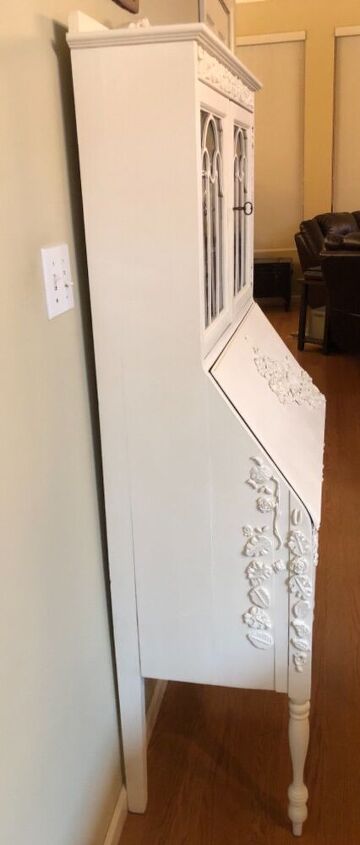
Gotta dress up the sides as well!


Comments
Join the conversation
-
This project is one of the best I have seen so far. Thanks for sharing!
-
Beautiful


Frequently asked questions
Have a question about this project?
I am new to painting furniture so I read every post carefully for tips. You said you applied liquid wax over the primer and then painted. I wouldn't have thought you could paint over wax. I thought you would apply wax AFTER the paint. Could you please help me understand? Thank you.