


Creative Beauty With Joint Compound
Hello everyone, I'm Cindy and blog at Cloches & Lavender. I have posted a few times on Hometalk sharing Fall and Christmas crafts.
It's great to be back for the new year and share a project.
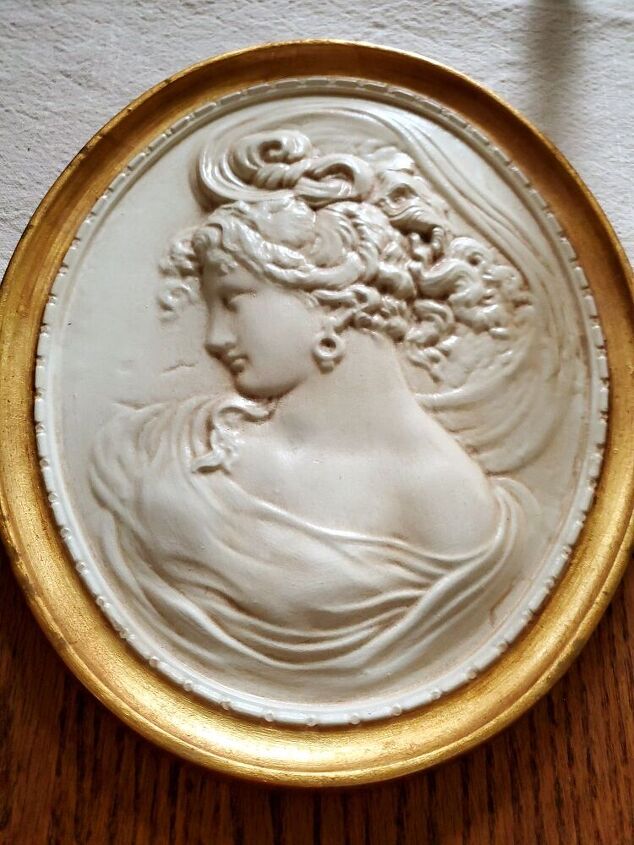
The project I'm sharing today came about when I purchased two Cameo plaster ware plaques.
As you will see, they are beautiful and I wanted to come up with a plan to display in a way that would make these shine.
Let me share a photo of the pieces I'm referring to.

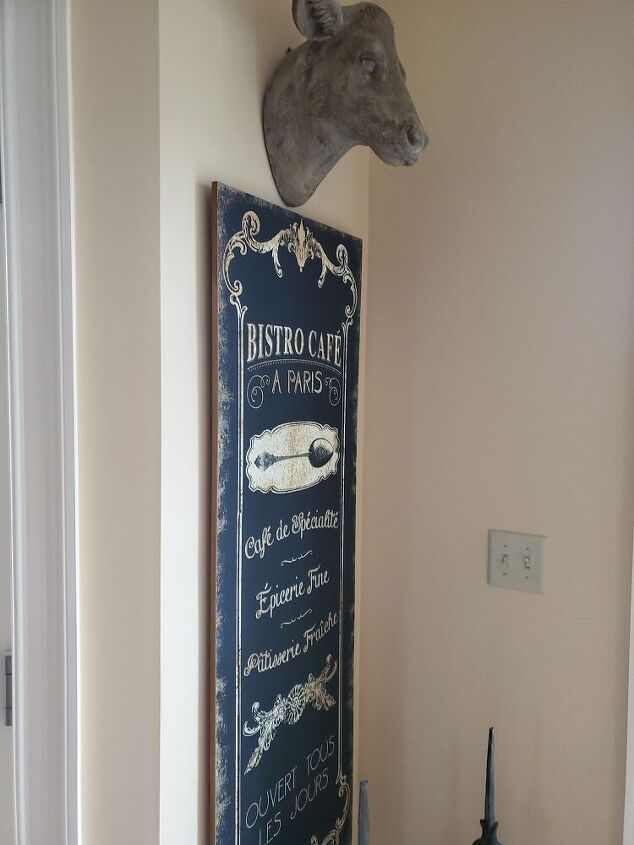
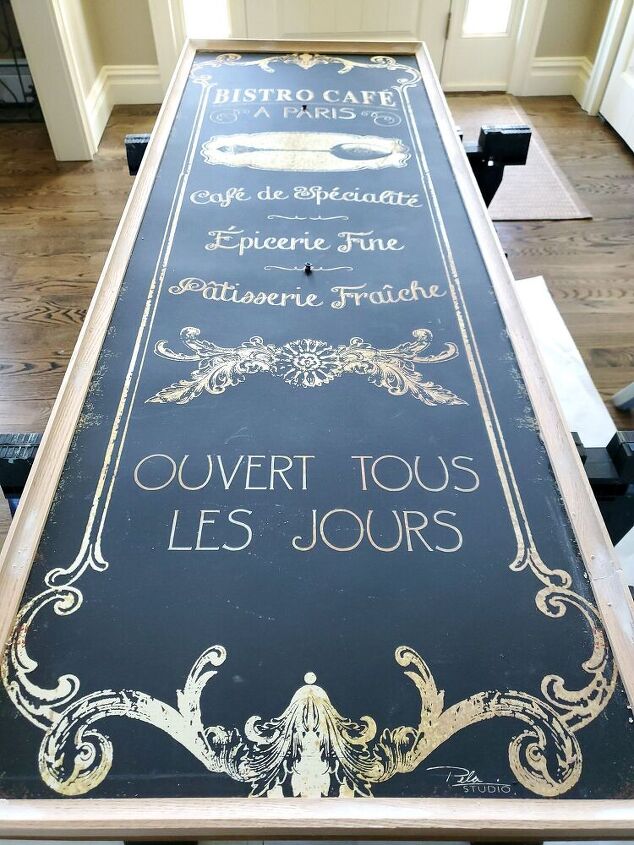
Next, I decided to use a wood sign I had hanging as the back drop for these beauties.
Here's, how it started.
It got taken outside and molding was added to give it a more finished look.
Before I began adding the joint compound I measured and placed two screws into the sign before hand. You can see screws in the picture above. This step was important because the plaques are plaster and are delicate.
While it's sitting on saw horses, I grabbed my tub of joint compound and a putty knife.
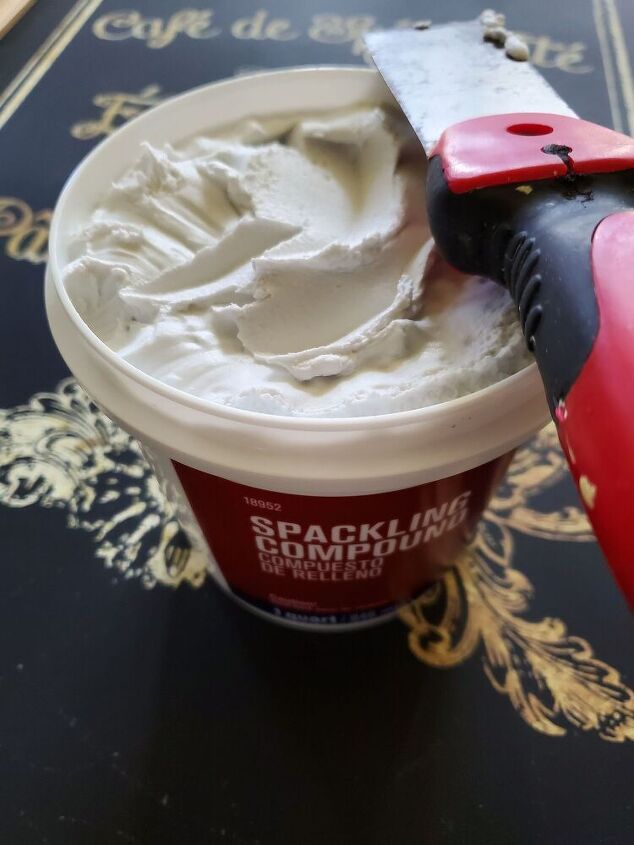
Next, I began adding bits of joint compound starting in the corner. I think this is the best place to begin.
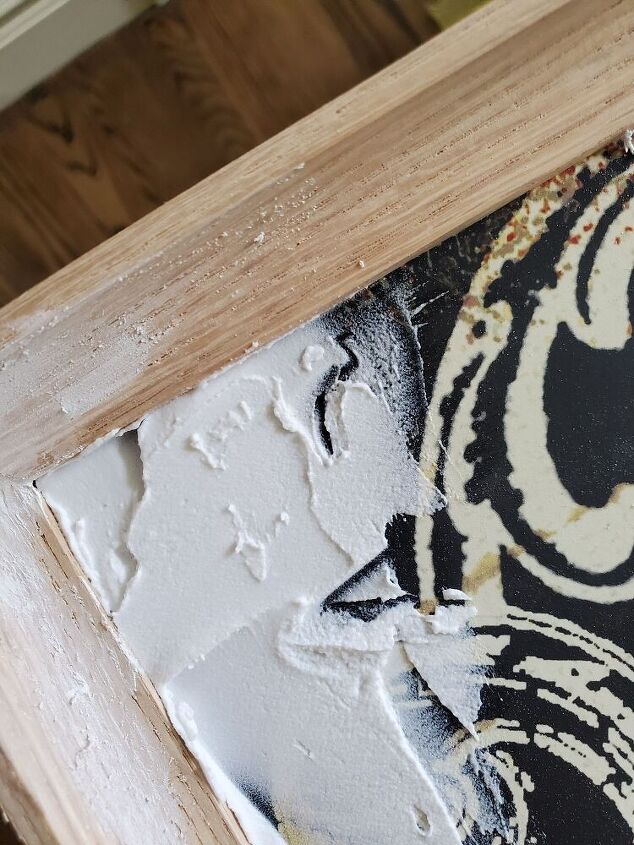
The frame has a bit of filler from the nails. I don't want you to be concerned joint compound will get allover the molding.
Now, my husband was a bit skeptical about this processing turning out the way I envisioned.
I however, wasn't and knew it was going to work if I followed my plan.
Applying the joint compound took about twenty minutes and this is what it looked like.
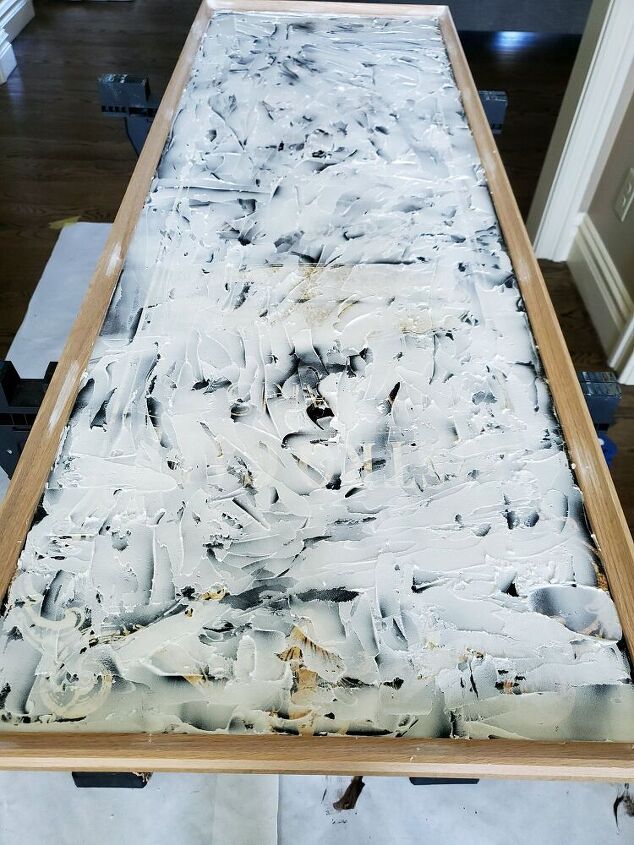
As you can see the piece isn't completely covered. Here's why, because I wanted to achieve a plaster look like the plaques needed it not be perfect.
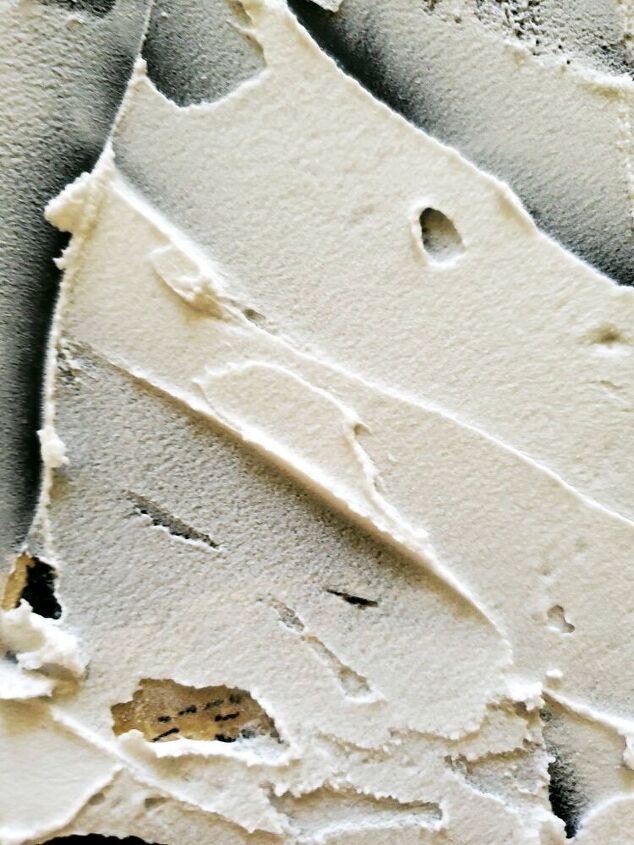
At this point, I let this dry overnight.
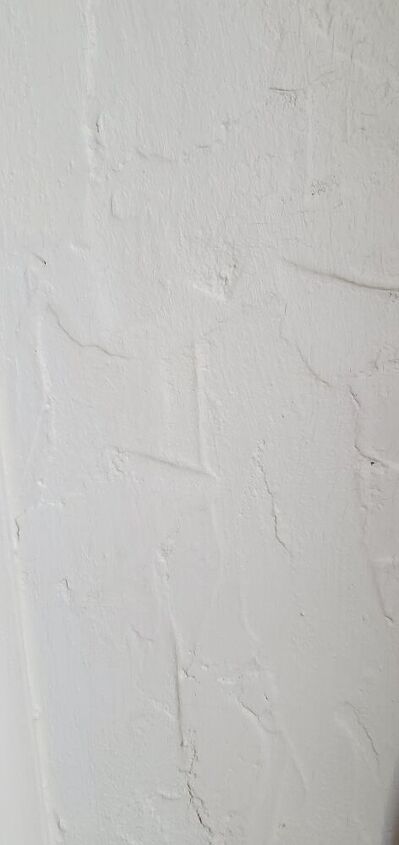
Here's a close up of the plaster.
As I stated on my blog, I deeply apologize for not taking a picture of the next step. I was excited and pleased and for got to get a shot. Rest assured it is very simple.
The raised portions you see in the above photo need to be knocked down just a tad. Doing this will give the look of plaster once painted. Using a 220 grit sanding sponge I sanded where these pieces were.
I simply vacuumed the dust off.
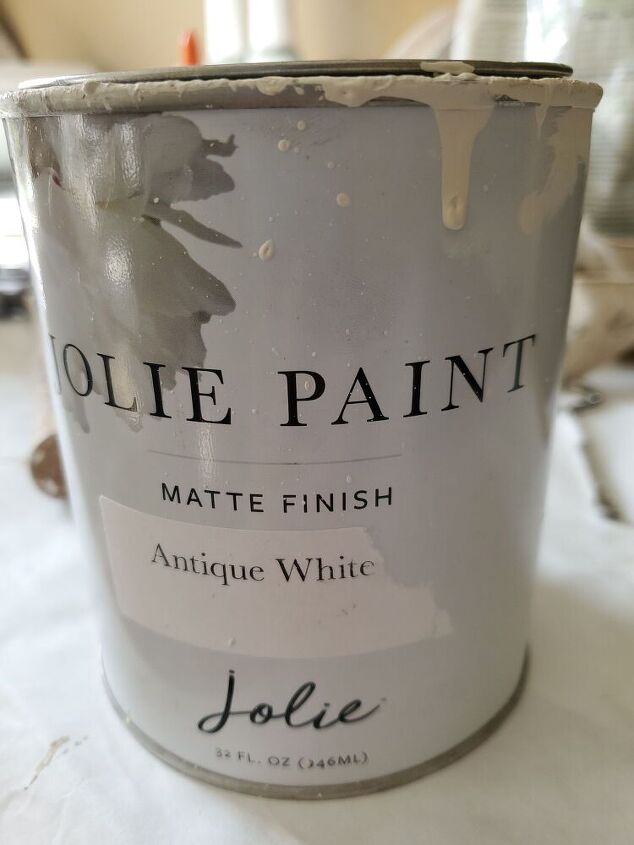
Two coats of Jolie paint were used to get the same coloring of the plaques I planned to hang.
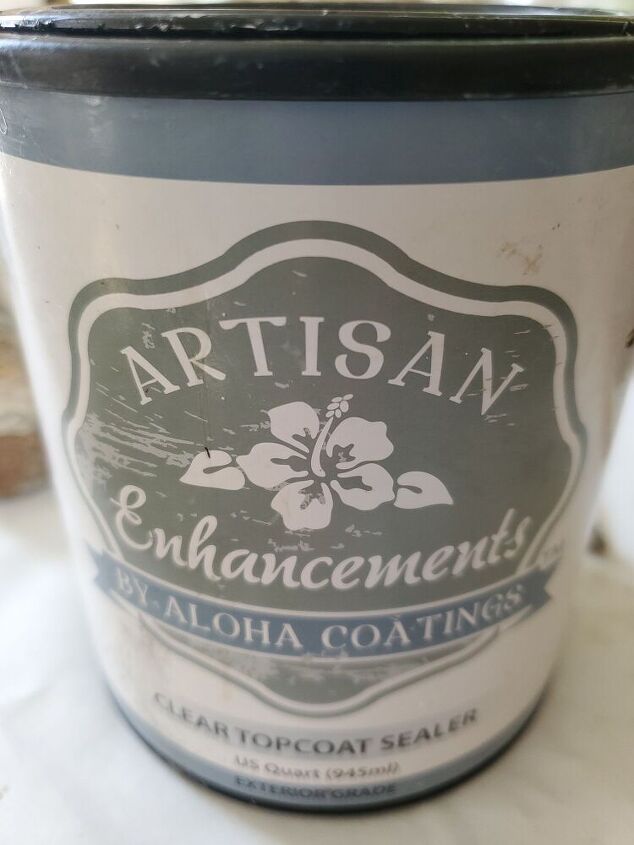
Once the paint dried very well. I added a light coat of Artisan Enhancement using a chip brush, this step is optional.

I took pictures closeup of the plaster after it was hung so the movement of the plaster could be seen and the look. Lying flat did not allow to share these shots.
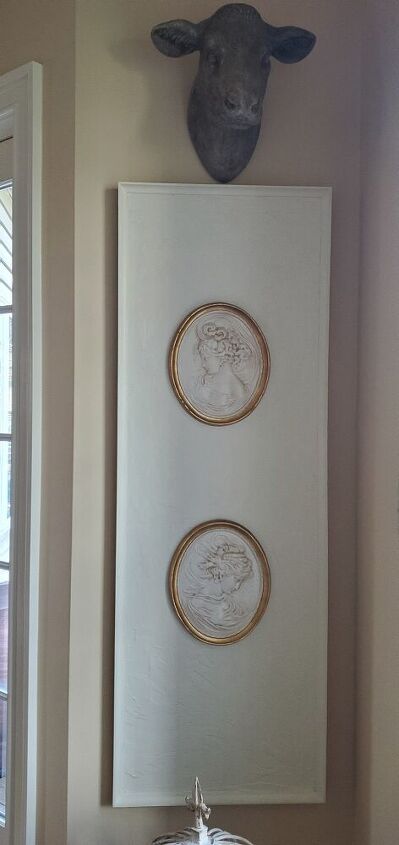
Here it is hanging in our kitchen. I am beyond thrilled with this piece and love it everyday I see it in our kitchen. It truly looks exactly how I envisioned.
I hope you enjoyed this DIY. It's very simple and doesn't take long to create.
If you have any questions feel free to ask and I hope this encourages you to give something similar to this a try!
Resources for this project:
See all materials


Comments
Join the conversation
-
I think it is very nice, but the frame is too large and there ends up being too much negative space. I am also confused by the cow head above and also don’t think the cameo’s blend with the rest of the decor but beauty is in the eye of the beholder and she loves it and that is all that is important.
-
Oh and I like the original piece of art!


Frequently asked questions
Have a question about this project?
I'm confused. Is this an impression of the original ladies? Why was it necessary?
Thanks for sharing the project instruction steps. Beautiful job. Just wondering why not just put the ladies on the wall without making background? And/or add gold leafs on the wood frame?
Humor, u cld put both ladies above the cow on each side.... this will look like the opening introduction from "Brady Bunch" which all family members look at each other (I hope I made this clear?)
Where did you get the original "ladies heads" pictures? Love those, but haven't seen them anywhere?