


How We Installed Our New Woodgrain Interior Doors
We replaced all the interior doors in our house with high quality Woodgrain Doors! I recently shared my love for the four panel shaker style Woodgrain doors we received as well as the ordering process, our hardware and paint selections and our plan to replace all the doors in our upstairs hallway.

Today I’m going to show you all the steps we took to plane, rout, paint, and fit our new interior doors into our existing jambs in our upstairs hallway.
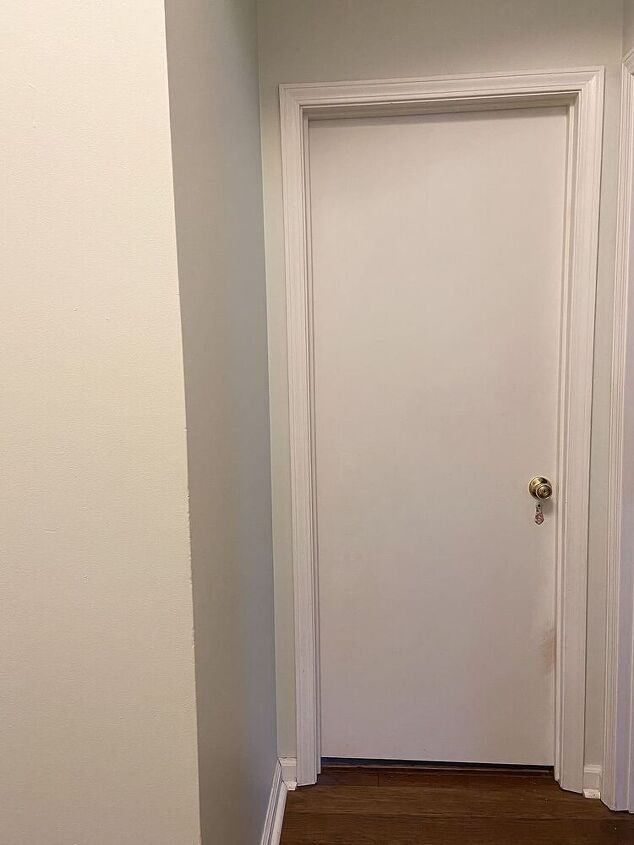
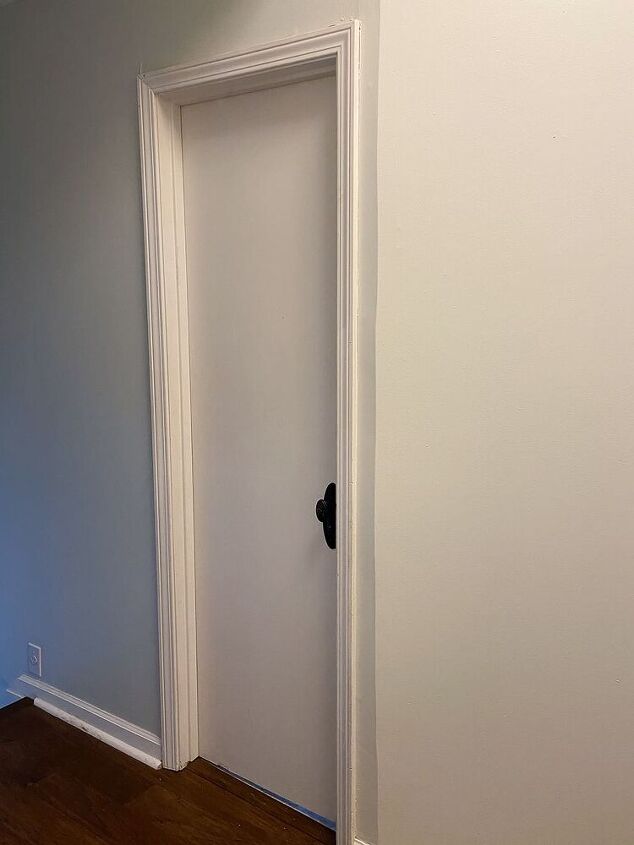
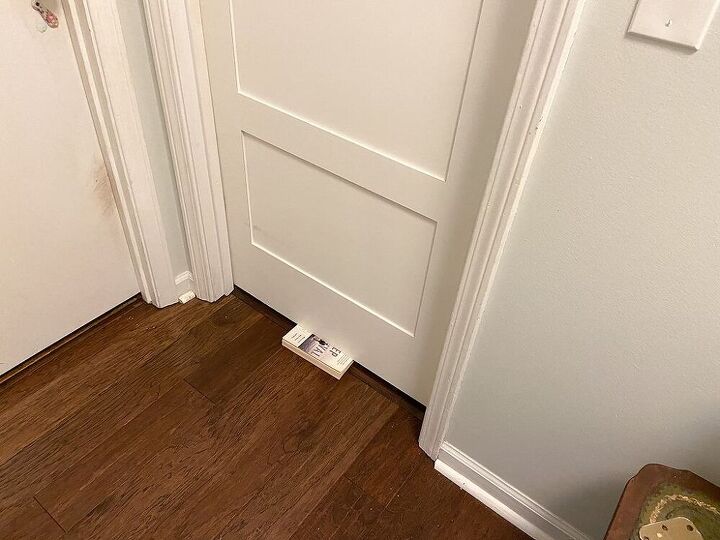
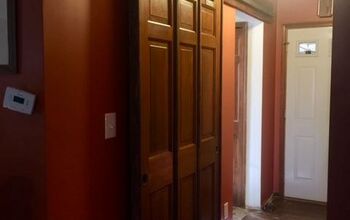
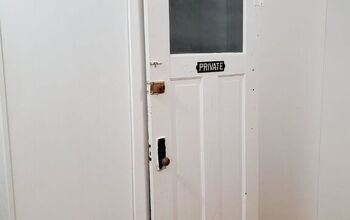
Here’s a reminder of a couple of the doors our fixer-upper came with. They were super flimsy, hollow, mismatched, and just ugly. It was time to change them up for some good quality doors — and Woodgrain Doors are QUALITY!
The Before photos

In my last post I explained how we were planning on using our existing doors as templates to drill our new doors to ensure that they fit perfectly back into place. I’m happy to report that plan worked so well!
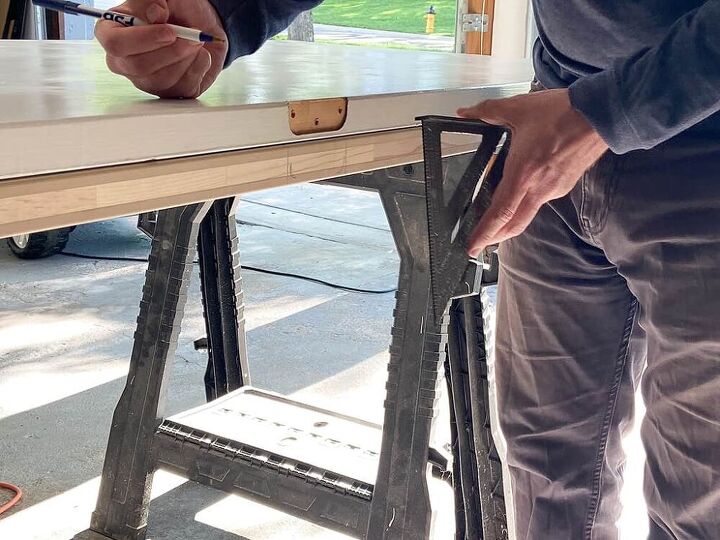
Here’s a reminder of the templating process using our old doors to mark our new doors.
After the door was properly marked for the handle and hinge hardware, we were off on our door replacement journey. Let’s take a look at the steps!
Dry fitting the doors
We did numerous dry fits until the door fit perfectly. Using a book under the door helped hold it in place for testing.
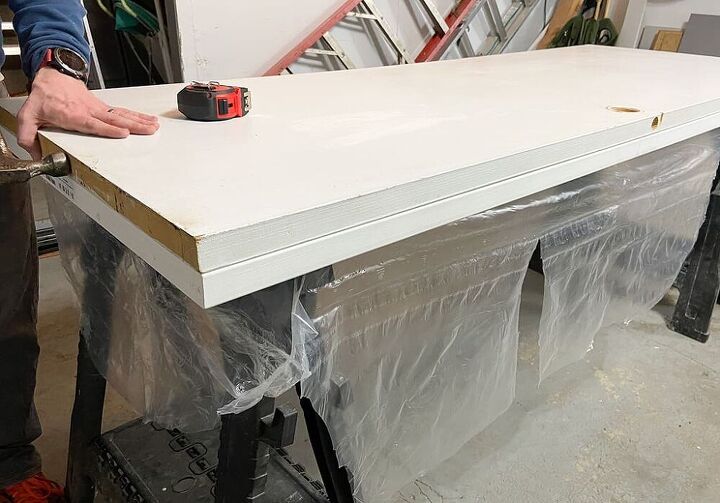
Planing the doors down for a perfect fit.
We live in an older home, so we knew we’d have to plane the sides of the door down to ensure a perfect fit for each door — they’re all different sizes. Ted took 1/16″ off at a time in between dry fits to ensure the perfect door width.
We really like this Bosch planer if you’re in the market.
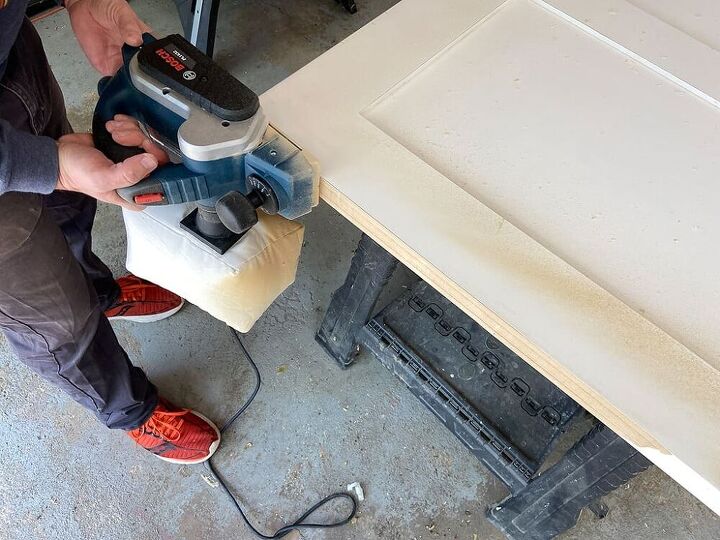
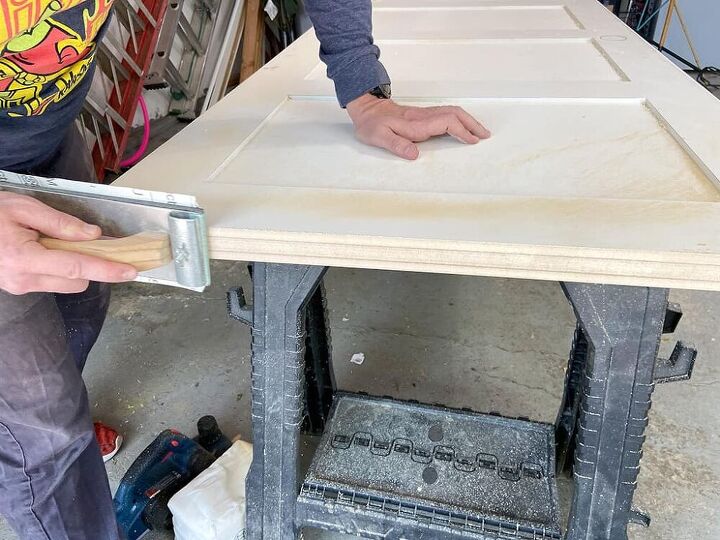
After the edges were planed, he lightly sanded for a smooth finish.
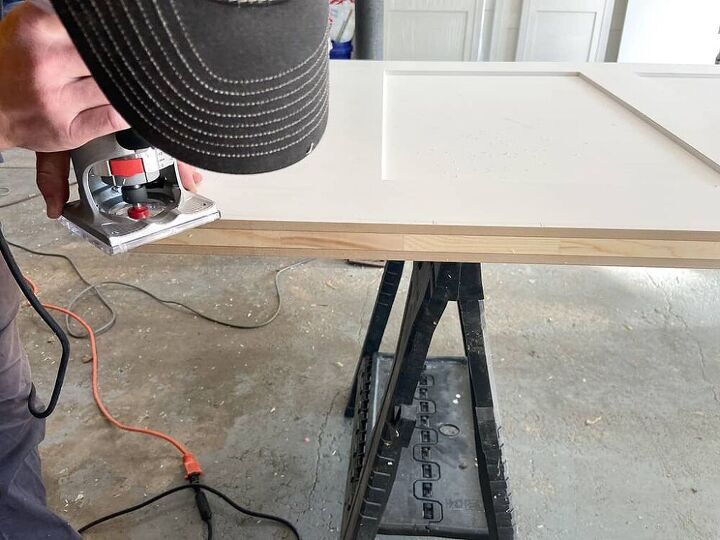
Using his palm router, Ted routed the edges for a smooth edge.
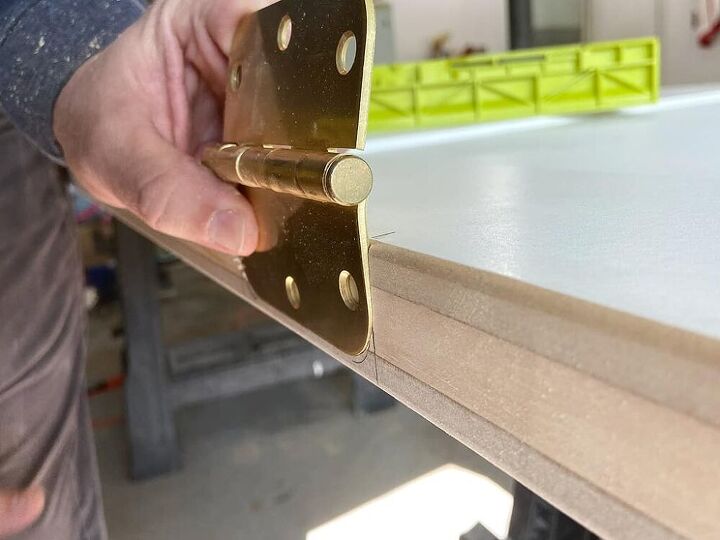
Routing the door hinges
Ted used the old door to mark where the hinges should go on the new door. He then removed the old door from the top and discarded.
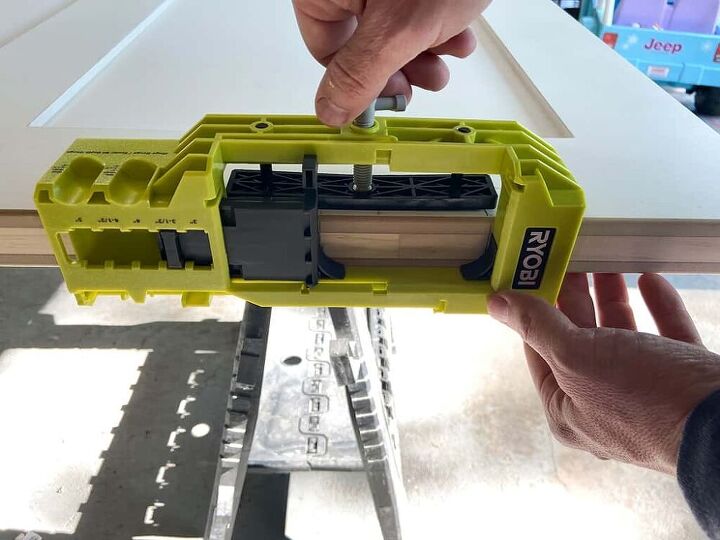
He locked the hinge template tool tool into place. This too l was extremely helpful, and served as a template for the hinges.
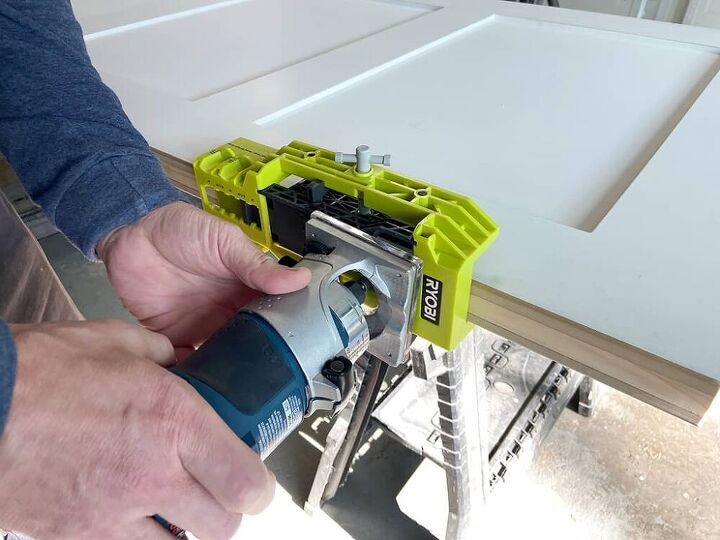
Using his router, he cut to the depth needed for the hinge to sit flush on the side of the door. The router made this project so much easier!
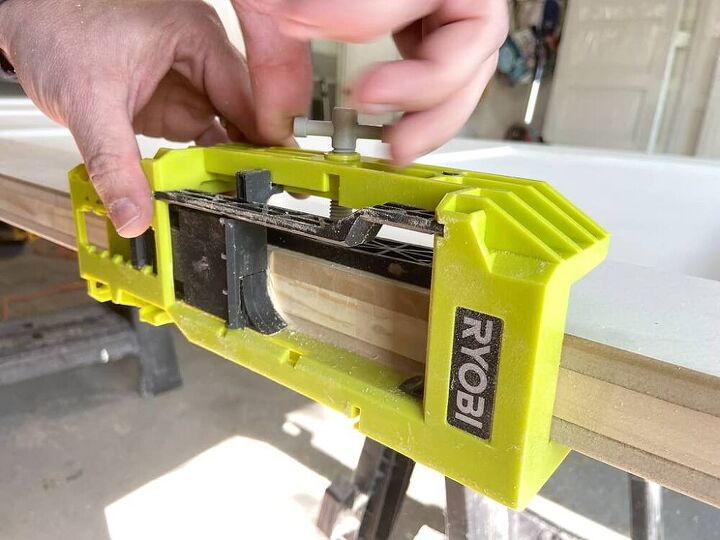
After the recessed section was cut away, Ted removed the tool.
The hinge sat perfectly inside the recessed section flush with the door. Hooray!
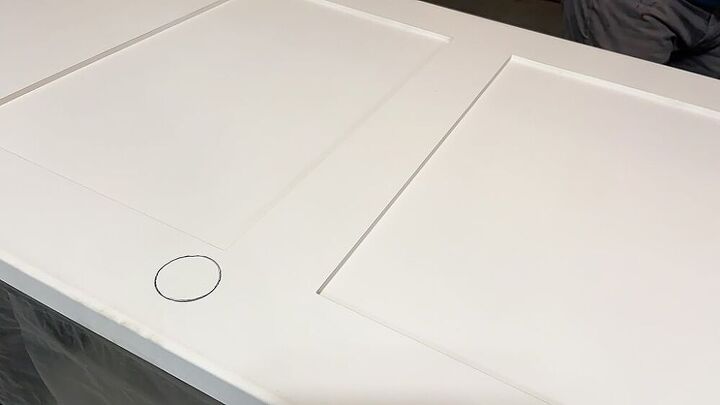
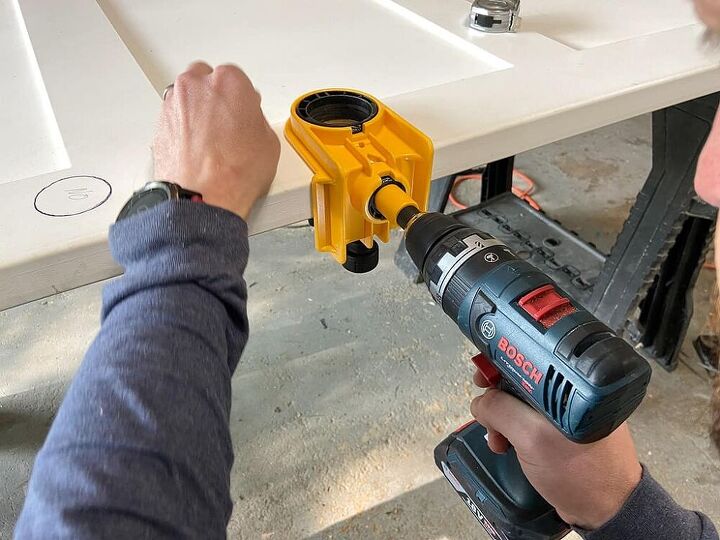
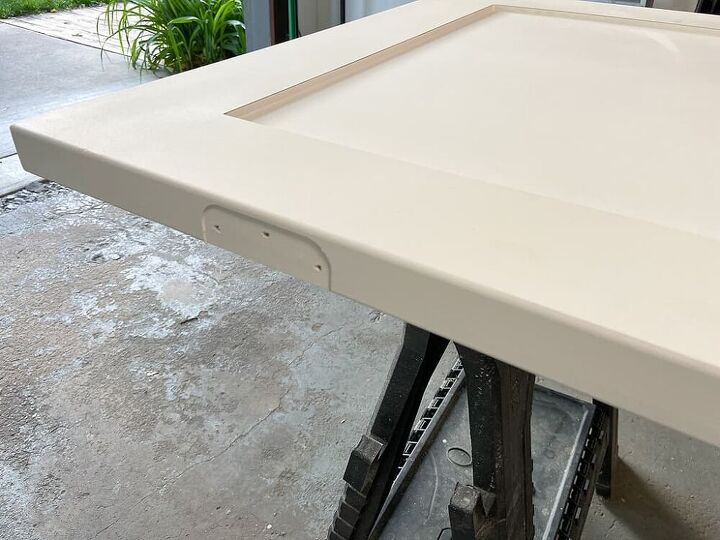
Drilling the hardware holes
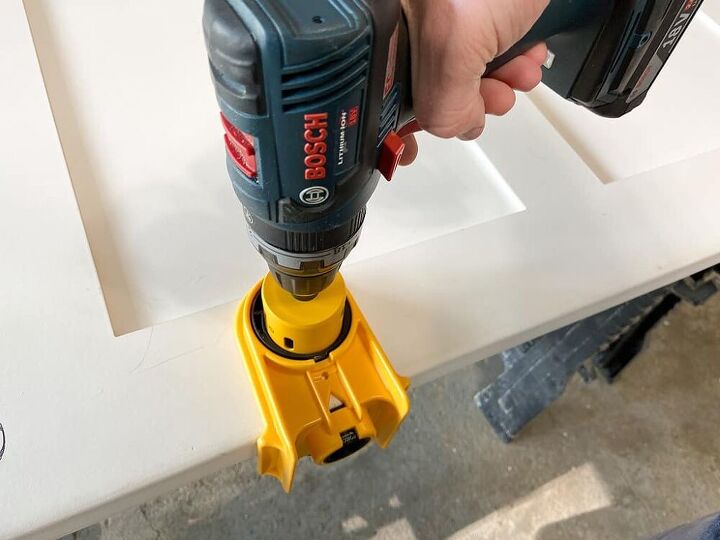
Using a drill and a kit made for door hardware drilling Ted drilled through the door. The drilling takes about five minutes for each door since the doors are so thick and solid.
This is another must-have tool for door drilling!
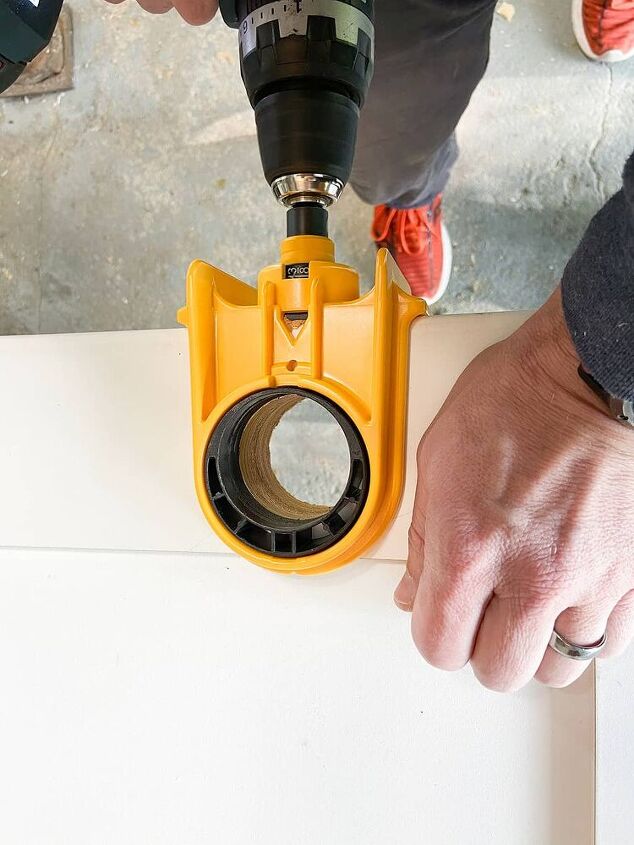
Next, he drilled the sides to make the hole for the hardware latch mechanism to fit.
We had a little mishap in the templating phase, which is why the other circle is drawn in this photo. We will just prime and paint over that. 🙂
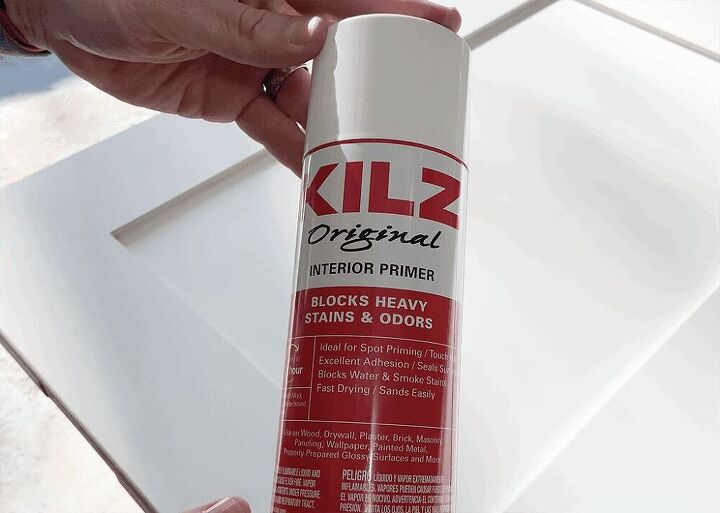
Priming and painting
Once all the holes were cut and the hinges recesses were cut, it was finally time to prime the sides that we trimmed off and then paint.
He used a can of Kilz primer, which actually matched the pre-primed doors perfectly.
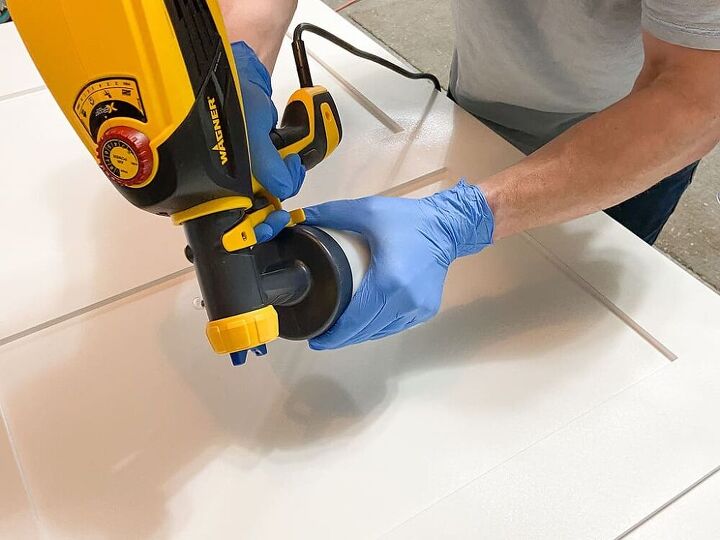
The primer dried very quickly and Ted used our Wagner Flexio paint sprayer to paint the doors.
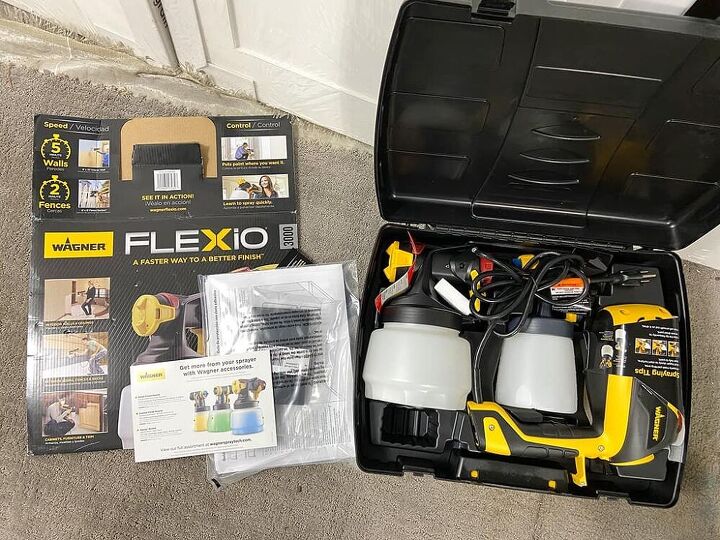
We love that this sprayer comes with two nozzles and different sized tanks. The smaller nozzle worked great for cutting in the rectangular recessed parts of the door.
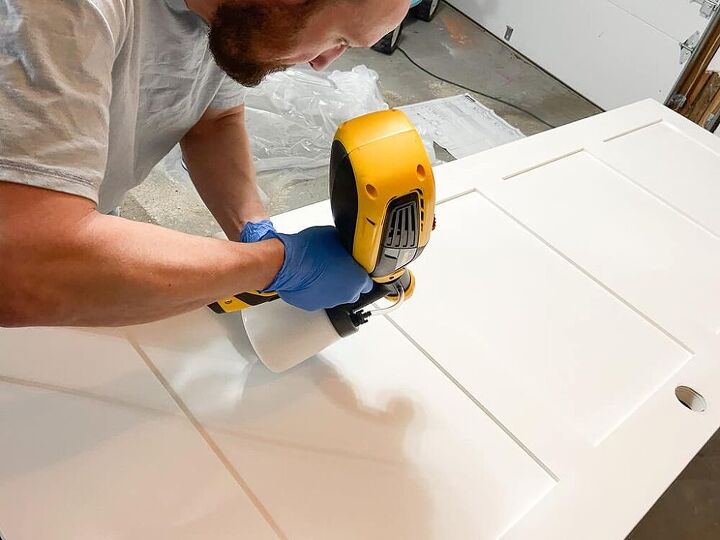
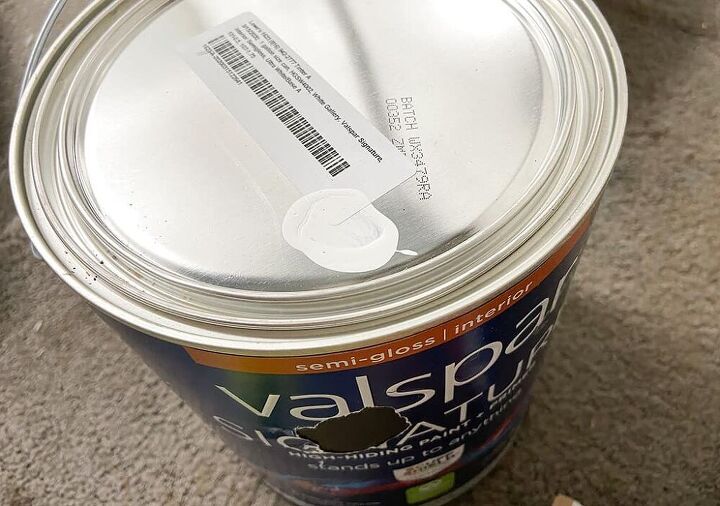
Once the cut in spraying was complete, Ted used the larger nozzle to spray the entire door with two coats of our paint (Gallery White by Valspar in semi-gloss finish).
Hanging the doors
After the paint dried for a couple of days, it was time to hang.
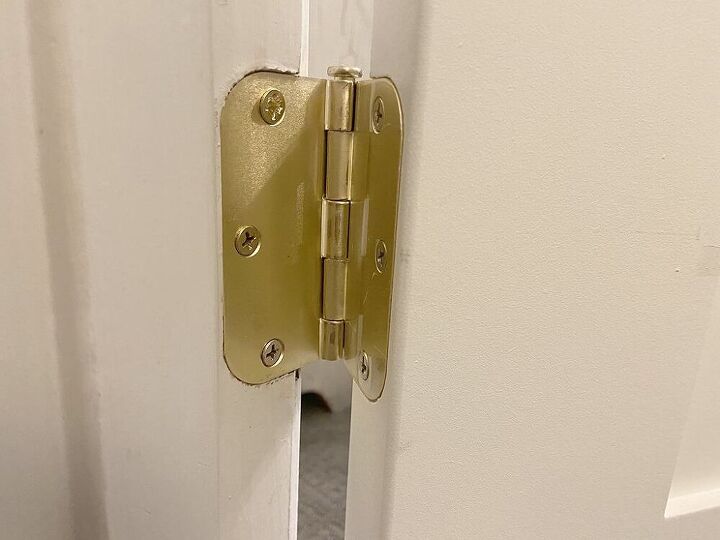
We hauled our first door upstairs and screwed in the three brushed brass hinges. Ted used one long screw on each hinge to make them even more sturdy.
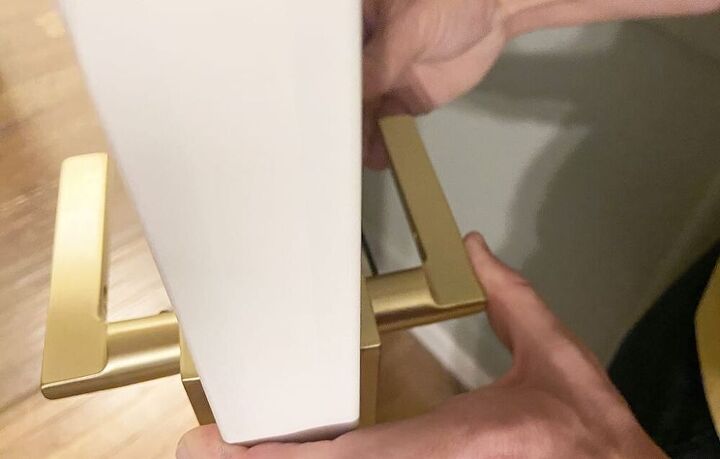
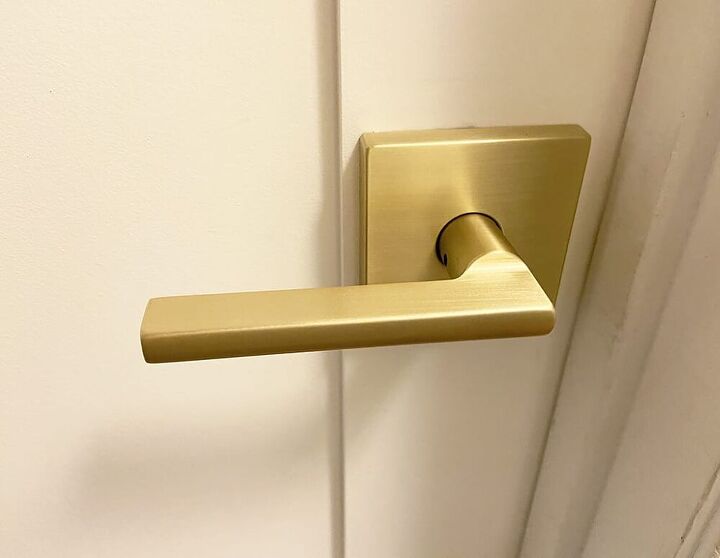
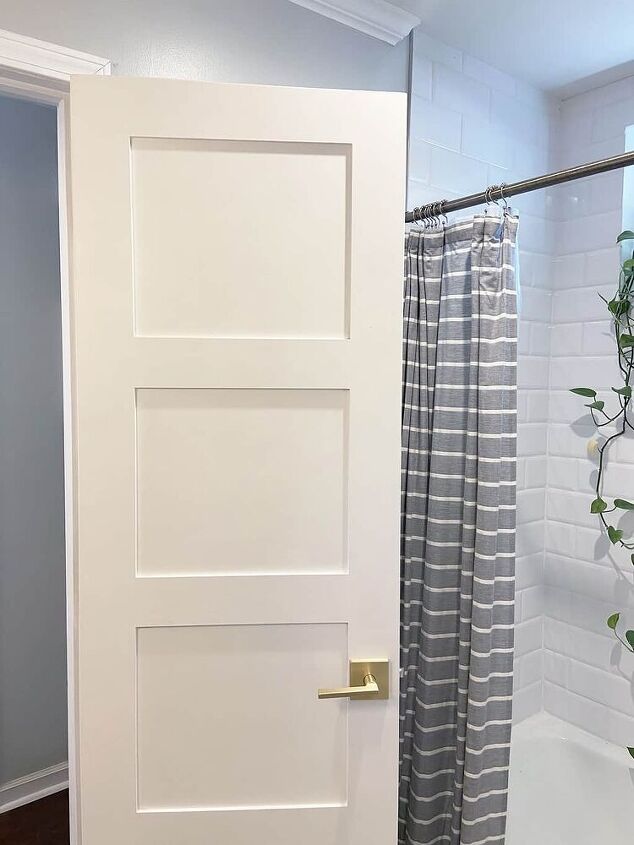
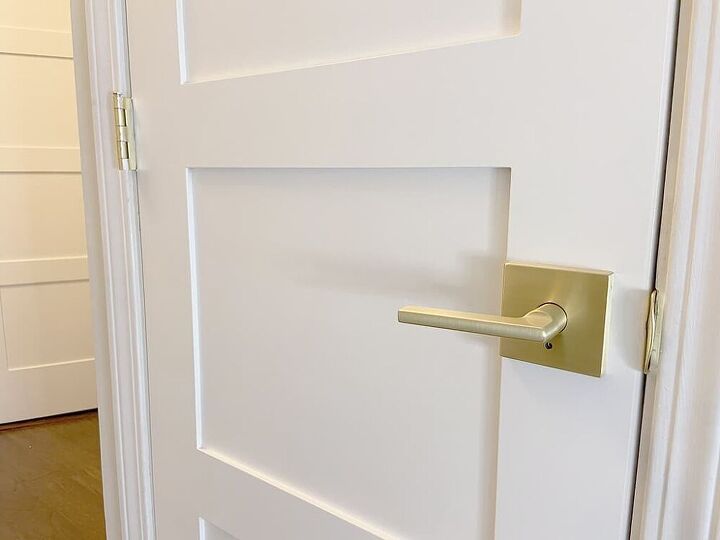
Once the hinges were secure Ted installed the gorgeous brushed brass Schlage hardware. I’m so in love with these beauties!
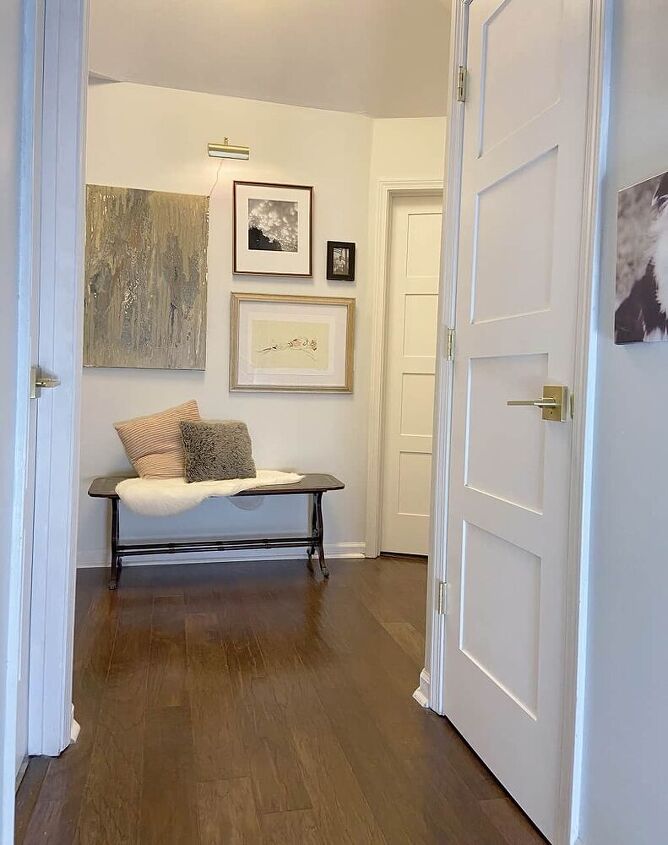
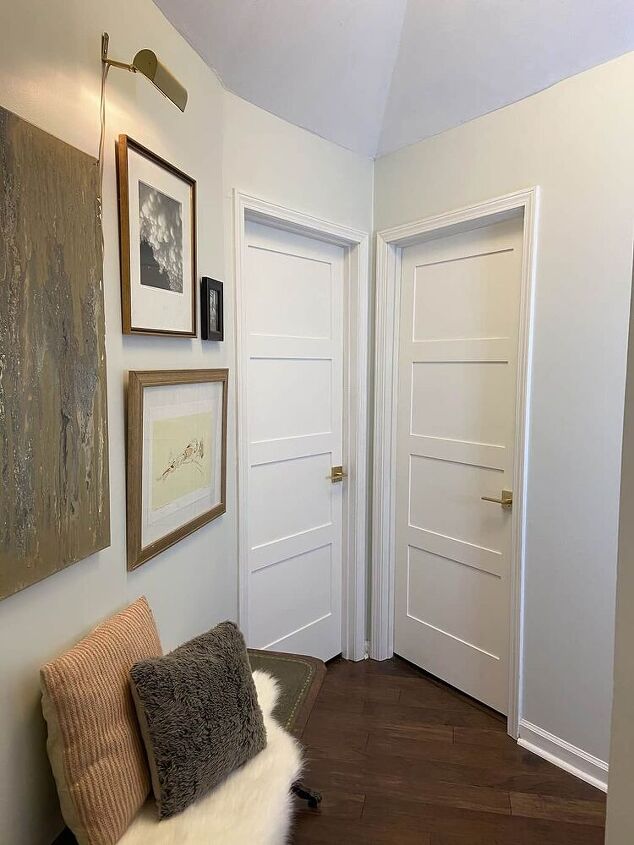
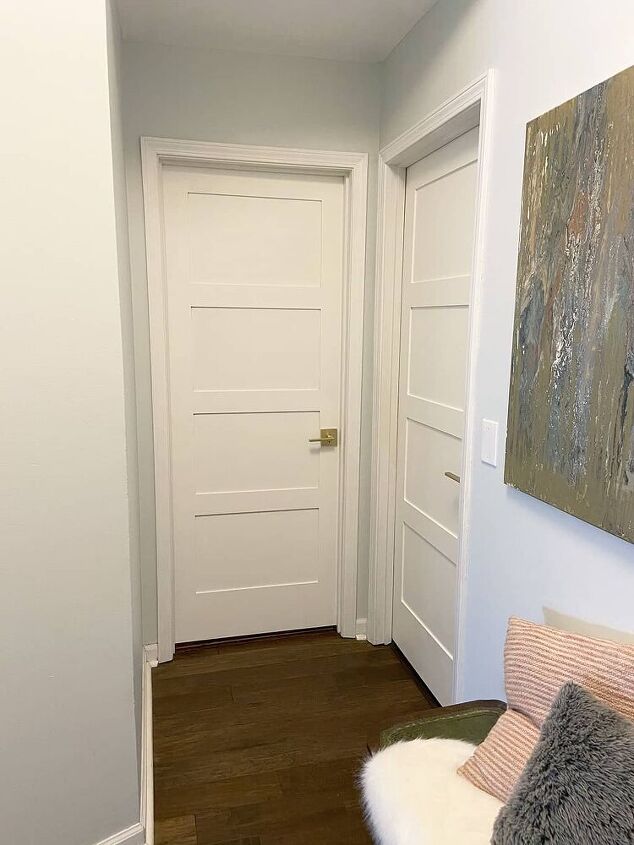
We finally had our first door hanging in the hallway! It was an exciting day for us. We repeated all the same steps for all doors.
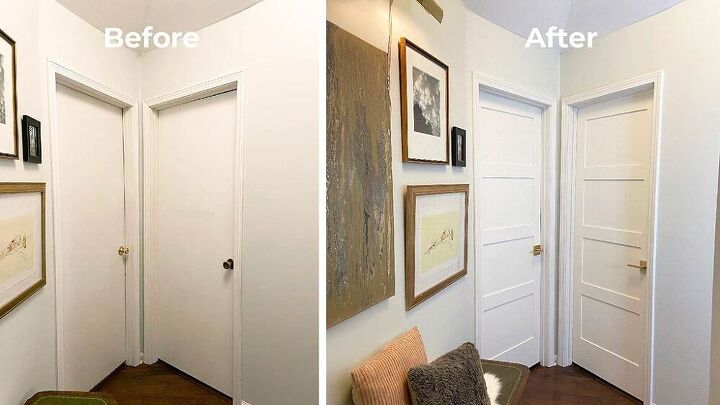
We’re so in love with our new Woodgrain interior doors! They make our upstairs hallway look so much more updated and modern.
Here’s the hallway tour!

I highly recommend Woodgrain Doors for your interior doors!
And a before and after side-by-side! I am in awe of the difference.
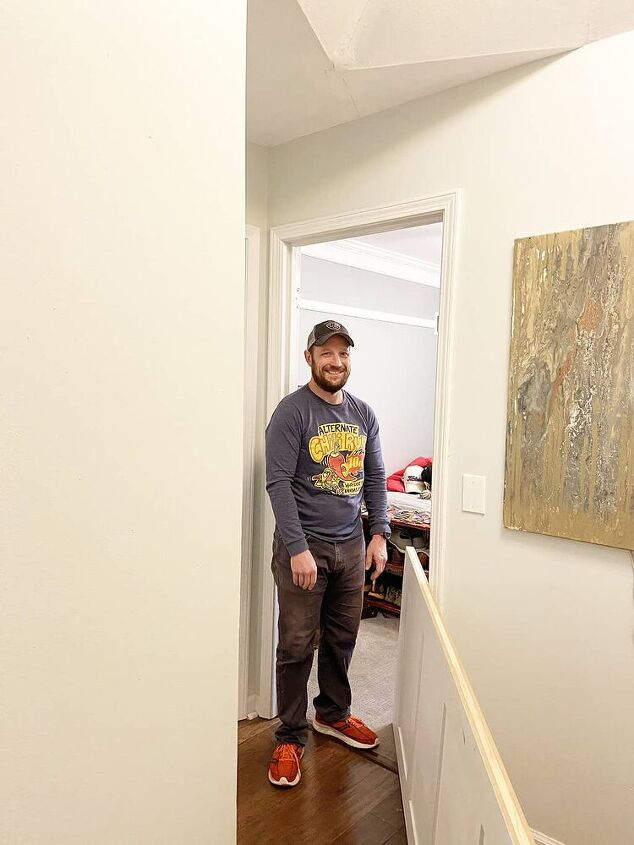
Huge shout out to my husband, Ted for all his hard work on this project!
You can visit this post to learn all about the ordering process and all about Woodgrain Doors as a company.
This post was sponsored in kind by Woodgrain—meaning I am being compensated in product— but all thoughts, opinions and selections are 100% my own. I truly love this company and the quality of their products.

Comments
Join the conversation
-
Wow! These are incredible, what a difference they make!
-
Great job and patience to get everything right.


Frequently asked questions
Have a question about this project?