


DIY Wood Shim Art
This DIY Wall Art project is truly one of the EASIEST and QUICKEST ones you can do! I know I know… it doesn’t look it… it looks like it took me hours and hours, right? But nope! I made my first one in about an hour and 40 minutes, and the second in just 55 minutes! Not bad for a few hours work! Plus, because this DIY wall art is made with wood shims, it’s also SO inexpensive. I used 2 boxes of wood shims, plus some plywood (I recommend 3/4″ thick to prevent the nails from piercing through the other side) and some 1x2s, and that’s it! I originally saw this idea from Shanty2Chic – they have amazing ideas, btw! They used theirs as wall art on its own, but I’m planning a couple different things for mine – so stay tuned (I’ll be revealing one idea with my Valentine’s decor this year!)
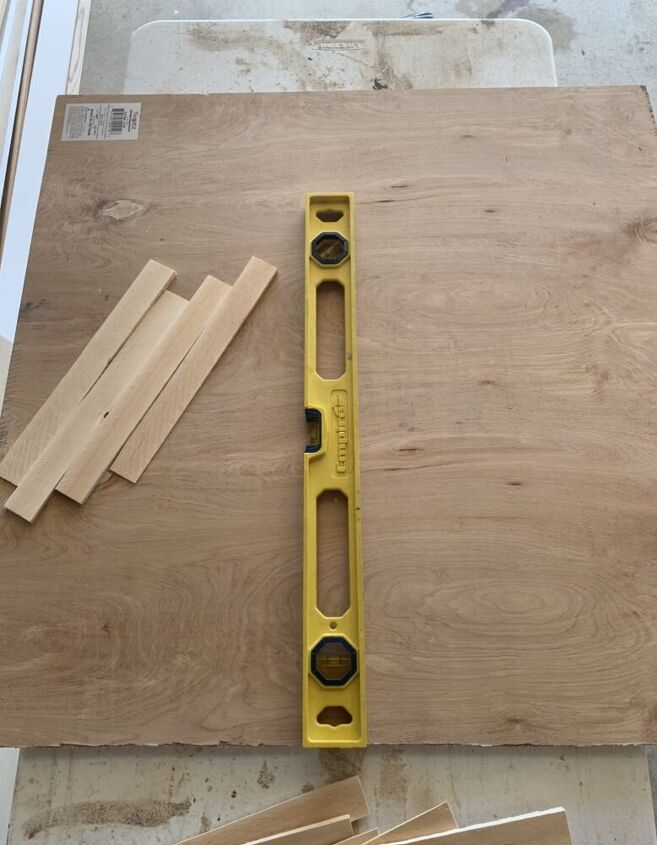
Step 1: Cut your plywood to whatever size you’d like – I made one 32″x32″ art piece and another 36″x28″ piece. (I used 2 boxes of shims for each). Keep in mind, though, if you’s like to add the 1″x2″ border pieces, that these will add about 1.5″ so your measurements on each side.

Step 2: Use your ruler or level to measure and mark the middle of your piece of plywood. Draw a straight line down the center with your pencil. You will begin laying your shims on the center of this line. The top corner of the first shim should sit on your center line, and the bottom corner of the second shim should sit on the line as well. You will then alternate your shims, following the line as best you can after that.
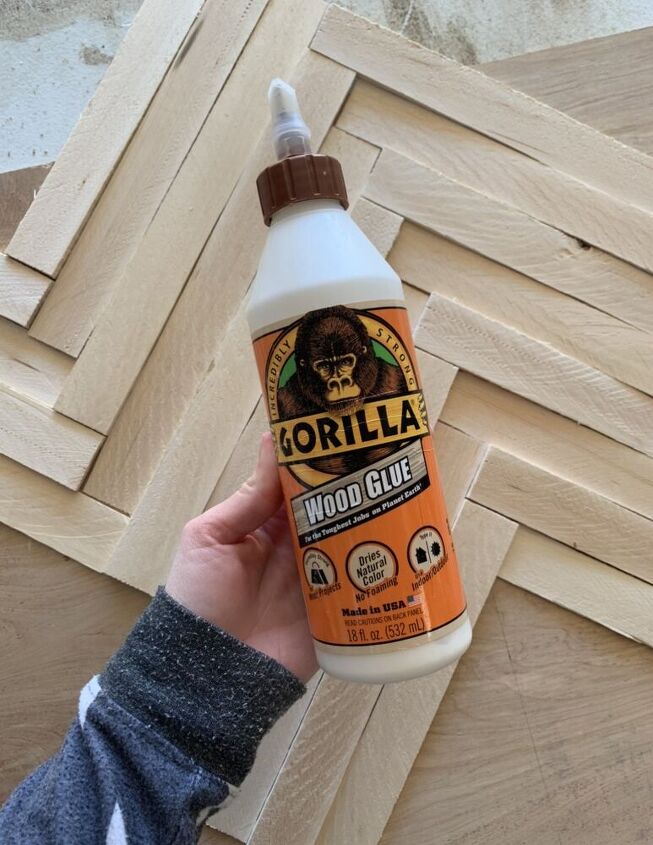
Step 3: Place a thin line of wood glue on your first shim, and align the top corner on your center line, as shown above. Next, place a thin line of wood glue on your second shim, and place the bottom corner on the center line, also as shown above.
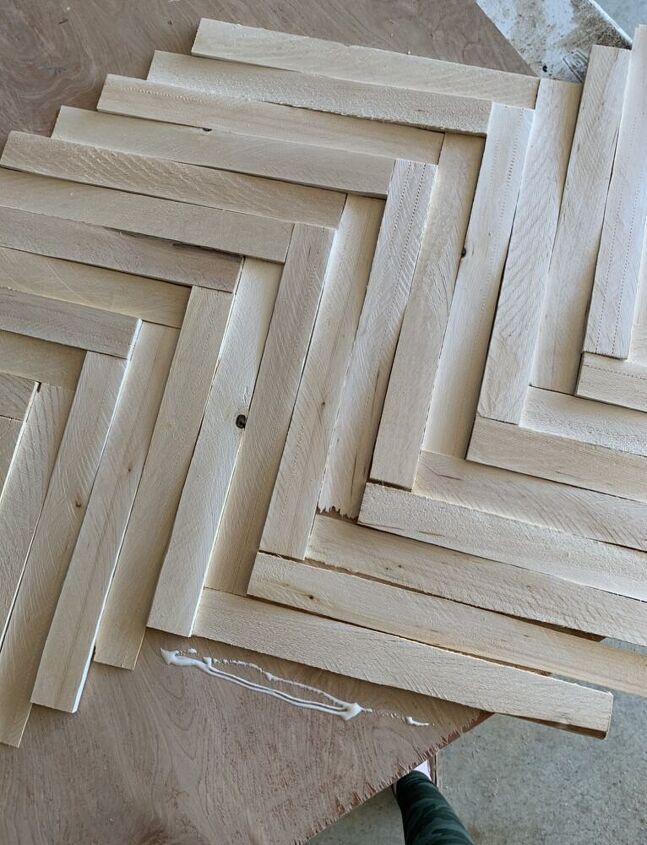
Step 4: Continue placing your shims with wood glue until you are all the way down your plywood. I switched the direction of the shim every 2 shims that I placed for more interest and texture. Once you get to the bottom, you’ll have some shims that extend off your plywood – don’t worry, we’ll take care of those in a minute! Also be sure to glue shims on the left and right side of your two center rows of shims, presuming your plywood is wider than those two rows.
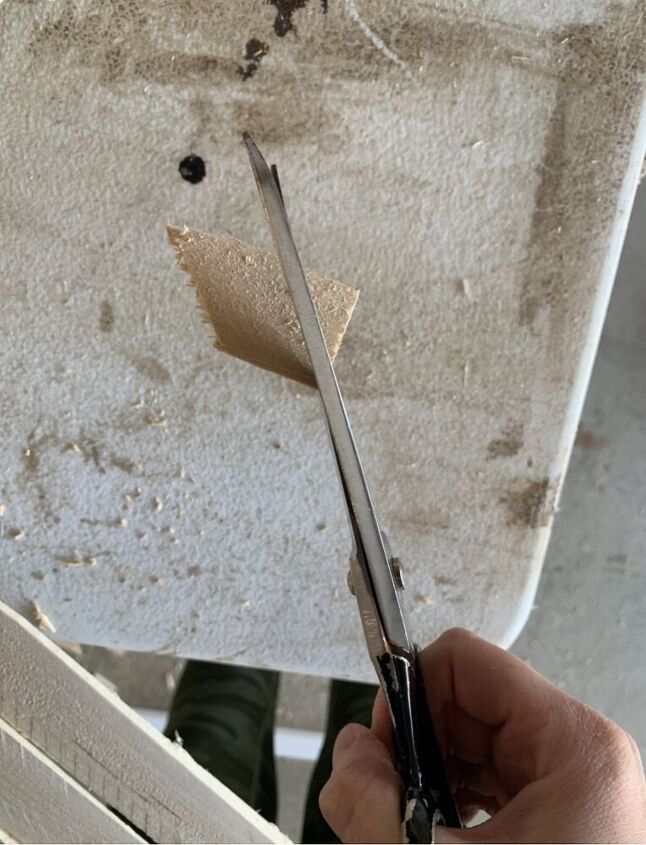
Step 5: Continue gluing your shims until you board is completely covered. If you have spots at the edges of your board that are very small triangles, I found that using scissors to cut the thinnest portion of a shim was a great way to get a piece to fit these little spaces.
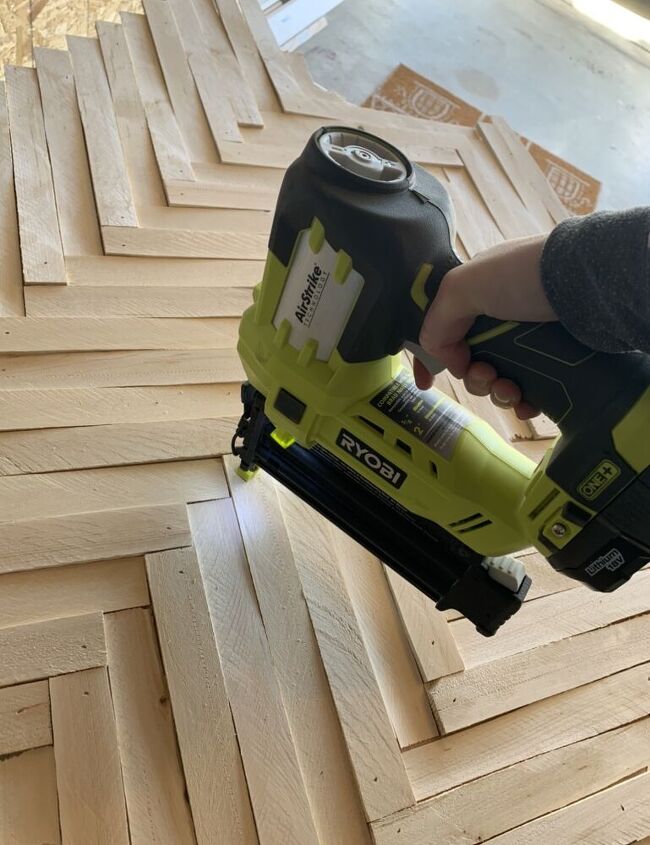
Step 6: Allow your glue to dry for 10-15 minutes. Now nail 5/8″ brad nails into each side of every shim using your brad nailer. This is where it’s key to have that 3/4″ plywood, so your nails don’t go through the opposite side of the wood, like they did on mine (no worries though, I used 1″x2″ boards on mine to hide them, so you won’t see them against the wall! But you won’t have to worry about this if you just get 3/4″ plywood to begin with)!
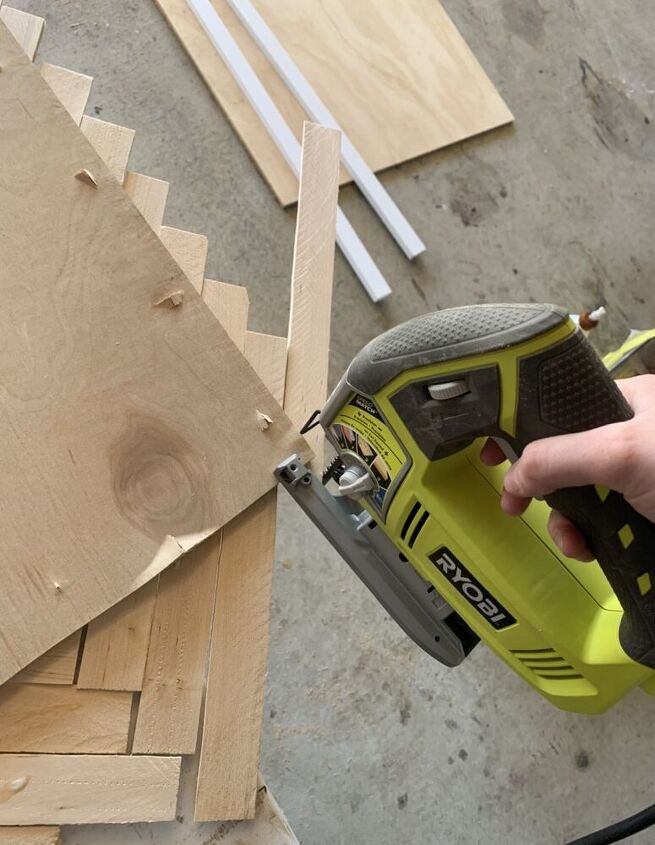
Step 7: Flip your DIY wall art piece over once everything is nailed in, so the back is facing up. Use your jigsaw to carefully cut off the edges of the shims that are extending past your plywood. Make sure you cut with the bottom facing up so you get more easily follow the plywood edge. Very occasionally, one of the shims might pop off because of the pressure from the jigsaw. If that happens, no worries. Just reattach a shim where it popped off, add a couple of nails, and then more carefully cut with the jigsaw.
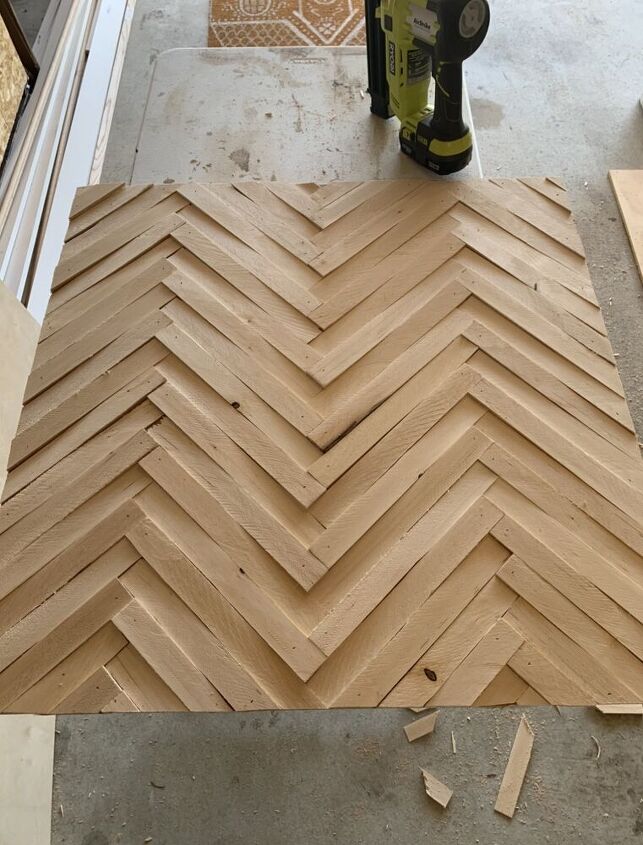
Step 8: Once done, your diy wall art piece should look like the photo above. Now it’s time to frame it out (though this is totally optional). First, use your sanding block to sand any rough edges.

Step 9: Using your 1″x2″ boards, frame out your plywood using 1.25″ brad nails and your brad nail gun. You should be able to nail your 1″x2″ board DIRECTLY into your 3/4″ plywood. You can use your jigsaw to cut the border pieces to size once attached. Ignore the 1″x2″ on the left – that’s what I used to disguise the nails that went through the back of my much thinner than 3/4″ piece of plywood!
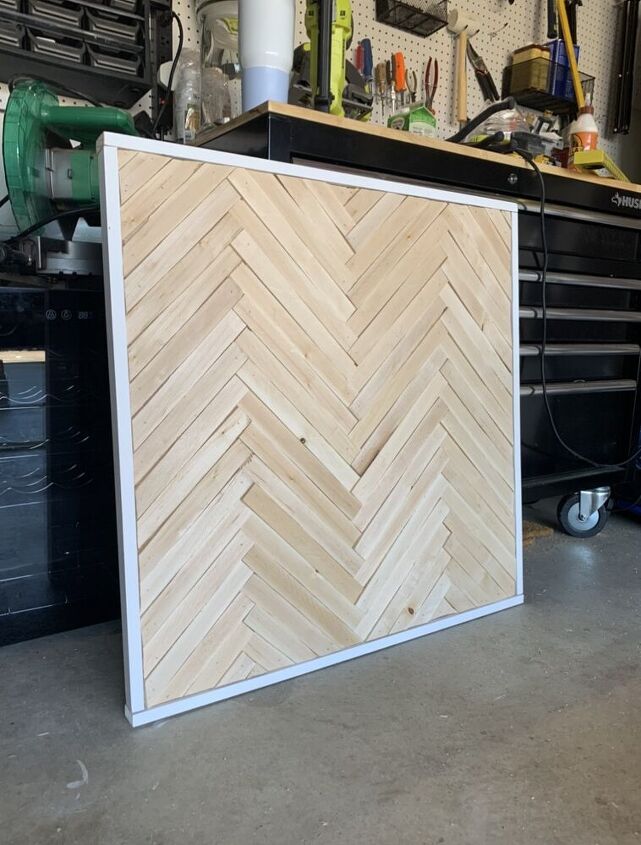
Step 10: Sand any rough edges on your border pieces. I used white 1″x2″ boards intentionally to contrast with the shims, but you can use whatever you’d like. You can also stain or paint your now completed DIY wall art however you like. I haven’t decided exactly how I want to finish mine off yet, but you’ll be the first to know when I do!
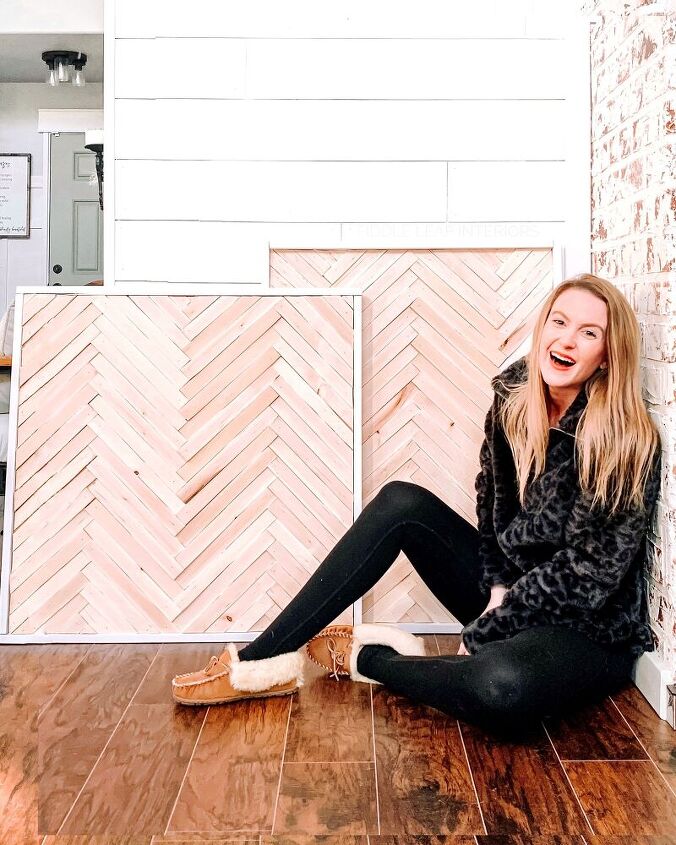
You can also attach hanging hardware to your piece – I did on one of mine and not the other, as it will just be leaning against the wall.And that’s it! Each of these cost about $30 each, and they pack an amazing stylistic punch! Come back soon to see exactly how I’m going to use these – as pretty as they are now, I’m not quite done with them yet!Hope to see you over on my blog for more fun and easy DIY projects and home decorating tips!
Resources for this project:
See all materials


Comments
Join the conversation
-
OMGosh! I’ve been wanting to do something with those skims. Brilliant idea and I have a huge inset wall that this would be perfect. I have been wanting to do for this area. 👌🏽
-
Beautiful job. I've always wanted to do this to a small table.


Frequently asked questions
Have a question about this project?