


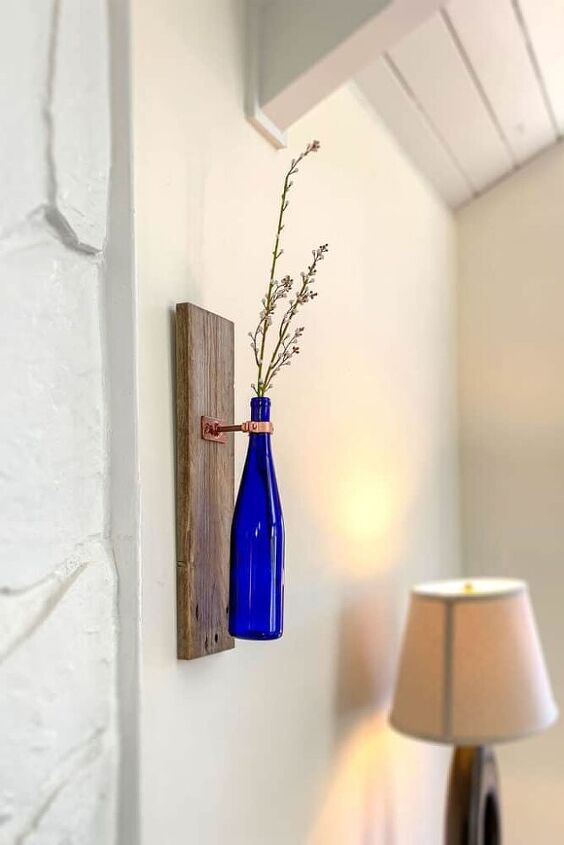
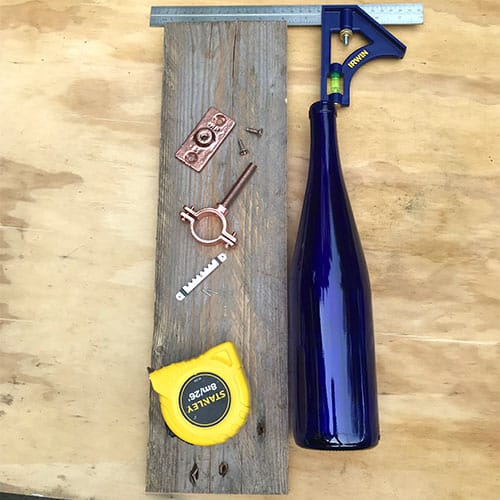
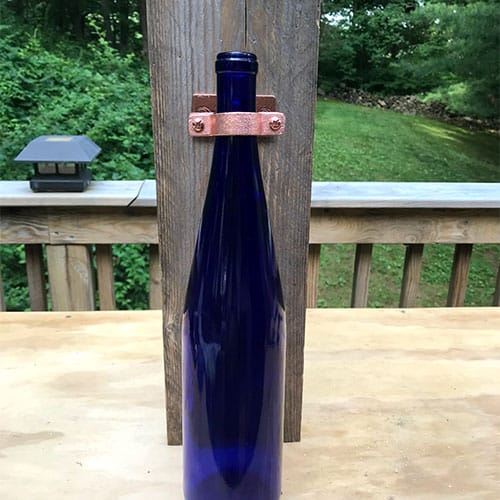
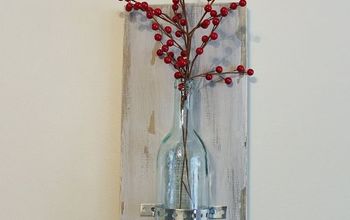
Wine Bottle Wall Vase Decor
Make a beautiful blue wall mounted wine bottle vase for your home.
What was the inspiration for this wine bottle wall vase? At Christmastime, we were getting a tree, and the store we got it from had small pallets behind it.
We asked if we could take a couple and they were happy to give them to us to not have to deal with them.
I can’t even remember which project I used it for, but I still had one nice piece left.
It seemed perfect for a backplate for a wine bottle wall vase, which is inspired by this one from Shanty Chic and thought I’d give making that a try using a pretty blue wine bottle I had.
This was one of the easier projects to make.
What Not To Do:
Don’t use a bottle with a wider neck. It won’t fit properly into the collar.
REMOVE THE WINE LABELS
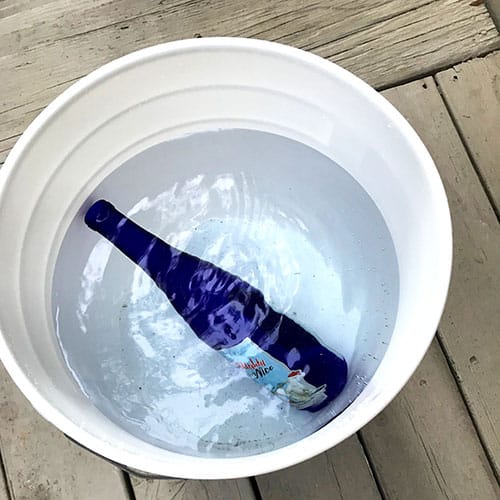
Remove the wine labels first. They might need to soak for 24 hours since some types of labels come off much more easily than others.
Fill a tub or bucket with warm water, and out the wine bottle in it.
Let it soak a few hours and try peeling it off. If it doesn’t come off cleanly, your better bet is to let it sit overnight.
Warm up the water a couple of times if you can.
Note: For our wedding, which you can read about here, we needed to remove the labels from 24 wine bottles.
I tried just about every method and each had varying degrees of success.
There were some bottles where the label peeled off after just being dampened, so it really will depend on the brand and the type of adhesive and paper used.
As it turned out, a good old-fashioned soaking in warm water worked the best.

*Here’s a really cool one where I made DIY fairy lights with a wine bottle and cement for outdoor patio lighting.* 😃
After soaking, if some of the paper and all the glue still remain on the bottle, just run it under hot water and rub it gently with the stainless pad.
If you still have glue residue, then use something oily like baby oil.
TRIM THE PALLET WOOD TO SIZE
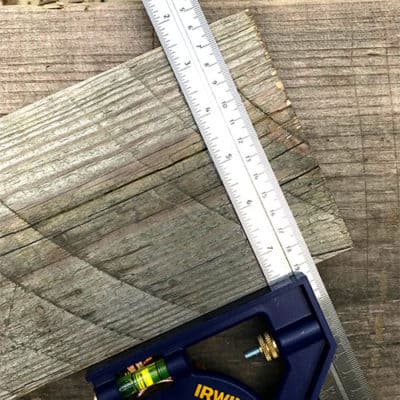
Using a miter saw or hack saw, cut the wood “backplate” to size if needed to 5 1/4″ x 19″.
SAND AND STAIN THE WOOD
Sand the wood. Stain, if you would like (I kept mine natural).
Hint: If you use reclaimed wood and you trim it to size, your edges will be a different color.
I used a tea and vinegar stain I had made a year prior in order to get the edges to look aged like the rest of the wood.
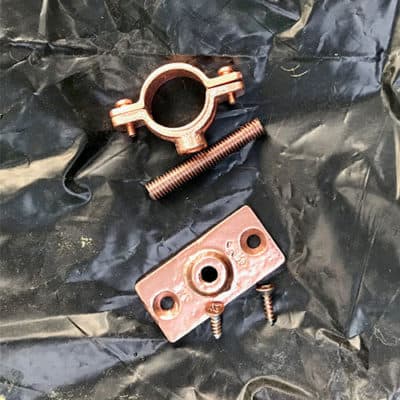
PAINT THE HANGING HARDWARE
Lightly spray paint the ceiling plate, collar and threaded rod.
To make painting the rod easier, stick the rod in the ground, and spray the top 3 or 4 inches. I didn’t do this, as you can see from the photos.
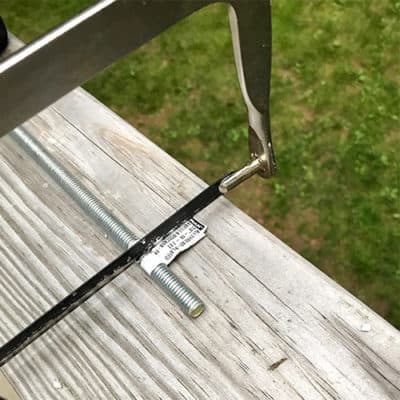
TRIM THE ROD
Once the paint has dried, use a hack saw, cut the threaded rod to 2 1/2″. If you have sawhorses use them, we should have used ours.
MARK BACK HARDWARE LOCATION
To turn it into a wine bottle wall vase, flip the wood over to its backside and place your hanger bracket 2-3″ from the top, and nail into place using the nails that came with it.
Be sure to center the bracket.
*Here’s another project where I used pallet wood to make a super strong wall hung DIY magnetic bottle opener.* 😄
LOCATE POSITION TO HANG WINE VASE
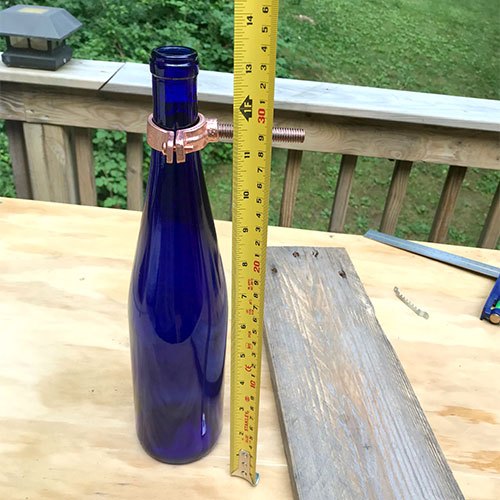
Determining overall placement: Thread the rod into the collar ring and put the ring around the neck of the bottle.
Stand the bottle upright and measure from the bottom, to the center of where the rod comes out from the collar. Mine was 11 3/8″.
Decide where you want your wine vase to sit on the wood backplate.
I set mine low so that the flowers I would use in the wine bottle vase are mostly within the wood sconce’s backplate.
LOCATE THE CENTER OF THE WINE BOTTLE VASE
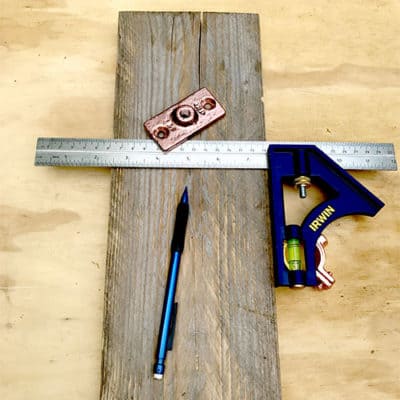
Now take that 11 3/8″ measurement (or whatever yours is) and mark that onto the wood with a pencil. The top mark is where your ceiling hanger will be.
Put the center of your ceiling plate over that center mark. Use a T-Square to make sure it is level and mark the 2 outside holes.
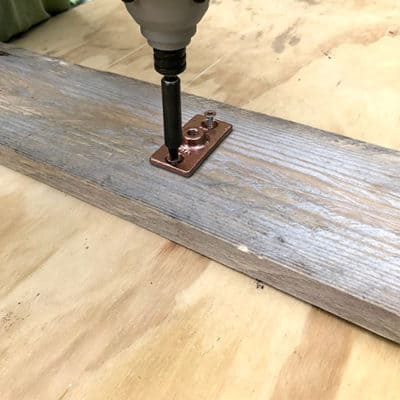
ATTACH PLATE TO PALLET WOOD
Fastening the ceiling hanger hardware. Carefully drill a pilot hole in the 2 outside holes only, using the 1/8″ bit. Now screw your plate to the wood, using the drill.

FASTEN WINE BOTTLE WALL VASE
Thread the rod and collar and attach it to the ceiling plate.
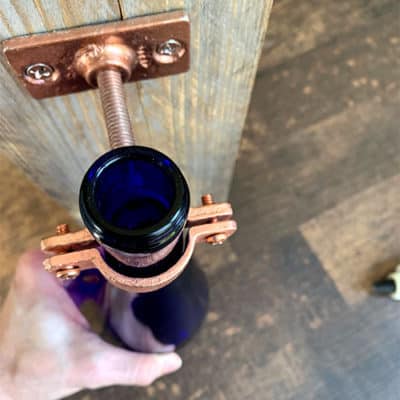
SECURE THE WINE BOTTLE WALL VASE NECK
Insert the neck of the bottle into the collar, and hand-tighten the collar screws and then mark this location. This is where the collar ring will hold the bottle’s neck.
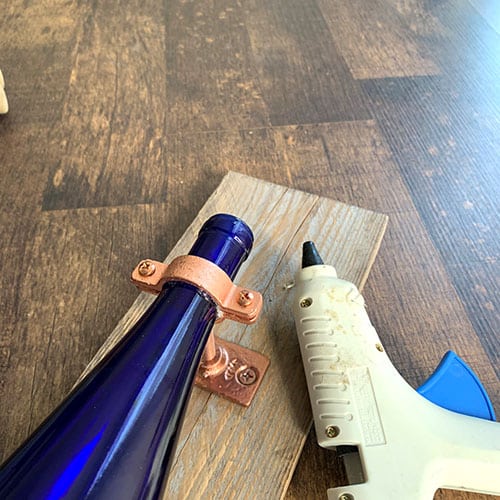
You’ll be able to see there are some gaps between the collar and the wine bottle vase neck.
Remove the bottle and use the hot glue gun on the bottle’s neck to build up the space a bit so the collar can grab it. This will significantly reduce the chance of slippage (I said it, :0}).
Loosen the collar screws enough to slide the neck of the wine bottle back into the collar and gently tighten with the screwdriver.
Resources for this project:
See all materials


Comments
Join the conversation
-
I saw this in a vintage store for $65. Now I know exactly how it is done! 😛 to $65. Haha
-
Beautiful!


Frequently asked questions
Have a question about this project?
That is really pretty. I can think of all kinds of different applications for this. I love how the bottle actually is held away from the wood panel. Now just to be clear your bottle was already blue correct? Just making sure I didn't miss something even though I did read it twice LOL! Thank you for sharing your project.
Very nice. Where do find the hardware to hang the bottle? I can't seem to find it anywhere.
I have done this with string lights inside that are on timer
BUT
what did you use to hang it mine is on and OLD piece of barn wood. What form of hanger did you use