


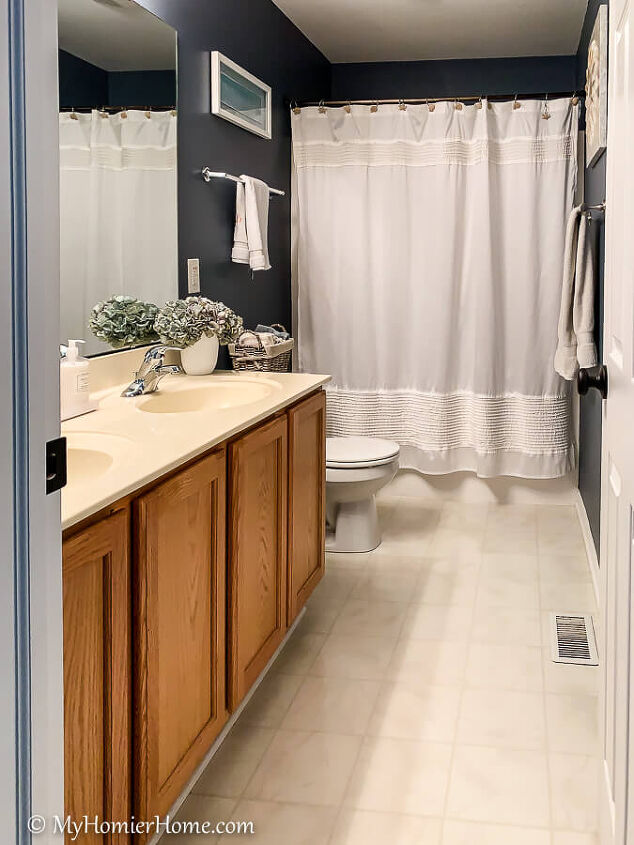
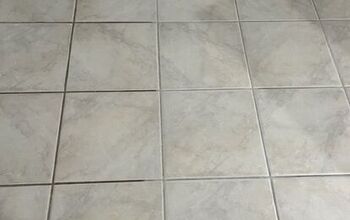
How to Install Peel and Stick Tile Over Linoleum
This project was way simpler than I thought it was going to be and as of today (4 months later), it’s holding up quite nicely!
Please keep in mind, I am not a professional floor installer.This entire post is based on my personal experience. So just note that there were some things on the instruction list I skipped.
However, everything I share below is exactly how I completed this project and it really was easy.
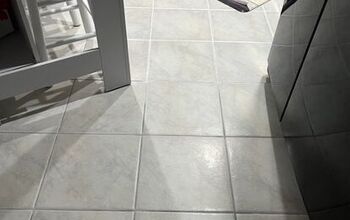
I’m sure this goes without saying, but be sure to clean the floor before starting. And allow it to dry before starting your peel and stick floor tile project.
Find the center of your room. I used my laser measurer and a regular tape measurer to figure out middle.
Once you’ve determined your center, layout the tiles to get a feel for how it will look before you start peeling and sticking. This will also help you see if you should shift it a little or not based on how it lines up with the edges.

Gather your materials. I’m sure you could get away with other similar materials, but these crafting tools worked like a charm.
At the very least, you’ll need a ruler, straight edge and a box cutter.Below are pictures with links to each of the items I used to complete this project.
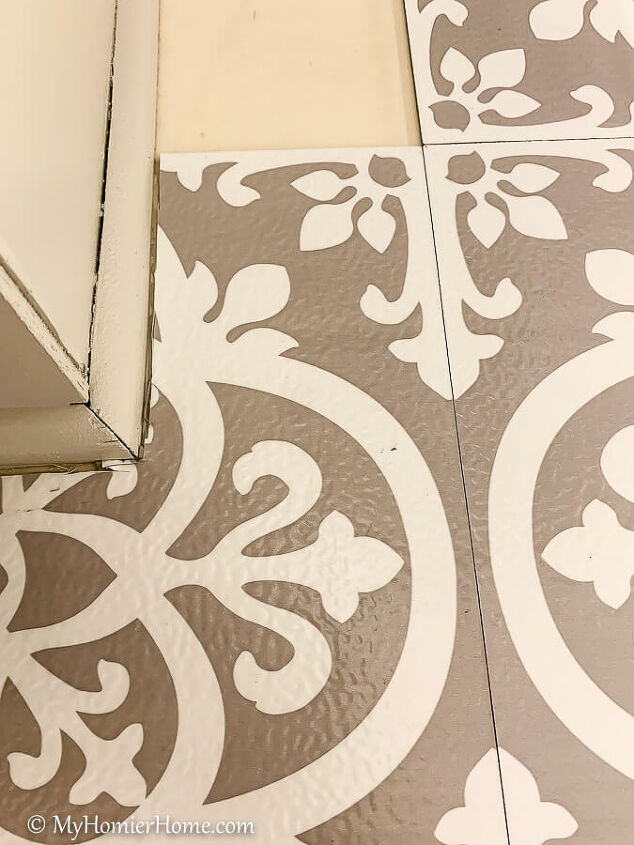
Measure each side of the tile you are needing to cut. Then it is just a matter of rolling over your cut line with the rotary cutter and using the xacto knife and box cutter to cut it enough to make it bend and snap.
As you can see in the picture above, my cuts weren’t perfect, but I did caulk at the end.
I used my clear ruler to help measure each area and to transfer it on to the tile before making any cuts.

It’s highly recommended by me that you do all of the full squares first and then worry about the cuts last.
I made the mistake of intricately measuring and mapping the pattern for around the toilet. Just to find out, I didn’t even need that much tile there.
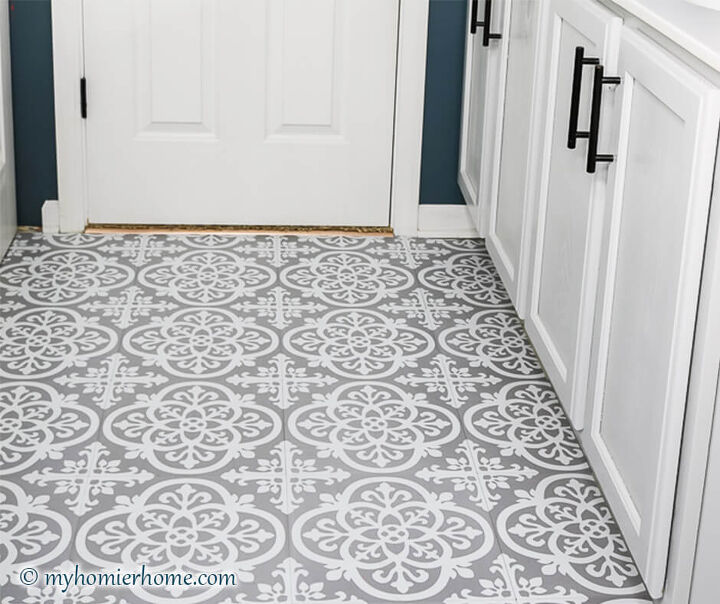
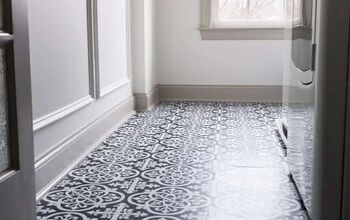
Kind of hard to tell in this finished product photo, but I caulked all the edges around the walls, the vanity, the tub, and the toilet to give it a more clean look.
Find the full post here and the YouTube video here (subscribe while you're there, too). What do you think?
Resources for this project:
See all materials


Comments
Join the conversation
-
Guys do i have one for you , I have a huge kitchen ,the floor grout was so dirty and you know it never comes clean and to find someone to regrout the floor is a headache ,,,well well well ,,and don't laugh ,,,old fashion white shoe polish that has held up better than anything i have ever seen !! yes shoe polish and because of the the sponge tip it took me an hour and I did the bathroom . If i knew how to post pics i would ..
-
i think i figured out the pics ,,,look at the difference !


Frequently asked questions
Have a question about this project?
You did a fantastic job! The flooring and your color are smart! Do you mind if I ask, which brand of paint did you use on your bathroom cabinet? It looks like a professional job.
Did you have to remove the toilet to get this perfect fit!
How would I find the center of a small L-shaped bathroom. Surely it would just be simpler to start at one end with a bathroom this shape?