


DIY Ceramic Tile Coasters
Coasters. We all have them. We all need them. Amiright? This little craft project is something that I saw on Pinterest many years ago, and it has been one of my favorite crafts ever – DIY Ceramic Tile Coasters.
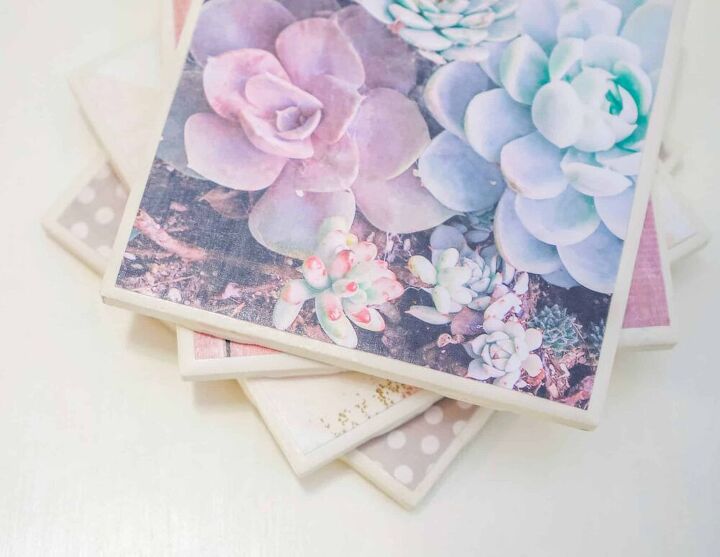
They are so easy to make, are super functional (assuming your toddler doesn’t get their hands on them), so cute, and they make great gifts. What else could you ask for?
DIY Ceramic Tile Coasters
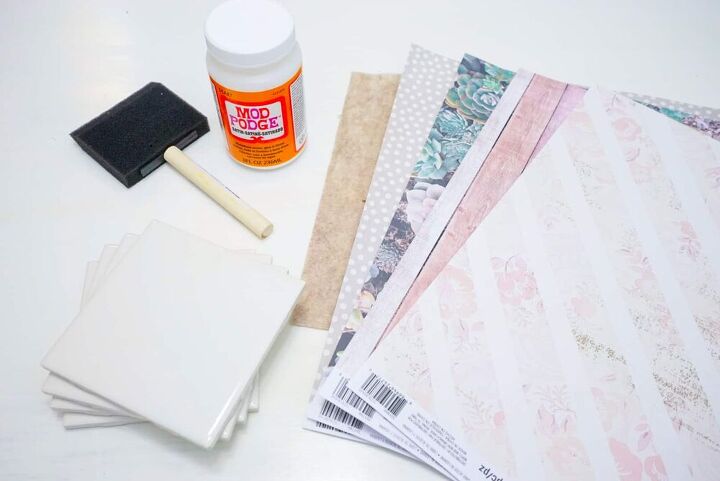
Here’s what you’ll need:
- Glossy White Ceramic Tiles 4.25″
- Tacky Glue (or fabric glue)
- Crafting Felt
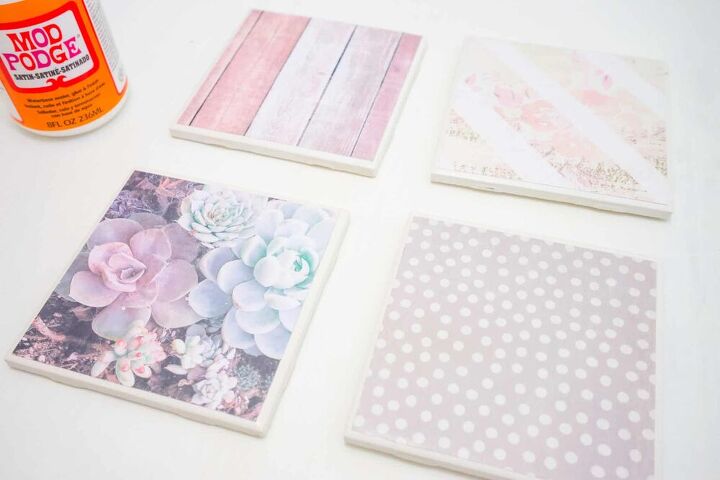
- Mod Podge, Gloss Finish
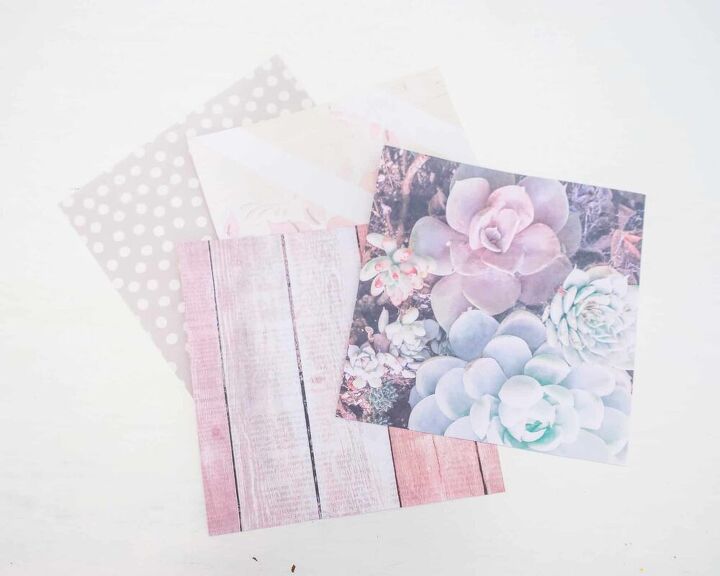
- Patterned scrapbook paper
- Scissors
- Foam Brush
- Clear Acrylic Spray Paint
Step 1 – Cut
First, cut the felt into 4″ squares. Then, using the tacky glue, stick them onto the back of the tiles. This provides some cushion for the bottom of them.
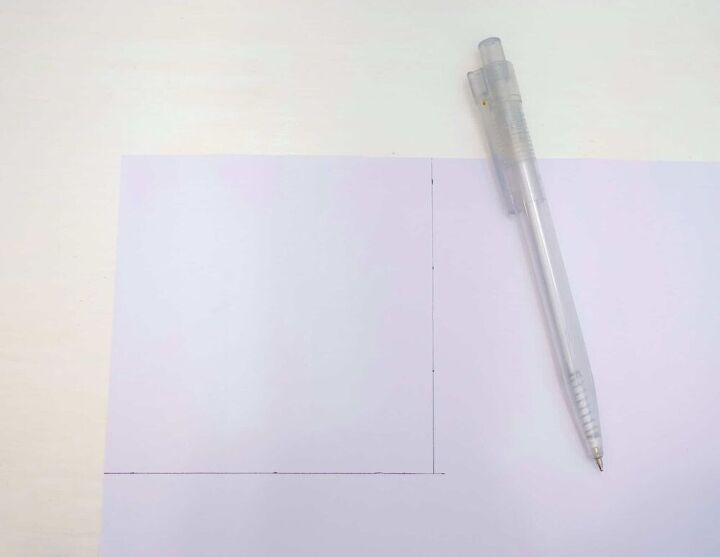
Next, cut the scrapbook paper into 3.75″ (or 4″) squares. The tiles are 4.25″. So, if you want a little more tile border showing, then cut 3.75″ squares. For this set, I used 4″ squares. For the original set, I used 3.75″ squares. (I simply marked off my square on the back of the paper. Then cut.)
Step 2 – Glue
Using the sponge brush paint one layer of Mod Podge onto the top of the tile, then apply one scrapbook square to the tile. (Make sure you get the entire square of paper smoothed out and glued down. If it doesn’t all adhere properly, you will end up with bubbles during the next step.) Let dry.
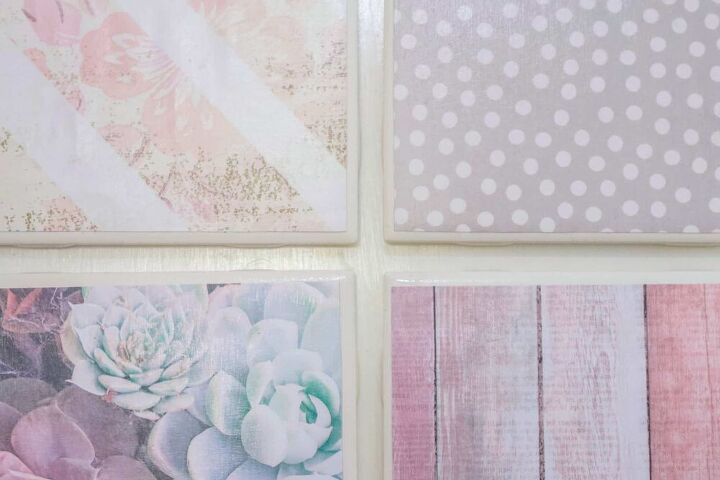
Then, using the sponge brush, paint a layer of Mod Podge over the whole top side of the tile. Let dry for approximately 15 minutes, then repeat two or three more times. (You will want to do all layers of Mod Podge back to back so that the glue on your sponge doesn’t dry.)
Step 3 – Seal
After applying Mod Podge, I let mine dry overnight. Once completely dry, take them outside and spray a layer of acrylic sealer over them to make them waterproof. (You really want to do this outside because the fumes are pretty strong. I did it in my garage to prevent dirt and leaves from blowing on to them.)
For best results, they really need time to cure. I did not try using (or stacking) mine for about 1.5 – 2 weeks. After that, they should be good to go. (You really want to make sure the acrylic sealant has set and is not tacky.)
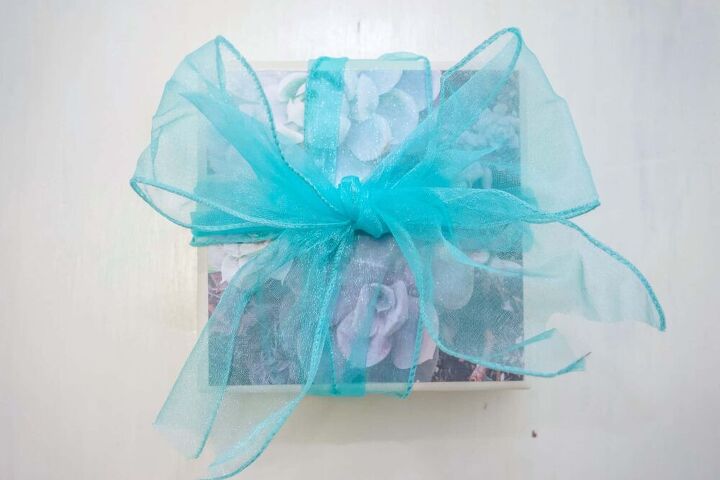
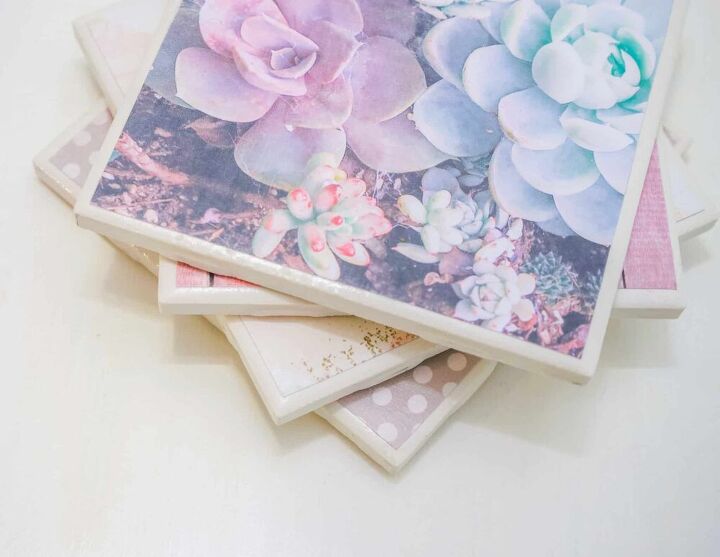
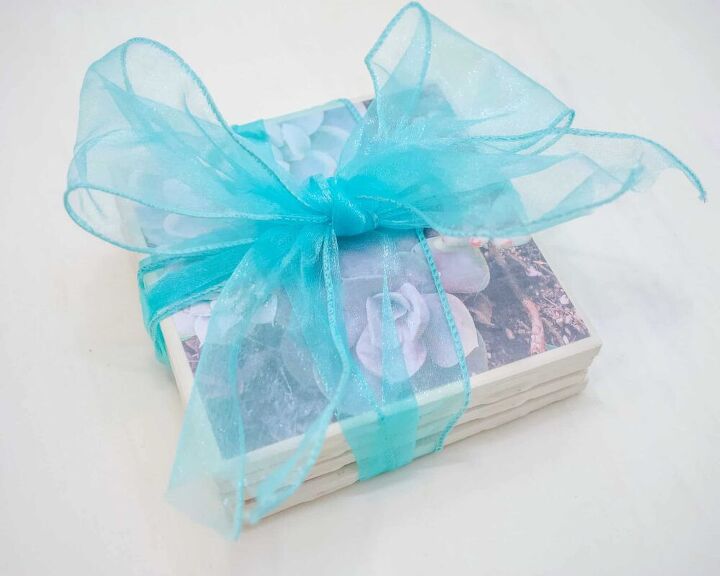
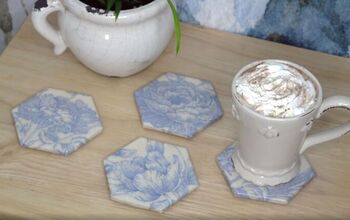
And that’s it! These are a great way to personalize something that we all use and match it to your own decor. You could make them all different, as I did, or make an identical set. It’s totally up to you!
Resources for this project:
See all materials


Comments
Join the conversation
-
Awesome job and thanks for giving good details...I done few projects and NOW understand what I did wrong.
thanks for sharing


Frequently asked questions
Have a question about this project?
Would this work for a back splash behind the stovetop? Those fancy tiles are SO expensive!
Hi I'm new on this site. My husband and I have bought a house and we are fixing it up ourselves. This will be our 1st house. I would like to know does this only work with scrapbook paper. We are not your "normal" type with the dollies and pretty type. We like things like dragons, skulls & fantasy things. Can you recommend any other type of material to use??
Can this be done with photos?