


Transom Windows and Wallpaper

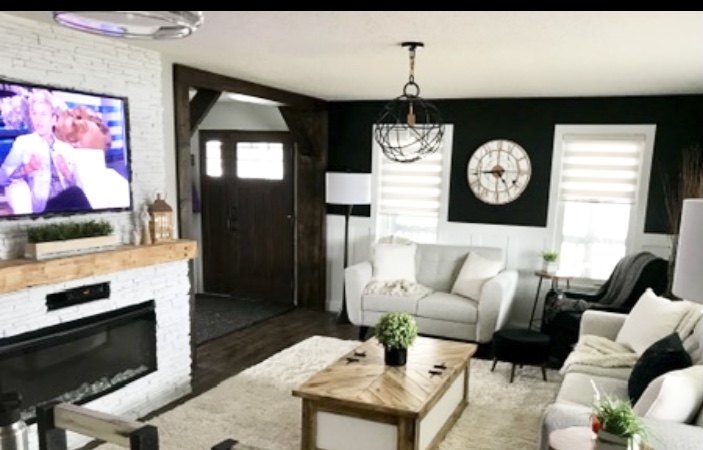
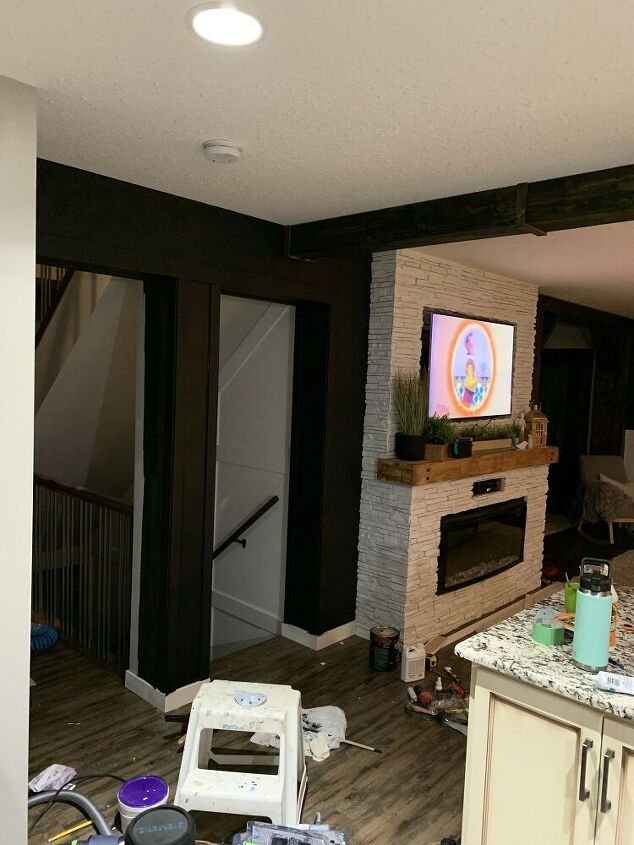
A few years back we put put a wood surround in one of the walk ways in our home. As time went on and my style slightly changed, I didn’t feel the love of the wood surround like I once did.
So, I decided it needed to be ripped down. I just wasn’t sure what needed to replace it. And then it hit me, transom windows. These would be perfect for this space.
Follow along with me and I will show you the new space I created with wallpaper and transom windows.
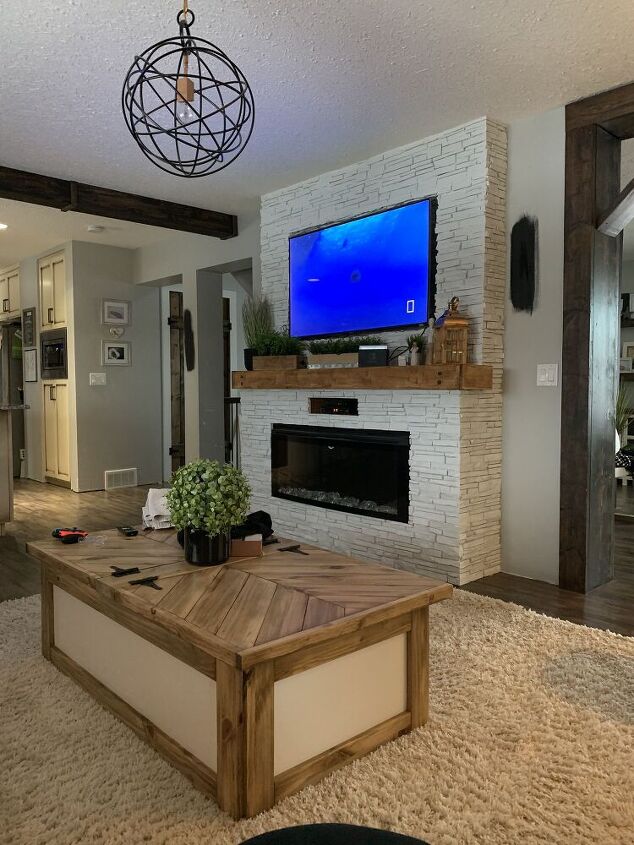
I first started off by adding some moulding around this pillar by my fireplace. I also knew I wanted those walls to be painted black to match the rest of my living room. So I did that first. I almost made sure to repair all the nicks and scratches on my walls first with some drywall mud.
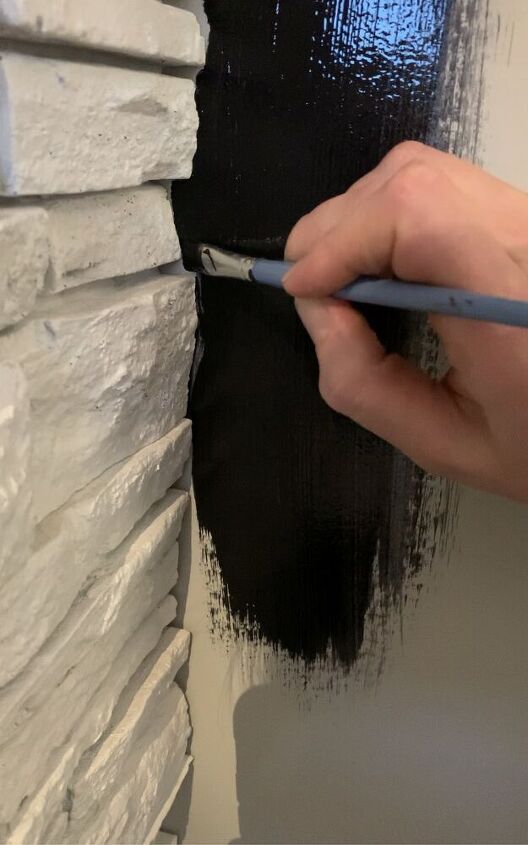
Because I already had the stone on the fireplace install, it was a bit challenging to paint around it. But I found , even though it was time consuming, that the best way was to use a small paintbrush to get into all the little nooks.
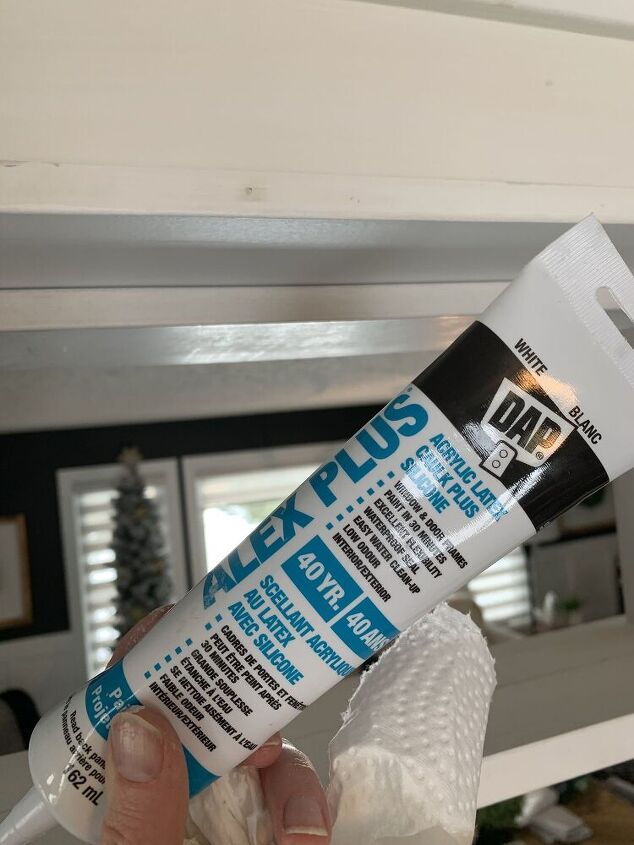
I used 2.5” in moulding to go around each side and then used 3.5” baseboard. I filled all air nail holes with wood filler and then sanded them, I went along each edge and used caulking to fill any gaps.
once that was done I painted everything black.
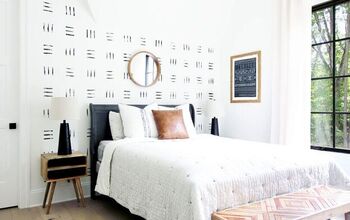
I then added wallpaper onto the wall beside. I didn’t want to paint this wall black either since I wanted a bit of contrast. I got this wallpaper off of Amazon.
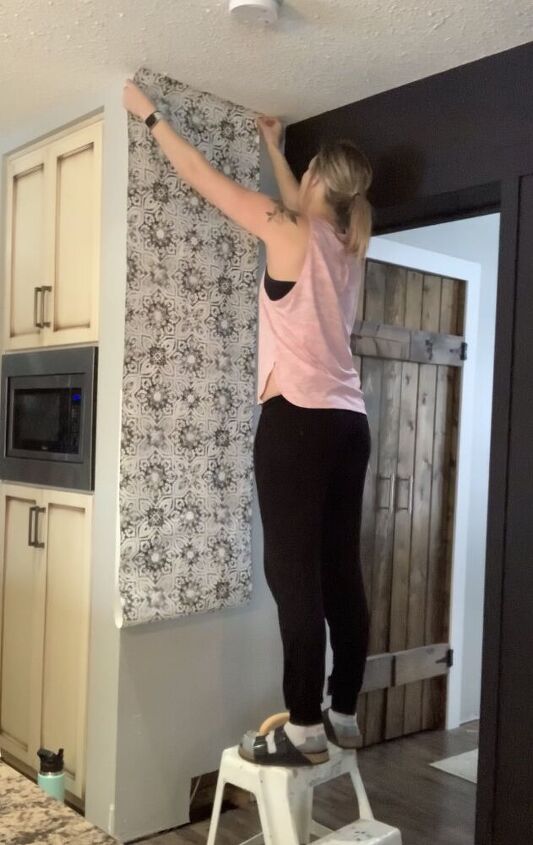
After the wallpaper was up, I ended up putting some corner trim on each side to help prevent the edges from peeling If someone was to rub against the corner by accident.(aka kids lol)
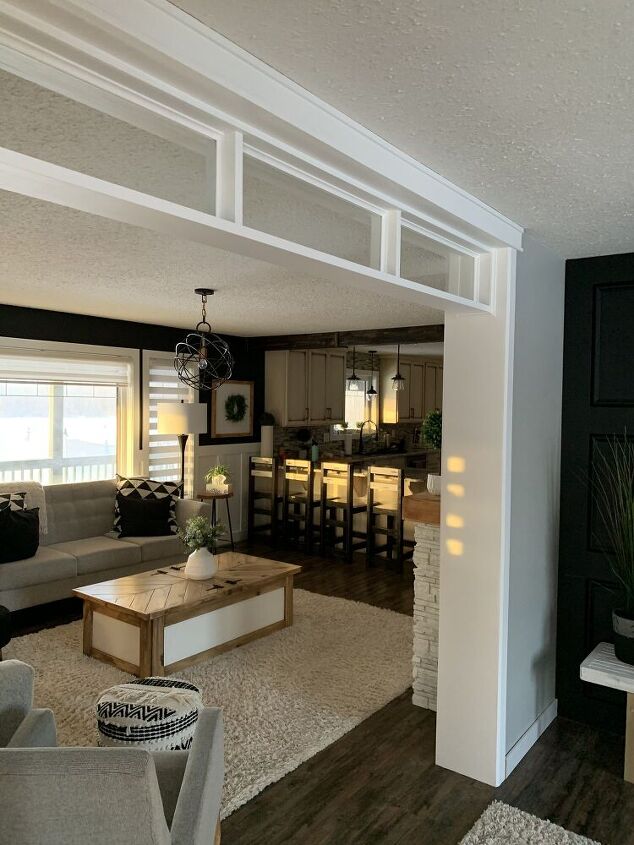
Now onto the transom....
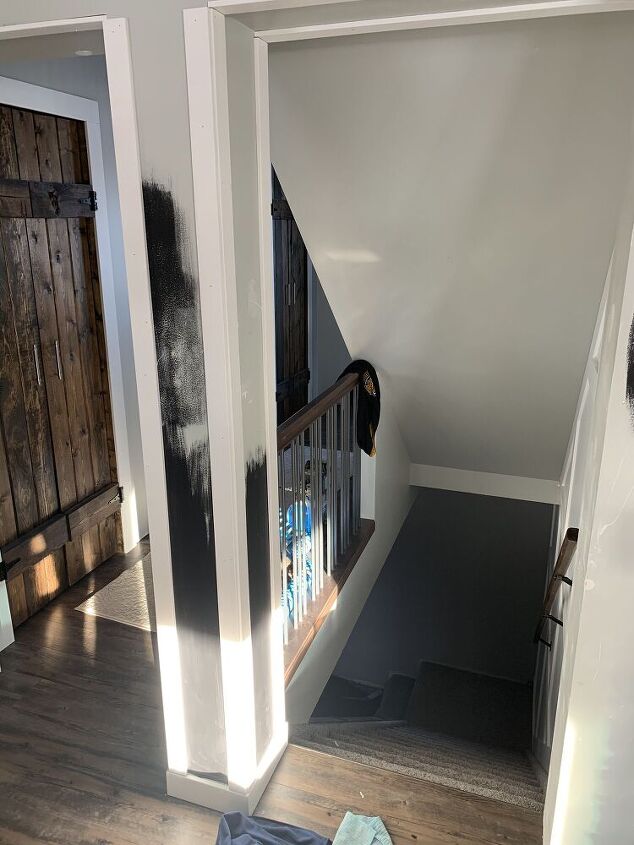
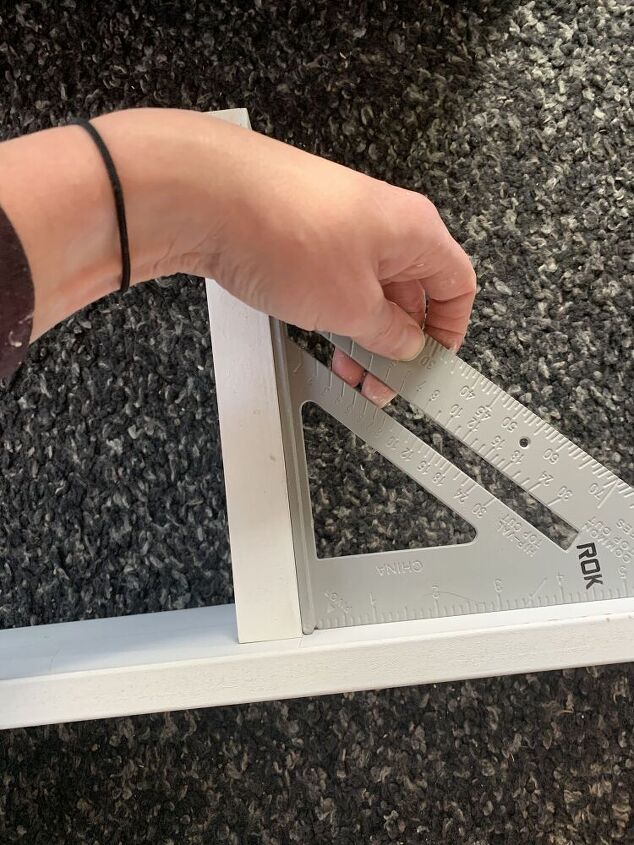
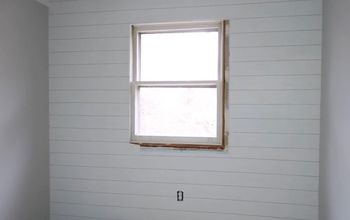
I had to start but taking down the old wood surround. And then to make the ease of installing the window frames later on, I checked to make sure everything was level and square.
it definitely was not, so I had to use some shims and blocked to level everything. Then I used 1/4 mdf and applied this over top of the old drywall. By doing this is also eliminated the need to fill and repair the damaged drywall that occurred from taking the wood surround down.
I
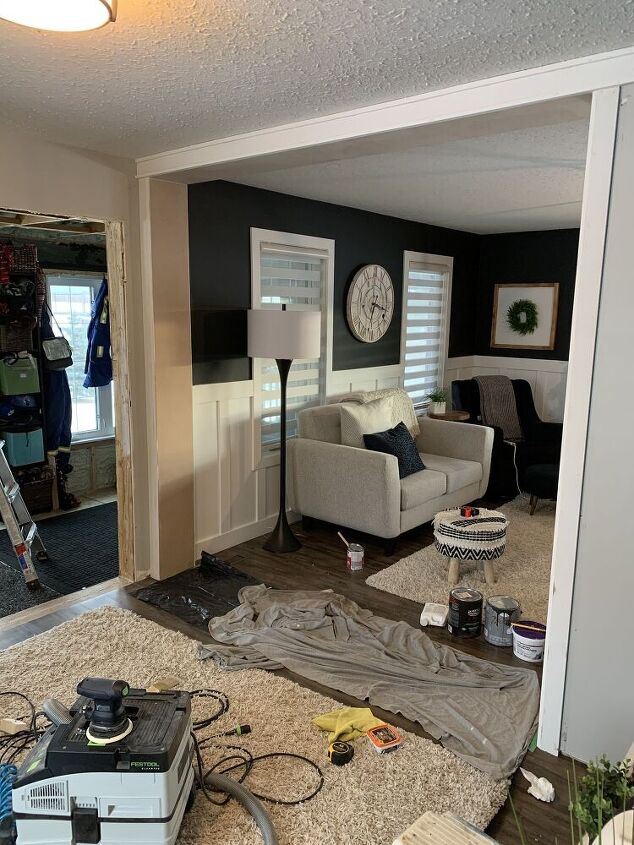
Added the MDF and then used 3” trim on the sides and top. I primed and painted this white.

To build the window frame. I marked our Center on my 6” MDF board, this would be where the window panes would sit. I chose to use 1” mdf for the bottom and middle supports send 3/4” mdf for the tops and sides.
Measures out where my middle supports needed to be and secure them through the bottom board with screws that were countersunk. Make sure everything is square.
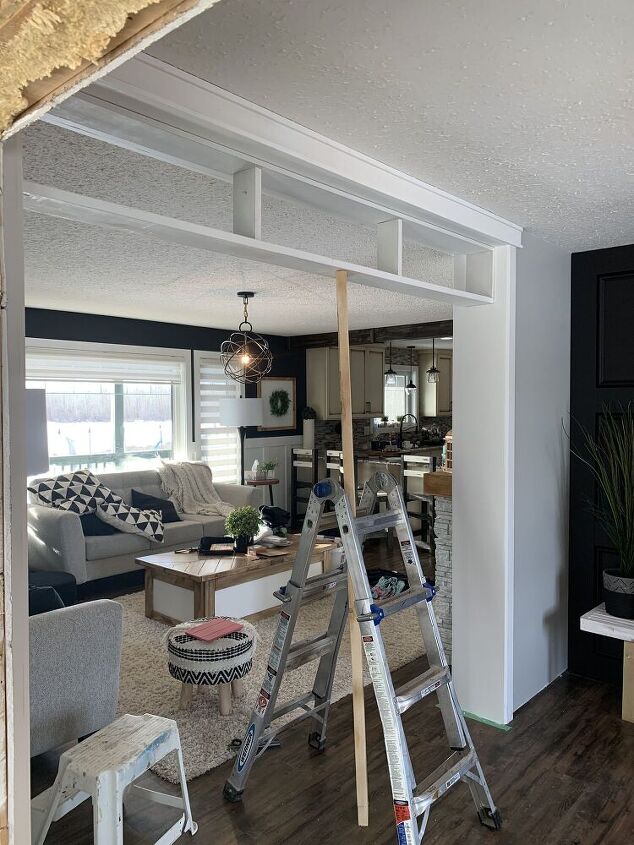
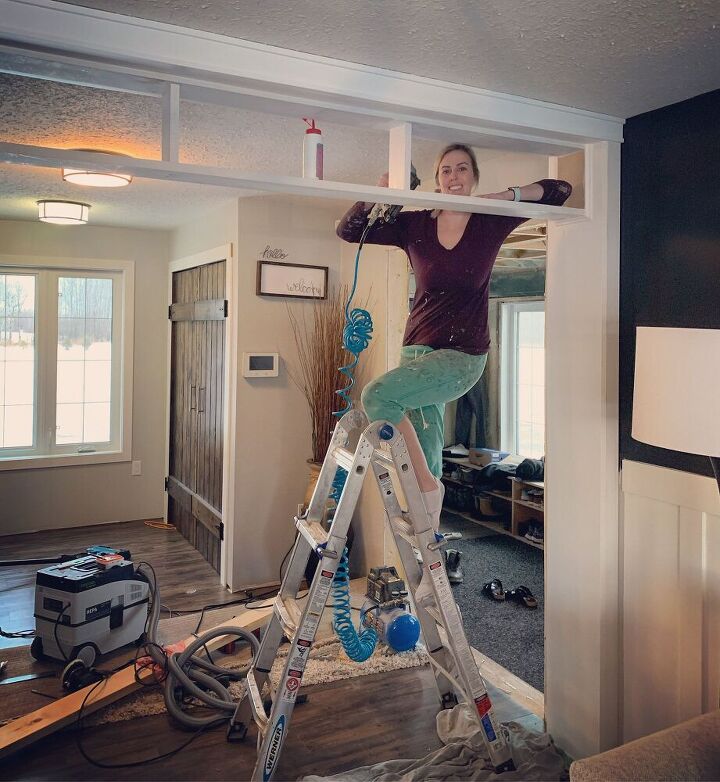
Once I had the middle supports in, I secured the top and sides. To secure this frame I had to use a 2x6 to support it and help hold it up since I only have two hands and was working alone. I used 3” screws to secure the top and sides.
Now that this is all up, I measured out the spaces and ordered the glass. It was actually fairly cheap.

I added cove moulding to one side first, I used the Center line that I drew earlier as i guide as to where to install it. I filled the holes and caulked the seams.
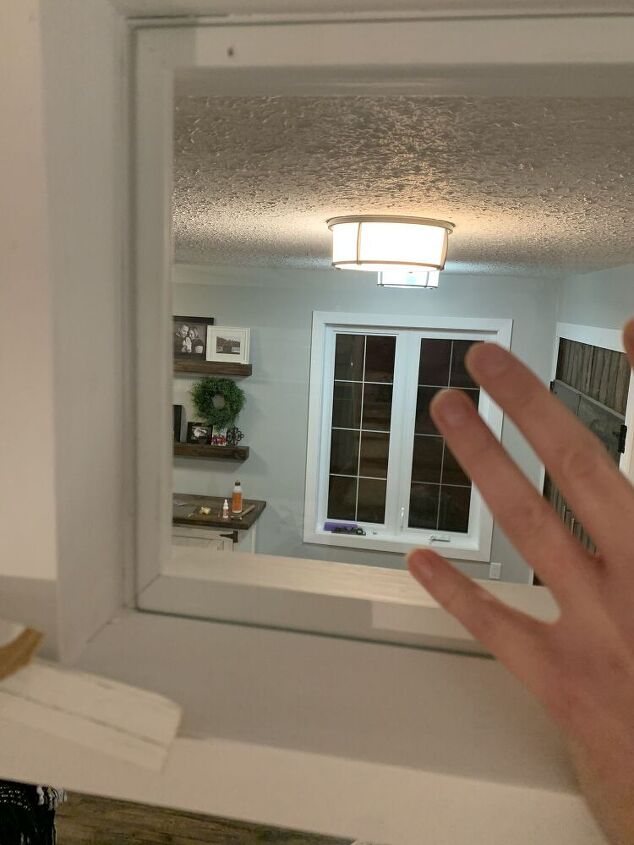
Place on your glass pieces. as you can see from the picture I got my glass cut a bit smaller than the space just in case something wasn’t square. I didn’t want to risk not having the glass fit. I didn’t not use any sort of adhesive to secure the glass. There should be no rattle or movement from these since they are not over a door that will be opening and closing.
I then secure the cove moulding on this side. You essentially sandwich your glass between the mouldings.
Be sure to caulk all the seams to create that perfect finished look.
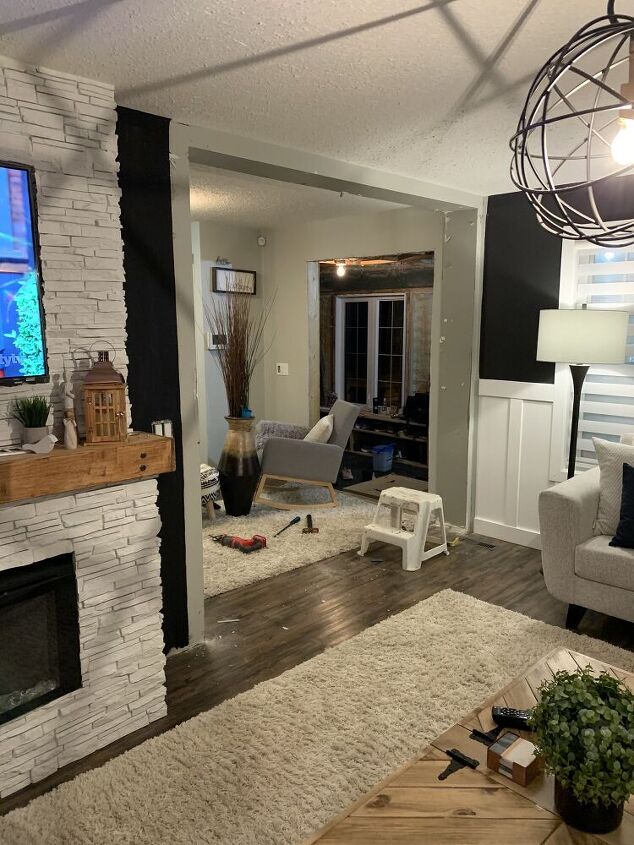
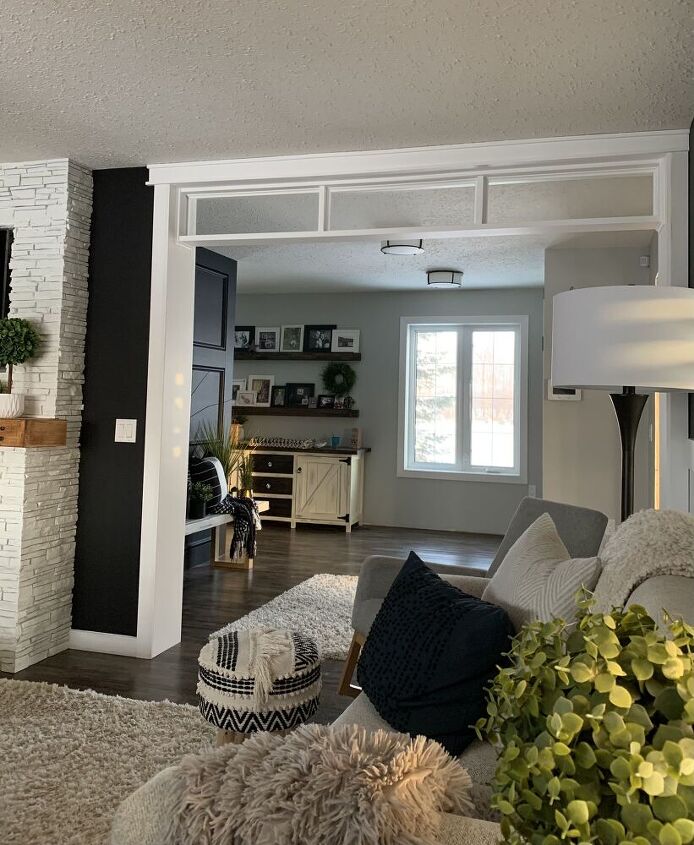
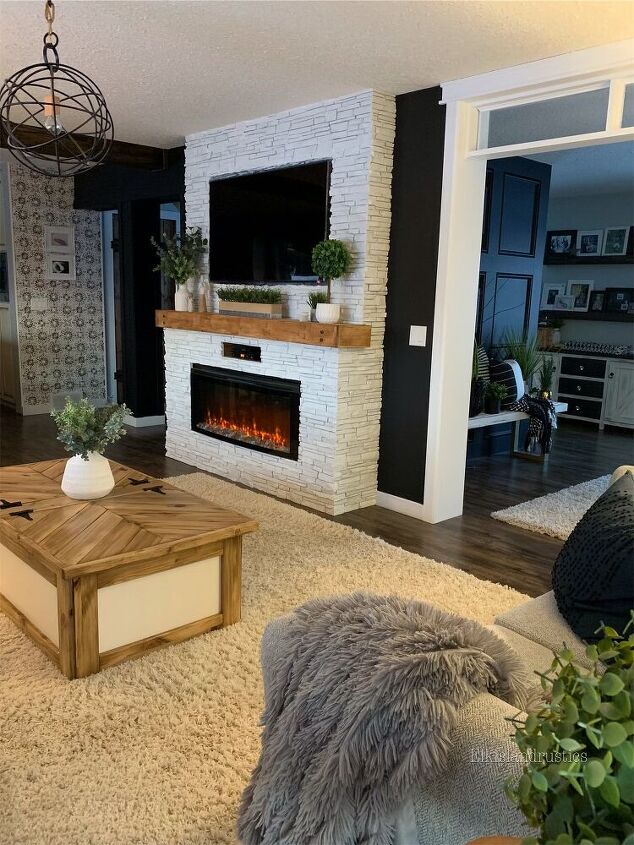
Honestly, I cannot get enough of these windows! So I’m love with them. It creates such a timeless look to the space.
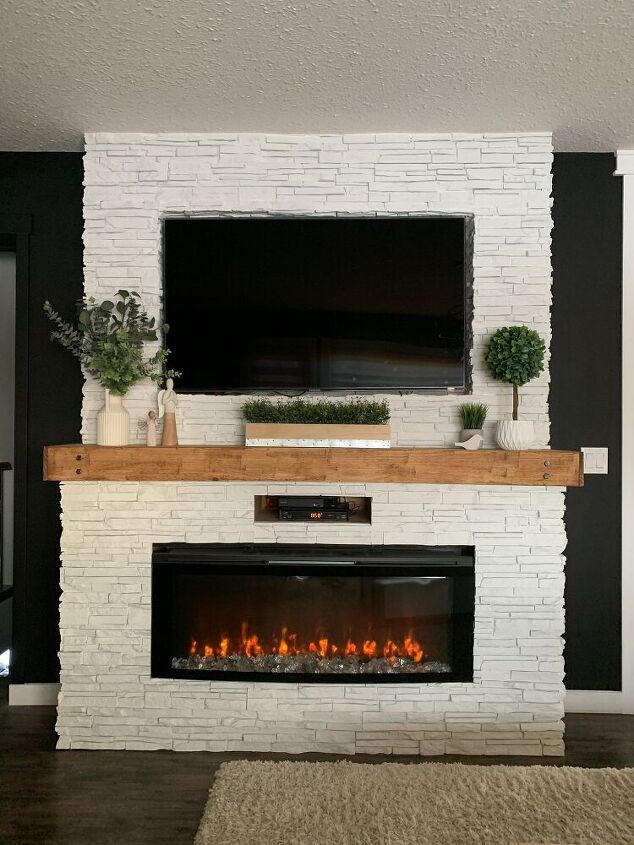
The black walls around this fireplace really brings out the beauty of the white stone.
I’m beyond thrilled with this refresh. Be sure to follow along with me on here and on IG to see these diy projects unfold.
thanks for following along
cannot wait for our next DIY together
x
Amber
Resources for this project:
See all materials


Comments
Join the conversation
-
Great job, and I love your decorating style. Beautiful home.
-
Love everything about this and I have contemplated doing this to the large opening leading to my living room, but I will forego putting glass in there. Will leave it empty….less to keep clean. Great job!


Frequently asked questions
Have a question about this project?
Love, love the transom, but the black paint? Not so much!!