


Quick and Easy Chalk Painted Chair

I know this has been done so many times but it never gets old when you have a chair that you come across and it just needs quick color change.
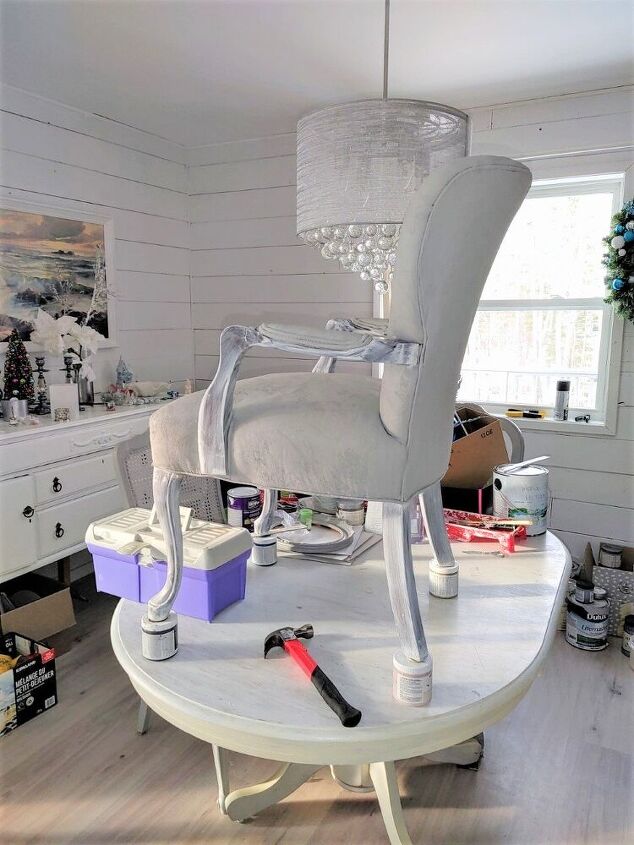
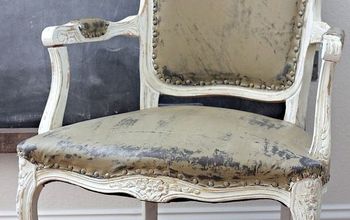
I had such a chair I picked up for $20 but needed a different look for my master bedroom at the lake. It was in great condition, no rips or tears and the padding was still really comfortable.
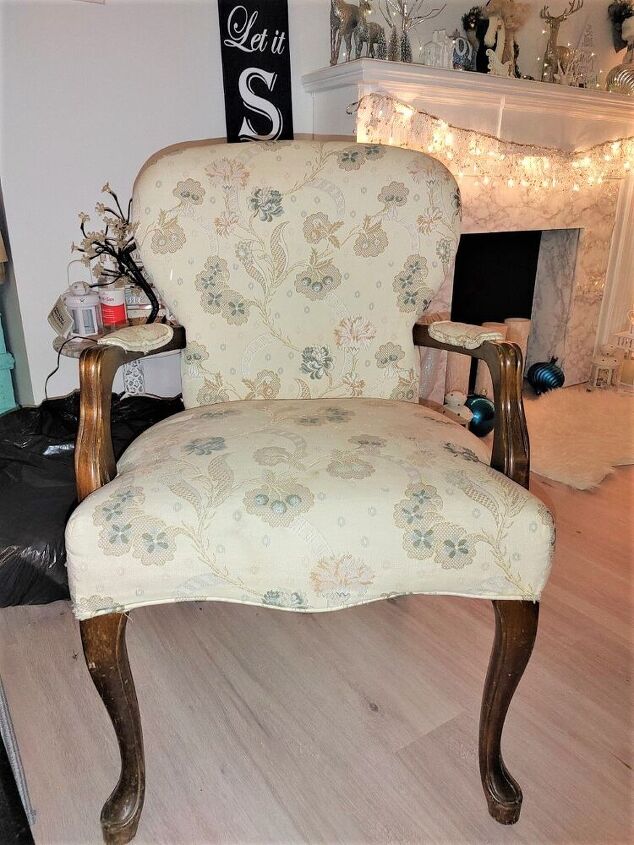
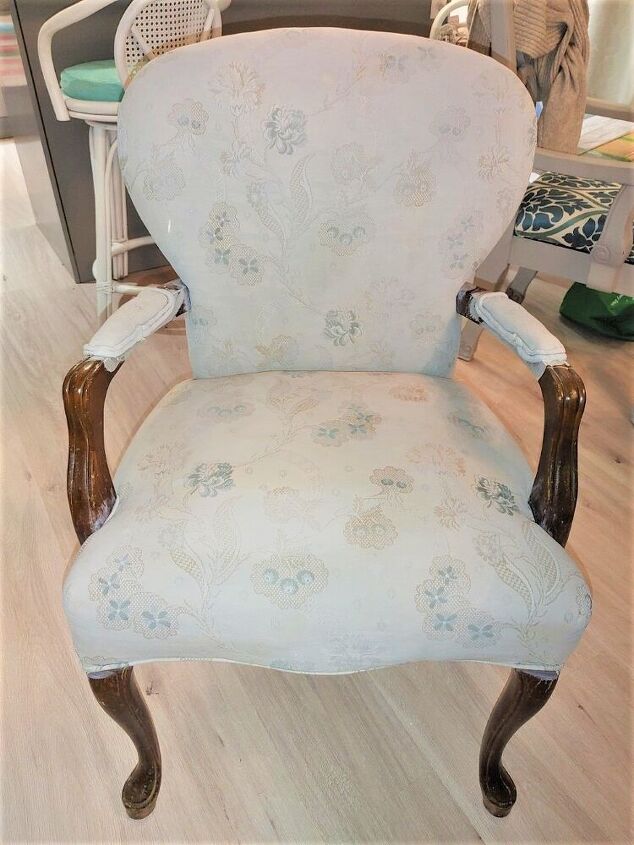
After giving the chair a quick dusting, I mixed the grey chalk paint with equal parts of water. I wanted it very runny so it would soak in good. I used a spray bottle filled with water and sprayed each section first so it was pretty damp to the touch.
I used a pretty thick, cheaper brush, and just loaded it up with the mixture so the brush was dripping. I used a mixture of usual paint strokes but also swirled it around, really working it into the fabric.
This is quite a messy process so have a rag handy to wipe up the drips and protect whatever service you are working on if needed.
Once the first coat was on, I let it sit for 24 hours to fully dry.
Once dry, I gave it a quick sand. Very lightly, this is just to take off any rough areas you may feel.
Once wiped off, I mixed the grey chalk paint with 2 parts paint, one part water. Using the same process as before, I gave it another coat.
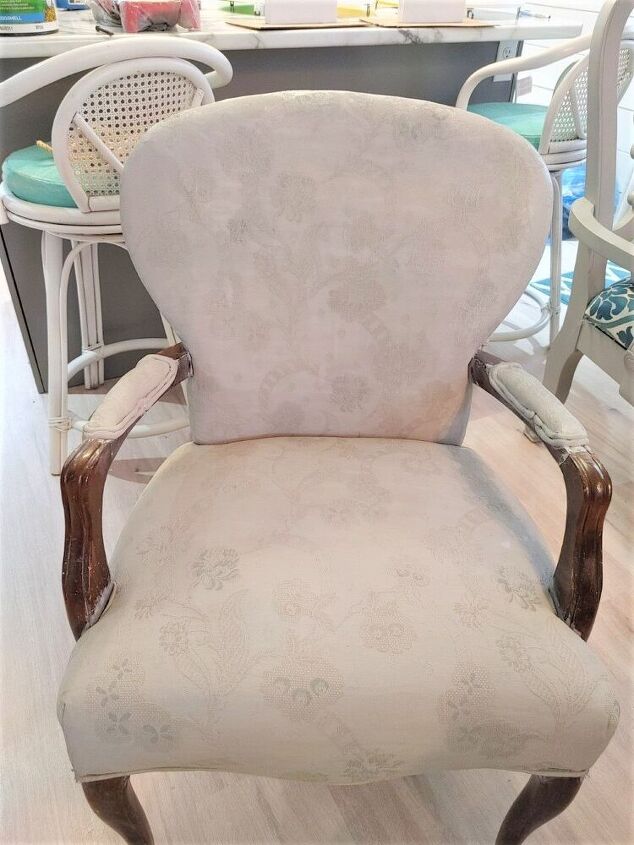
Second coat looked good, could've left as so depending on what look you are going for but after waiting 24 hrs again, I gave it another coat after a quick sand, adding a bit more paint into the mixture then I used for the second coat. I wasn't too worried about getting the paint on the wood part as I knew I'd be painting that as well.
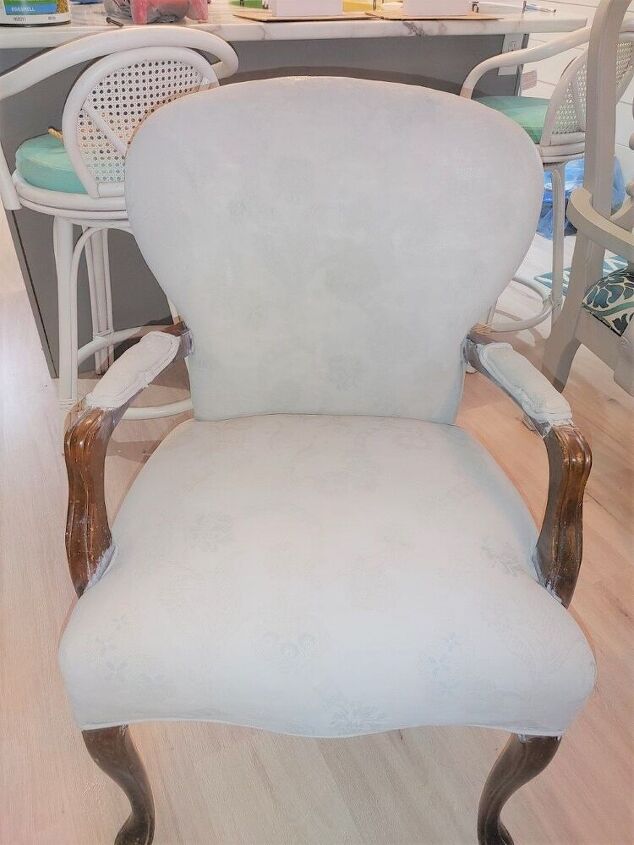
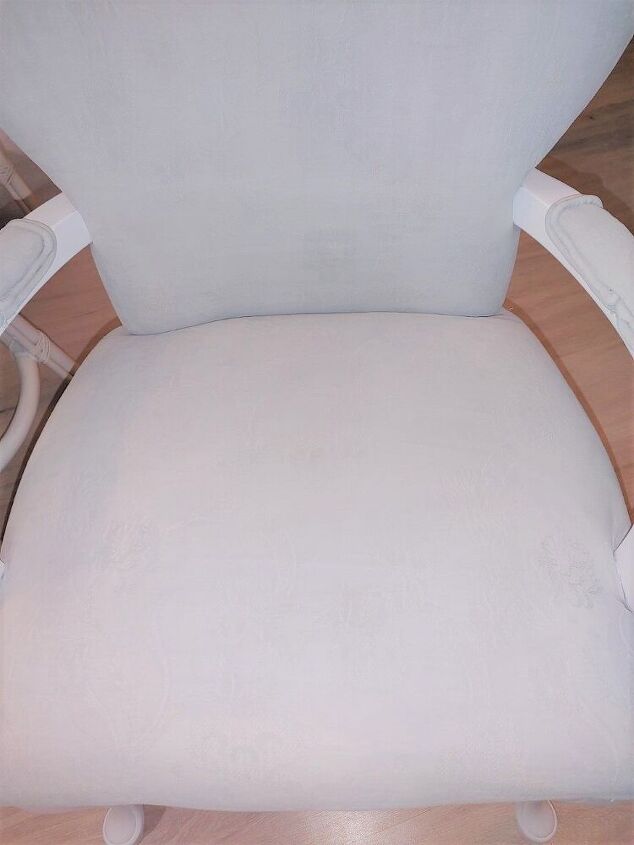
Satisfied with the third coat, I did another quick sand. For those of you who have done this before, would you agree that after the last sanding the material feels so smooth and neat? It's almost like leather.
Time to paint the chair. I wiped the wood down and made sure I got off any dust and grime.
I used left over cabinet paint I had, it's worked well on so many projects.
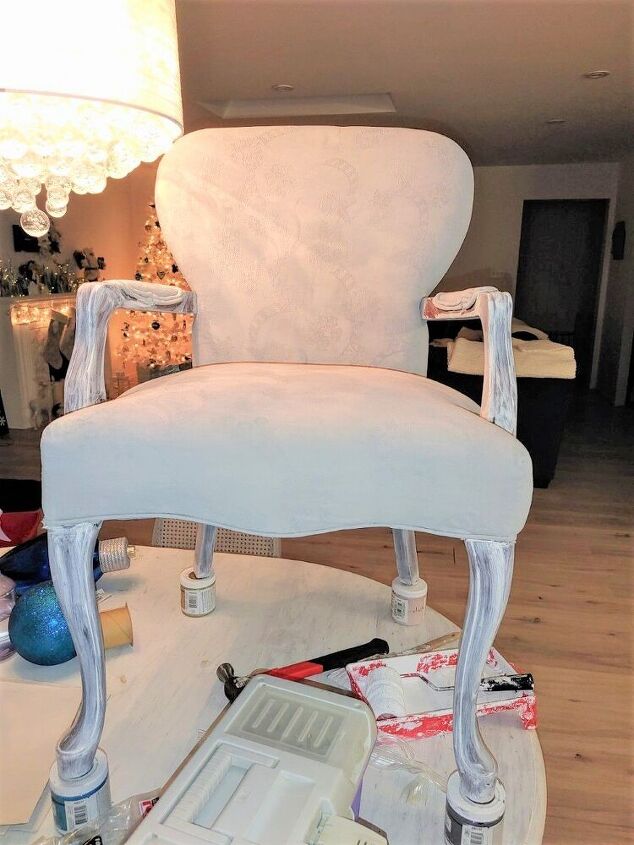
After the first coat, I let it dry for a few hours and then did another. Don't mind the mess in the background, I usually have many projects on the go at once!
Here's the final look before waxing.
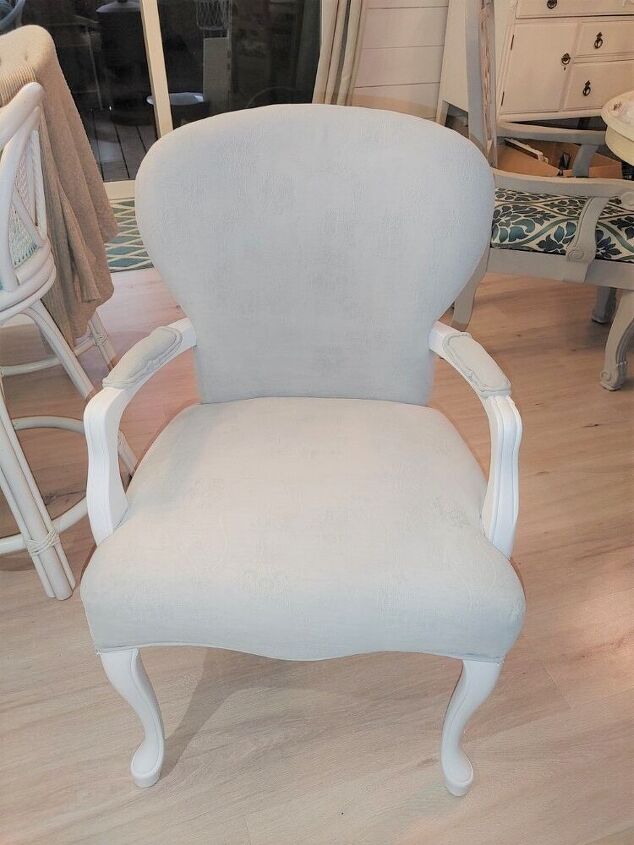
I did one coat of wax on the material to protect it. For some reason, parts of the chair had white streaks on it after waxing, maybe someone on here knows why?
Thankfully my look at the cabin is beachy shabby chic so it didn't really matter this time. I left if as is and for me it works!
Here it is in it's new home!

I could've done it in the same color as I painted the little lounger to match but knowing me, I will move this chair many times so I figured the more neutral, the better!
Resources for this project:
See all materials


Comments
Join the conversation
-
Not sold on painting fabric because of feel especially when wearing shorts. But this particular chair I think I would have left alone. Fabric looks ok, not torn or ripped. Wood is rather neutral looking. Wood accents do warm/cozy up a space. Sometimes leaving things alone and allowing piece to be as it was intended, makes for best piece. I suggest be sure before before changing
-
I have similar chairs and you have inspired me! Great job - the look fabulous!!


Frequently asked questions
Have a question about this project?
Why didn’t you paint frames first
but nice job
how does it feel when you sit on it and how long does it last?
what will the results be if you paint a velvet like fabric