


Simple, yet Stylish, Bedroom Bench and End Table

My daughter wanted to really spice up her room and showed me a couple of pictures from Pinterest. This is her first time to have her own room so instead of buying her the bench and end table she wanted I decided to build it myself. I only spent $50 on the wood and another $20 for the glue and stain. Tools needed will be a miter saw, dowel jig, and if desired an air nailer. Don't be hesitant to try your hand at this, I know you can do it!!
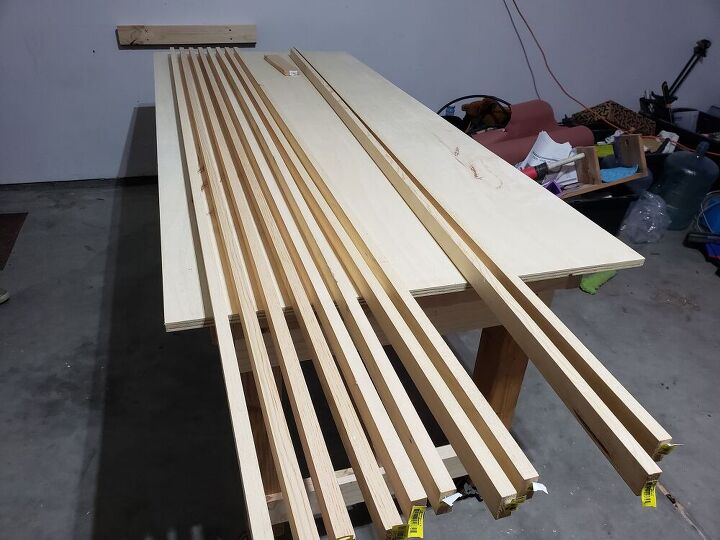
I started with 9 pieces of 1"x2"x8' premium pine boards. Premium boards are much better all around. They cost about 50% more in my area but they are straighter, less likely to warp, and take a stain better. Since her bed was just a tad over 4 feet wide I cut four of the boards in half at 48". This gave me 8 equal length boards for the top.
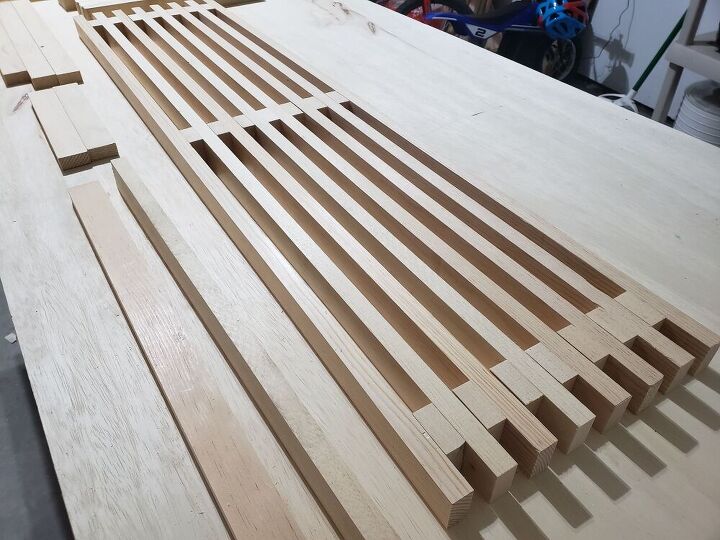
After I cut out the top boards I then cut out the other pieces. They are (2) 45" long cross braces, (4) 20 1/4" legs, (2) 9 3/4" inch leg braces, and (21) 1 1/2" spacers. Here you can see I laid out the top with the spacers to get an idea of the look. Now, my best suggestion is to stain all the pieces before assembly. It will be so much easier then trying to stain afterwards.
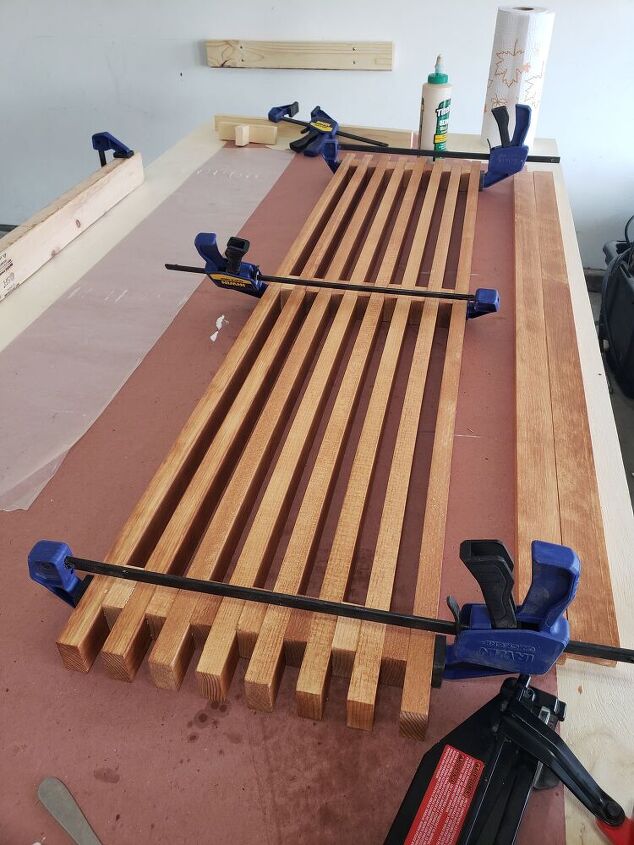
Here is the final top glued together and clamped at the spacers. This will allow the glue to dry and you'll have a really strong top. I waited a few hours for it to dry and in the meantime worked on the legs.
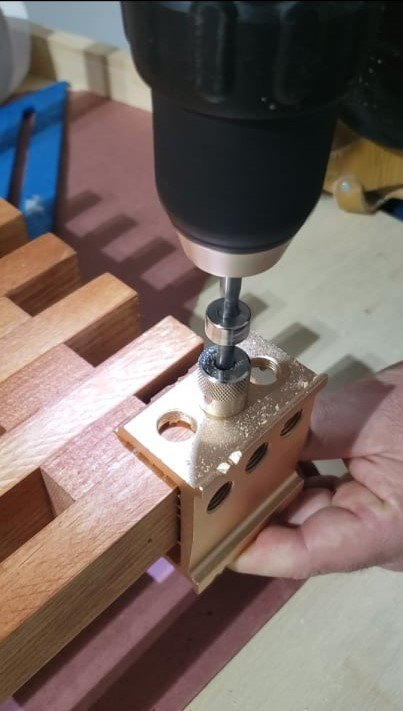
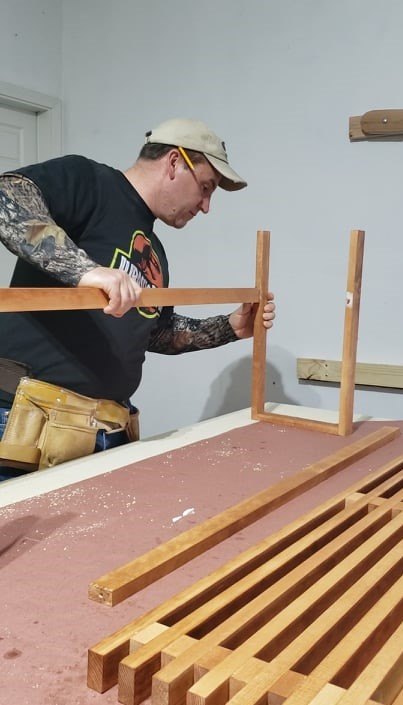
Here I'm using a Dowel Jig to drill out and install wood dowels there the legs and braces join together. There dowels will be hidden and thus no visible screws or nails will be seen.
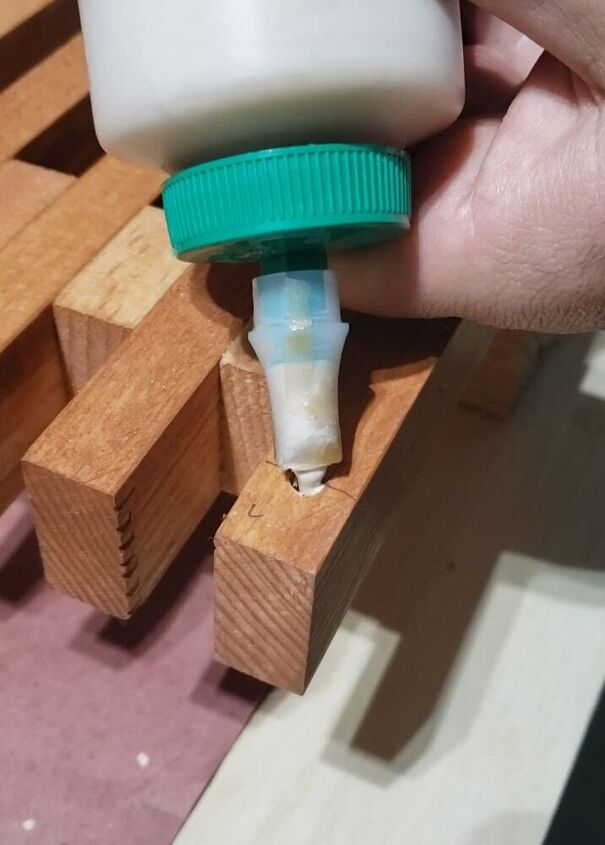
Here I'm adding glue to the drilled hole.
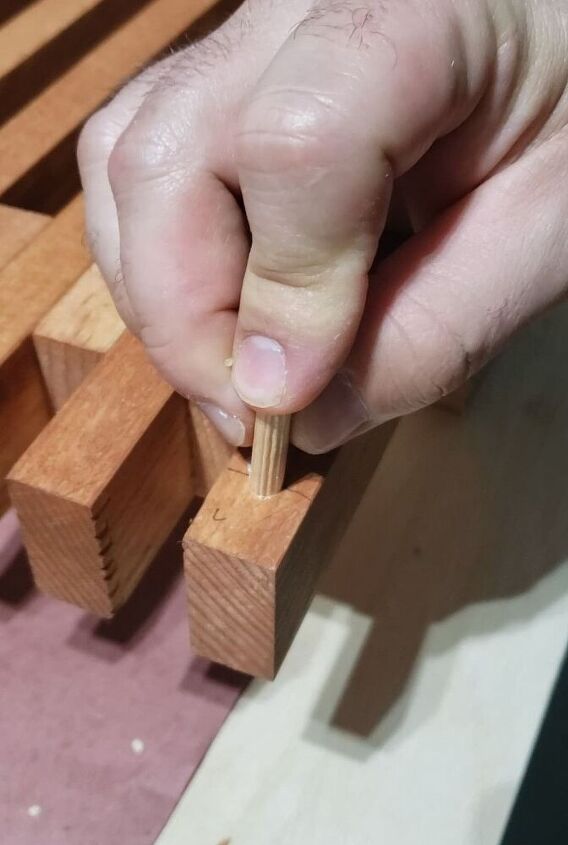
Here I'm inserting the dowel. Once I have holes drilled in both pieces of wood and glued added to both sides, all that's left is to join the pieces together.
After I put the legs together I can add the cross braces. Again, I used my dowel jig to install a wood dowel and join the pieces. I was so happy how things were coming together.
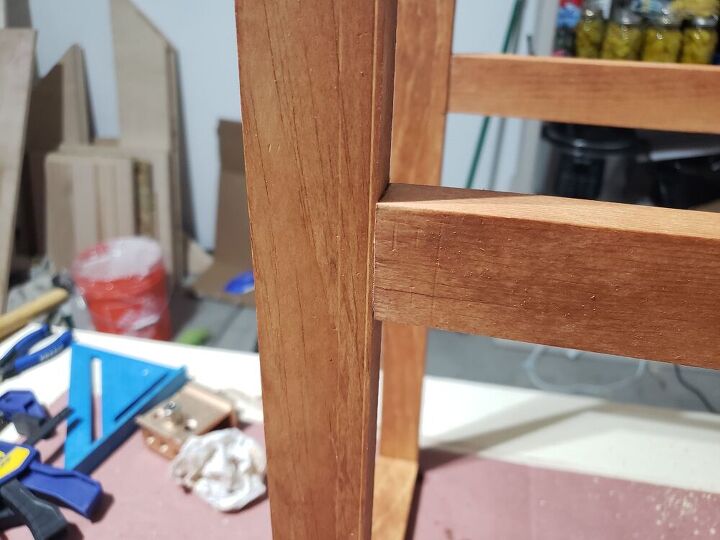
Here is a close up of the joined wood pieces. Like I mentioned before, no screws or nails are seen. Let the glued up pieces dry a few hours before handling.
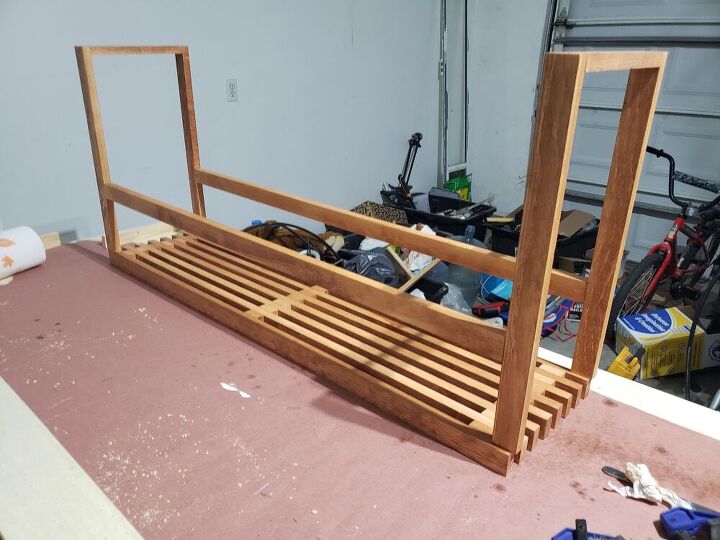
After both the legs and top are glued and dried up, I put the two pieces together. I was pleasantly surprised with how it all turned out. I checked for any touch up staining that needed to be done and cleaned it off.
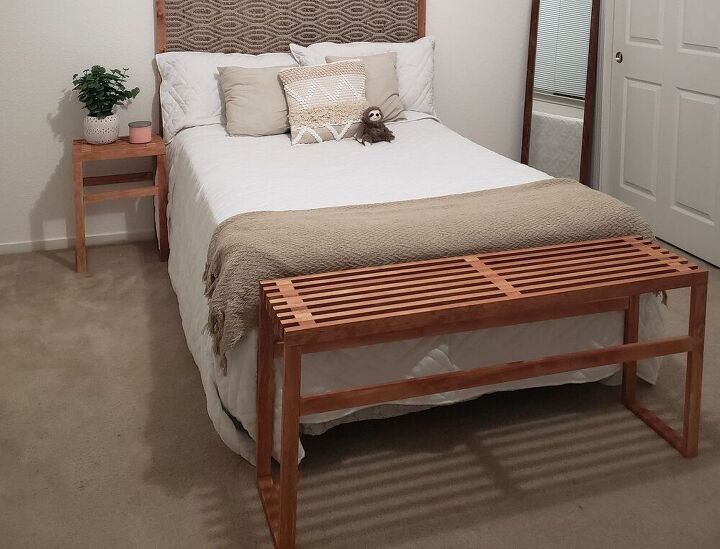
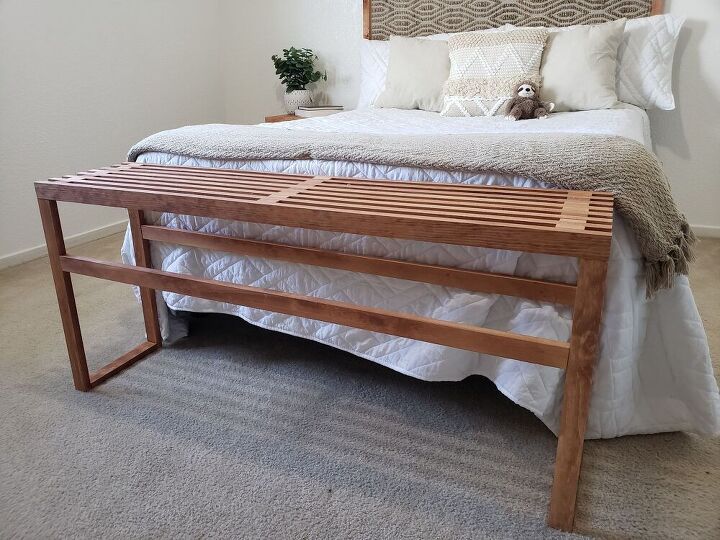
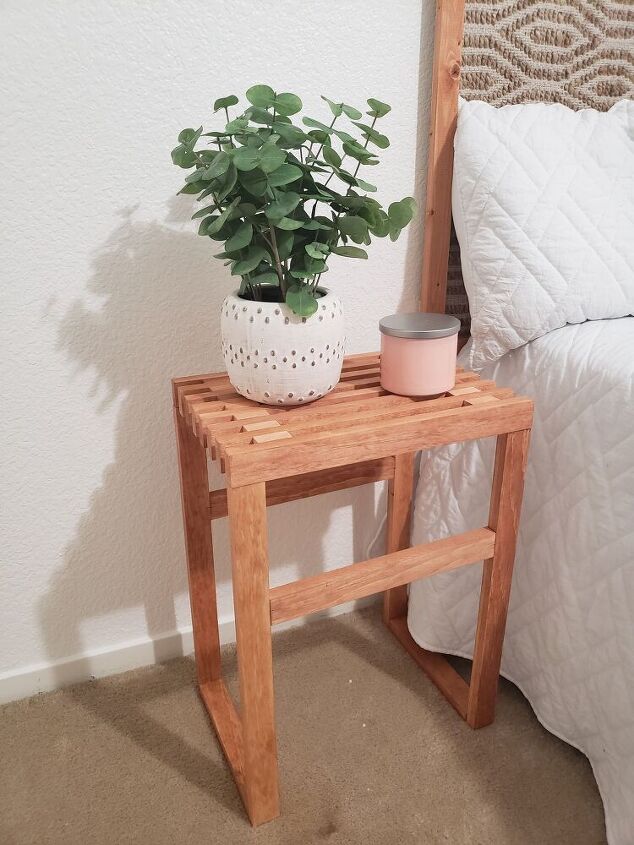
Here we have the final two products set up in my daughter's room. I did a post earlier about how we made her headboard. Everything just looks so good together.
Here you will find my YouTube video on how I put everything together. If you have any questions about the project just leave a comment and I'll do my best to help you out. If you like the projects you see don't forget to give me a follow here on Hometalk for all future projects. We are going to make 2021 the best year ever!!!
Comments
Join the conversation
-
That is a beautiful bench and end table. You did a wonderful job. Great share
-
I love your bench. It’s really nice to look at furniture building projects that involve peg or biscuits. It brings back fond memories of my Dad teaching me the art of fine furniture building. Thank you for sharing!


Frequently asked questions
Have a question about this project?