


Folding Dining Table / Breakfast Bar

15 seconds from a breakfast bar to a dinner table! For three years, we’ve been trying to figure out the best dining option in our home. We don’t have a dining room or breakfast nook - nothing. This has been a game-changer! During most hours of the day, it's a breakfast bar that doesn't take up too much space. For dinner time, we open it up and pull out two folding stools so our family of four can sit together at the table and eat.
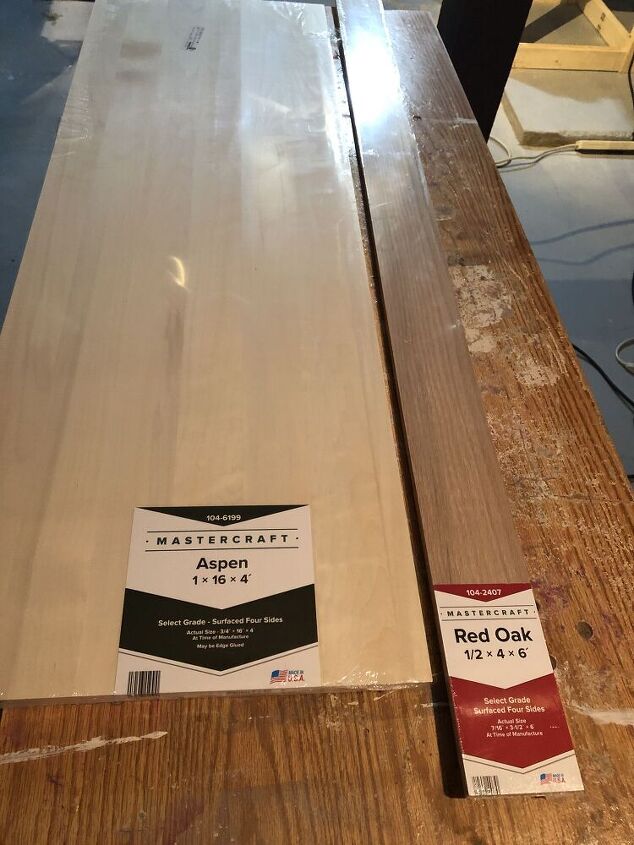
I grabbed all the wood for this project from Menards. I used two edge-glued slabs of Aspen and some thin Red Oak for the trim.
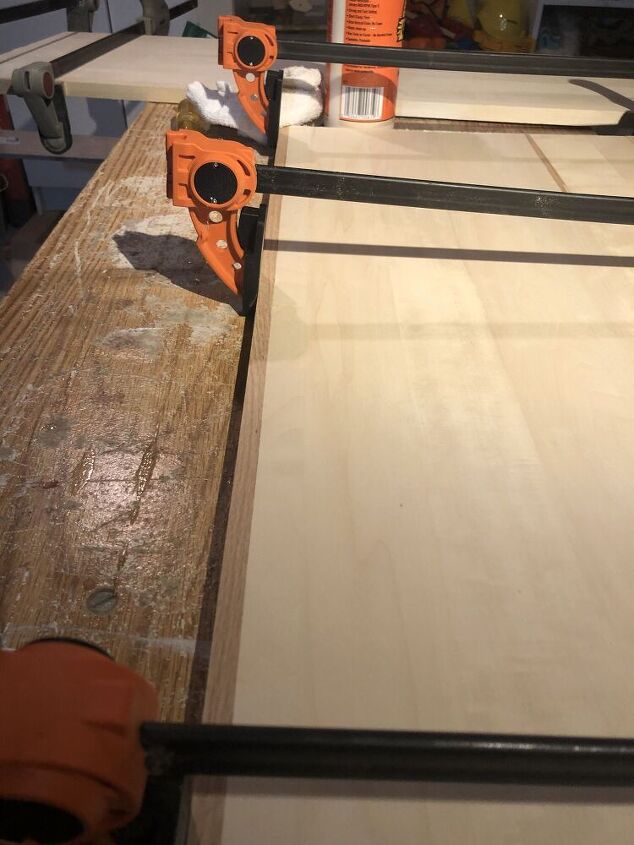
After cutting the Aspen to size, ripped a few thin strips of Red Oak to trim the entire perimeter of the table. On both ends and the back side, I simply glued the Oak to the edges.
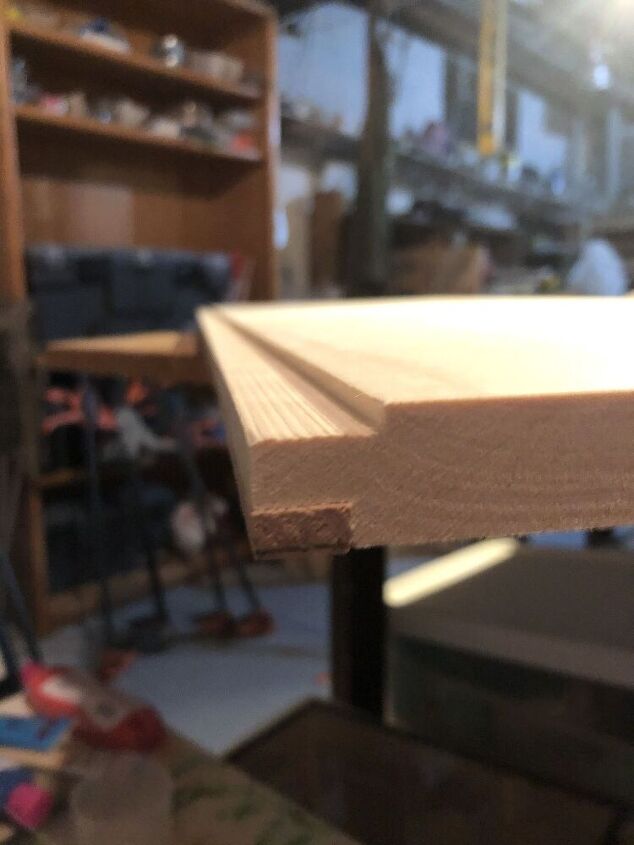
On the front side, I used the table saw to make inlay cuts on both the top and bottom of the slab. On each slab, I inlaid Oak on the outsides. The remaining inlay is where I'll secure the hinge.
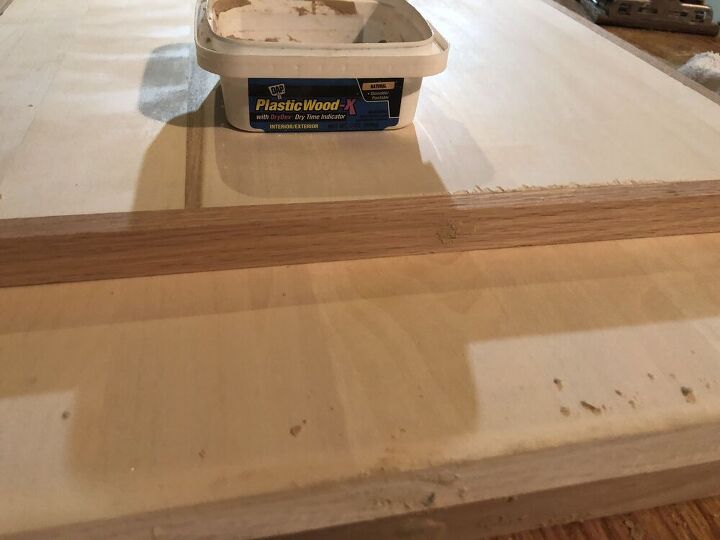
I used a few finishing nails for extra hold on the oak trim, so before finishing the wood, I added wood putty to the nail holes. Of course, then comes everyone's favorite step of sanding down the whole table.
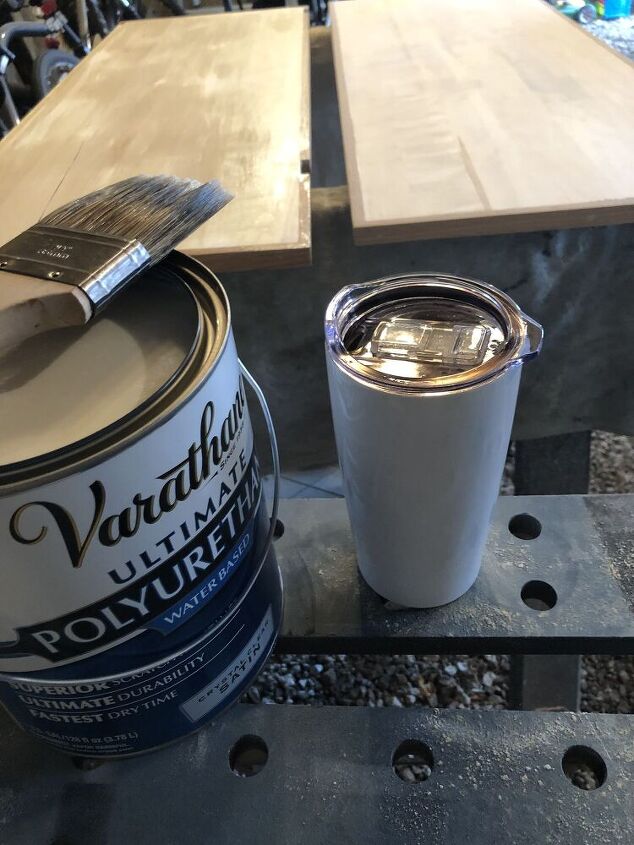
Because this will be a dining table we'll be wiping down a lot, I was pretty generous with the polyurethane. I'd recommend adding a least four coats. I also used ultra-fine sandpaper to give the poly a very light sanding every two coats to ensure a nice, smooth finish.

The next step is to add the hinge in the inlaid groove. The gold piano hinge I found was almost the perfect length, but I did have to trim about 4 inches off with a hacksaw.
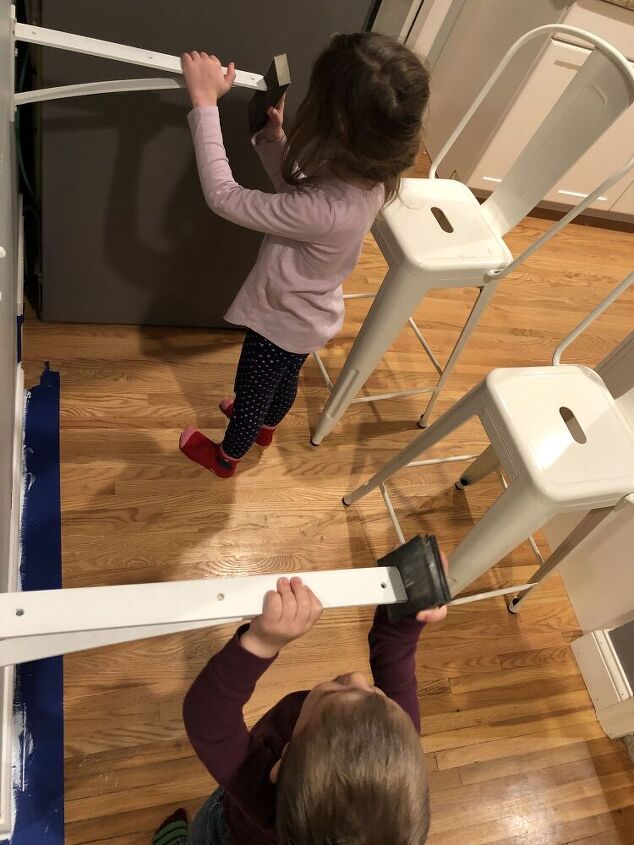
I had some steel brackets I'd used previously for a simple breakfast bar in this spot. I had to trim off the curved ends, but this photo gives you a nice idea of the types of brackets I'm using to hold the table up. As you can see, I'm always in the market for a little help. Especially when it comes to sanding! 
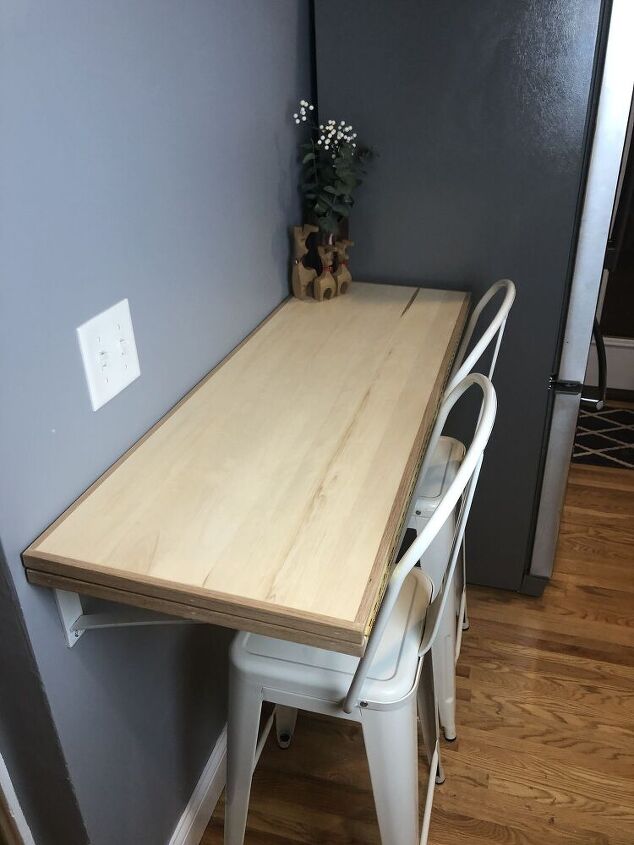
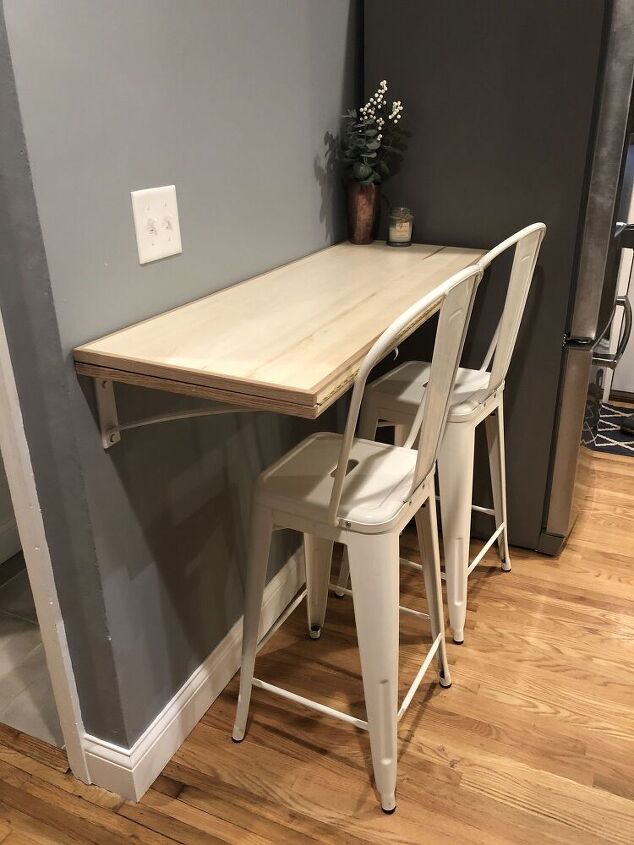
This is what the table looks like when secured and folded into a breakfast bar.
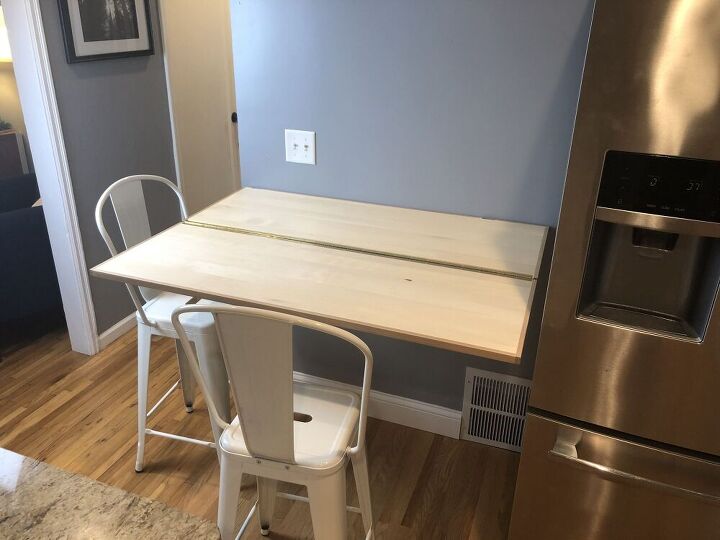
The is what it looks like when opened up - plenty of seating room for four.
You can see just how simply the table opens up. After I had it secured to the brackets, I added metal drop leaf supports underneath. Those are the white supports I'm pulling out to hold the table leaf up when it's opened. Those supports attach very easily with a few screws.
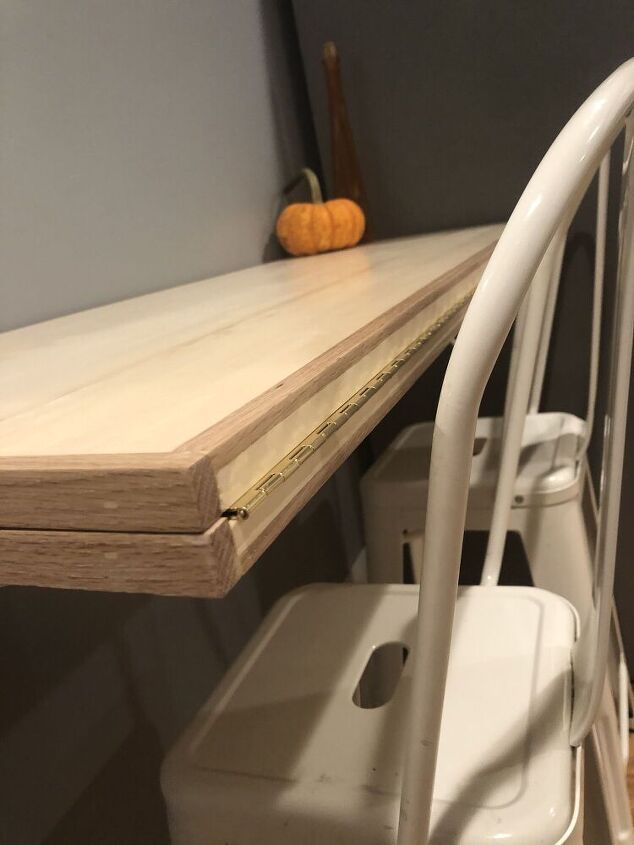
This photo gives you a good look at the inlaid oak and hinge on the front side of the table.
This table was such a game-changer for us. It was the perfect solution for our small home, and I'd recommend it for anyone looking to make the most out of their limited space. Follow me on Instagram at @woodyworking for more woodworking DIY or home improvement projects. Happy building!
Resources for this project:
See all materials


Comments
Join the conversation
-
And to save even more room, add a long hinge to the back (you'd have to design it so that it locks in place when needed). Then you can let the table drop against the wall, scoot the chairs up next to it and add extra space.
-
I need more counter top space . This helps me and now I have an idea for what I can do in the little space I have. Thank you.


Frequently asked questions
Have a question about this project?