


How To Replace Dresser Hardware – Perfect Placement
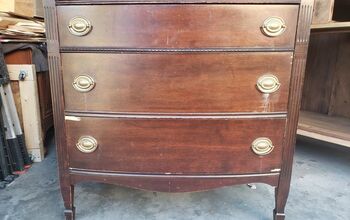
HEADS UP! This post could save you a lot of time, headaches, and guesswork if you’re a furniture flipper. Have you ever decided to replace dresser hardware on that amazing curbside find and found it almost impossible to drill the holes for the new amazing hardware and get them straight? Do you know what I’m talking about? I feel your pain! You’re in luck, my friend, because today, I’m sharing a foolproof tip to getting that new hardware in the perfect spot with this one simple item. PAINTERS TAPE… You can thank me later!
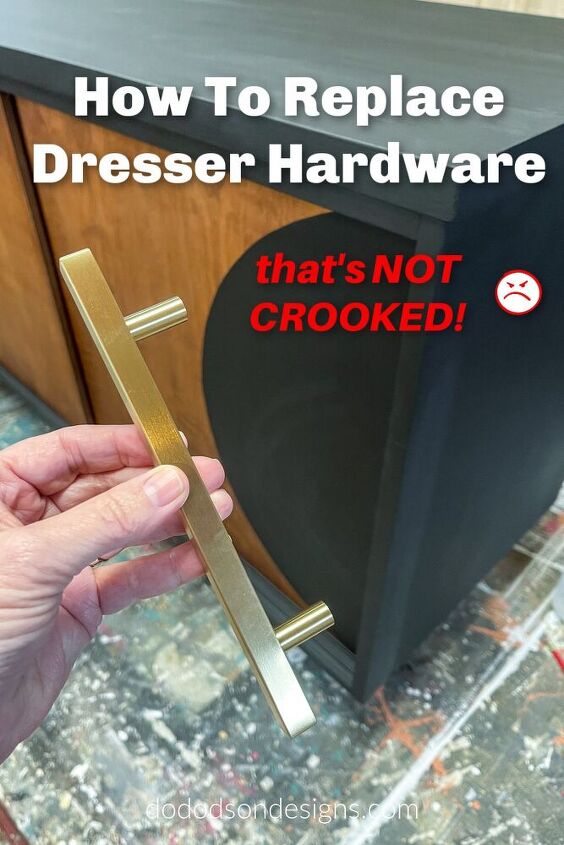
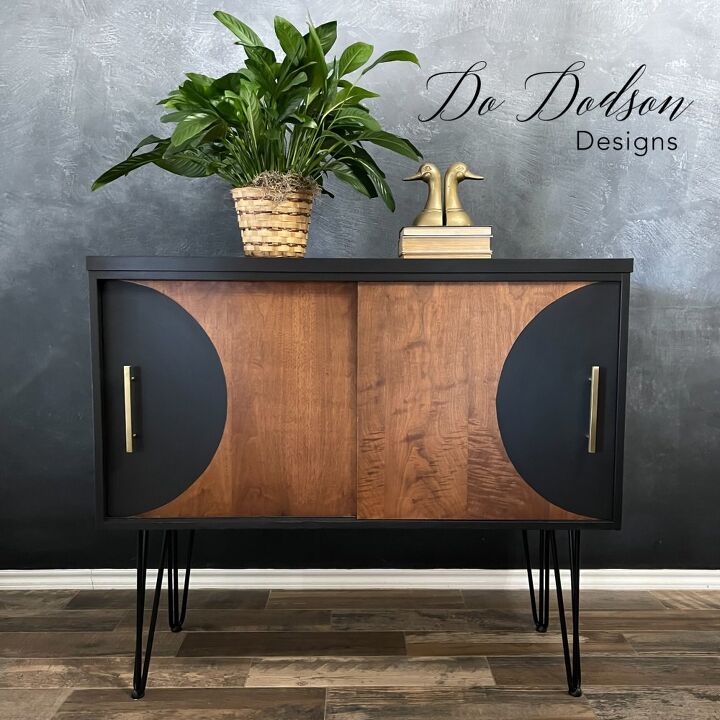
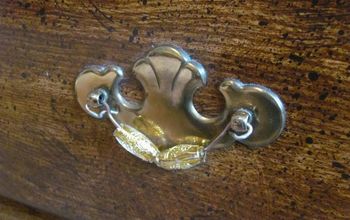
Let’s start by giving some homage to these delicious golden beauties’. Leave it up to me to find the hardest hardware there is to install on my refurbished furniture. But they’re so PRET-TY! And because they are long, they will require some work to get them perfectly placed. Without further ado, let me show you this simple but effective trick.*, And just so you know that I’m totally transparent, this isn’t my original idea. I use this technique to hang large picture frames on the wall with two hangers, but it’s the first time I’ve used it on hardware placement, and it worked like a charm.
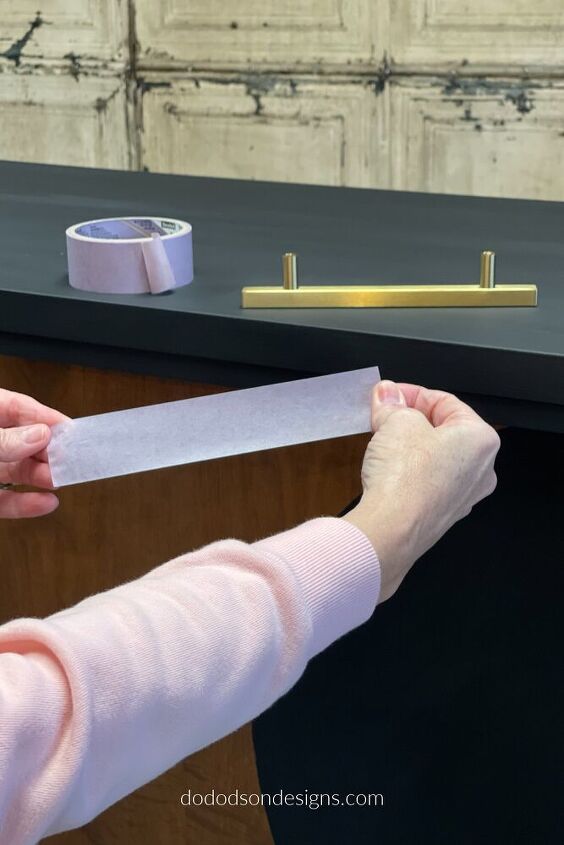
STEP 1: First, measure your hardware's length (cabinet/dresser pulls) and cut a piece of painter's tape the same length as the hardware. This will be your guide for the perfect placement.
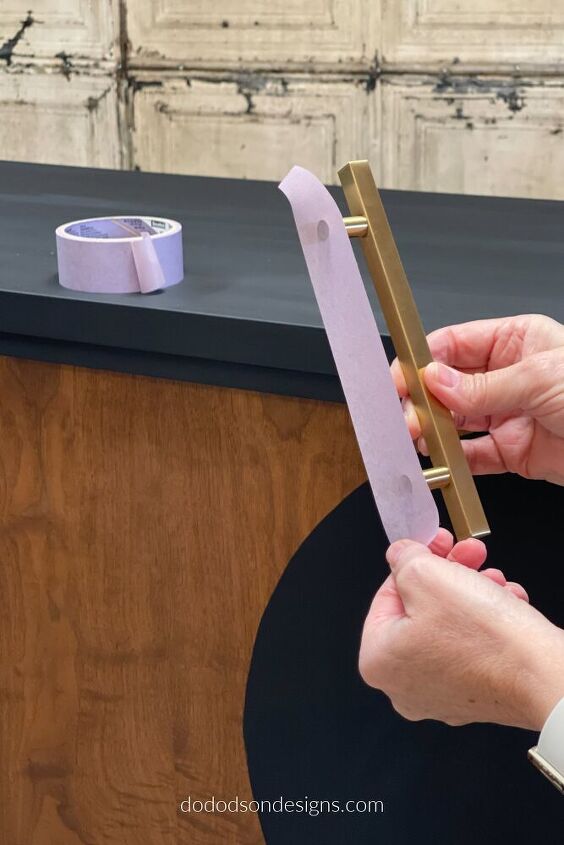
STEP 2: Apply the painter’s tape across the back of the hardware lengthwise from tip to tip. This will ensure that you have the same length and help with the hardware placement.
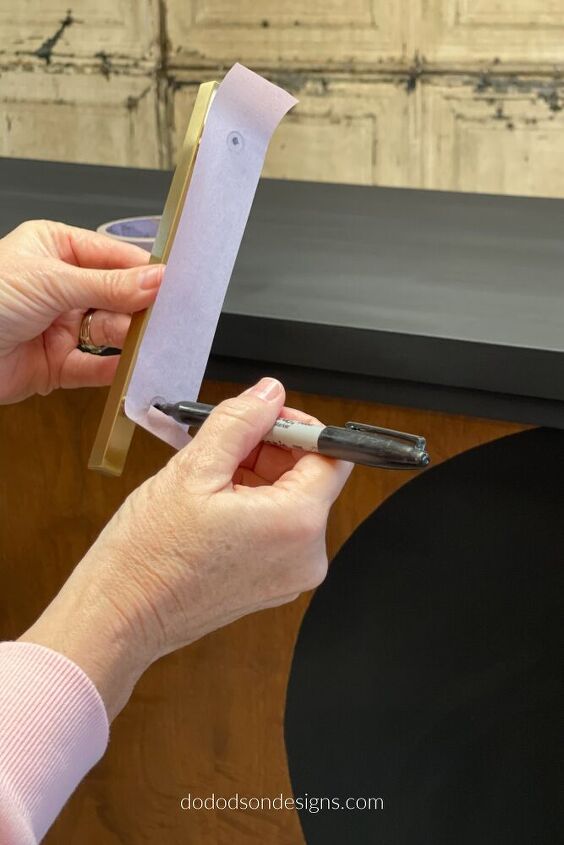
STEP 3: The Sharpie Marker! Use a sharpie marker to mark the center of the screw holes. OMG! I know what you’re thinking. Replacing the hardware on a dresser is looking pretty easy right about now.
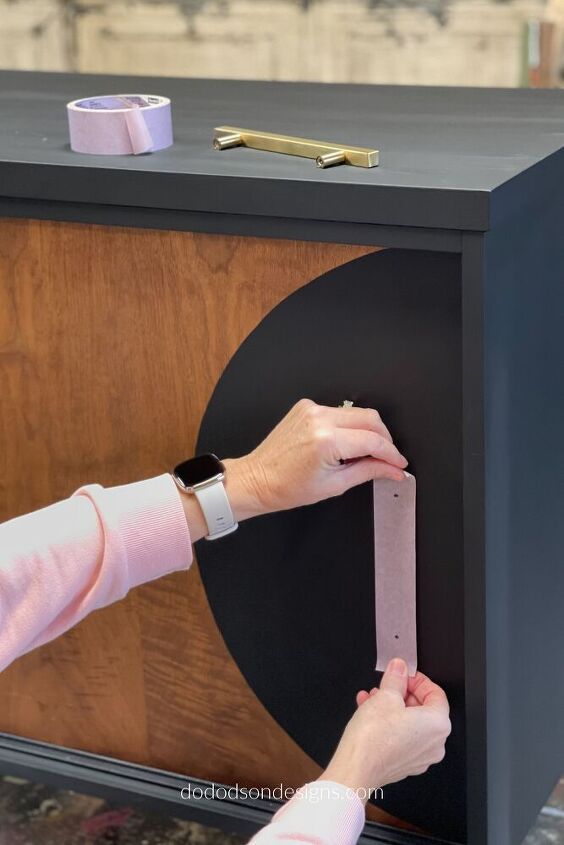
STEP 4: And lastly, place the painter’s tape where you want the hardware to go on your dresser/cabinet. Mark the holes through the tape and proceed with drilling the holes for your new hardware. If you want, you can drill right through the painter’s tape. Chose a drill bit slightly larger than the screw. This will make installation easy. You most certainly can use the same piece of tape for the next set of holes, but…I have found that hardware is not always uniform. Meaning the holes don’t always align the same on each piece. For this reason, I recommend that you use a different piece of painter’s tape for each dresser/cabinet pull when replacing the hardware. And you thought that painter’s tape was just for paint… SURPRISE!
Thanks for joining me today, and I hope you have enjoyed my tip on replacing dresser hardware for perfect placement.
Wishing you all the best in your furniture flipping projects. Until the next project… xo, Do 


Frequently asked questions
Have a question about this project?