


DIY Chalkboard Sign - Farmhouse Spring Decor
I have spring fever, so I will start decorating and creating some spring decor with a farmhouse vibe. While searching for something fun to up-cycle, I decided to use a vintage screen door for a spring chalkboard.
See how I made this bird's nest and stand HERE 🌸.
Farmhouse screen door chalkboard with spring decor
Spring Decor Chalkboard
DIY Spring Decor
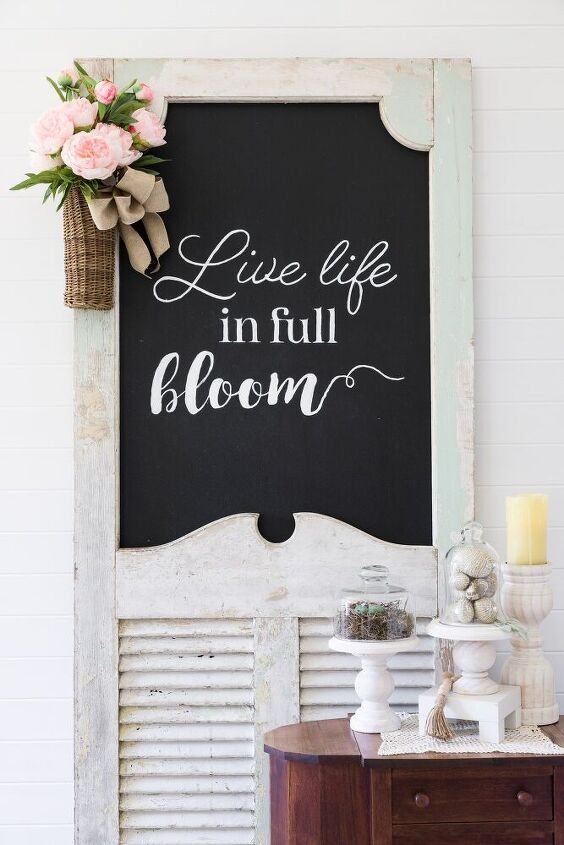
It all started with an old chippy screen door and some chalkboard paint. If you have been reading my blog then you know I adore chalkboards and the colors; black, white and green, therefore, a chalkboard sign are is perfect for my spring decorating.
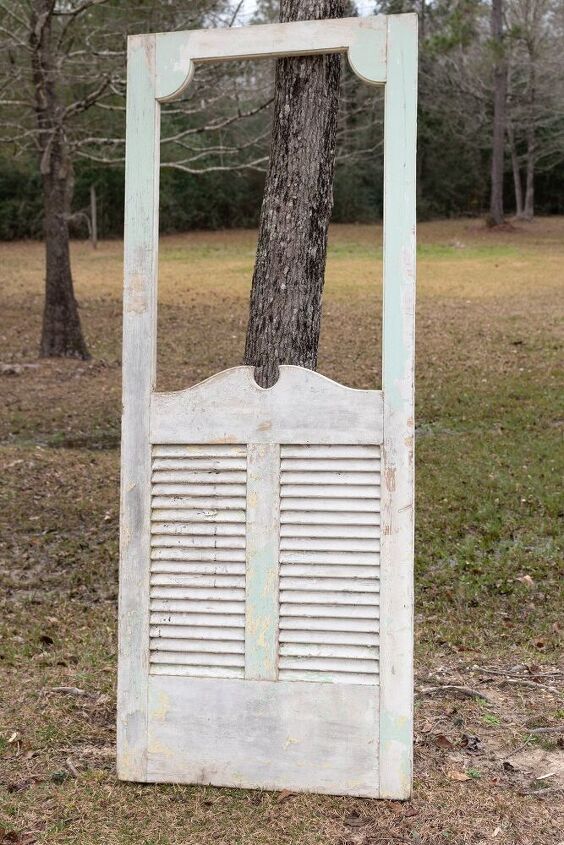
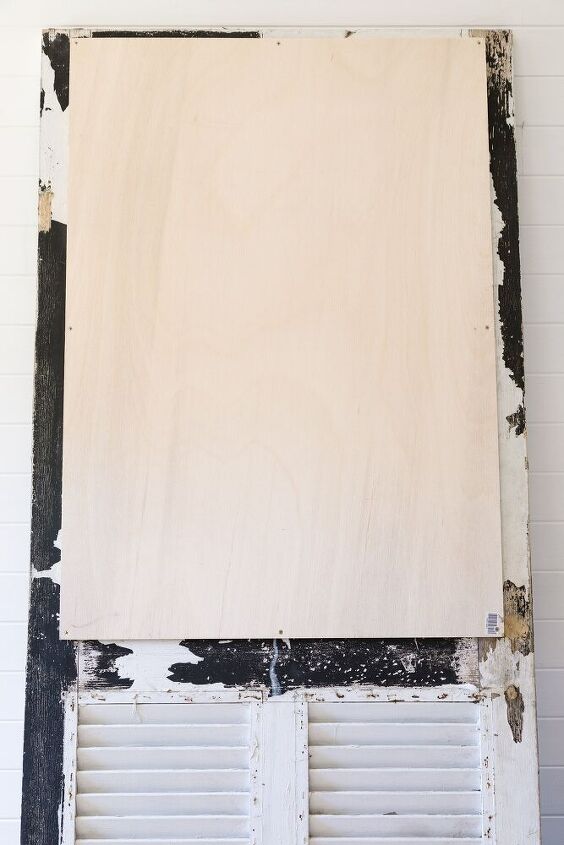
Vintage Screen door
The door had to be cleaned since it was covered in dust, however, I was afraid to wash the door since some of the paint could be washed off. To my surprise, most of the chippy paint remained intact.
I ran to Home Depot and had them cut a piece of sanded 3/8 inch plywood for the chalkboard that would in the missing screen area of the door.
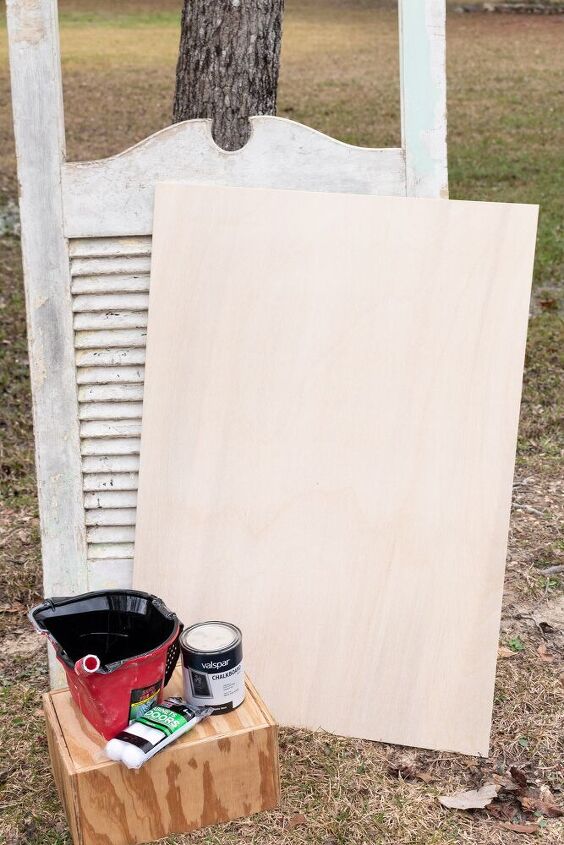
Chalkboard supplies
Before I began the project, I gathered all my supplies, hence, saving time and effort.
Supplies
- Plywood 3/8″
- Chalkboard paint
- Foam paint roller
- Handy Paint Pail
- Sandpaper
- 8 Screws (3/4″)
- Chalkboard Design File
- Chalk paint (white)
- Paintbrushes
- Tape
Tools
- Cordless drill
- Countersink bit
The plywood was so smooth that it did not require sanding; therefore, I grabbed my paint and started.
Using a foam roller and the Handy Pail, I painted the board with chalkboard paint and let it dry.
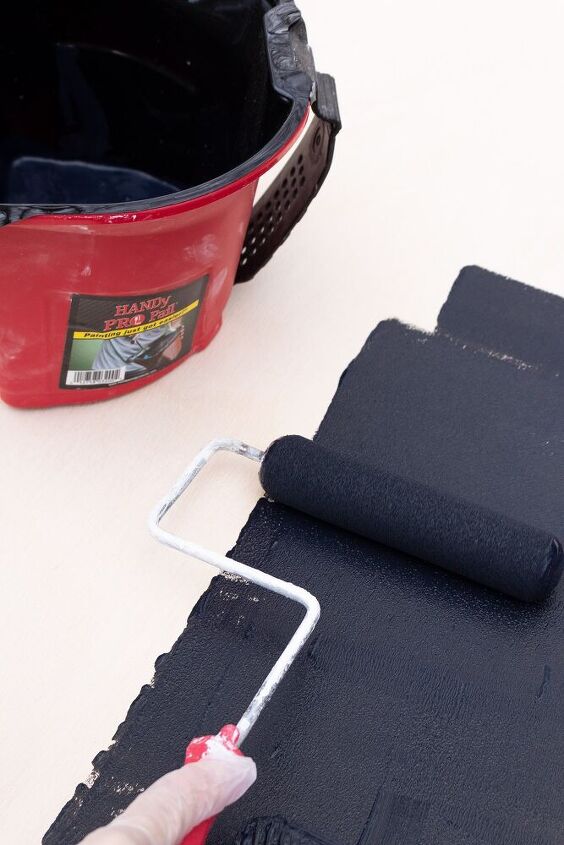
Painting the chalkboard
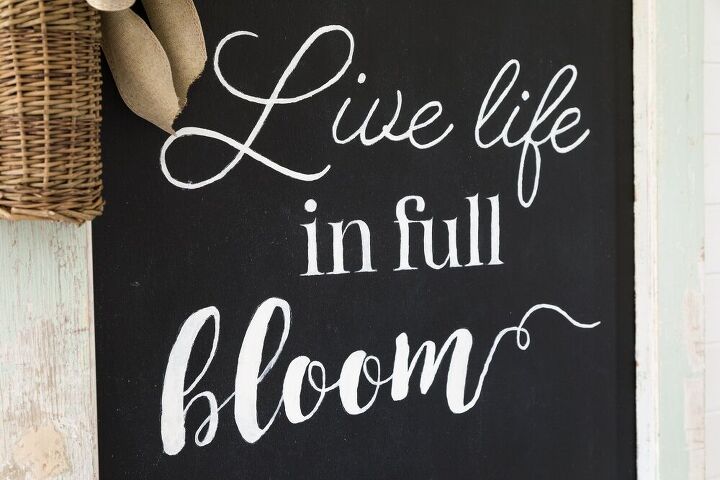
While the paint was drying, I completed my design for my chalkboard I wanted to paint on the chalkboard. I wanted to use the chalkboard paint to add some chalk dust to the artwork, and it would last.
You can find the Chalkboard Design on the blog (Kippiathome.com).
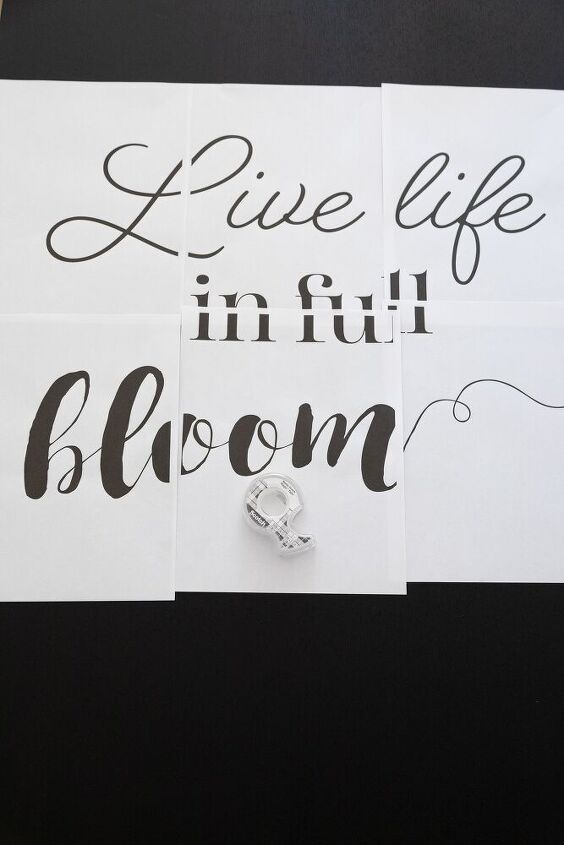
Taping my design together
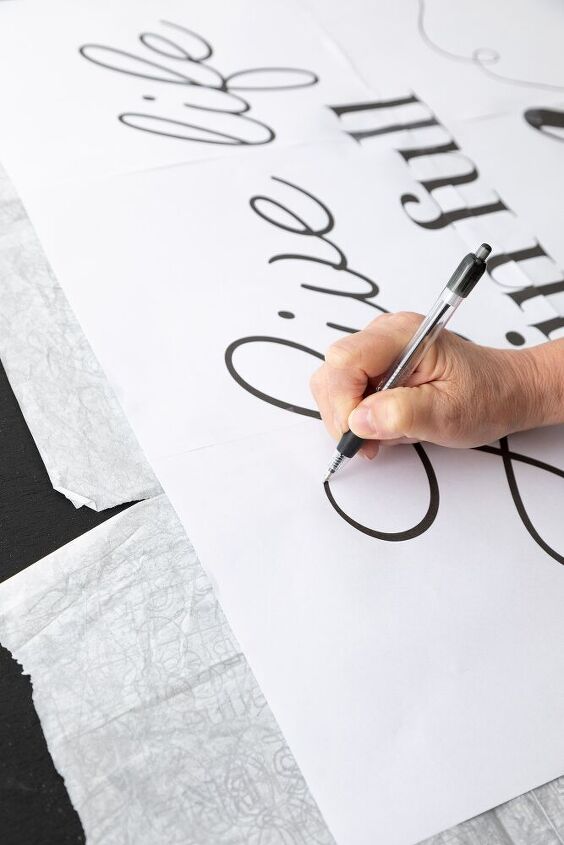
Tracing my design
I traced my design onto the painted board and started painting the design using a variety of paintbrushes.
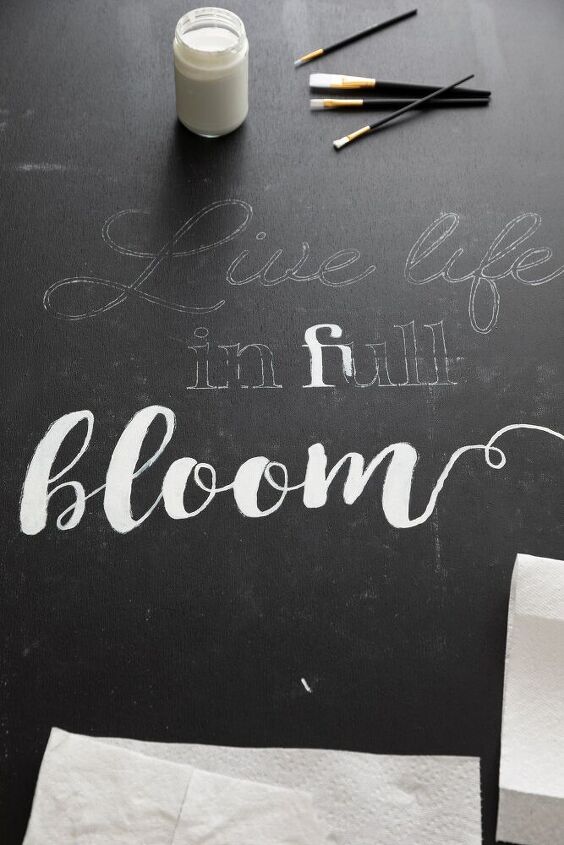
Painting my design on the chalkboard
Once the paint was dry I attached the chalkboard to the screen door using 3/4″ screws and countersink drill bit. See how to countersink in this video.
Back view of the screen door chalkboard
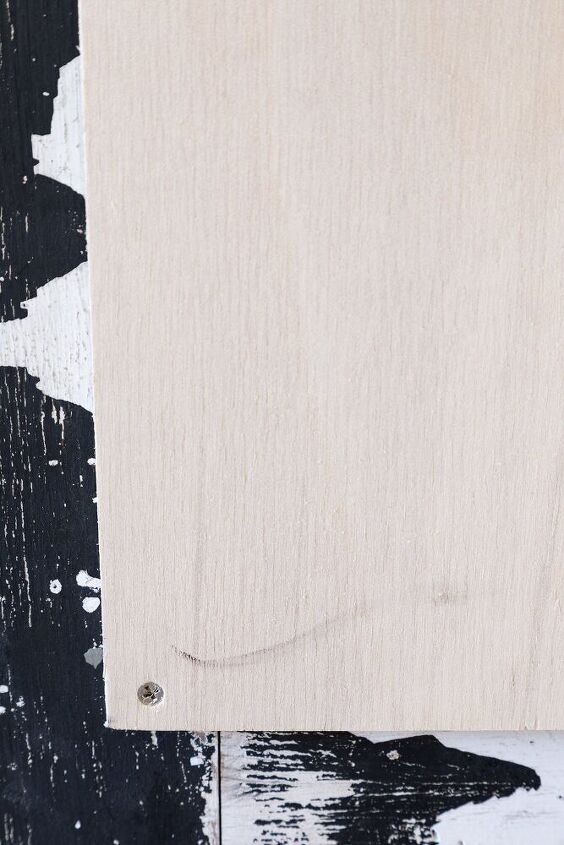
Chalkboard screws
Decorating with Spring Decor
Nothing says hello spring like beautiful peonies in a willow basket with a burlap bow. Making pretty bows adds that something special to your floral arrangements, wreaths, and more see my earlier post and see how I make my favorite bows HERE.
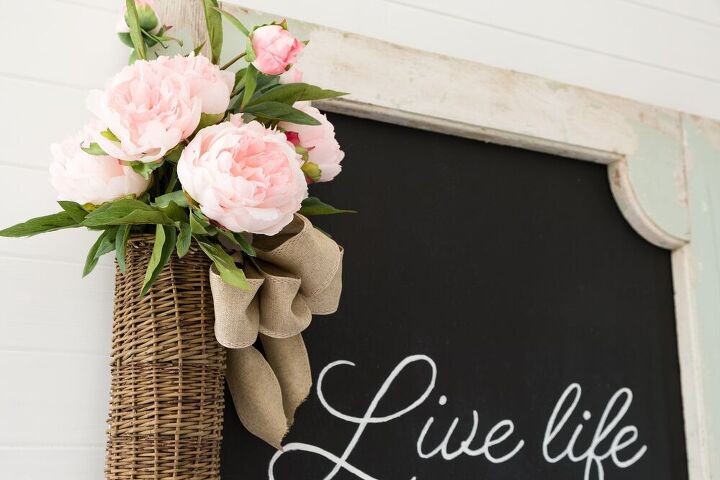
Peonies in a willow basket
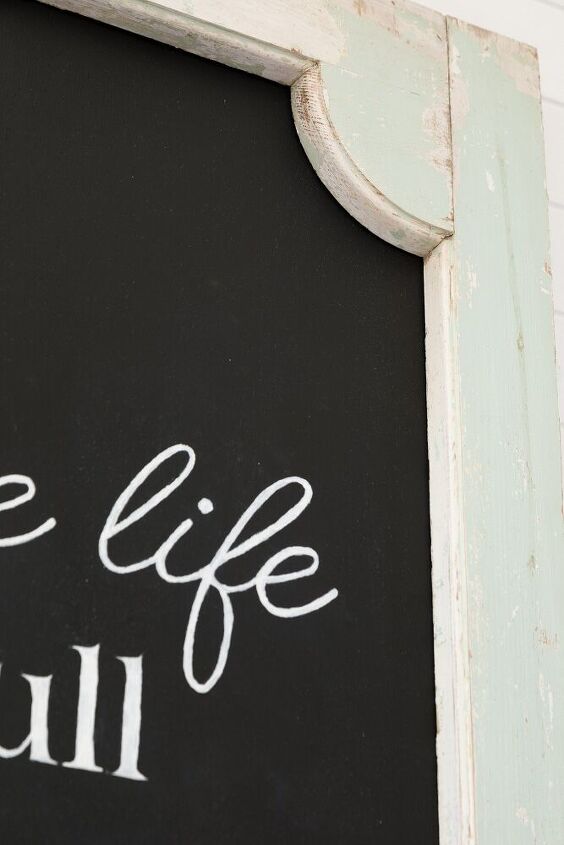
Pretty green chippy paint on the vintage screen door farmhouse
Handmade Bird Nest and Cupcake Stand
During my spring fever decorating marathon, I paid a visit to my storage lockers looking for my spring decor, unfortunately, I was unable to find my bird nests. I decided I could make some with moss and items from my yard. I made a video to show my steps for the nest and pedestals.
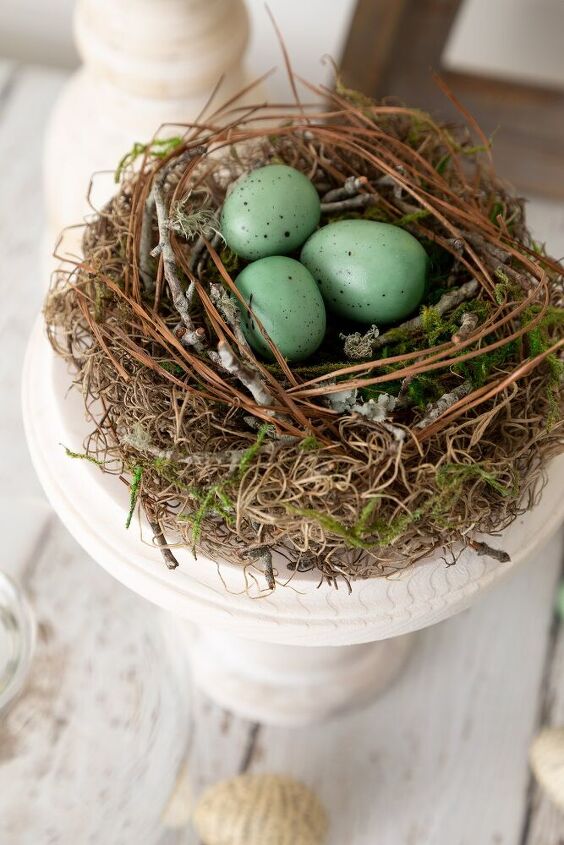
DIY Spring Decor bird nest on the pedestal
My spring farmhouse decor needed some pretty wooden display stands or pedestals, so I thought, why not DIY some.
Supplies
- Peonies
- Basket
- Candlesticks
- Robin eggs
- Ribbon
- Wood plaques
- Cloche
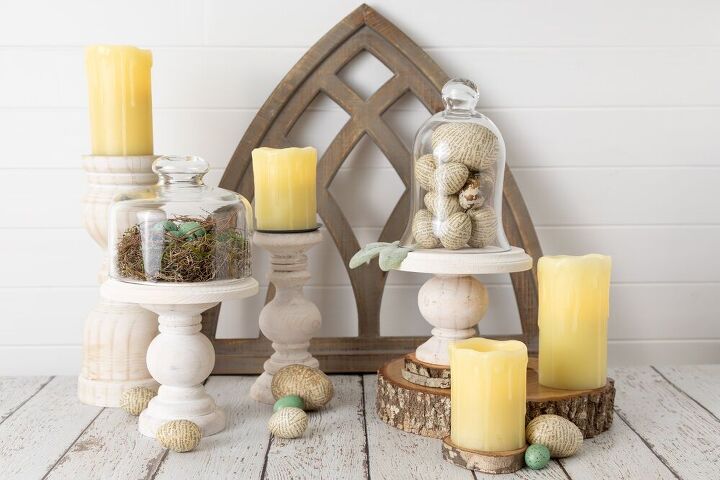
DIY Spring Decor
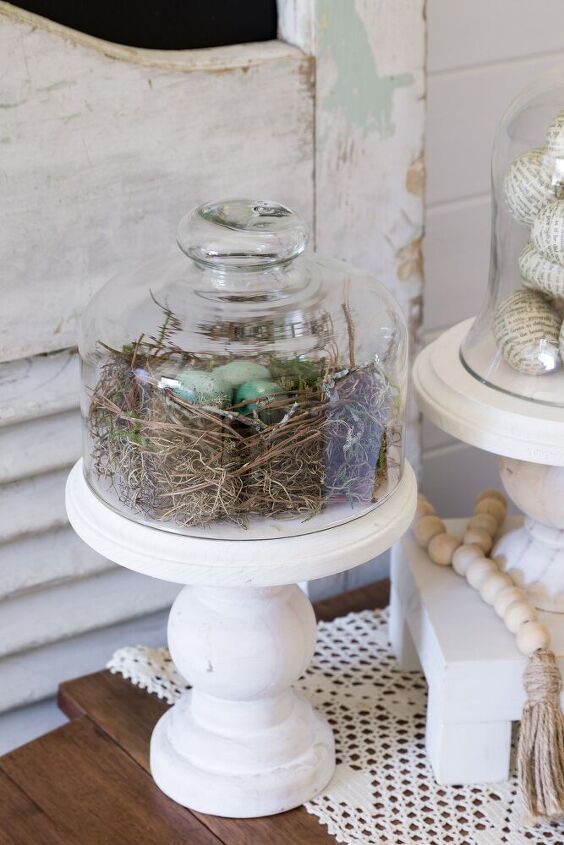
Handmade bird's nest on the cupcake stand
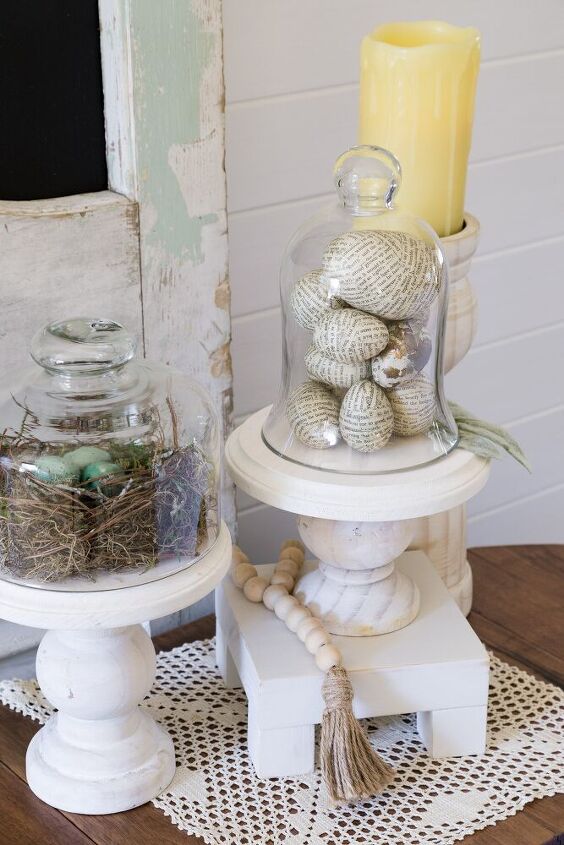
DIY Decoupage eggs on cupcakes
My next project was transforming candlesticks and wood plaques into Farmhouse pedestals, aka cake stands. Then I made bird nests that sit on top of the pedestals.

Thank you for stopping by.
Hope to see you soon,
Kippi


Comments
Join the conversation
-
Wow! I love this! I've never seen a screen door like this. Too cute!
-
I’m confused on the tracing of the letters.


Frequently asked questions
Have a question about this project?