


How to Make Easy DIY Rolled Paper Roses
These rolled paper roses are so easy to create, and there’s just something about winter that makes me feel the need to make flowers.
Since I’m all about using what I have these days, these DIY rolled paper roses are put together with supplies that I already had on hand.
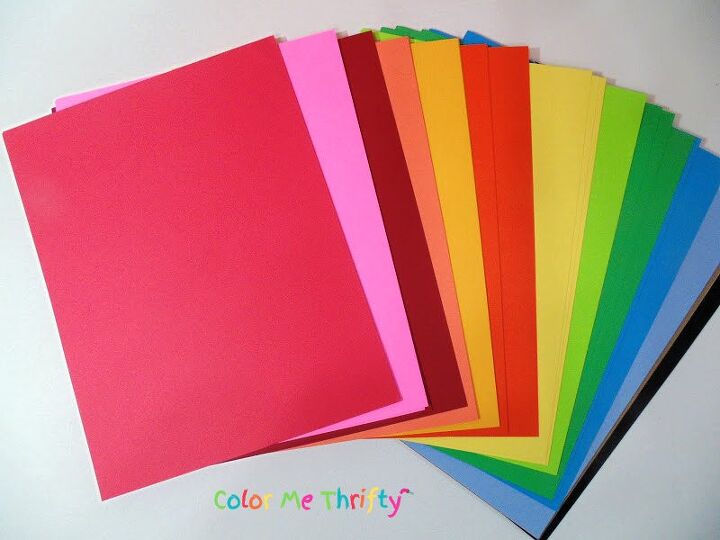
Like this cardstock, which I found at a thrift store a couple of years ago for $5.
I can never resist buying things when they’re in bunches, and I’m often the happy thrifter of inexpensive craft supplies that others have donated.
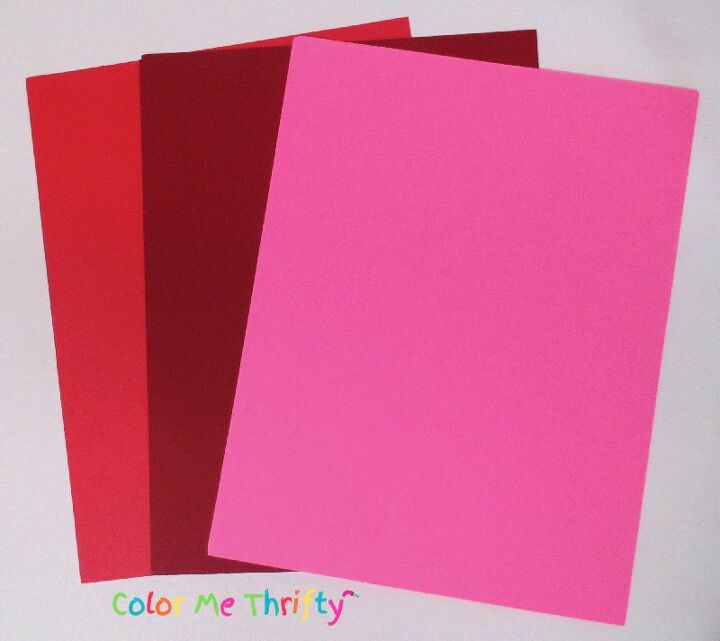
For my diy paper roses I decided to use some red, burgundy, and pink cardstock.
This cardstock is 65 lb, and works well for this project.
If you don’t have cardstock, some scrapbook papers might work as well.
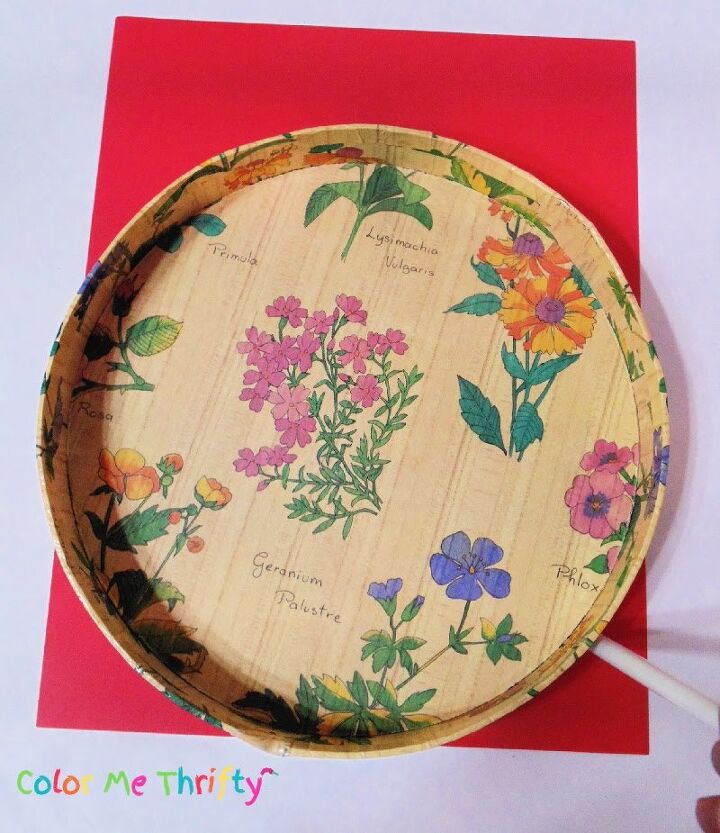
The easiest way for me to draw a circle is to find a lid that works for the rose size I’m going for, and mark around it with a pencil.
This lid just fits the 8 1/2″ paper size. This size is for larger flowers.
You could also measure out an 8 1/2″ square, and then cut a circle out of that square.
The circle doesn’t have to be perfect.
Real roses often aren’t perfectly shaped, so paper roses don’t have to be either.
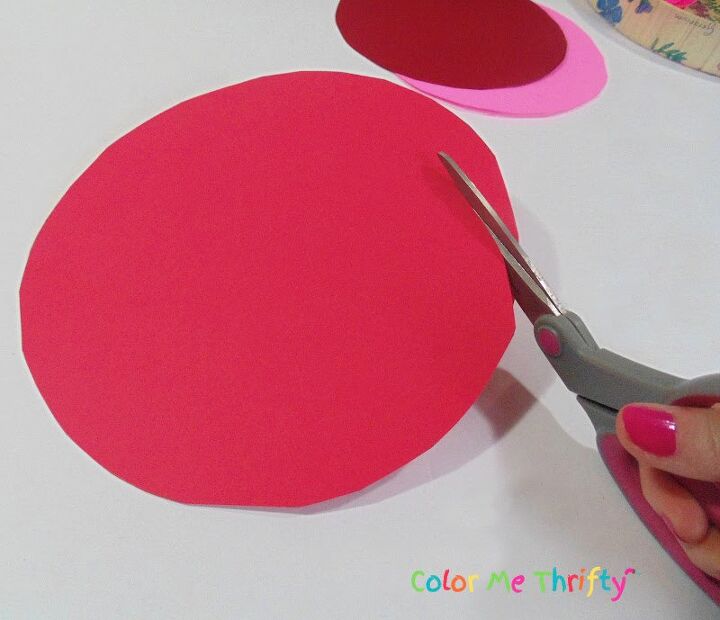
Once you have your circle, you just cut it into a spiral shape about an inch wide.
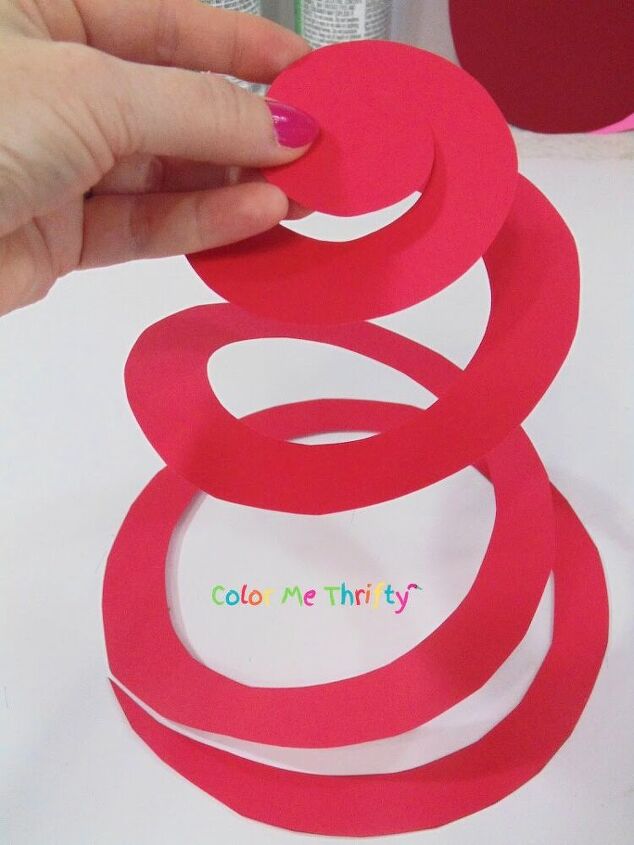
Like this.
Again, it doesn’t have to be perfect.
You can draw it out with a pencil first, or you can just wing it like I did.
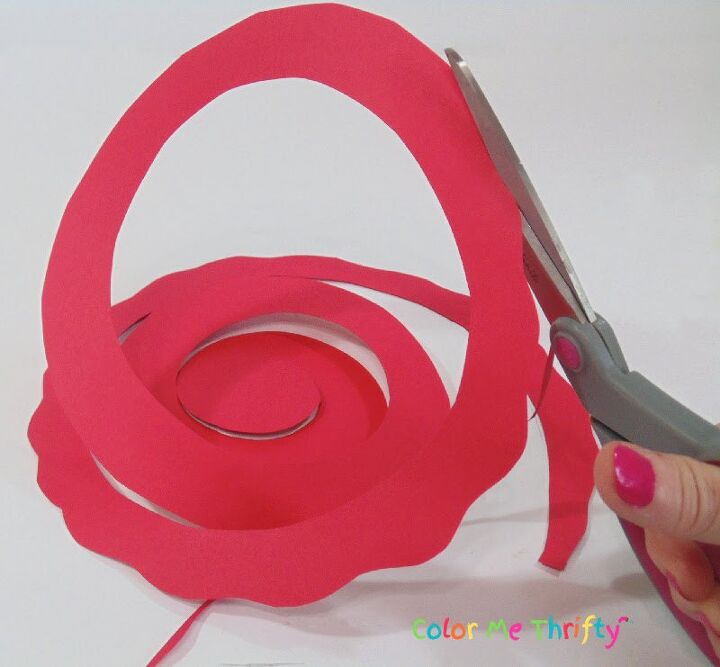
Then, to give extra dimension to the paper roses, cut a scalloped pattern into the edge of the spiral.
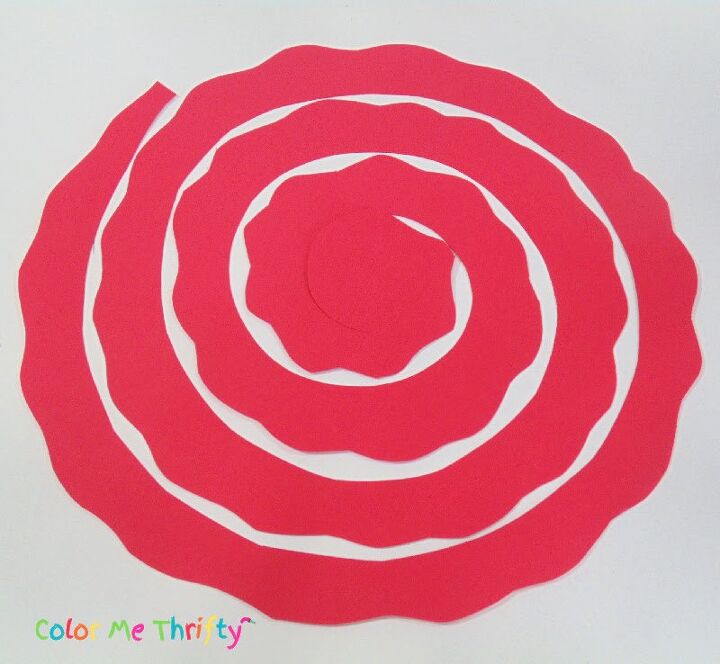
When you’re done it will look something like this.
Once again, it doesn’t have to be perfect.
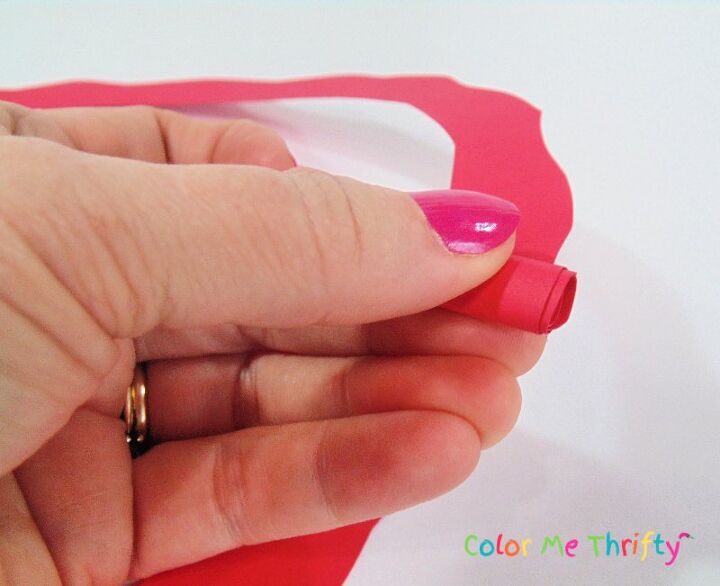
Starting at the end, you just start rolling.
It’s not in the pic, but I used a crafting paint brush handle to get the end started. The handle was about 1/8″ wide.
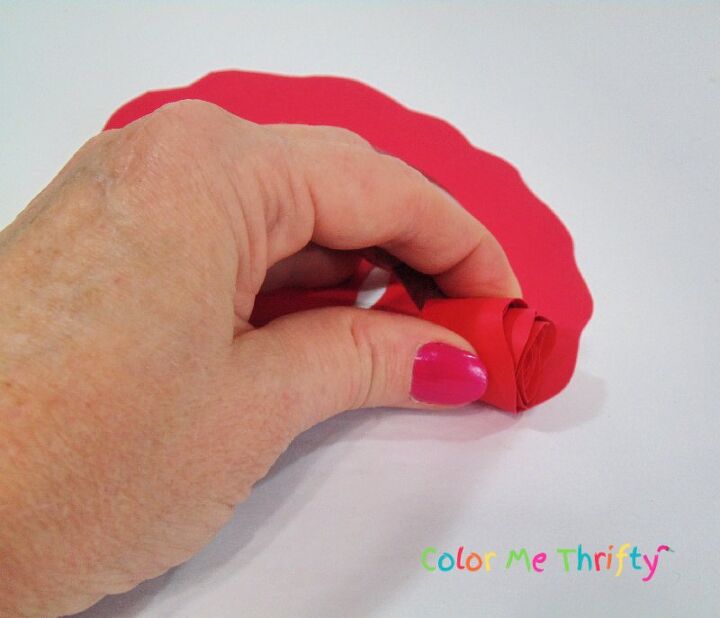
Then you just keep rolling, rolling, rolling.
Keep that paper rolling.
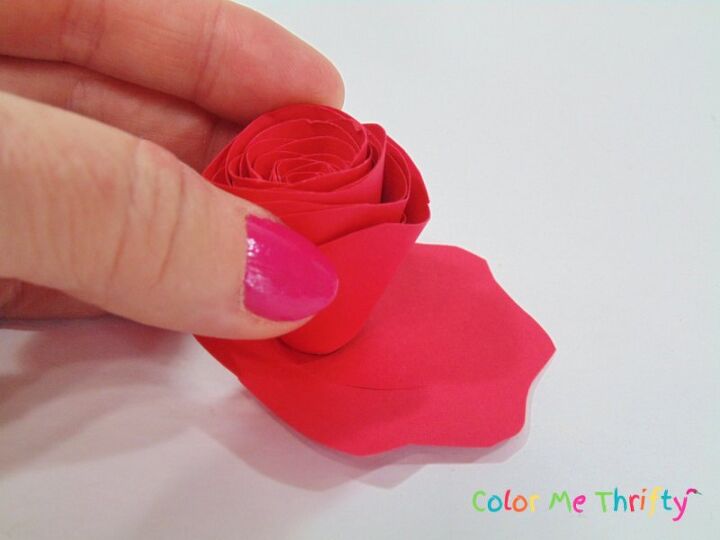
Until you get to the center.
Before gluing, you place your rose down on a flat surface and let it naturally open itself into whatever shape it wants to be.
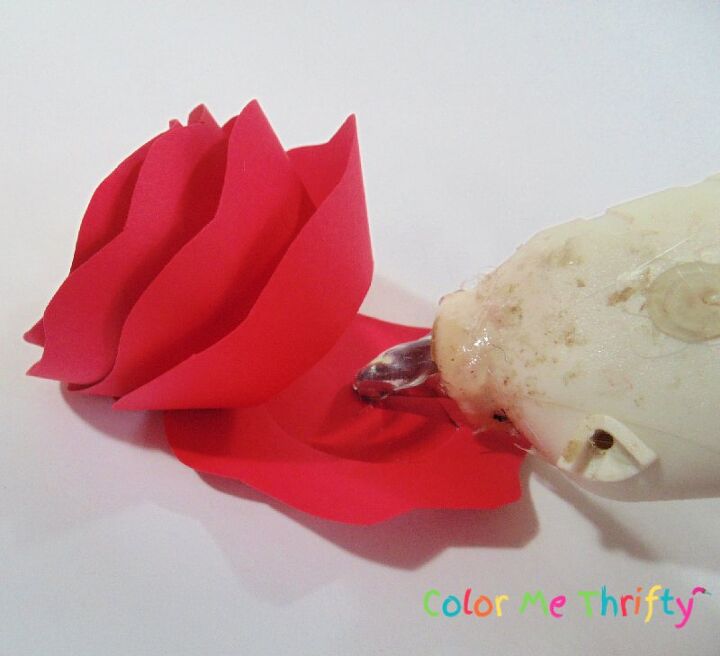
When gluing it’s important not to use too much glue, but you also need enough so that all the layers will stay in place. I do an X shape rather than putting glue all over the bottom. That way the different layers will hopefully get caught by the glue.
Once you have the glue on you gently press the rose into it, making sure all the layers make contact.
I created a few trial roses with colors I didn’t care for to get the hang of the whole gluing thing.
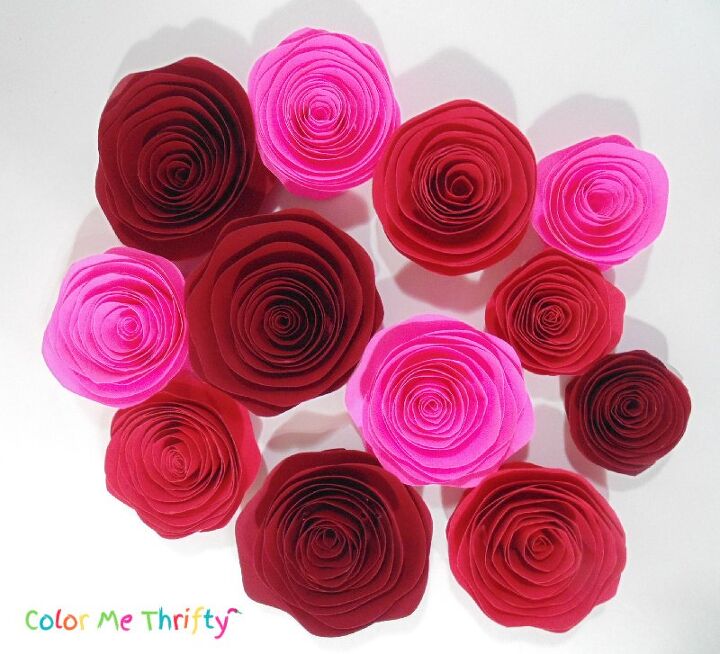
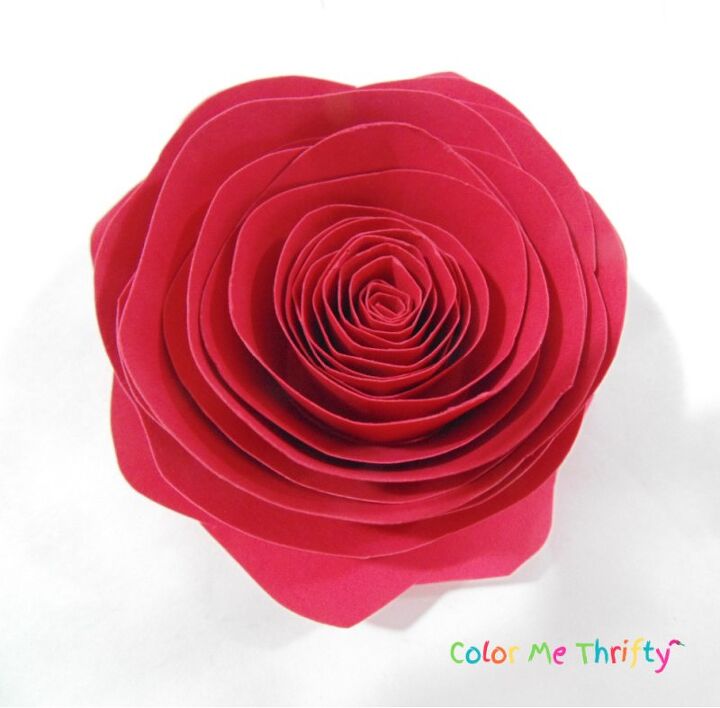
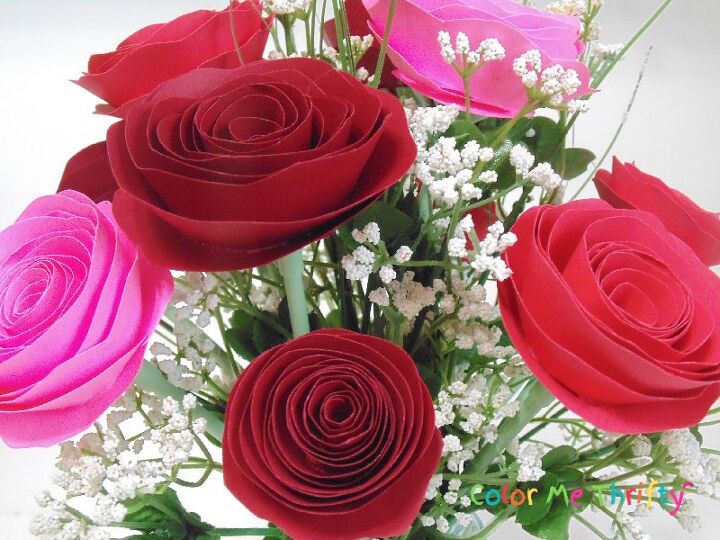
And here are all of my diy paper roses glued and done.
I used six inch circles for the three smaller roses.
You could, of course, use these paper roses just like this for a wreath etc.
Or you could create some faux stemmed roses to make a lovely bouquet like I did.
But before I could do that I needed something for the stems.
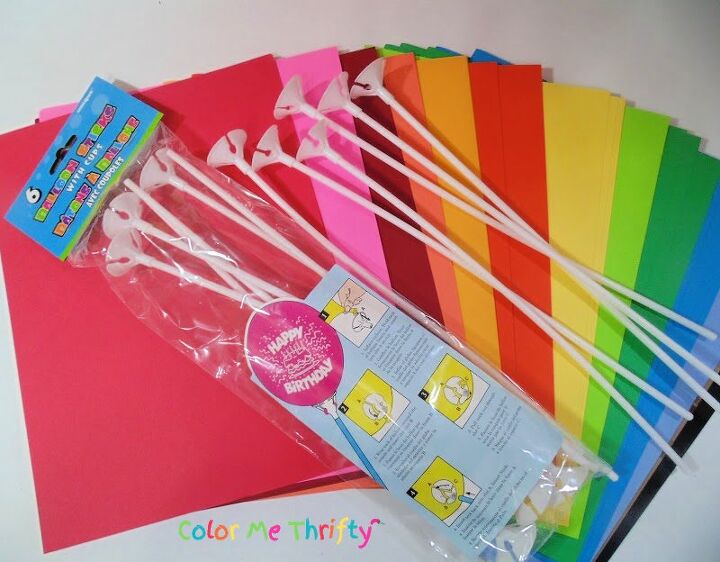
I didn’t have traditional flower making supplies, but I did have these balloon sticks.
They are the coolest things!
I didn’t even know these existed in the world until I saw them quite a while back at a dollar store, and I just knew that I could use them for some kind of flower project someday.
There are so many project somedays in my future, that it’s always nice when one actually arrives. lol.
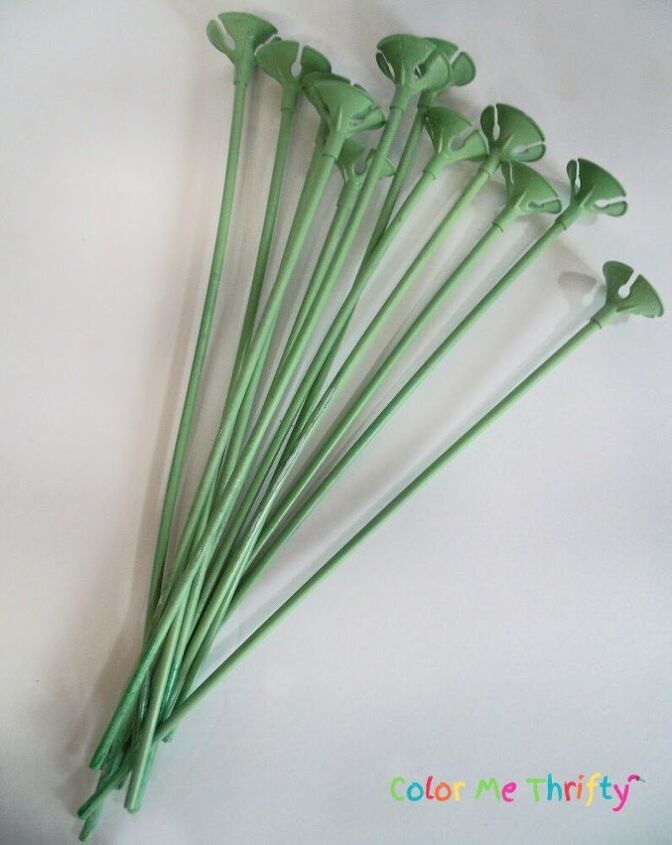
The only green spray paint I had on hand was a light green called pistachio.
These balloon sticks are made of a shiny plastic, so I gave them a light sanding before spraying.
Whatever brand of spray paint you use, make sure it lists plastic as a material it can be used for.
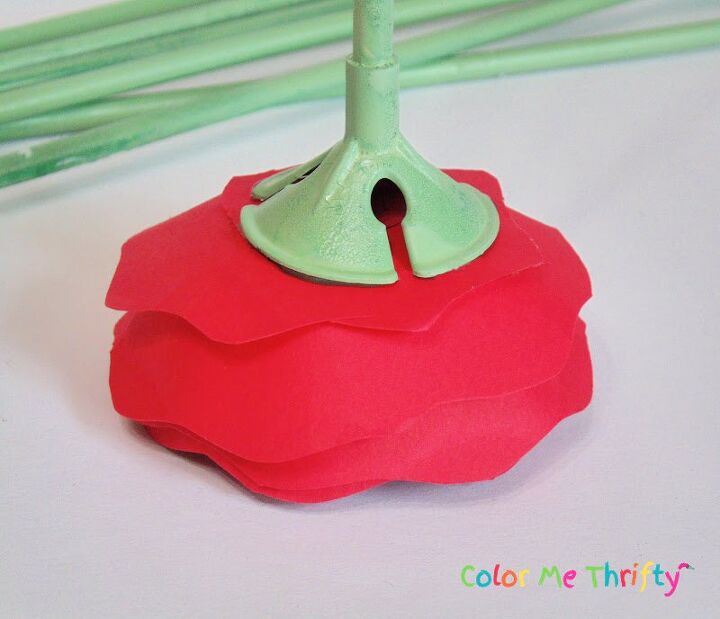
The balloon sticks fit the bottom of the paper roses beautifully, with just little glue around the inside of the end.
It doesn’t take much glue, so be careful not to overdue it.

I had forgotten how easy it is to make these rolled paper roses.
It’s been years since I’ve made some.
I used to make them eons ago, when I sold wreaths and swags etc at a local crafters mall, and a few craft shows.
My goodness, that seems like an eternity ago.
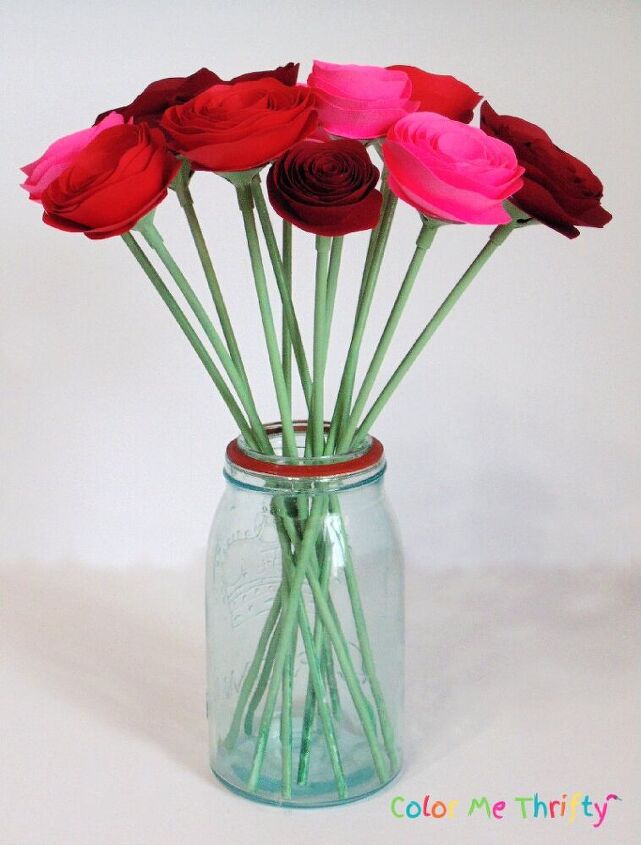
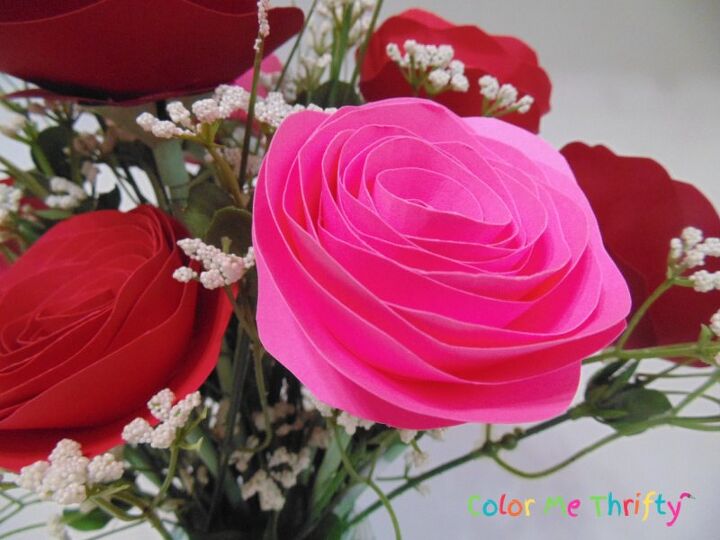
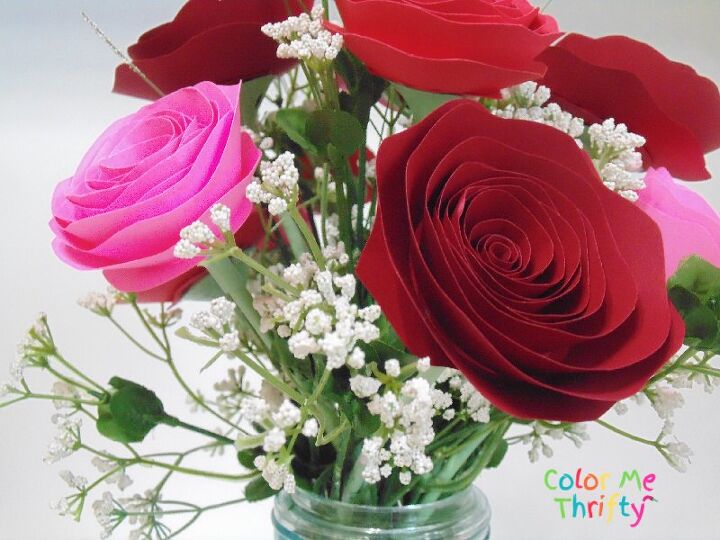
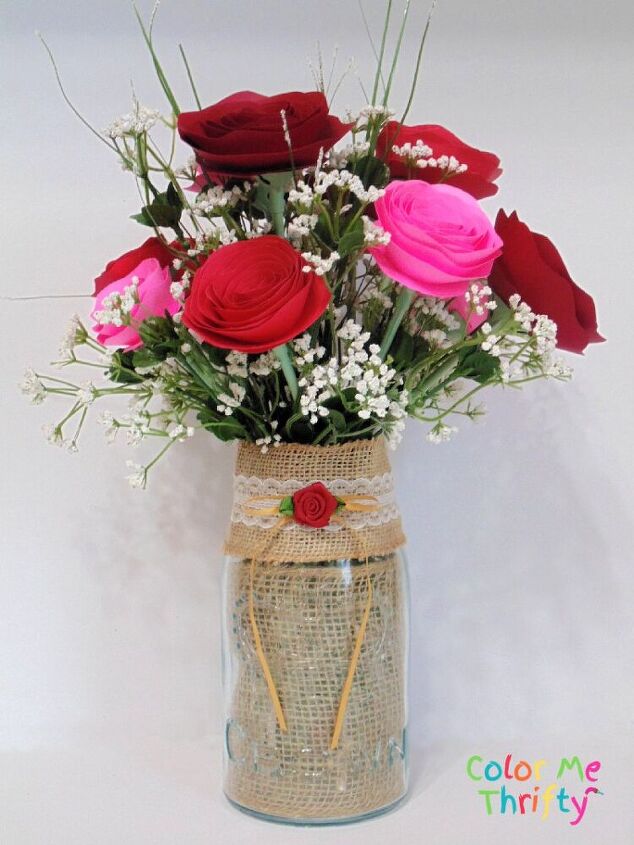
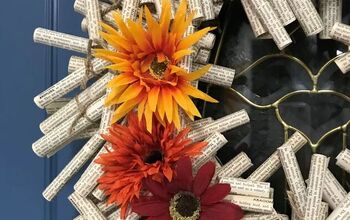
Here’s my finished bouquet of diy rolled paper roses.
I’ll be cutting some of the stems to make them shorter to better fill out the bouquet.
One thing I did so I could make some of the balloon stick stems a little bendable is I slid some copper wire inside, but any wire would do.
The vintage mason jar I’m using as a vase needs to be dressed up a bit.
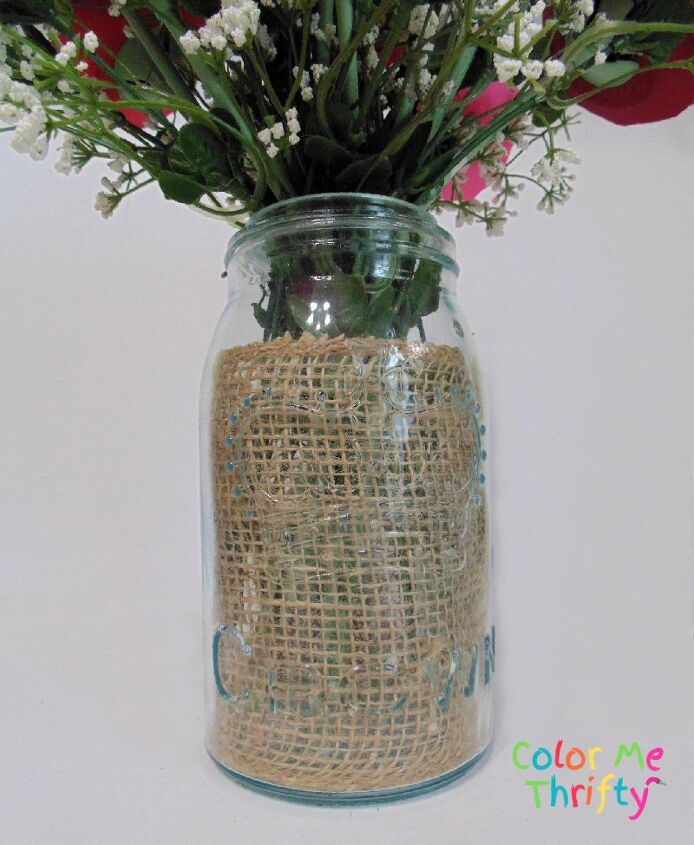
I lined the vintage Crown mason jar with a six inch burlap ribbon piece, which just sits inside the jar.
It’s not glued or anything. It just sits there in place.
Really, the ribbon is just so you can’t see the messy inside.
We want the beauty, not the messy.
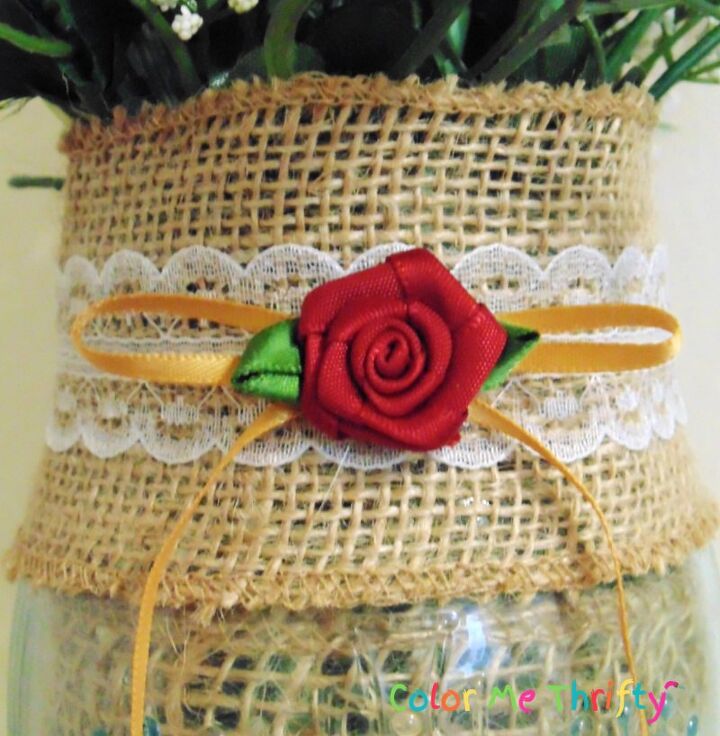
To top off the mason jar I wrapped it with a burlap and lace ribbon, and a pretty millinery flower glued onto the ribbon adds the finishing touch.
I’m so glad to have revisited my love of creating paper flowers.
There’s just something very relaxing about cutting and rolling to create these paper roses.
As I was creating these flowers, each flower became the the most important thing in the world at that moment.
I love being in the creative zone like that. It’s so good for the spirit.
I found myself being very intentional, which is what I’m really trying to do with all my projects these days.
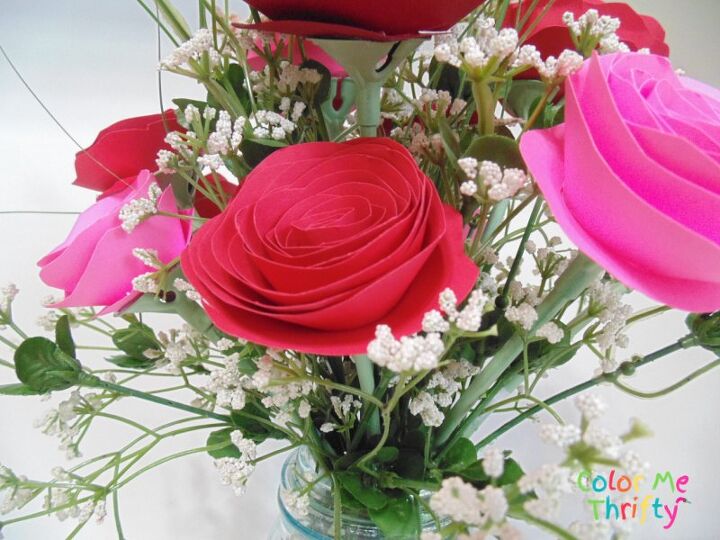
To fill in my paper roses bouquet I added some thrifted faux baby’s breath that I had on hand.
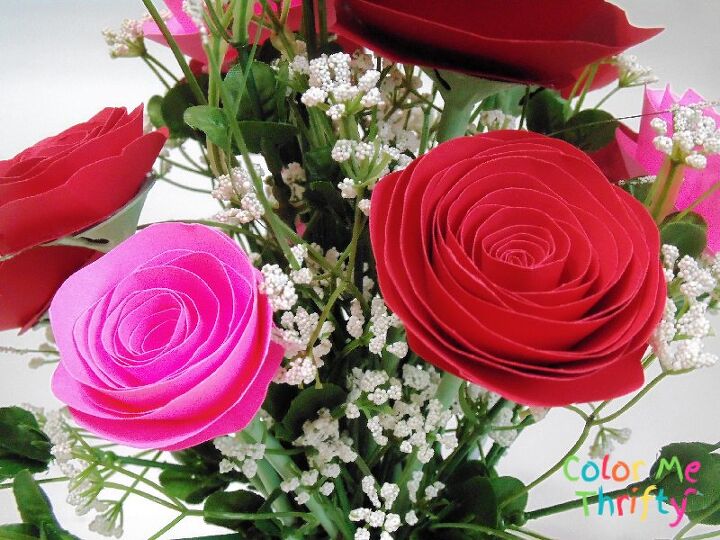
It’s a nice backdrop for the pink, red, and burgundy roses.
I love the sort of wildness of the baby’s breath with the formality of the roses.
I didn’t have any little hearts on hand, but if I did I would have stuck them in for Valentine’s Day, and then just remove them afterwards.
Considering that I just used what I had, I’m super happy with how my diy rolled paper roses bouquet turned out.
They do take some time, but they are pretty easy to create.
Real roses are expensive, and they don’t last very long, so rolled paper roses are an affordable and lasting alternative to the real thing.
If you enjoyed this project you can find more flower projects on my blog here.
Resources for this project:
See all materials


Comments
Join the conversation
-
I Love it more proyets please

-
Wish I would have seen this earlier. What cute arrangement that turned out to be. I’ll bet it’s still cute a year later. Take that real roses. Okay, just kidding real roses. Lol gonna try to Easter it up and use some eggs too.


Frequently asked questions
Have a question about this project?
Suggestion: Add your favorite essential oil at the bottom of the container and the 'flowers' will smell great.