


Building a Hallway and Closet Into a Storage Room
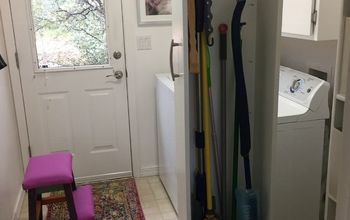
Making a large hallway and closet into a small room for Lodi. There were quite a few steps to finally getting to the point of truly enclosing this space and giving it four walls. First we scored the jackpot at the salvage yard of finding the PERFECT door. Then we put a new exterior door ( and new doggie door) in the workshop and removed the door here and replaced it with a window on the back wall. Finally its time to make this into a real space!
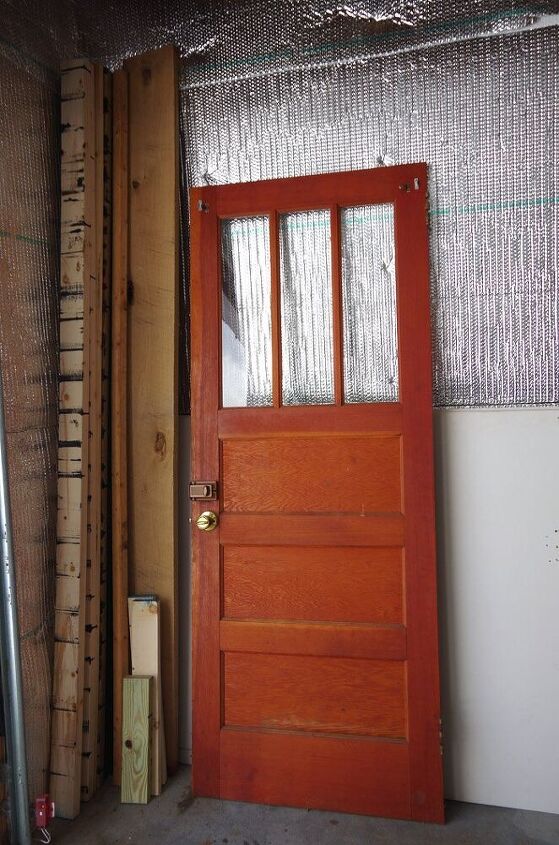
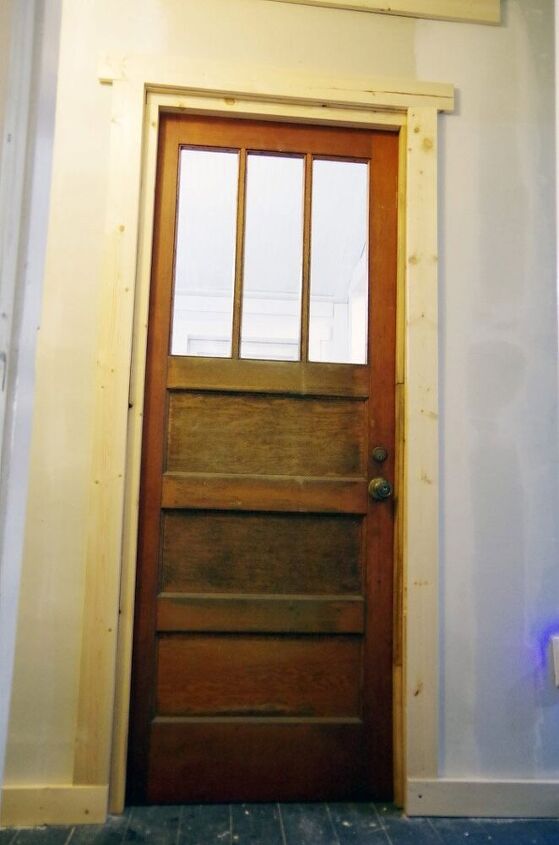
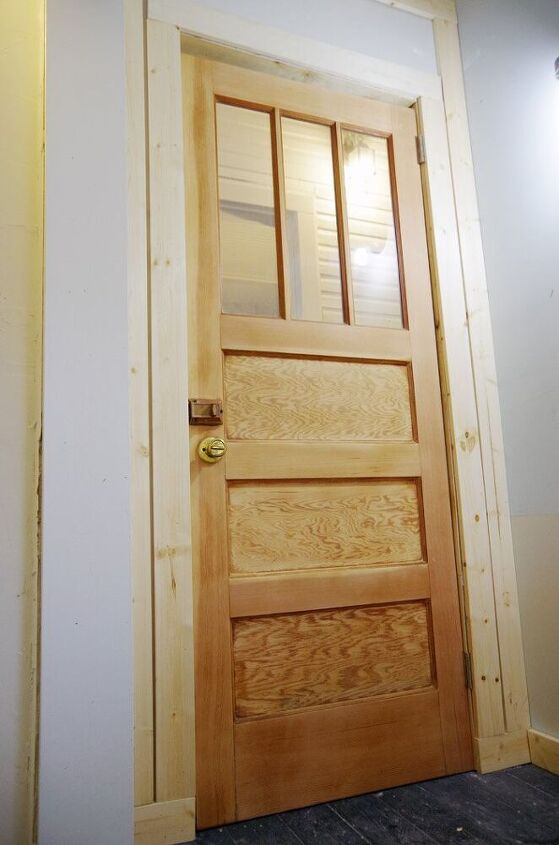
My favorite of all of the doors we scored fulfilled more than all of my bucket list items. It had to be OLD and matching the original doors of the house it also gave me something I had only hoped for: a window!
First task was tackling the door though because it still required some serious work. It wasn’t painted so I asked Lodi what he wanted to do on “his” side of it. (I would be painting the exterior side of the door black to match the other four doors in this hall.)
He asked if we could stain it to match his future work bench and shelves and I said, “Absolutely!”
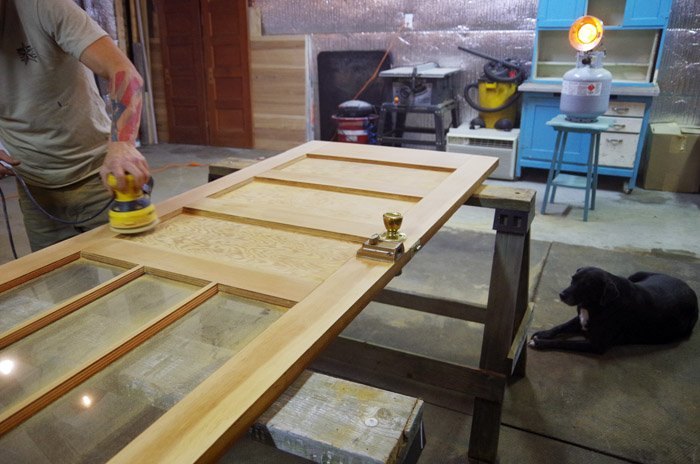
SO: we had A LOT of sanding to do!
I knew it would be bad (this isn’t my first rodeo – this isn’t even my 20th rodeo at this point…) I’ve sanded down several pieces of old furniture and one side of one of our other original doors and knew this was going to take some serious time and a lot of sand paper.
I started on the door out in the yard on saw horses with my Dewalt orbitol sander before moving inside the garage.
After a couple of hours Lodi joined to help and I gave him the tedious job of hitting all the inside corners with my little mouse sander. Three hours between the two of us, at least fifty pieces of sand paper and we got his side of the door down to raw wood.
Why did this suck so much?
Because those old shellac finishes might as well be some kind of epoxy. I would never recommend tackling them with just a sander and manual labor – if you have a piece this old just strip with paint stripper first and save yourself the work out!
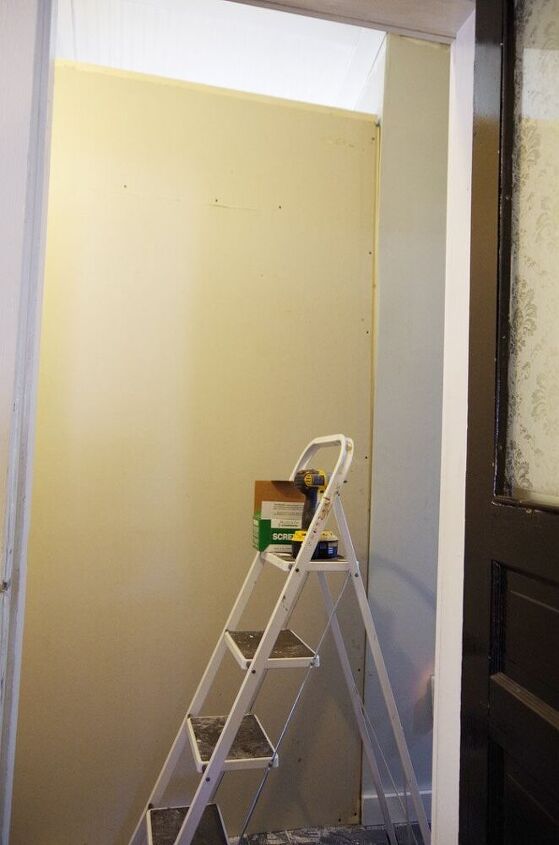
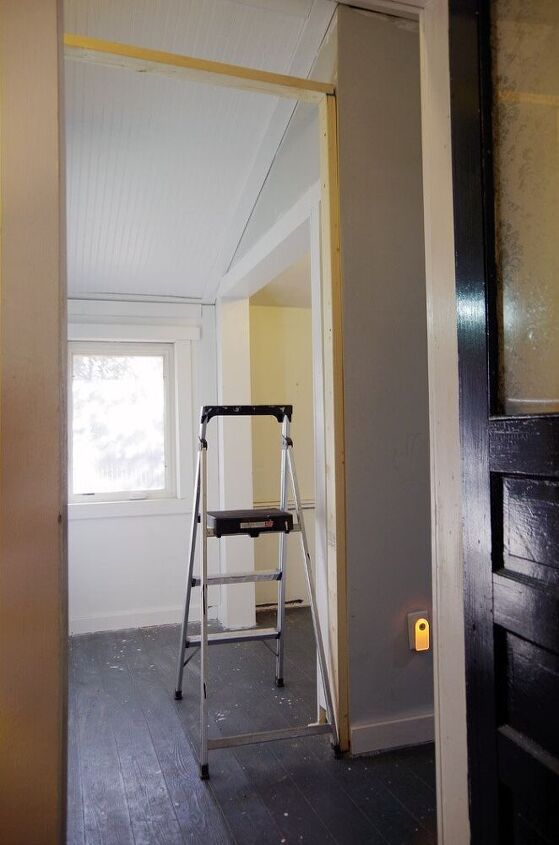
Moving on to the wall…
Even with a window in the door I still only built an eight foot wall instead of taking it all the way to the ceiling. The room will only be around 7×6 feet so it felt like that would help both the room and the hall feel less claustrophobic.
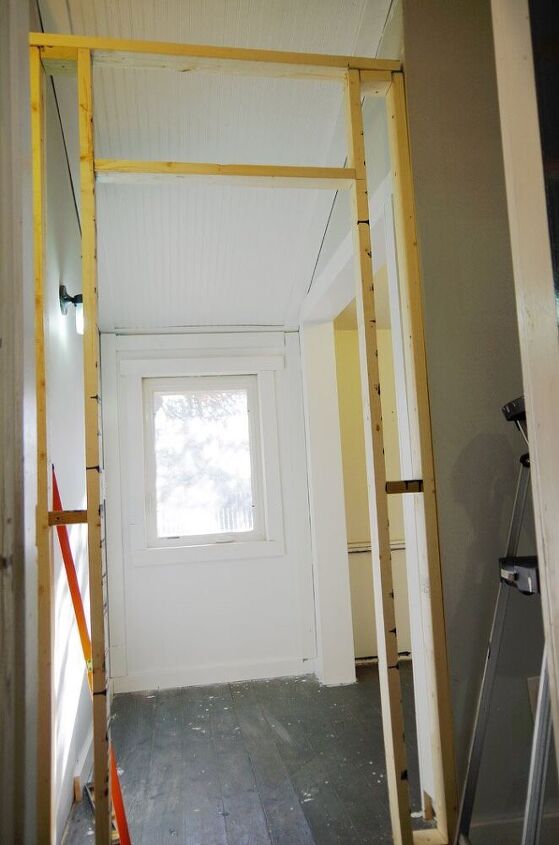
A couple of things I had going for me that made this an easy job: Nothing here is supporting anything. (I didn’t even bother building a typical header on the door.) There is nothing above this wall that requires it to bear any kind of load besides providing the support for our new door.
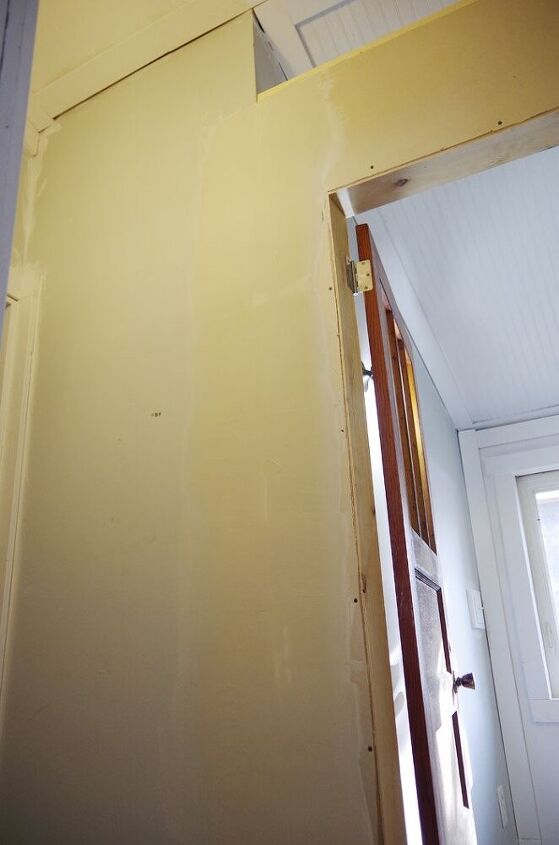
I’ve hung nearly a dozen doors in my life and there is really only one important thing: The hinge side board needs to be PERFECT.
With a perfectly level board to hang the door from it gives a door that is also nearly perfect. No swinging on its own, no shutting on its own etc. With only minor adjustments that need to be made.
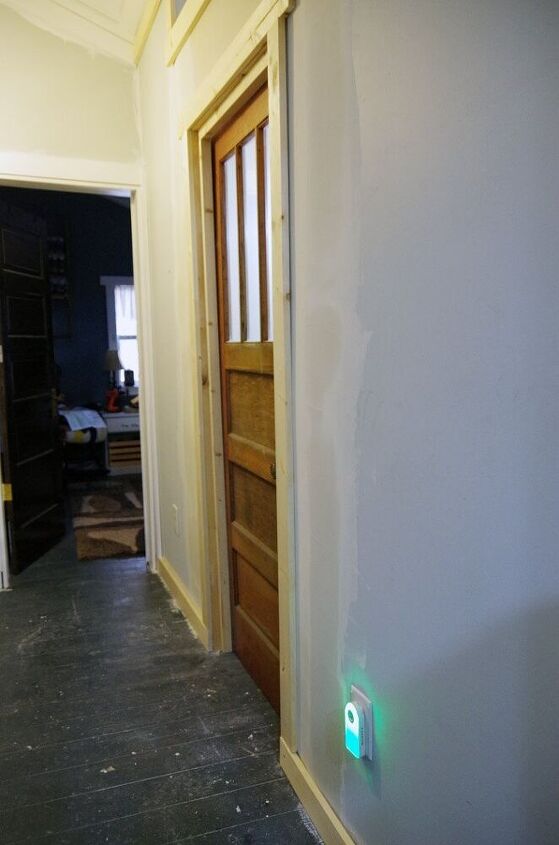
With that complete we sheet rocked both sides of the wall taking turns being the “hanger” and the “cutter”. Sheet rock tip: Save yourself the math, hang the whole sheet and just cut out doors and windows after its been hung.
The door came with hardware that looks like it was probably from the 70s and came with keys that actually work. I did have to replace the hinges but we chose to keep the hardware for now as we plan on keeping this room closed and locked most of the time.
But, mostly, this will be a small room of Lodi’s own.
We have plans for major storage and a work bench etc. You can even see the first sheet of peg board that he already (in his excitement) put up a few weeks ago.
I whittled away at getting everything taped and mudded on the hall side. I skipped taping and mudding the interior corners on Lodi’s side and opted instead for trimming it all out in 1x4s.
Not pretty yet but its officially a real room and the hall is coming together too!
And I’m finally enough weeks away from my hours of sanding that door that I can say with no regrets, “TOTALLY WORTH IT!” Finally the major heavy lifting for this room is DONE.
Moving on to getting all of the trim and floors painted out and both the hall and Lodi’s room painted too!
Resources for this project:


Comments
Join the conversation
-
What a great door. Super save. You and Lodi do amazing work. Some older finishes were custom mixed. Even modern day strippers won't work. Learned that from watching 50 years of This Old House.


Frequently asked questions
Have a question about this project?
Good job but.. after all that work and Lodi will be locked out most of the time?