


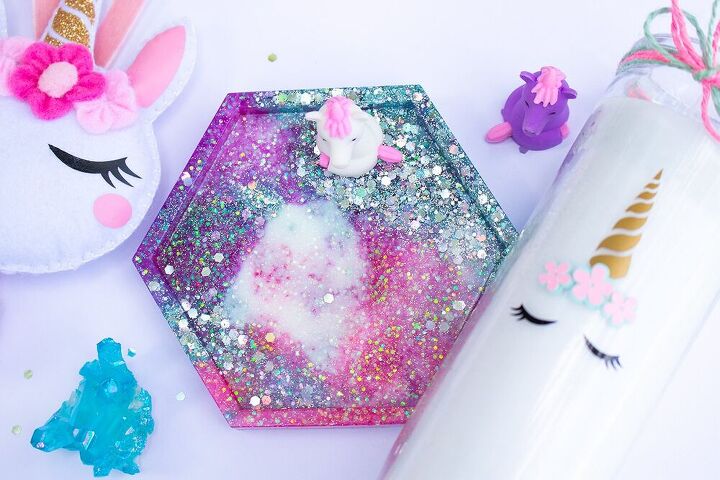
Easy Unicorn Glitter Epoxy Resin Coaster How To
On my last coaster post I went over some important resin basics. This time we are going to focus on adding colors! What better way than with this unicorn glitter coaster? Go back to my Rose Gold Coaster post for all of the important starting info.

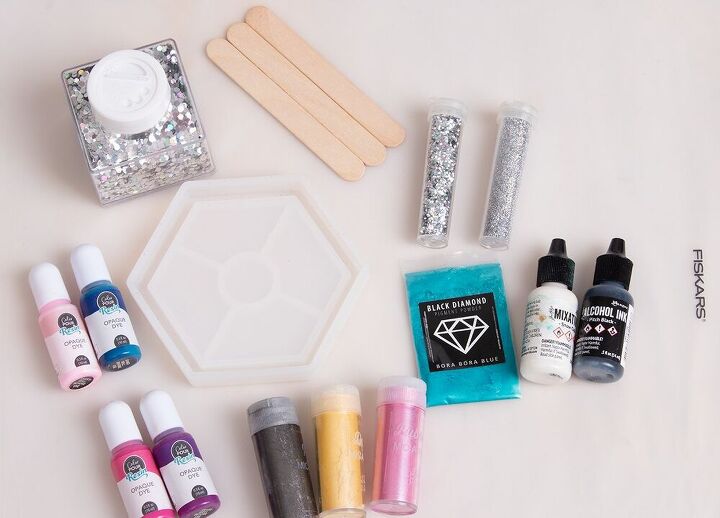
Supplies
- Silicone Mold – Circle Coaster
- MakerPoxy Crystal Clear Resin
- Mica Powder
- Black Diamond Mica Powder
- Opaque Resin Dye
- White Alcohol Ink
- Disposable Gloves
- Mixing Cups
- Popsicle Sticks
- Plastic Portion Cups
- Heat Gun – Wagner Furno 300
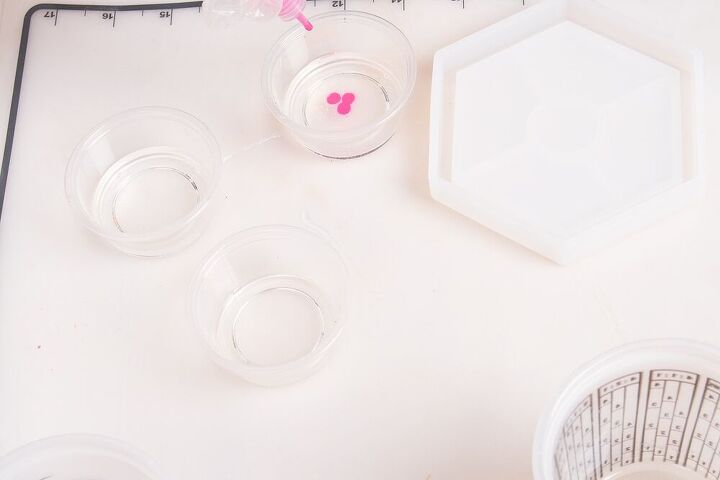
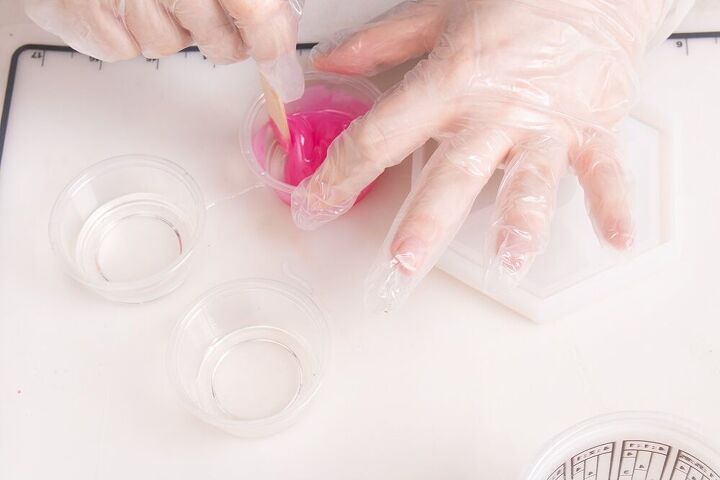
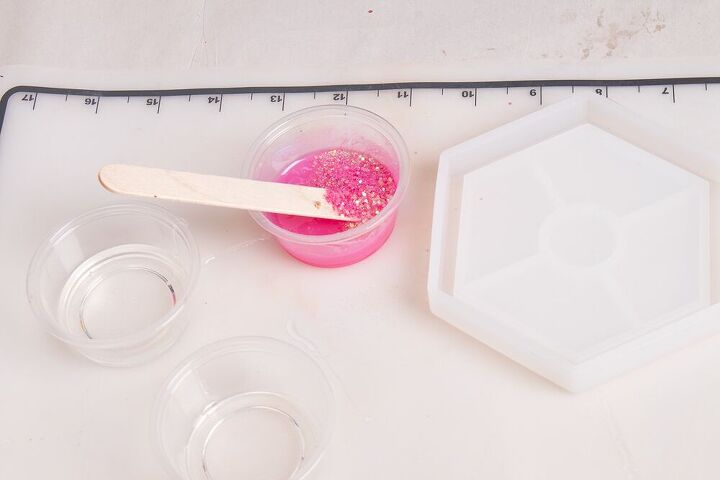
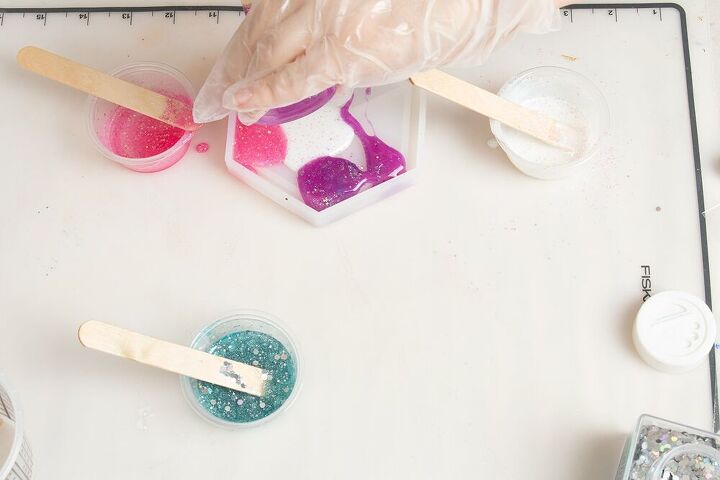
After mixing approximately 8 ounces of resin, I poured some in four little cups, one for each color. A little goes a long way with these pigments! So just add a little at a time and stir. For the white, pink, and purple I used a few drops of dye/alcohol ink in each.
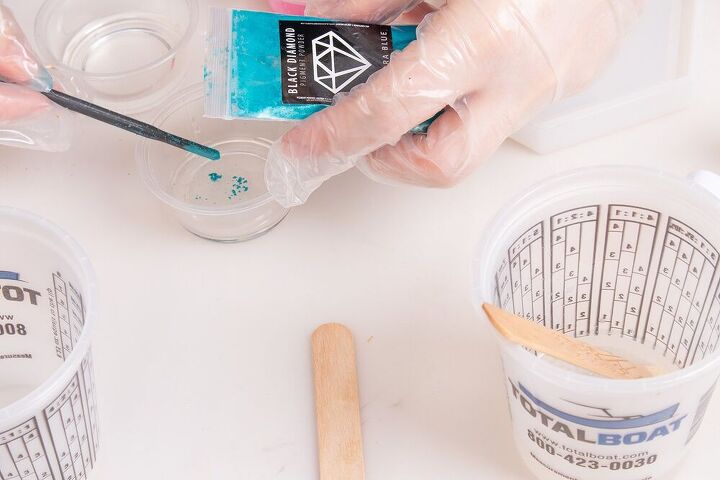
For the blue I used this powder pigment.
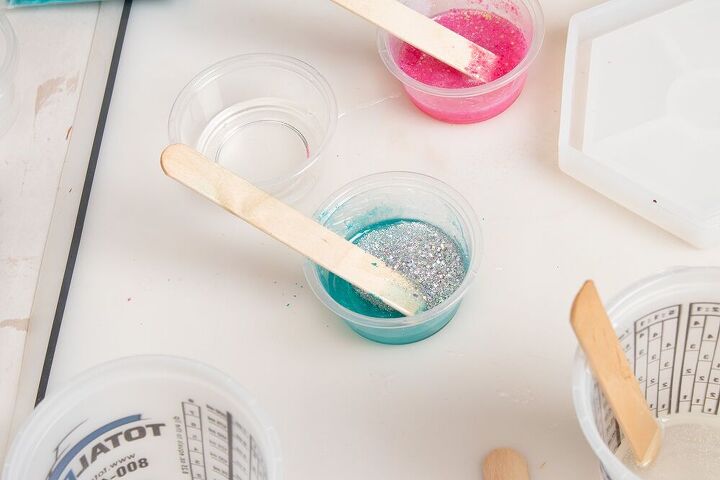
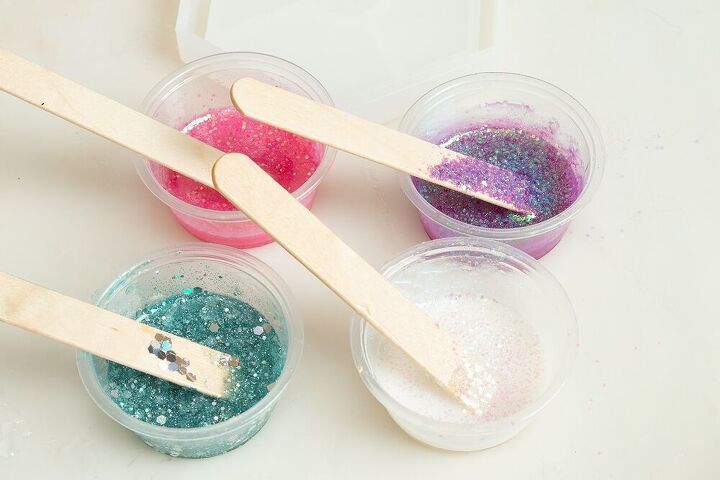
Once I had the colors how I wanted, I dumped my glitter in and stirred.

I used the leftover glitter mixtures from this Easter Jar Project!
That’s why I like to keep things! I can always find uses for them later on.
When casting in a silicone mold like this one, keep in mind you’re looking at the bottom. For this unicorn coaster I started by putting down big spots of color.
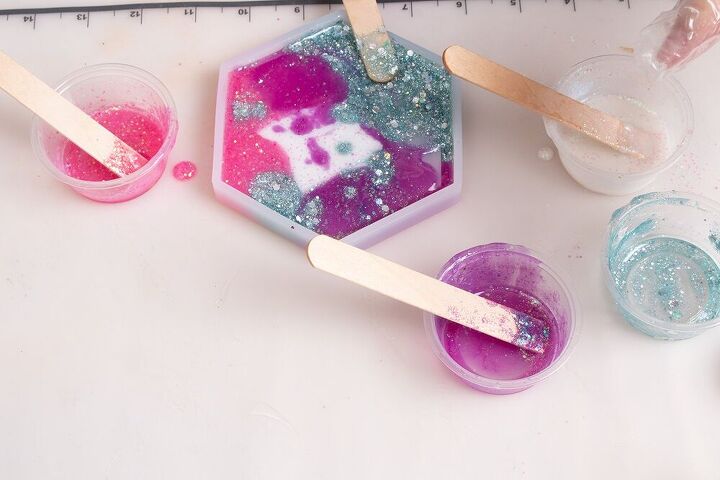
I continued adding in spots of color until the surface area was covered. Dropping little bits of color all over.
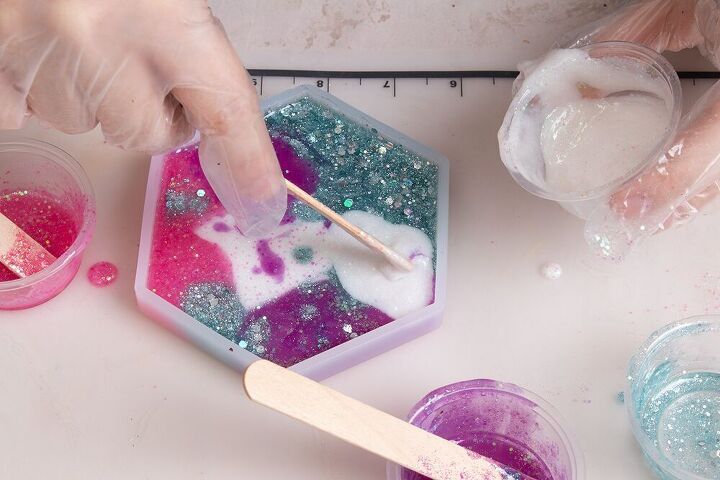
Then, I continue adding in more to fill the mold to the top. I poured the white all over the bottom and used my heat gun to blend the colors together.
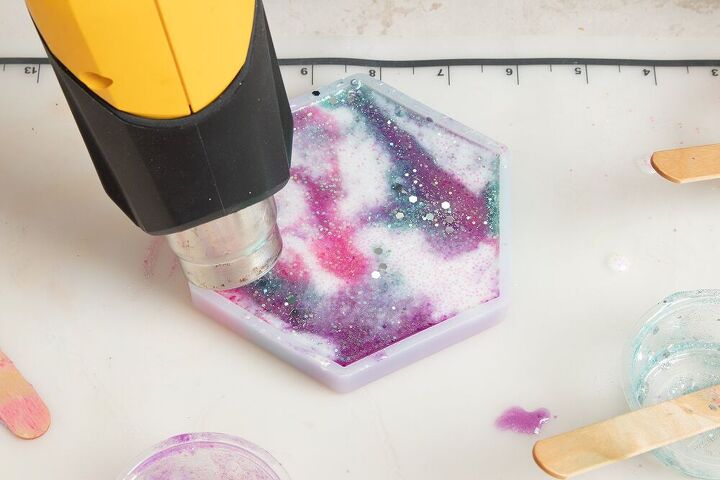
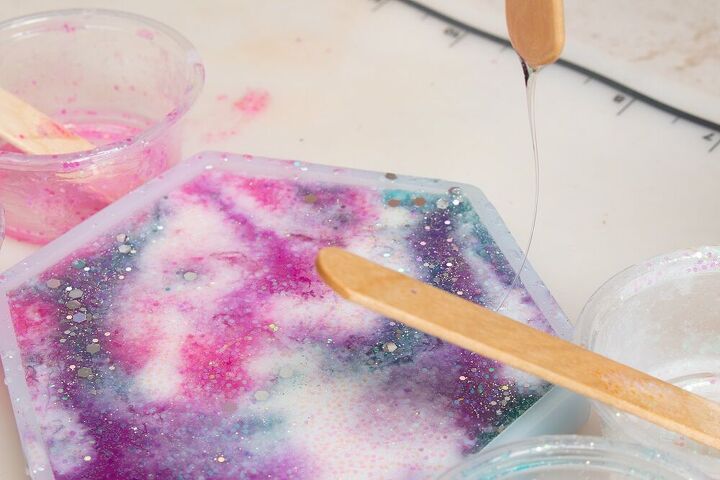
Afterward, I also drizzled in some clear resin. Coasters are a great size to experiment with different techniques!

Once you’re finished working on it, cover it and leave it to cure over night. After the resin is cured you can pull away the silicone mold. Now you have your cast Unicorn Glitter Epoxy Resin Coaster!
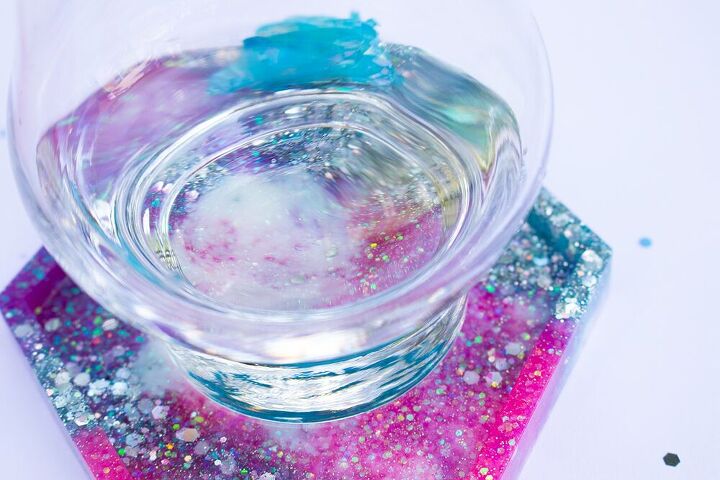
To clean up, I let everything with resin on it sit overnight. Then, once it is cured, I throw away all the little cups and popsicle sticks. But I keep the big mixing cups, because I can usually pop the cured resin out of the bottom. That way I have less waste.
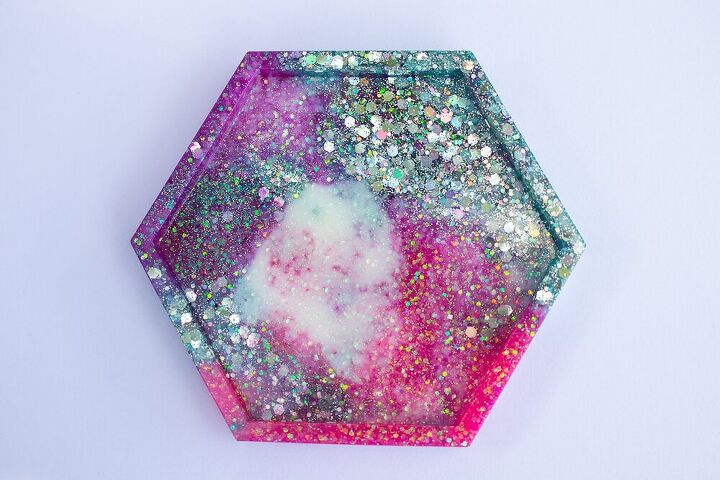
Here’s the finished unicorn glitter resin coaster! Very sparkly, just like I wanted! A nice combo of iridescent and holographic glitters.
Resources for this project:


Comments
Join the conversation
-
I love the colors and sparkle! Such a cute idea. Thanks for sharing!
-
These turned out so pretty.


Frequently asked questions
Have a question about this project?