


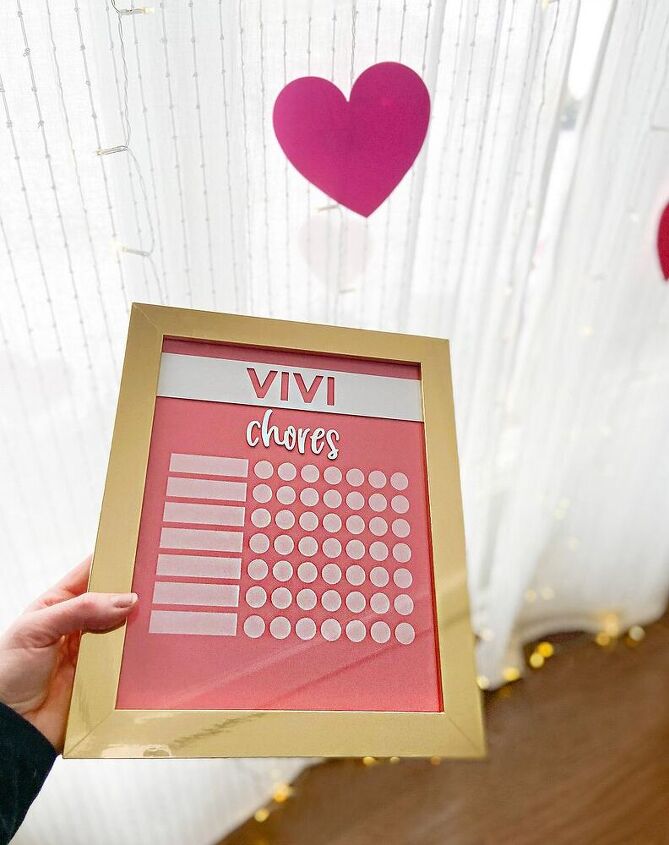
How To Turn a Thrift Store Frame Into a DIY Chore Chart
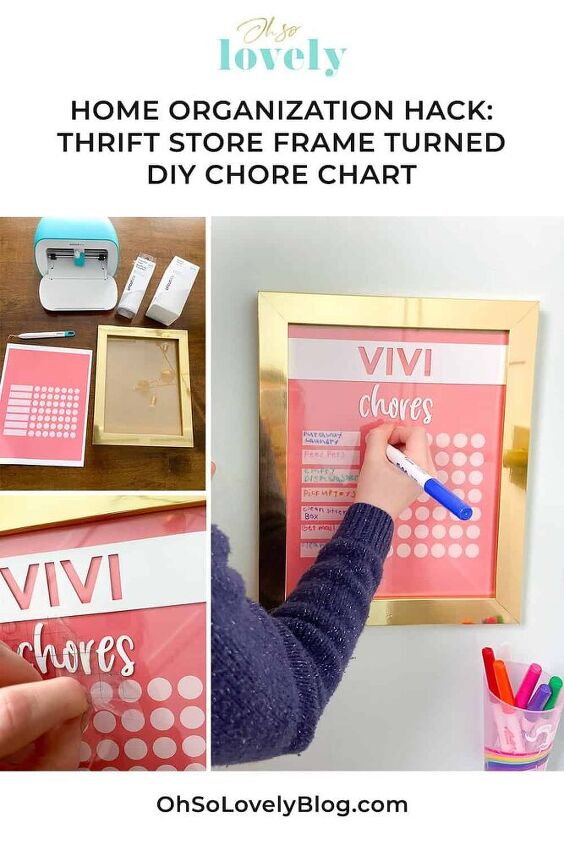
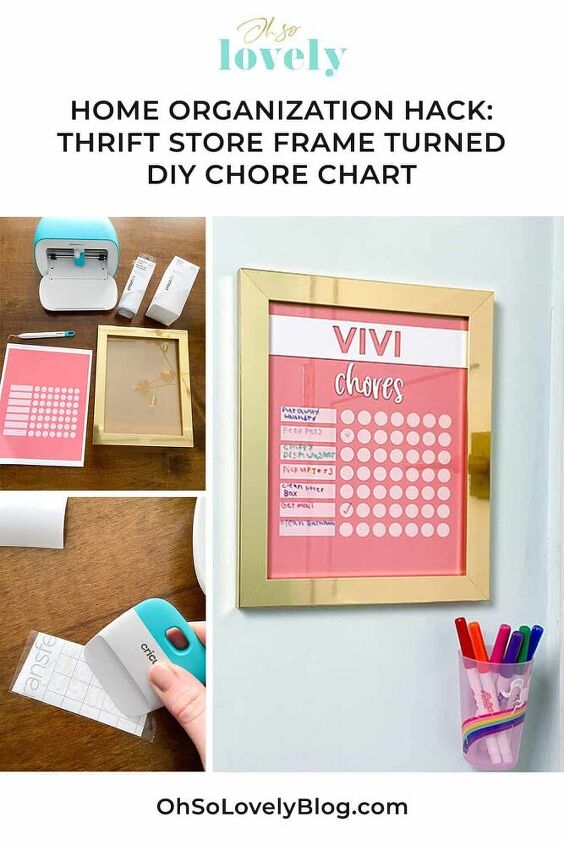
I love an easy home organization hack, how about you? I upcycled a $2 thrift store photo frame into a DIY chore chart for my daughter’s playroom using my Cricut Joy. It’s personalized and oh, so cute!
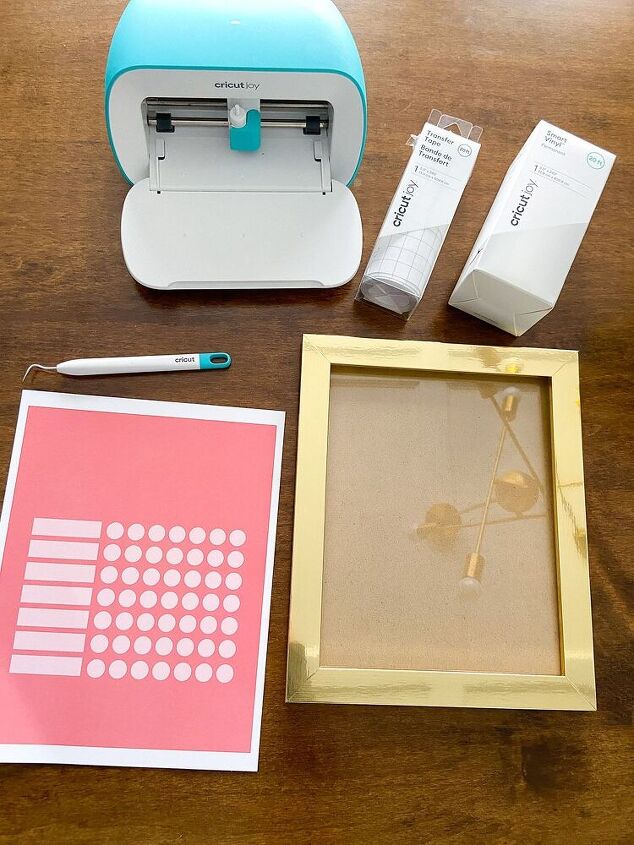
Supplies needed ( all product links available here)
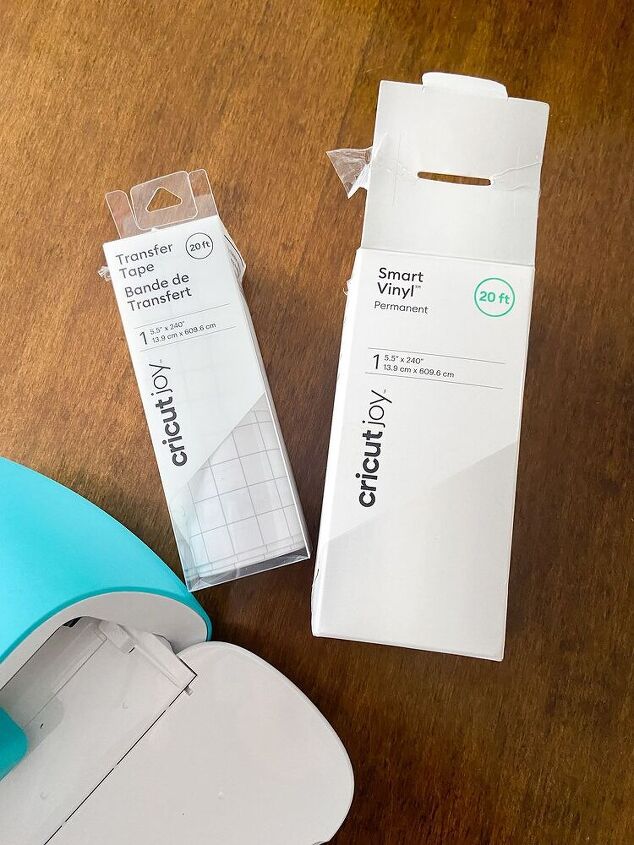
Cricut Joy (or any other Cricut machine)
Transfer Tape
Cricut basic tool set
Smart Vinyl
Cricut Design Space
Frame with glass front
Cricut Access ( Standard or Premium)
Free printable 8×10 backer art (available in 9 colors)
Scissors
Dry erase markers
I quickly designed a simple 8×10 colored background for the chore chart using Adobe illustrator. I created 9 colors of this design if you’re interested in downloading one completely free on my original blog post listed at the top of this post.
Here’s a quick look at all color options:


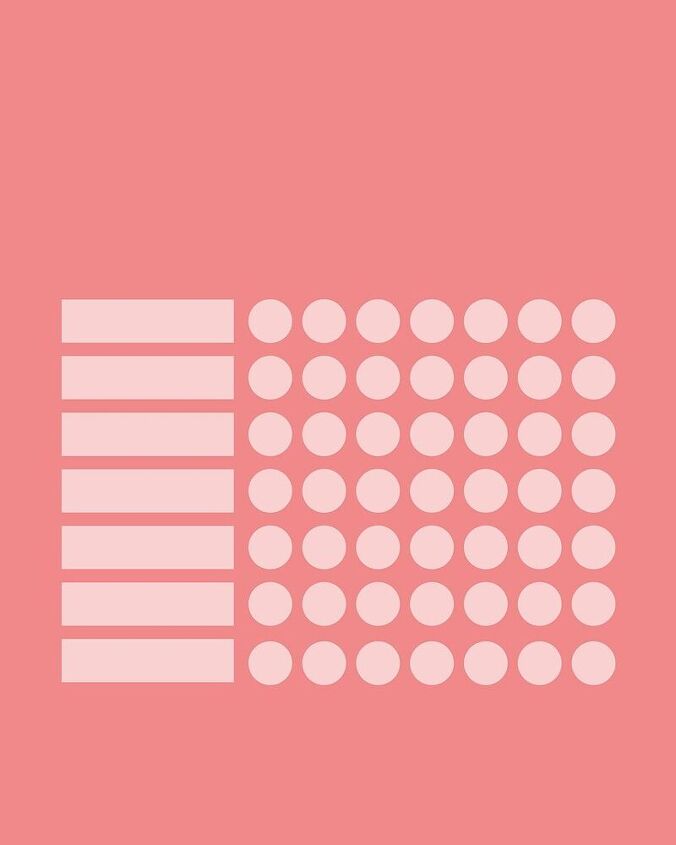
You could skip this step if you have some pretty scrapbook paper or even white card stock on hand that you’d rather use.
We had our 8×10 background paper printed at our local UPS store on letter sized paper for $1 (since the quality there is much better than my home printer).
The easy steps for this home organization hack
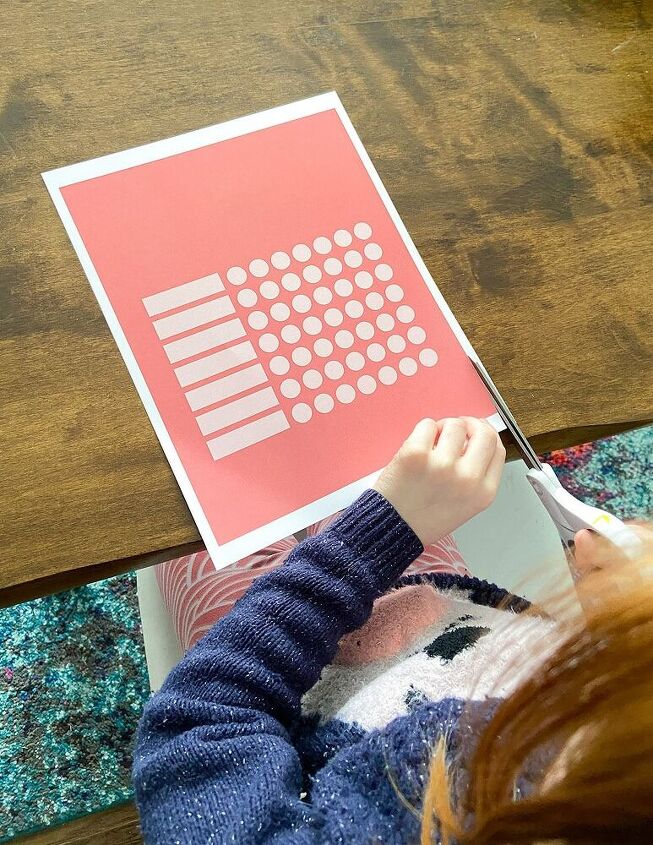
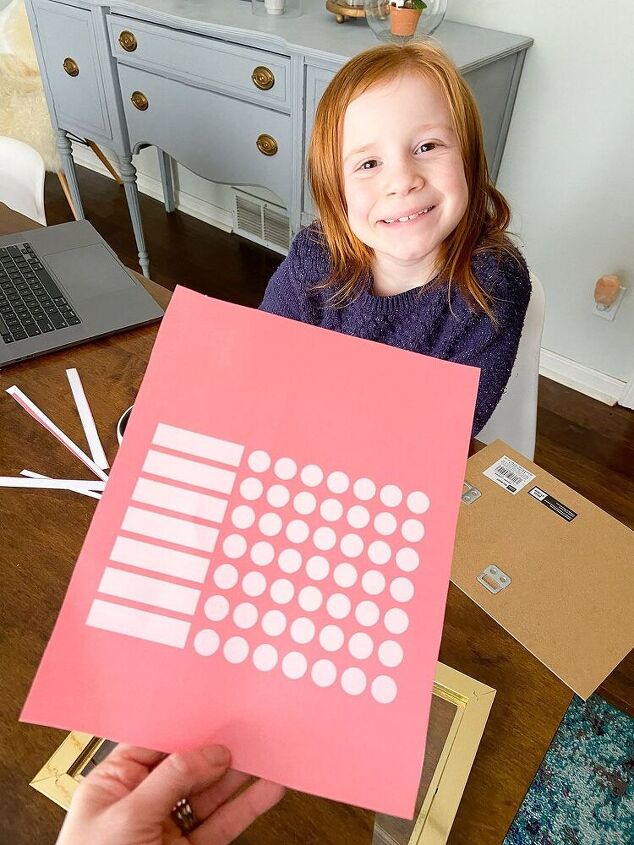
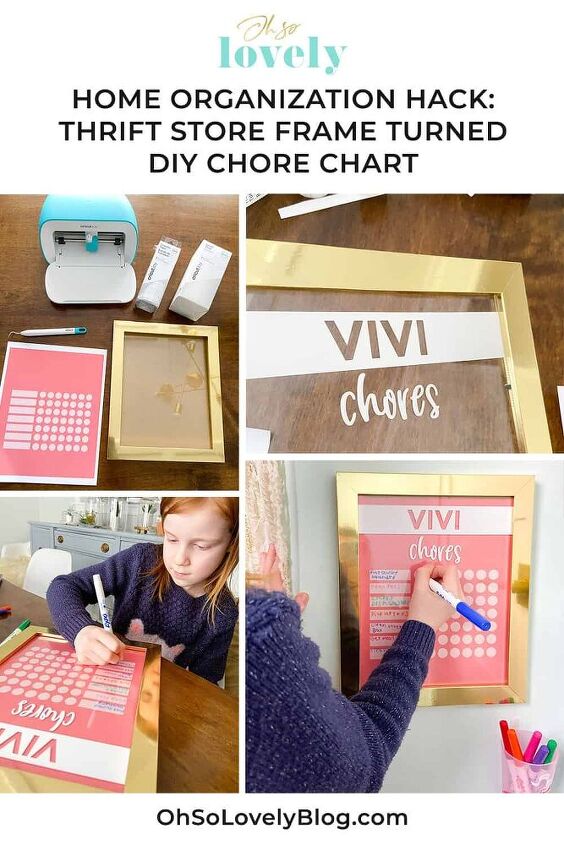
My daughter Vivi loves to help me with all my DIY projects as much as possible. She grabbed some scissors and trimmed off the excess edges.
The cut doesn’t have to be perfect since the frame edges will cover up the paper edges.
How to personalize your chore chart using your Cricut
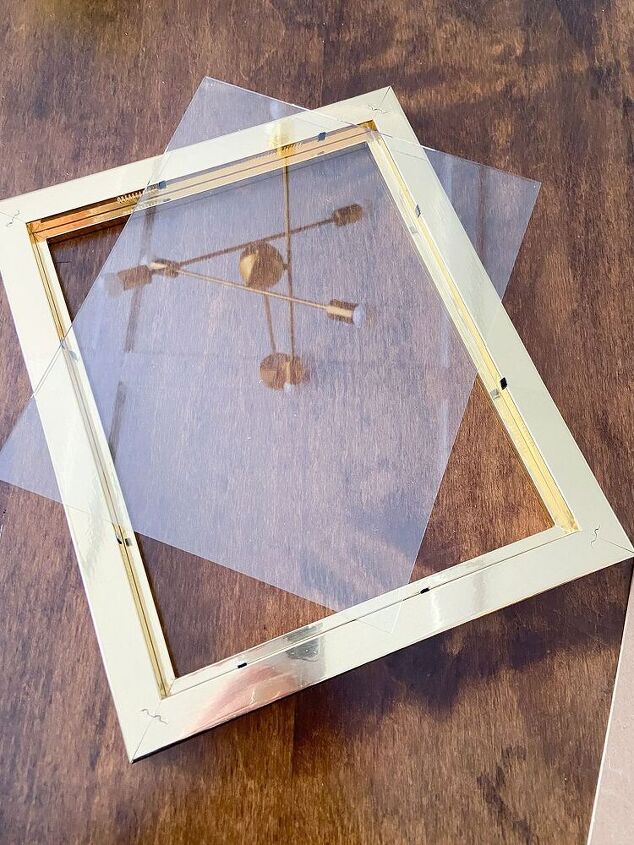
Take the glass out of the frame and place it on top of the paper background so you have an idea where you will want to add your personalization.
I intentionally left excess white space at the top to accommodate the personalization.
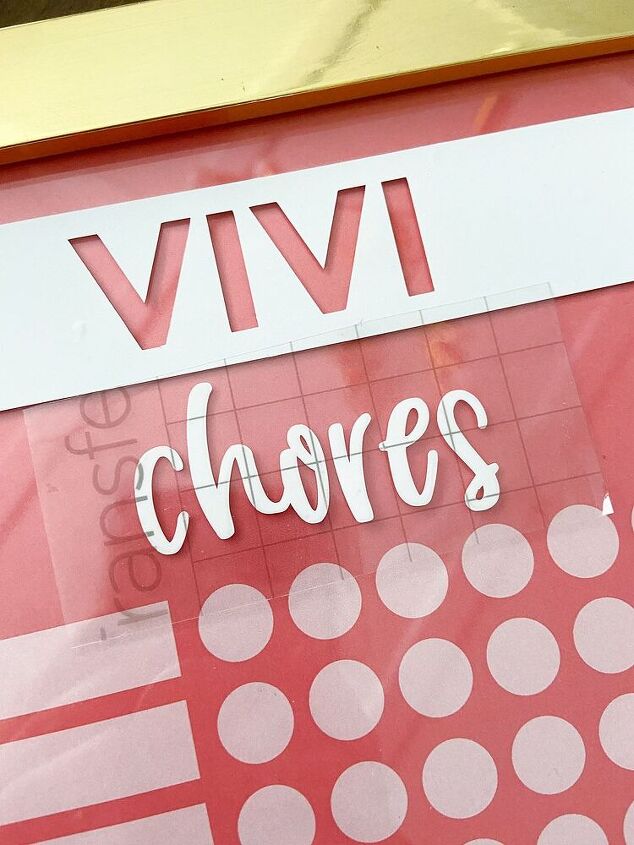
While I was designing the background image, I went ahead and designed a simple personalized header with my daughter’s name on it as well as a “chores” design.
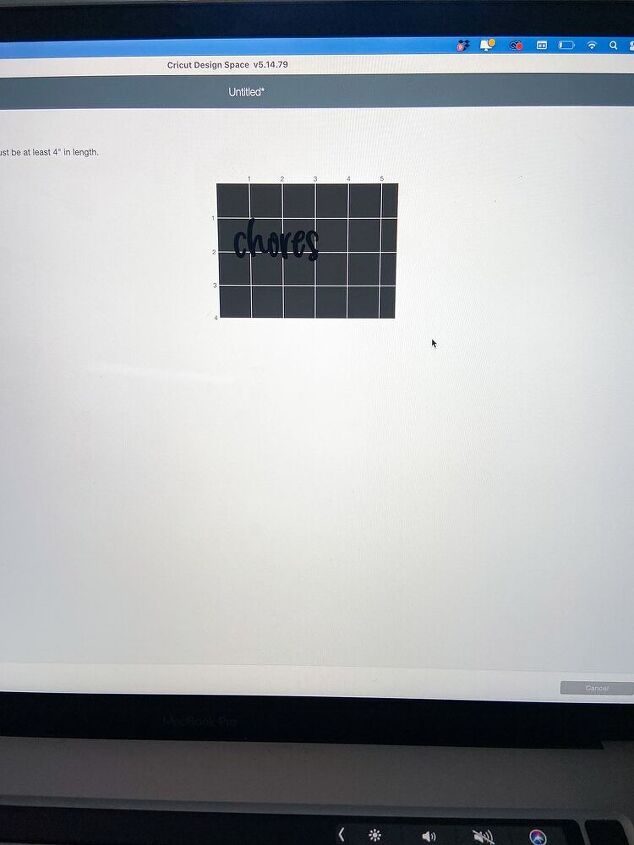
You could easily create the exact same art using Cricut Design Space by adding a rectangle slightly wider than your frame and then adding the text on top using your preferred font.
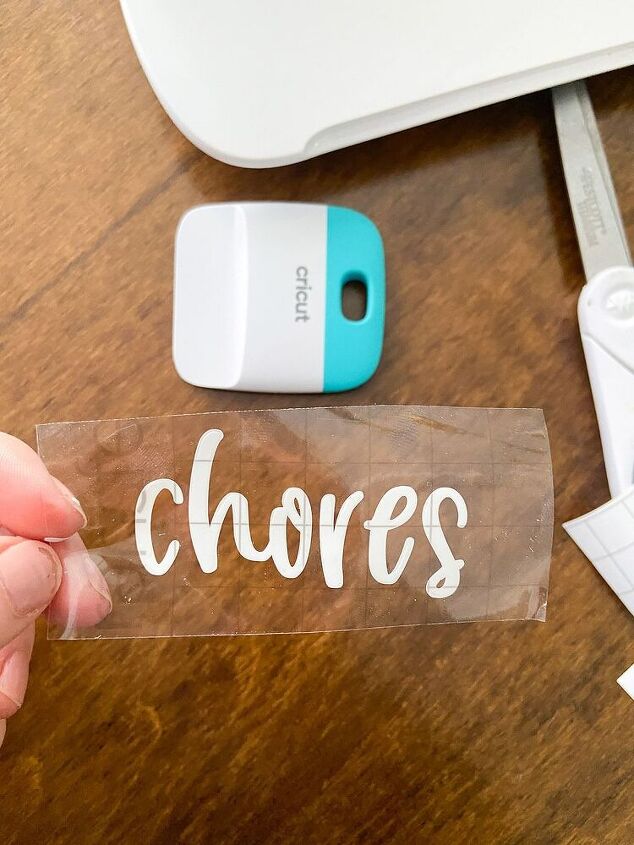
The “chores” part is even easier to create in Design Space – you simply use the text tool, choose the font, and size.
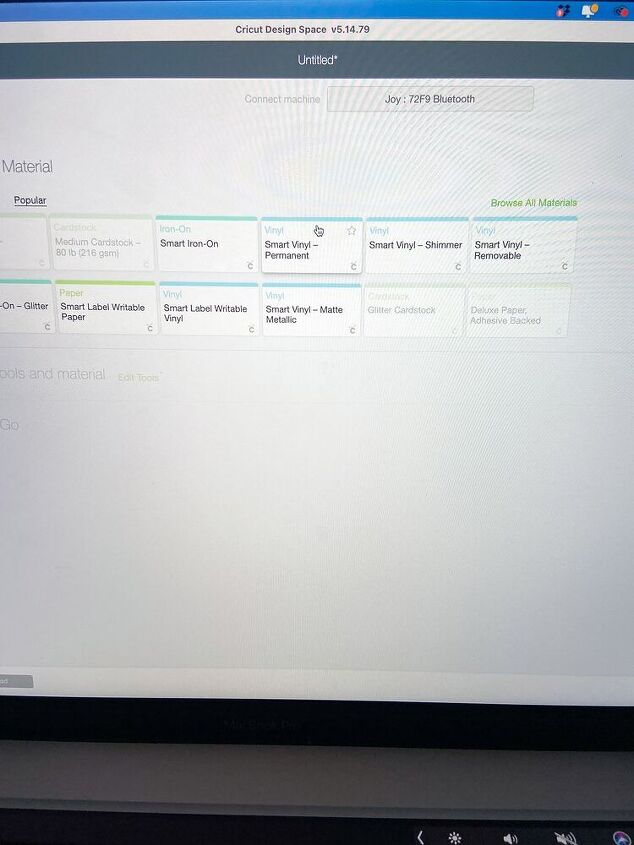
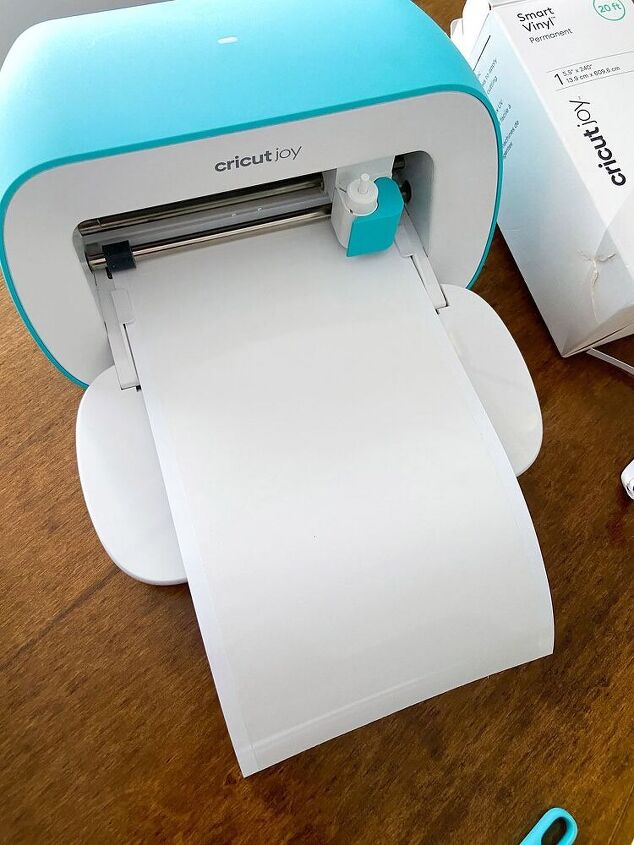
One your design is ready, choose your material (I’m using Permanent Smart Vinyl) and head to your Cricut machine.
Load the Cricut with your Smart Vinyl and let it do the cutting.
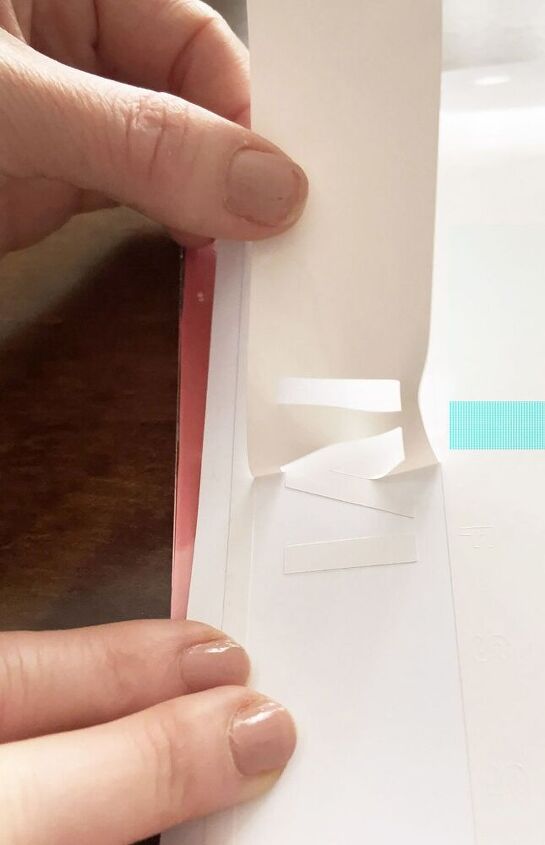
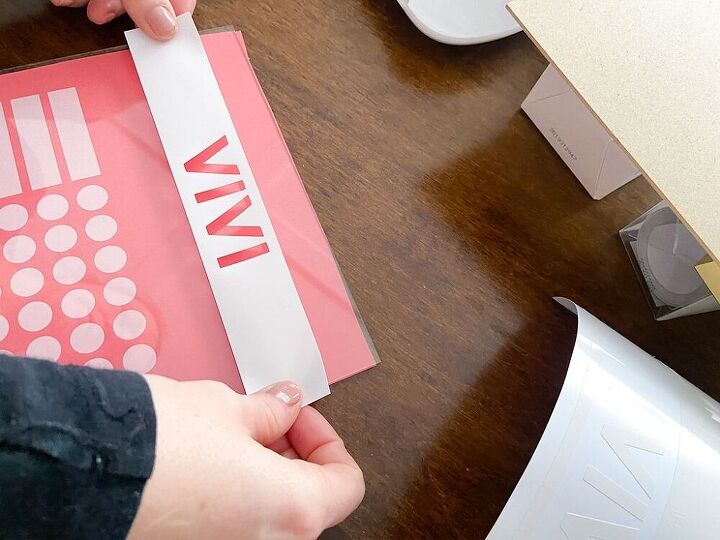
Once the Cricut cutting is completed, grab your tools and start weeding. Gently pull the backer from the vinyl until it’s completely separated.
You’re then left with the banner and a punch out look of the name (bonus: you will have vinyl of the name left over for any other personalization projects).
Decide where the vinyl will go, and gently apply it to the glass using the burnishing tool ensuring a smooth application without bubbles.
Once you’re happy with your personalized name bar, it’s time to add “chores” below it. You might choose a different layout that my chore chart header – totally your call.
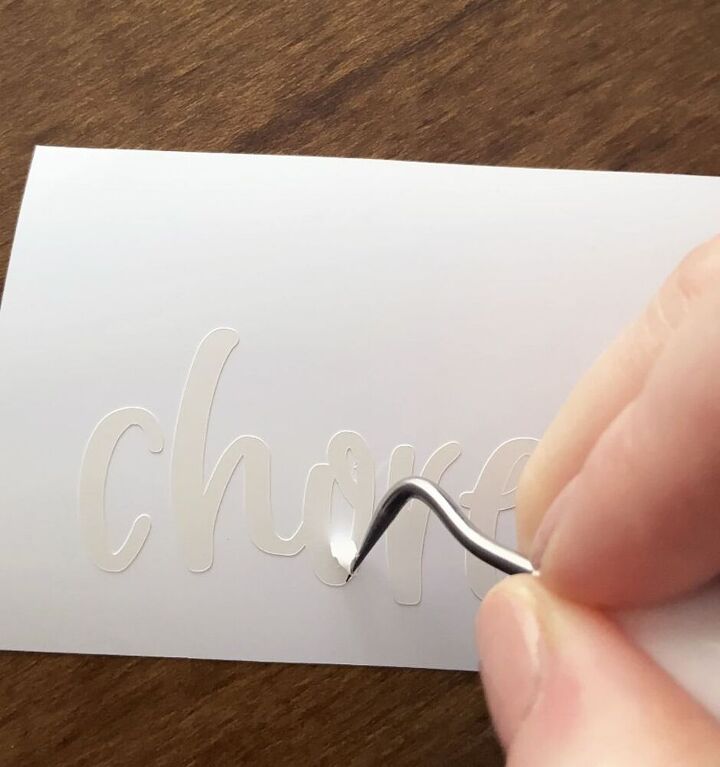
I used the weeding tool to remove the excess vinyl and then grabbed my transfer tape to start the transfer process.
Transferring your design to the glass frame
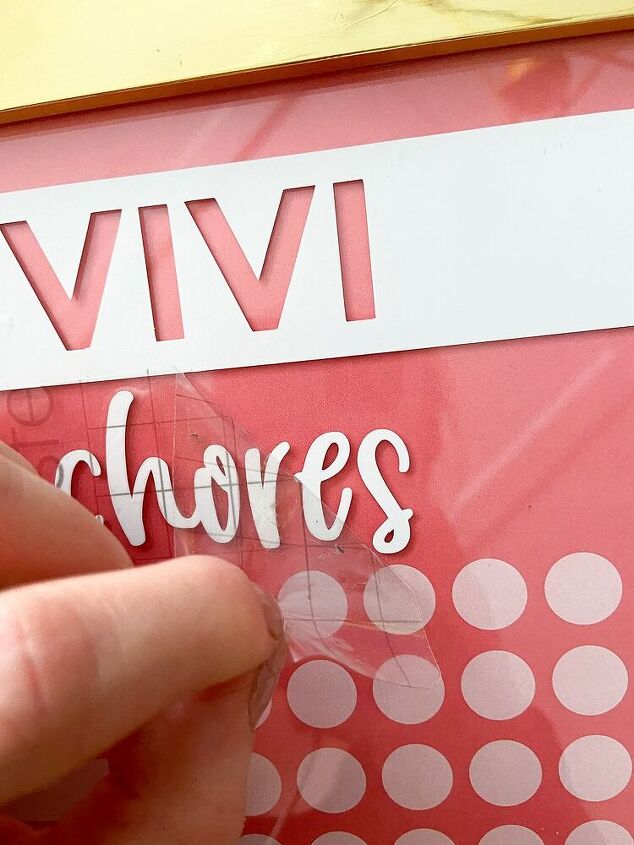
Place a section of transfer tape over your “chore” text and using your scraper, burnish the vinyl to the tape. Make sure you use firm, even pressure to ensure the tape can lift properly.

Carefully peel the tape away from the vinyl backer until “chores” is completely removed.
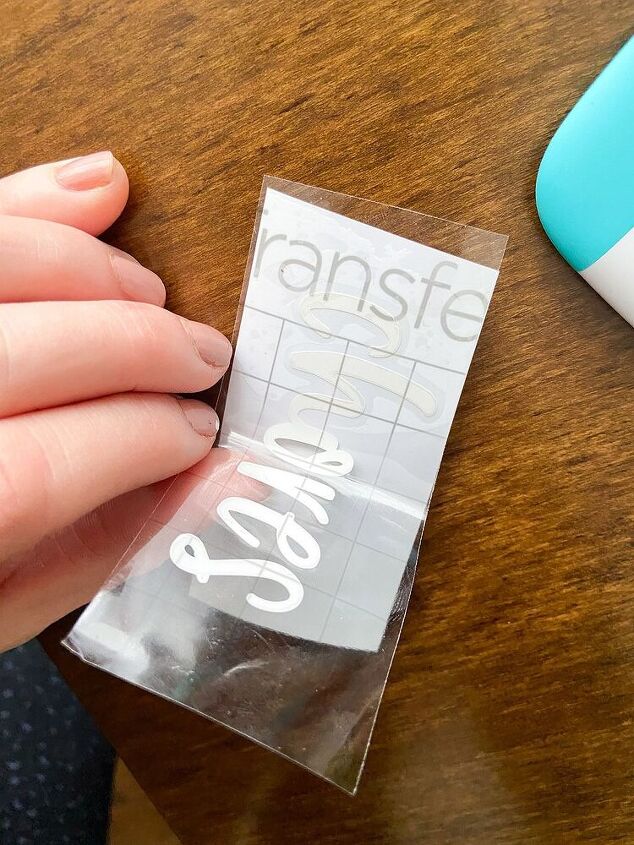
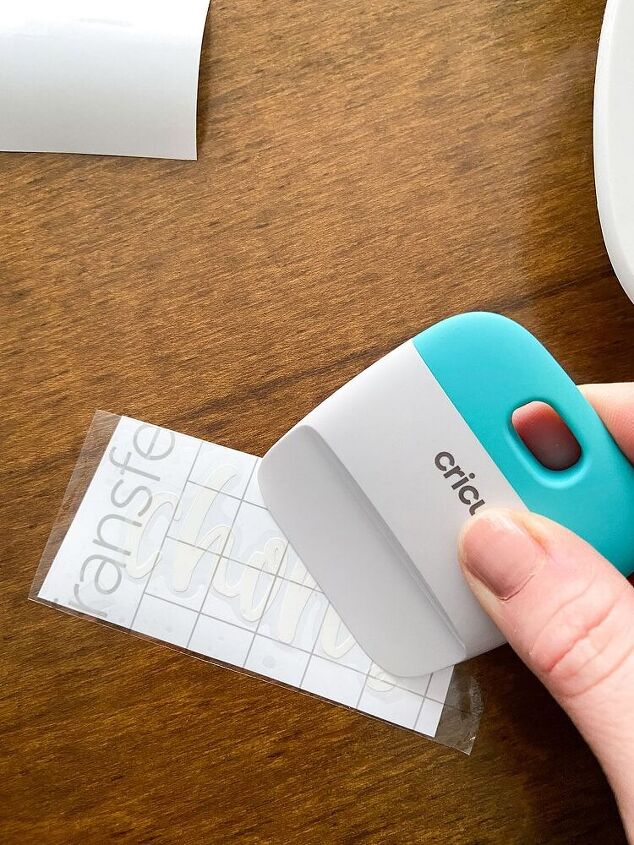
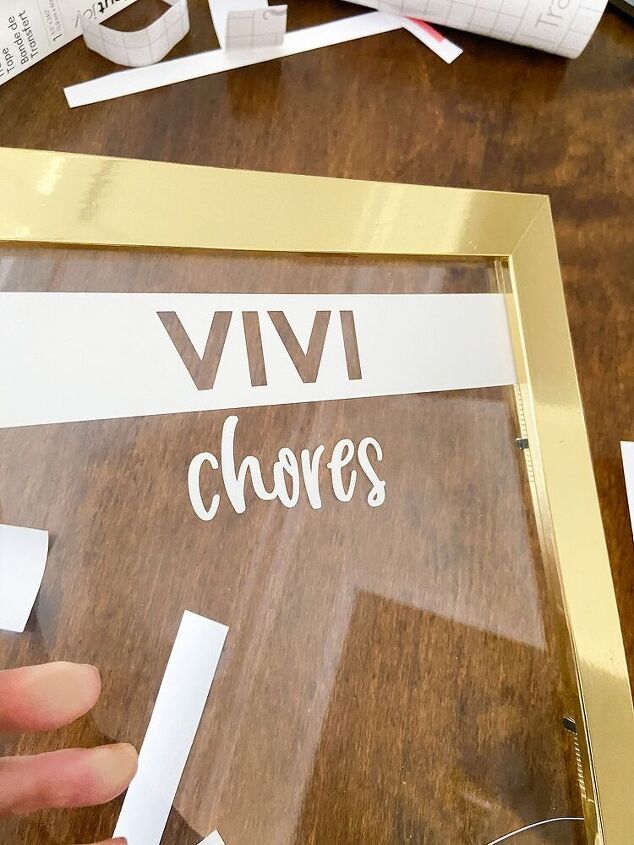
Find the center point and press the taped vinyl to the glass with your scraper.
Once the vinyl is adhered to the glass, gently pull the tape away.
Voilà! you now have a seamless 3D personalized vinyl design on your chore chart.
In hind sight I think I made the “chores” part a little too large, but thankfully it fits just fine. You might want to go smaller if you’re mimicking this look.
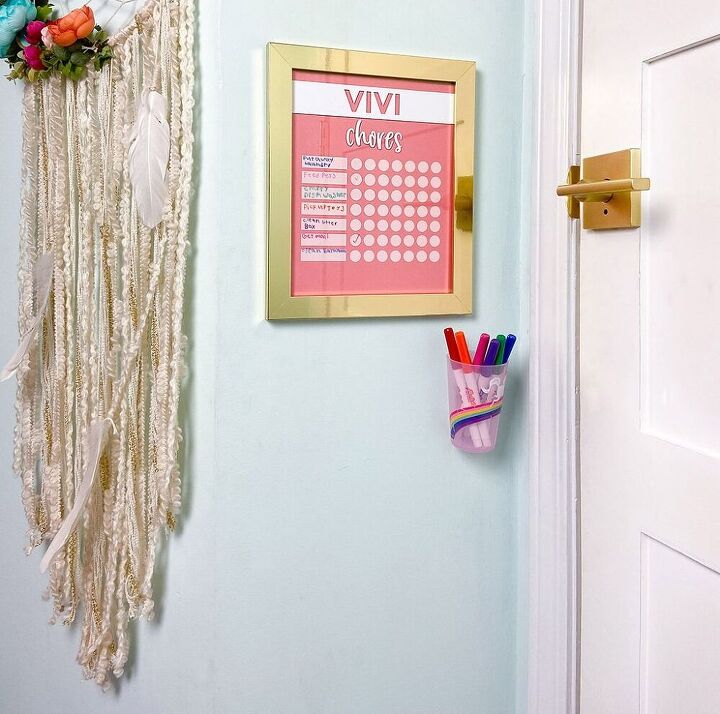
Place the glass back into the frame, add your background paper, and press the frame back together.
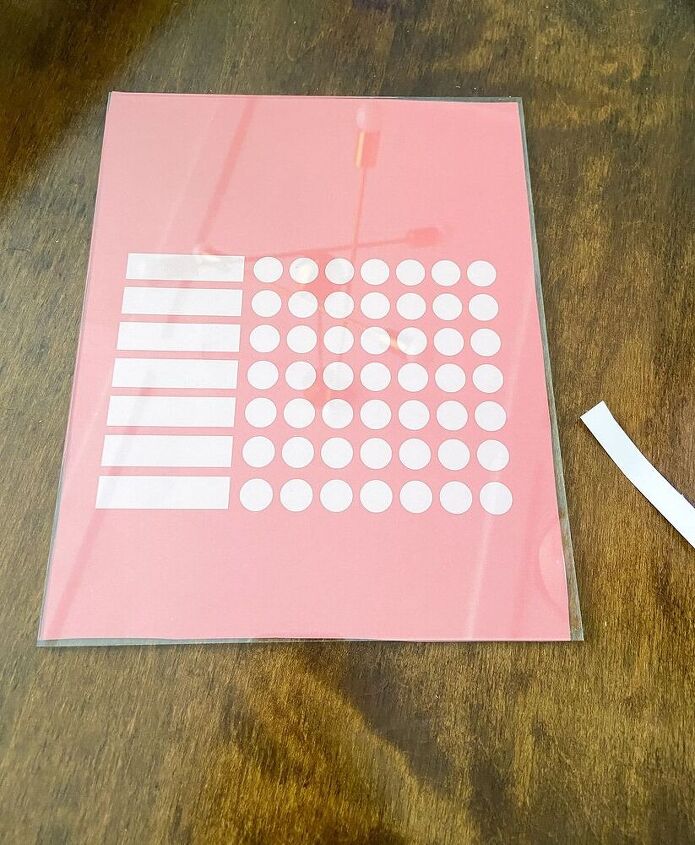
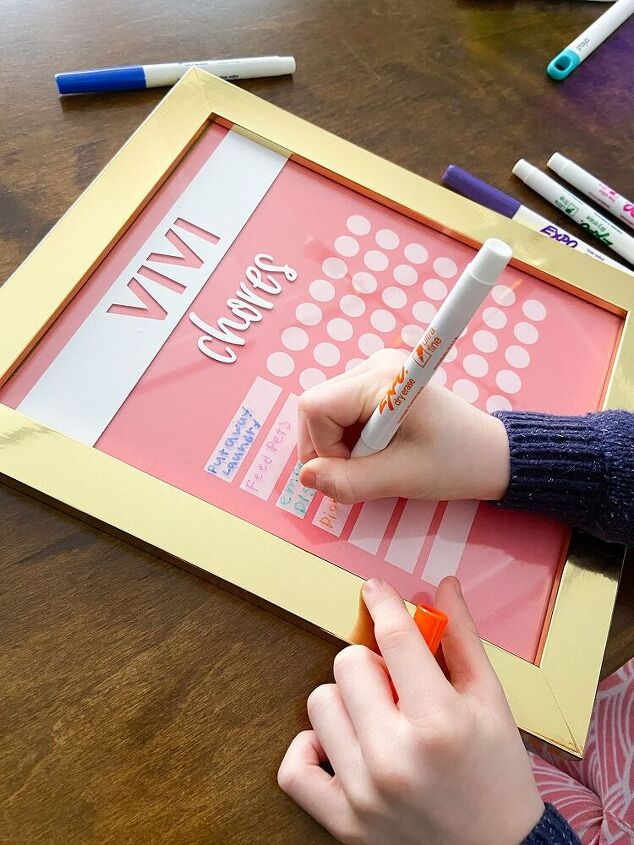
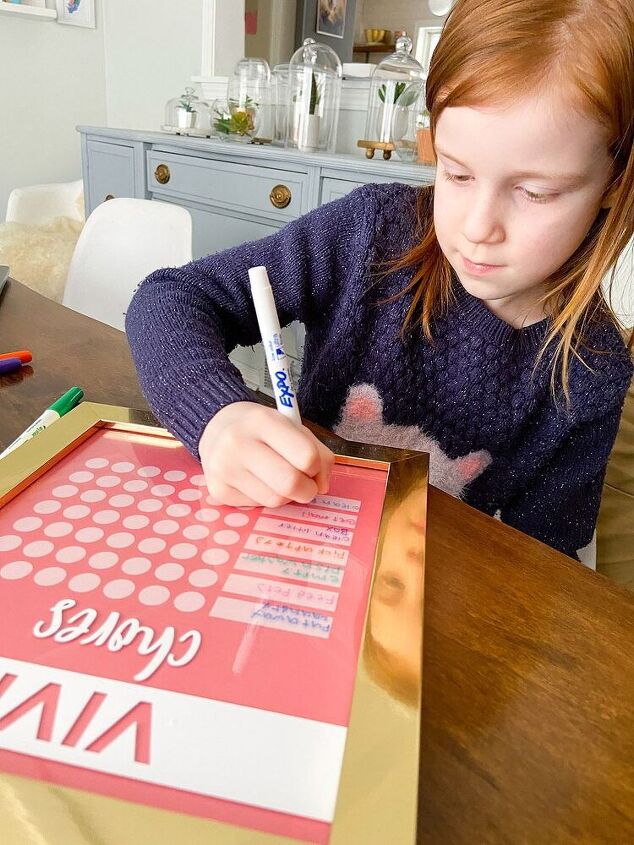
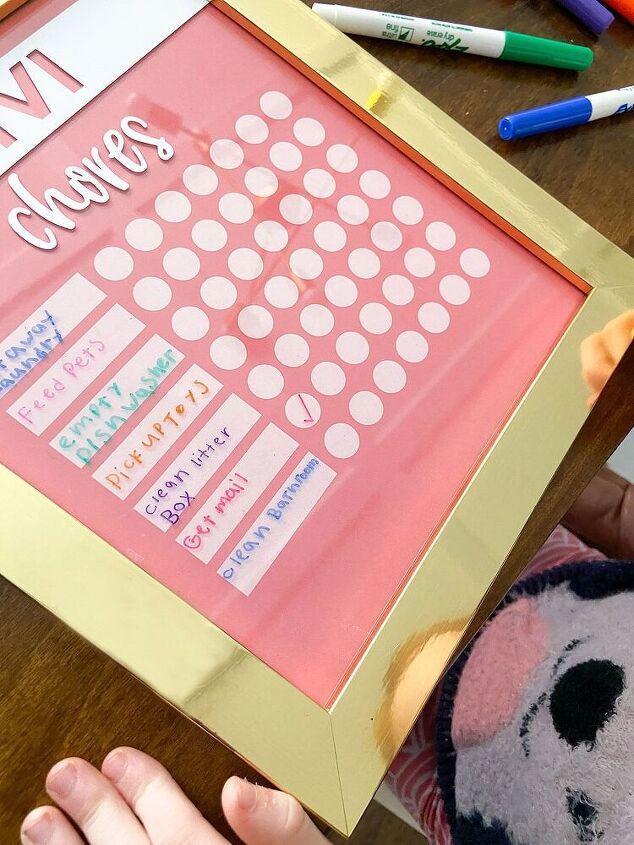
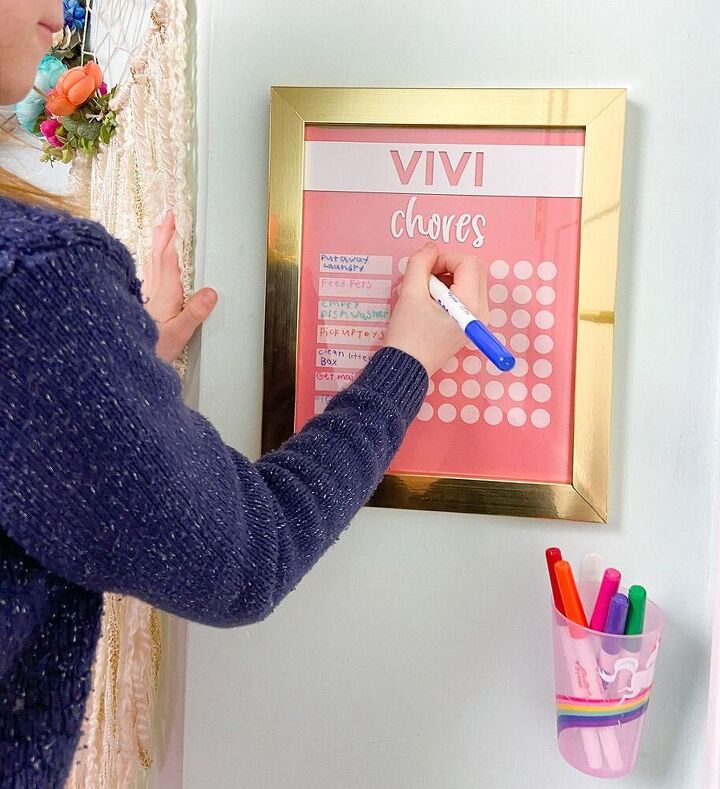
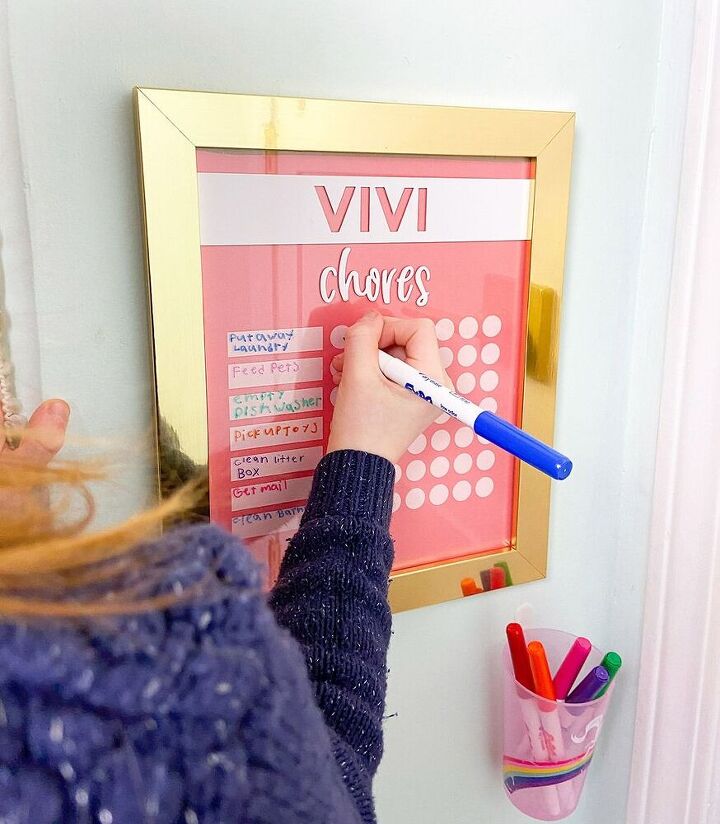
Take your dry erase markers and write in the chore list on the provided sections.
Vivi really wanted to do this part and I love that we came up with her chores together.
Remember, you can do this part your own way if you use scrapbook paper or another type of paper backer behind the glass.
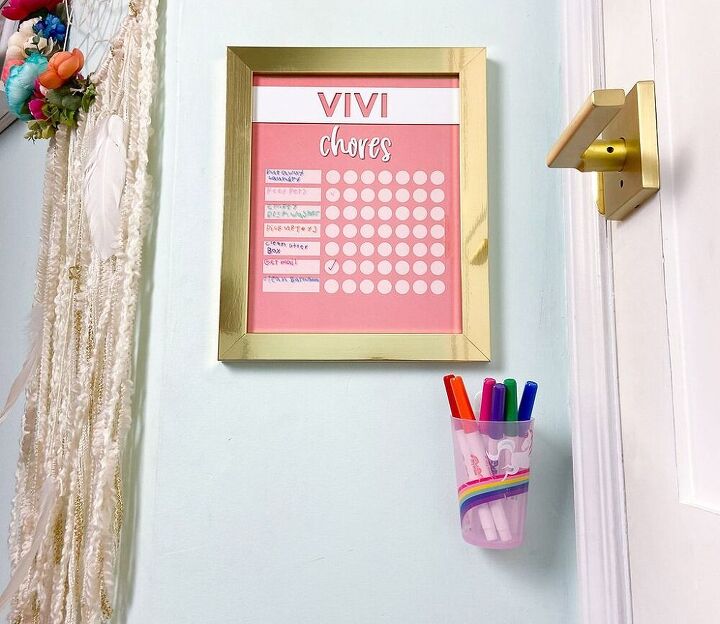
As the chores are completed, Vivi places a checkmark next to them. Once all chores are checked completely off, we will take her for ice cream or something fun like that.
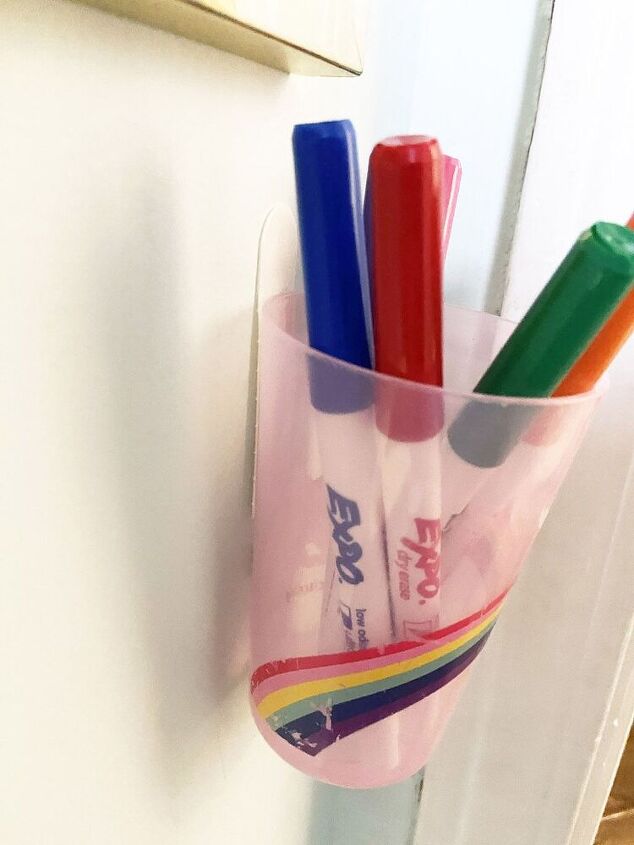
We hung up the frame in her play room, and decided to use a command strip backer to attach one of her cups to the wall to hold her markers. Perfect!
We love our home organization hack so much and having an official place to keep track of her chores is really going to help all of us!
Vivi is so proud of her DIY chore chart!
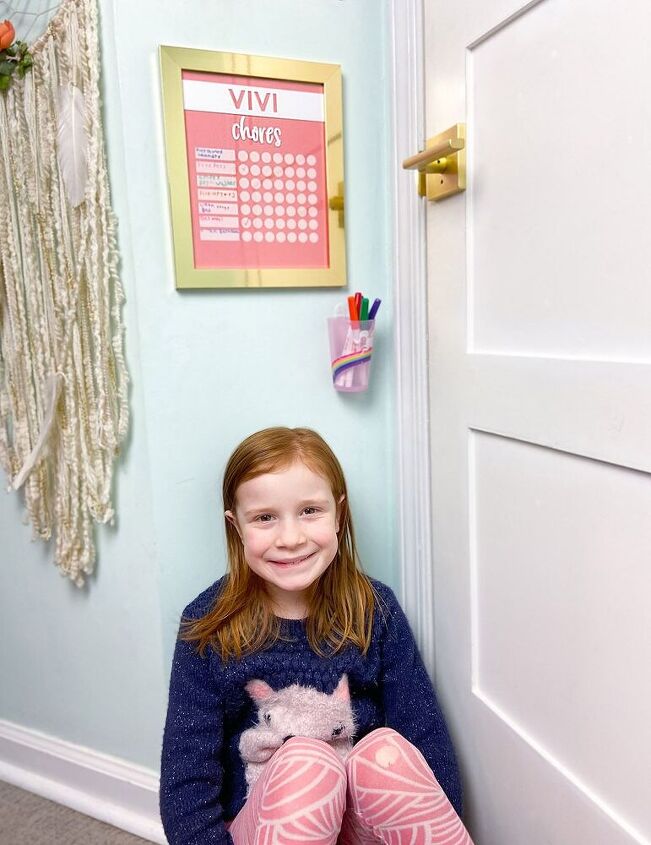
She actually looks forward to completing her chores and crossing them off. I consider this a big parenting win!
What do you think of our DIY chore chart? I love that we were able to make it together. We’ve made so many fun things with our Cricut Joy!
If you give this project a try, I’d love to see how it turns out. Please tag me in your Insta, Twitter, or Facebook photos – I’m always so very thankful when you Pin my work as well.
xoxo
Audrey
This post is sponsored by Cricut, but all opinions are 100% my own. I truly love my Cricut Joyand think you will too!
You might also like these Cricut projects
Pin this DIY chore chart home organization hack for later!
Resources for this project:
See all materials


Frequently asked questions
Have a question about this project?