


A Winter Wreath From Old Sweaters
I always like to have something on our front door no matter the season. But January is tricky. Christmas is over but it's not time for Valentines. This year I wanted something that reflected the Danish concept of hygge. What is more hygge than a sweater? So I made an all fabric wreath and used thrift store sweaters to make embellishments. This week some ladies joined me for the Winter Wreath Workshop. Read on to find out how to make one of these for yourself and to see their masterpieces. As a bonus, there's a quick video tutorial for making (almost instant) sweater pillow covers.
MATERIALS
18" wire wreath frame
1 yard of high-loft batting cut into 3-4" strips (about 8 linear yards)
4 4" x 72" strips woven fabric
thick looped yarn
variety of old sweaters
glue gun and hot glue
decorative buttons
DIRECTIONS
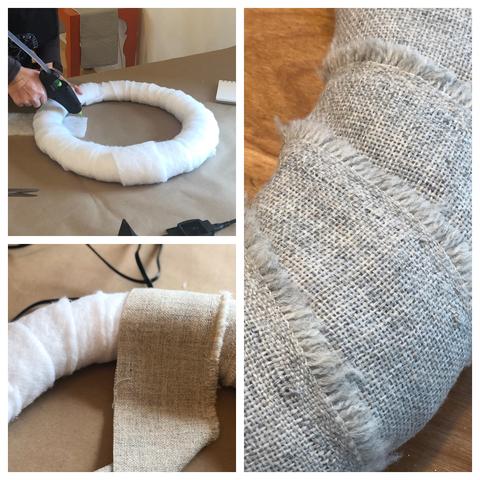
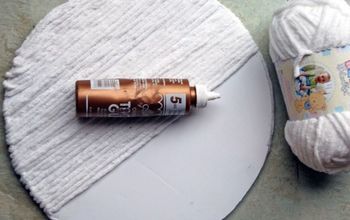
Wrap batting around frame, overlapping. Tack with hot glue.
Wrap batting around a second time.
Wrap the batting-covered wreath with the fabric strips. Use hot glue to tack.
Leaves
Cut 4" circles from a thin sweater.
Fold into quarters.
Sqeeze the wide end together and glue it, leaving a point at the other end.

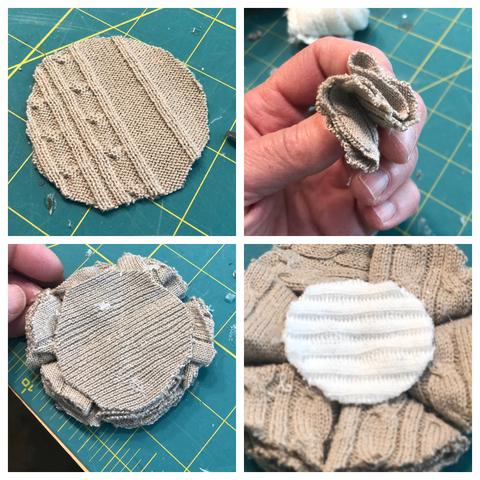
Six Petal Flowers
Cut 6- 2 1/2" circles and one slightly smaller for the backing.
For each petal, fold a circle in half and tack with glue.
Then fold it in thirds, keeping a point at the folded end. This can either be done like a 'Z', shown below or like a burrito.
Glue it together.
Glue petals on the backing.
Cut a smaller contrasting piece of sweater for the center and glue on.
Add a button in the middle, if desired.
Creative Rolling and Scrunching
Create flower buds by folding over long strips of sweater, no more than 2" wide. (Top left) Twisting the strips as you go makes for a cute variation.
For a rosette, cut a long strip and form a circle, tacking it together.
Gather the inside and tack it. This makes for a great backing to a bud.
For a whimsical addition, glue fat, looped yarn to the bottom of a flower.(Bottom right.)
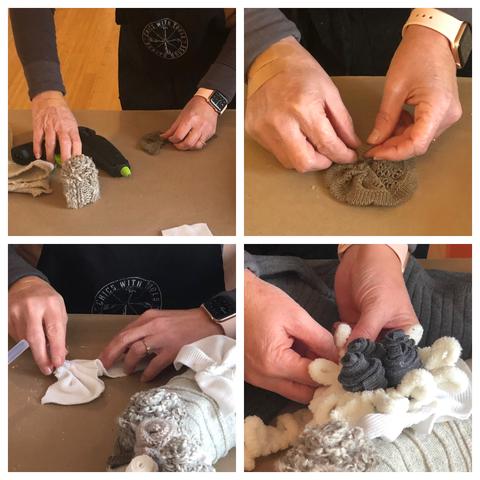
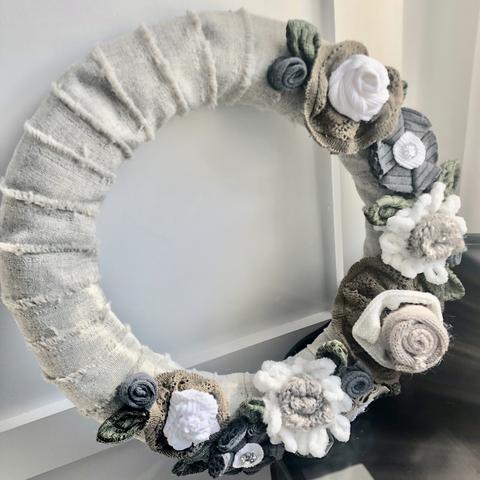
When assembling, balance color and size before gluing.
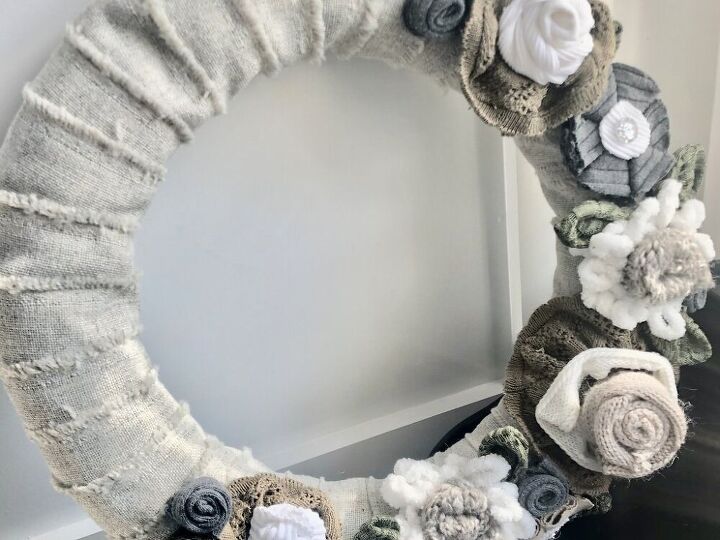
THE RESULTS
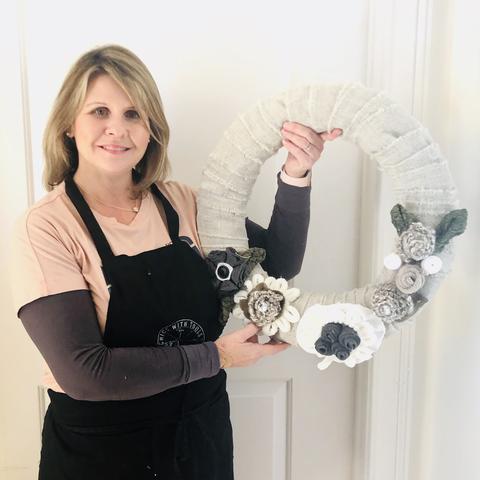

CONFESSION
Inspired by the creativity of my friends' and their beautiful results, I decided I needed to up my game so I added some yarn and gray flowers to my original and made my second one with a few more elements.
Who knew a wreath could be cozy? Well, now you do and here is the hygge proof!
Watch the quick video below to see how to make a pillow cover to go with the wreath.


Comments
Join the conversation
-
Gorgeous!
-
Love this!!!


Frequently asked questions
Have a question about this project?