


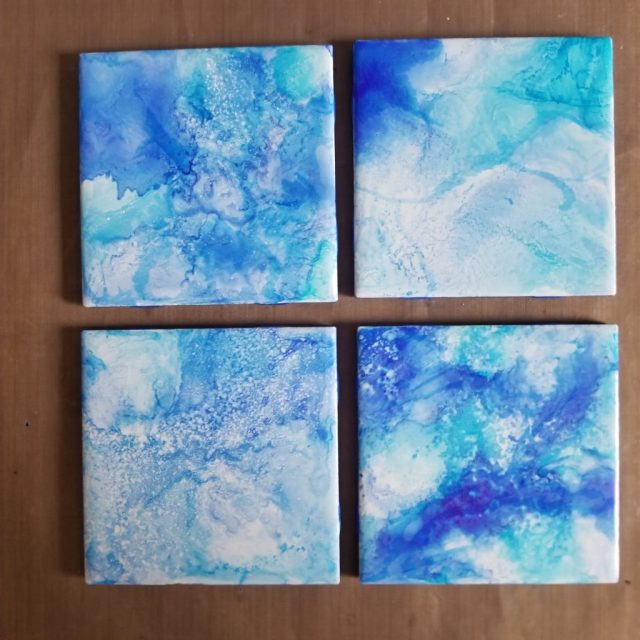
How to Make Sharpie Marker Drink Coasters
Using some old ceramic tiles and Sharpie markers I made these stunning coasters. It only takes a few minutes and no two are alike.
Hi Everyone! Today I am blowing off housecleaning completely so I can play in my studio. I decided that I wanted to make some coasters. I am planning on hitting some Craft shows, fairs, and bazaars this year and really need to get started on my items, which will be mostly wine and candle related. I have been playing with various techniques for making unique and beautiful items and wanted to share one very easy technique with you.
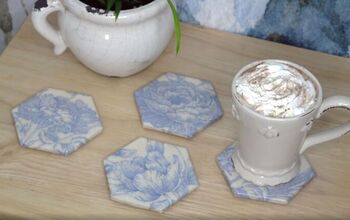
I don’t know about you, but I find I need coasters in my home, and in more than the family room. We use them in almost every room in the house. Not only that, but they make great birthday, housewarming, and Christmas gifts, oh, and don’t forget craft show and bazaar items. If you are just wanting a fun and easy project then these are also perfect. They are inexpensive and quite easy to make. As a matter of fact, the tiles used in this project only cost $.14 each. While some of the items on the list cost more than others, they will produce a beautiful set of coasters for you in the end.
Sharpie Marker Drink Coaster Supplies
- 4″ white ceramic tiles
- cork or felt
- sharpie markers
- isopropyl alcohol
- spray mist bottle
- latex gloves
- waterproof sealer
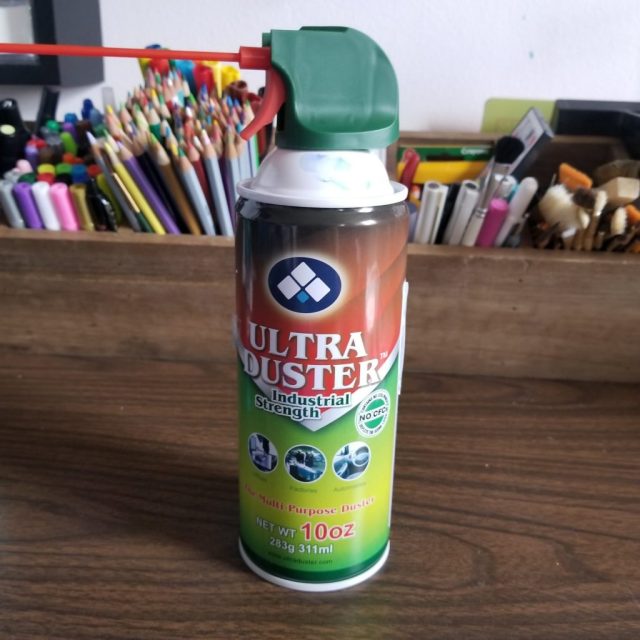
- Compressed Air Can or drinking straw
- E6000 Adhesive
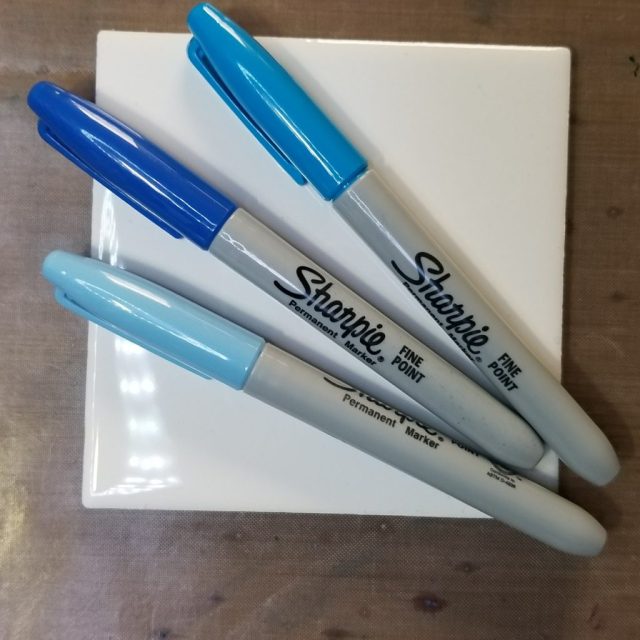
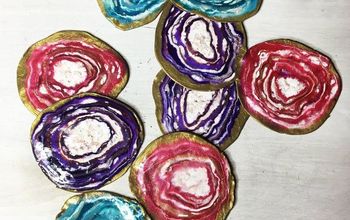
The first thing you want to do is thoroughly clean your ceramic tiles with alcohol. this both removes grease or dirt that may affect your finished product and prepares the tile for the markers. Once these are dry it’s time to start coloring your coasters. You can use any colors you like, but I prefer to use no more than three different markers at a time. Color your tiles as you like, but be sure you have some larger areas of color as they will move quite a bit once you start using the compressed air.
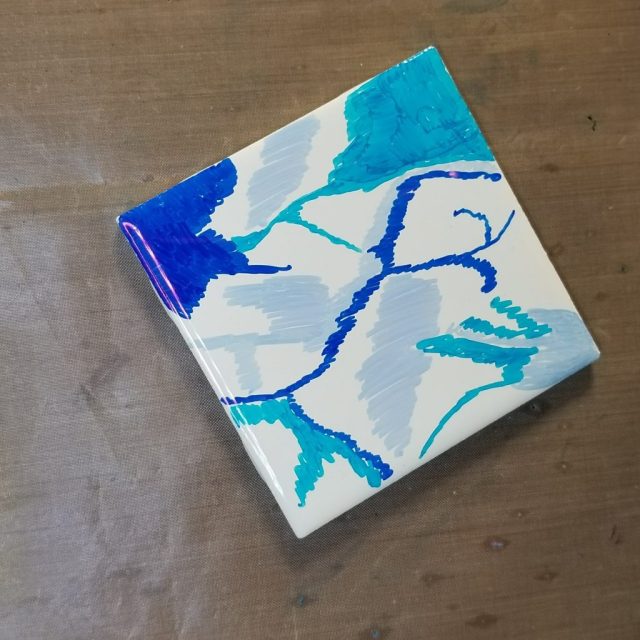
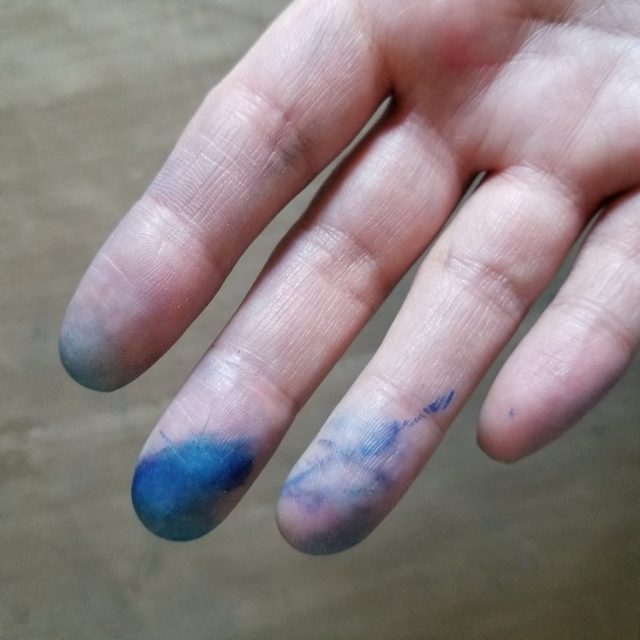
Once you have your tile colored, pour your alcohol into the mister bottle and spray the tiles. Do this step one tile at a time as they dry quickly. Once you have the tile completely saturated you will see your colors start to run. This is what you want. Any scribble lines left on the tiles use your fingers (gloved, or they will look like mine, LOL) to gently erase the scribble marks.
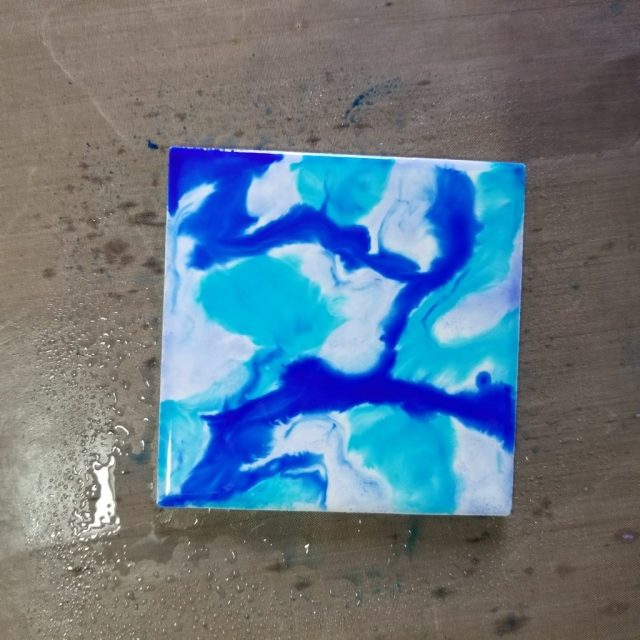
This only takes a gentle touch and will make your end product look much more professional. When the scribble lines are gone, start spraying the tile with your compressed air, or if you do not have any, use a straw to blow on the piece in order to move the ink around. If you are using compressed air, use very short bursts and do not hold it too close to the tile or you will end up with a mess. Turn the tile as you blow on it. This will give you a very natural look. If you want more of a modern look, blow all the ink from one spot to all corners of the tile. Let these dry completely. It will not take long as alcohol does not take long to dry.
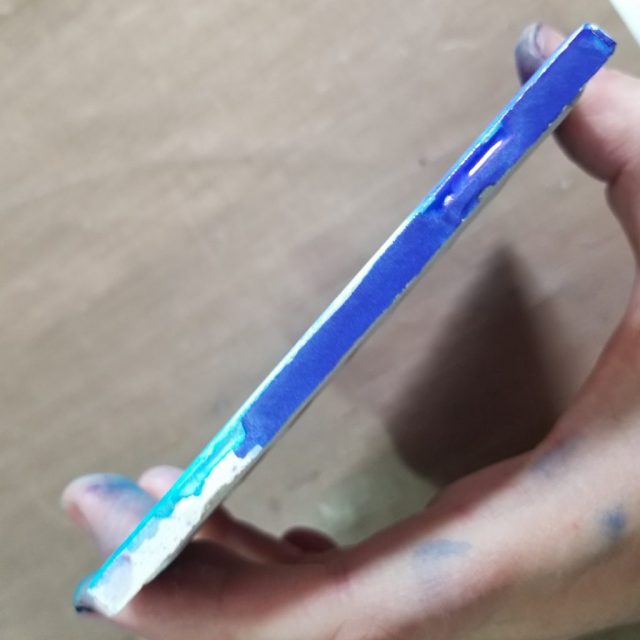
Being careful not to touch to inked surface, take the darkest sharpie you used and color the sides of the tile. This will give you a finished look to your coasters.
Protect your work. You can use any non-alcohol based waterproof sealer, but the two I like are Kamar Varnish and Mod Podge Dishwasher Safe. Keep in mind that if you use Mod Podge you need to spray with an acrylic sealer first so it does not smear your work.

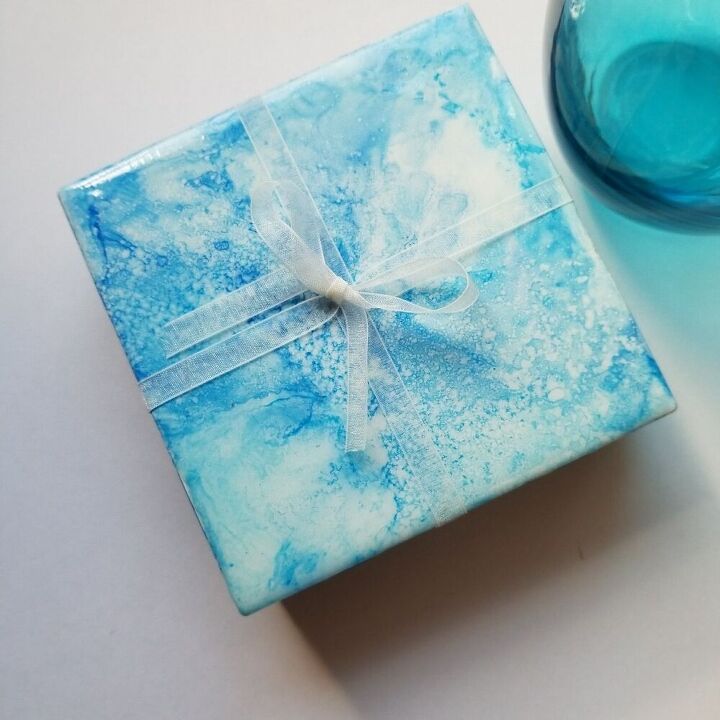
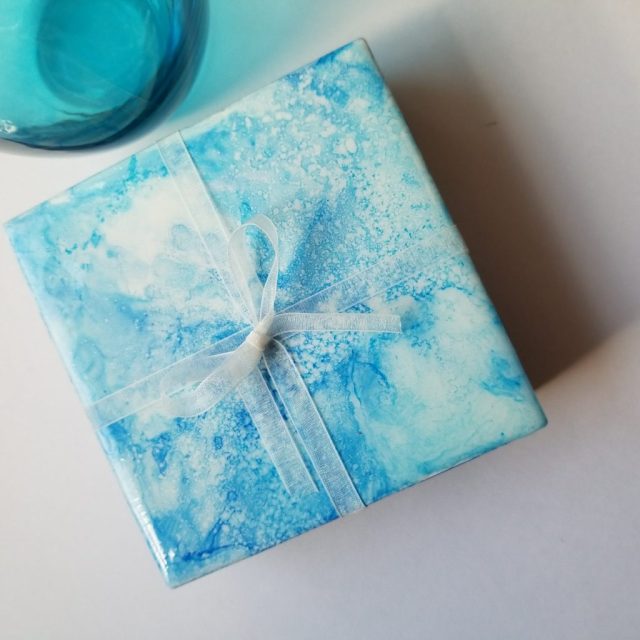
Kamar Varnish does not interfere with the finished look of the piece. If these are not sealed the ink will easily smear and come off of the tiles, potentially permanently staining something. Once dry, cut your cork (or felt) into 3.75″ squares and glue them to the bottom of the tile. If using them as a gift, tie the set with a ribbon and attach a gift tag.
Disclosure:
Some of the links below are affiliate links, meaning, at no additional cost to you, I will earn a commission if you click through and make a purchase. Any opinions I have given are my own.
Resources for this project:
See all materials


Comments
Join the conversation
-
This gives me the inspiration to do something with the 164366789 tiles I have horded for too long😃
-
For those who are concerned about the condensation from cold drinks running off the coasters there is a simple solution: place cocktail napkins on top. It will absorb the moisture while the tile will protect your furniture from the cold temperature. Then just toss the napkins in the trash. You can still show off your beautiful handiwork when using for hot drinks. These are so pretty. I will be making some using this technique as well as trying it out on some decorative glass plates. Thanks so much for the inspiration. And for suggesting the Kamar Varnish. I have never heard of it but will definitely give it a try.


Frequently asked questions
Have a question about this project?
Is it possible to take tiles paint in this fashion and use in a shower wall? Would they last?