


Disinfectant Wipe Bottle Upcycle For Craft Storage

Don’t throw away your disinfectant wipe bottles! As you’re sanitizing your home and car right and left during the coronavirus pandemic, you’re probably going through those bottles of wipes a lot faster than usual. Instead of trashing the empty bottles, give them a good wash to remove the chemical residue inside, then try this fast and easy DIY to add some extra storage to your office, craft room, or kid’s bedrooms.
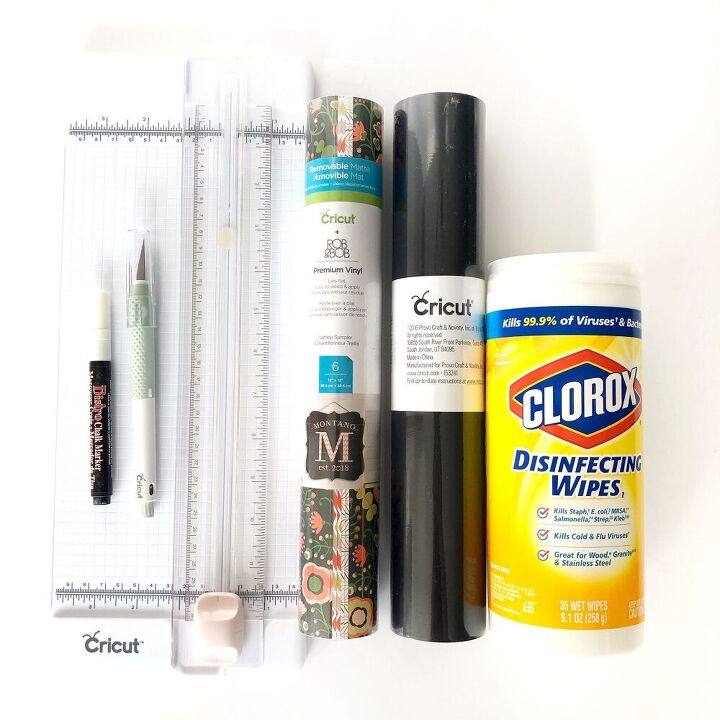
Supplies You Need
- Empty Disinfectant Wipe Bottle(s), washed and dried inside
- Patterned Vinyl (or Scrapbook Paper & Double Stick Tape)
- Chalkboard Vinyl (or Chalkboard Stickers like these)
- Craft Knife (I used the Cricut TrueControl Knife)
- Paper Trimmer (or Scissors)
- Chalk Pen (or Real Chalk)
How To Make Craft Storage Containers With Old Disinfectant Wipe Bottles
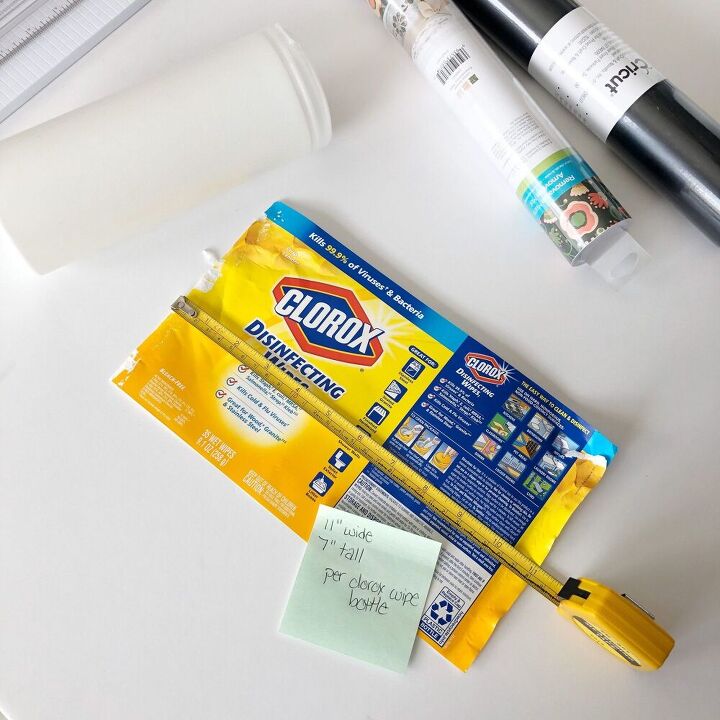
1. Carefully remove the label and measure.
If you’re using regular sized Clorox wipe bottles, you can snag my measurements and skip this step. But if you use any other brand or the larger size of Clorox wipes, it’s better to be on the safe side and measure.
If you don’t get all the glue off the bottle, don’t worry. I didn’t get it all off either and it didn’t mess up my project at all. I could have used some Goo Gone to remove it all but it didn’t seem necessary.
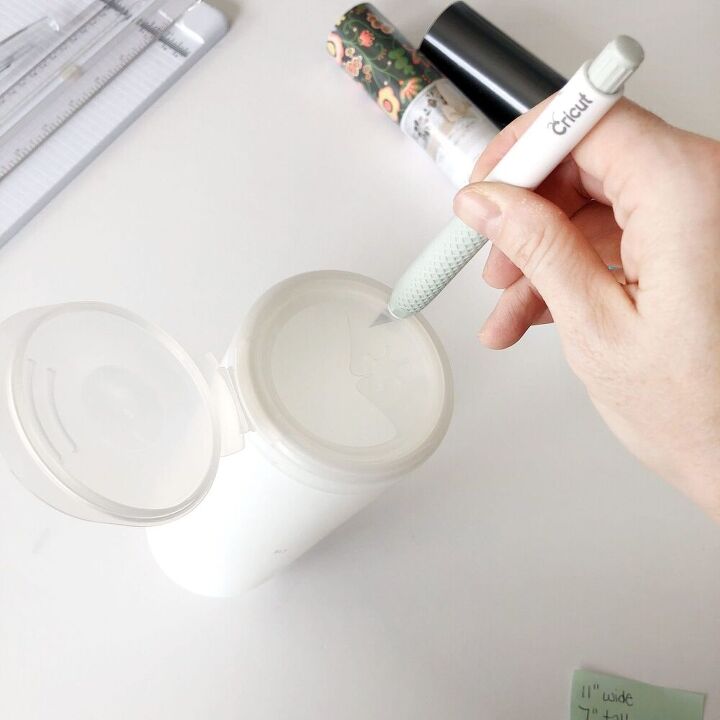
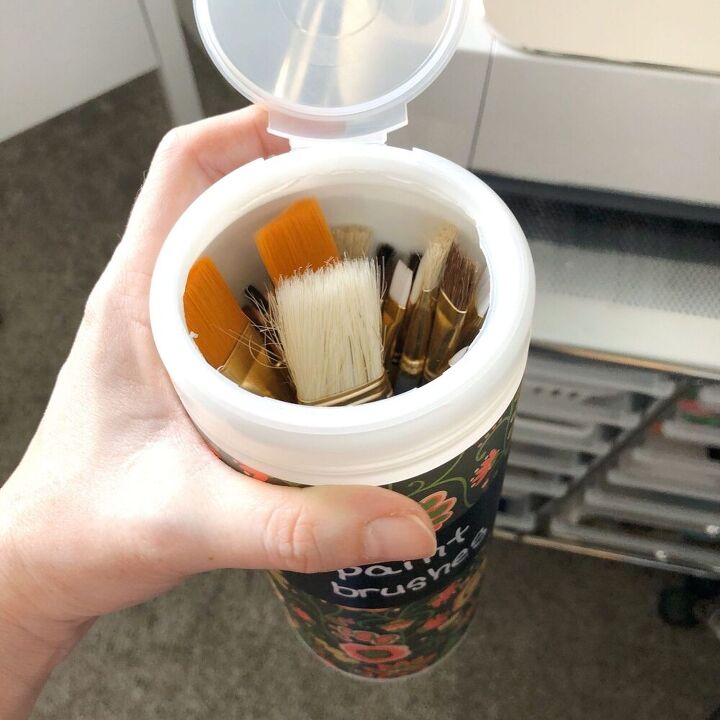
2. Carefully cut out the wipe dispenser from the lid.
Using a craft knife, cut around the edge of the inside of the lid to remove the part that holds the wipes up.
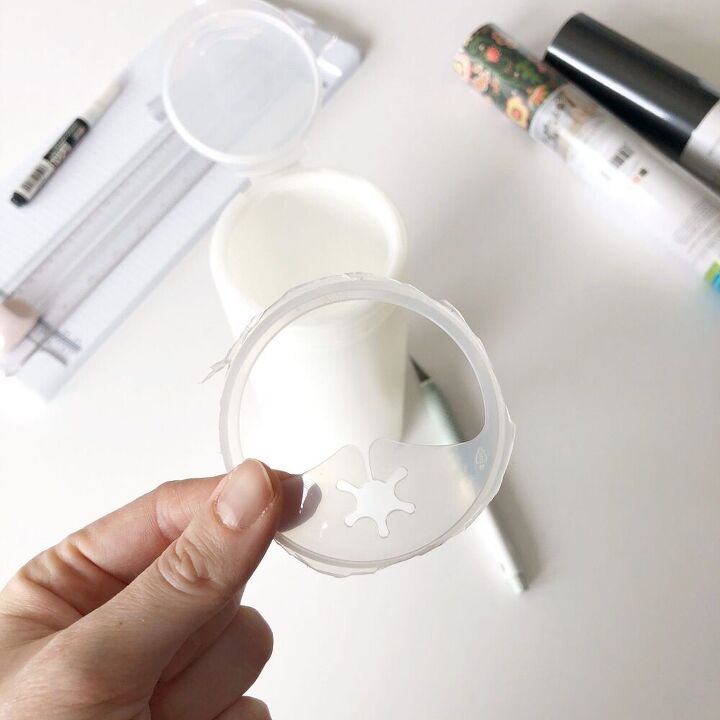
By cutting around the edge, you’ll still be able to use the lid but you won’t have the middle part sticking out anymore. That part makes it hard to get your hand inside, and isn't really needed for anything except the wipes.
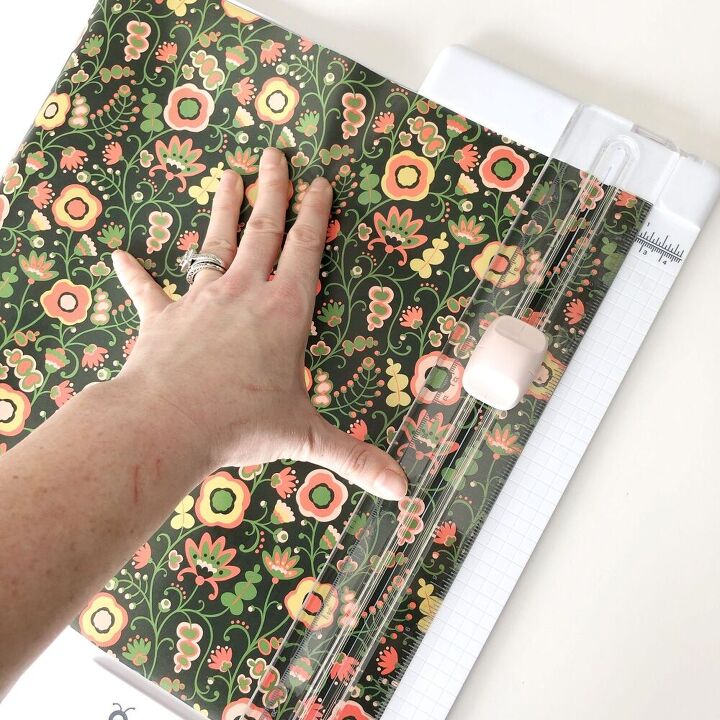
3. Trim patterned vinyl to the same measurements as the original label.
I used a portable trimmer to get super straight lines, but you can use scissors, too.
If you choose to use scissors, make sure you draw a line on the back of the vinyl to follow using a ruler.
**You can also use scrapbook paper in place of the vinyl. I chose vinyl because it’s easy to clean versus paper, which can’t be cleaned at all. I get pretty messy in my craft room so wipeable materials was a must for me.

4. Wrap the vinyl around the bottle.
Carefully adhere the vinyl to the bottle, smoothing as you go and working in small sections so you don’t get wrinkles or creases.
If you are using scrapbook paper instead of vinyl, you’ll need to line the back of the paper with double sided tape. Avoid using glue or glue dots, which will make the paper bumpy and uneven. I Scotch double sided tape like because it’s super thin and extra sticky. I use it in my dollhouse and it holds up really well.

5. Trim and adhere the chalkboard vinyl label.
I used chalkboard vinyl so I had to trim it down to the size of a label, but you can also buy chalkboard label stickers from craft stores or Amazon.
I plan on using a lot of this chalkboard vinyl so I bought the bulk roll. You’ll be seeing A LOT of chalkboard labels on the blog soon! Haha!
If you don’t have access to chalkboard vinyl OR label stickers, you can always use black scrapbook paper and double-sided tape.
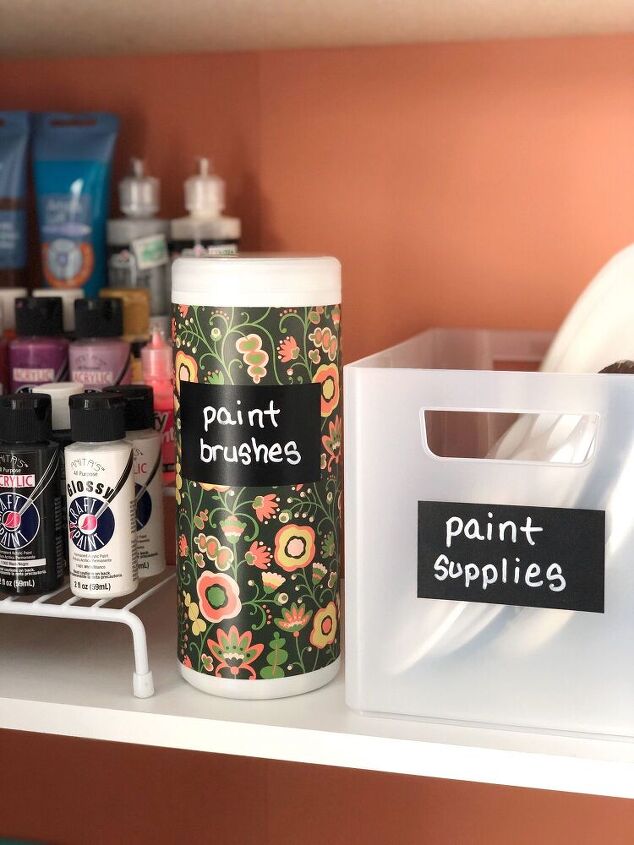
Once your label is attached, you can write the contents on it with a chalk pen or an actual chalk stick. Both can be wiped off with a wet paper towel, so I prefer the pen because it’s easier to write with.
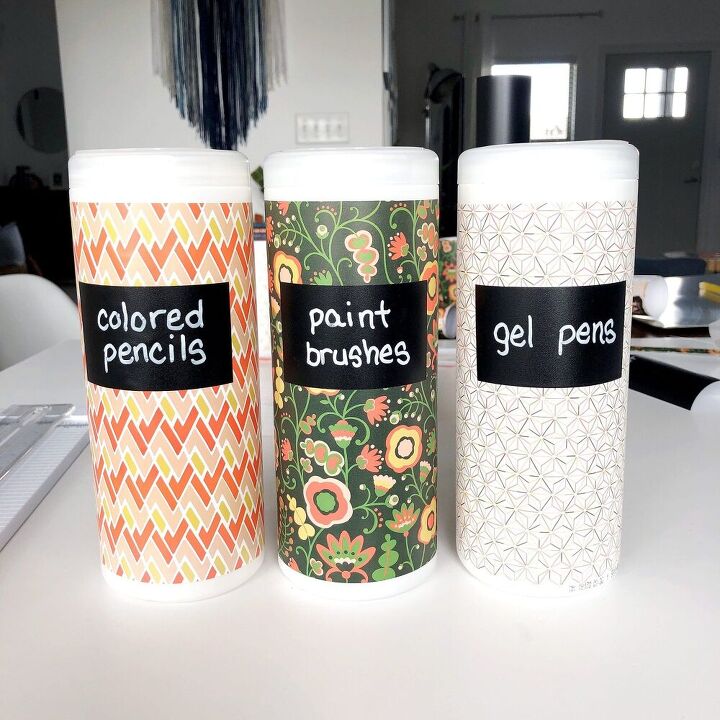
What To Store In Upcycled Disinfectant Wipe Bottles
- Paint Brushes
- Markers
- Colored Pencils
- Pens and Pencils
- Gel Pens
- Rulers/Stencils
- Cutting Tools
- Small Toys
- Pipe Cleaners/Popsicle Sticks/Wooden Dowels/Other tall craft supplies
- Kitchen Knives (Handle Side Up!)
- Plastic Utensils
- Plastic Bags (great for storing by the kitty litter box)
- Straws (disposable or reusable)
- Tampons
- Hair Combs
Looking For More Easy Upcycle DIY Projects?
Visit my blog and follow me on Instagram @lelaburris for more quick and low-cost organizing projects.
Resources for this project:
See all materials


Comments
Join the conversation
-
Great idea! I would only add that Cricut brand vinyl is quite pricey - especially for a recycle project. I would suggest contact paper from the Dollar Tree at $1.25/roll. Not as many appealing patterns, but definitely would save $$.
-
I use these containers for string dispensers. Handy and keeps the string from tangles.


Frequently asked questions
Have a question about this project?